Networking is an essential part of modern computing. Whether you are working from home or in an office, a reliable and efficient network can make all the difference in your productivity. However, setting up and maintaining a network can be daunting, especially if you're not tech-savvy.
Fortunately, Windows 10 offers several built-in networking features that can make your life easier. In this article, we'll explore four of the best networking features for your Windows 10 PCs that will help you stay connected and productive.
The Best Networking Features for Windows 10 PCs
Windows 10 has many networking features that cater to personal and professional use. Some of the best ones include:
1. Quick Assist
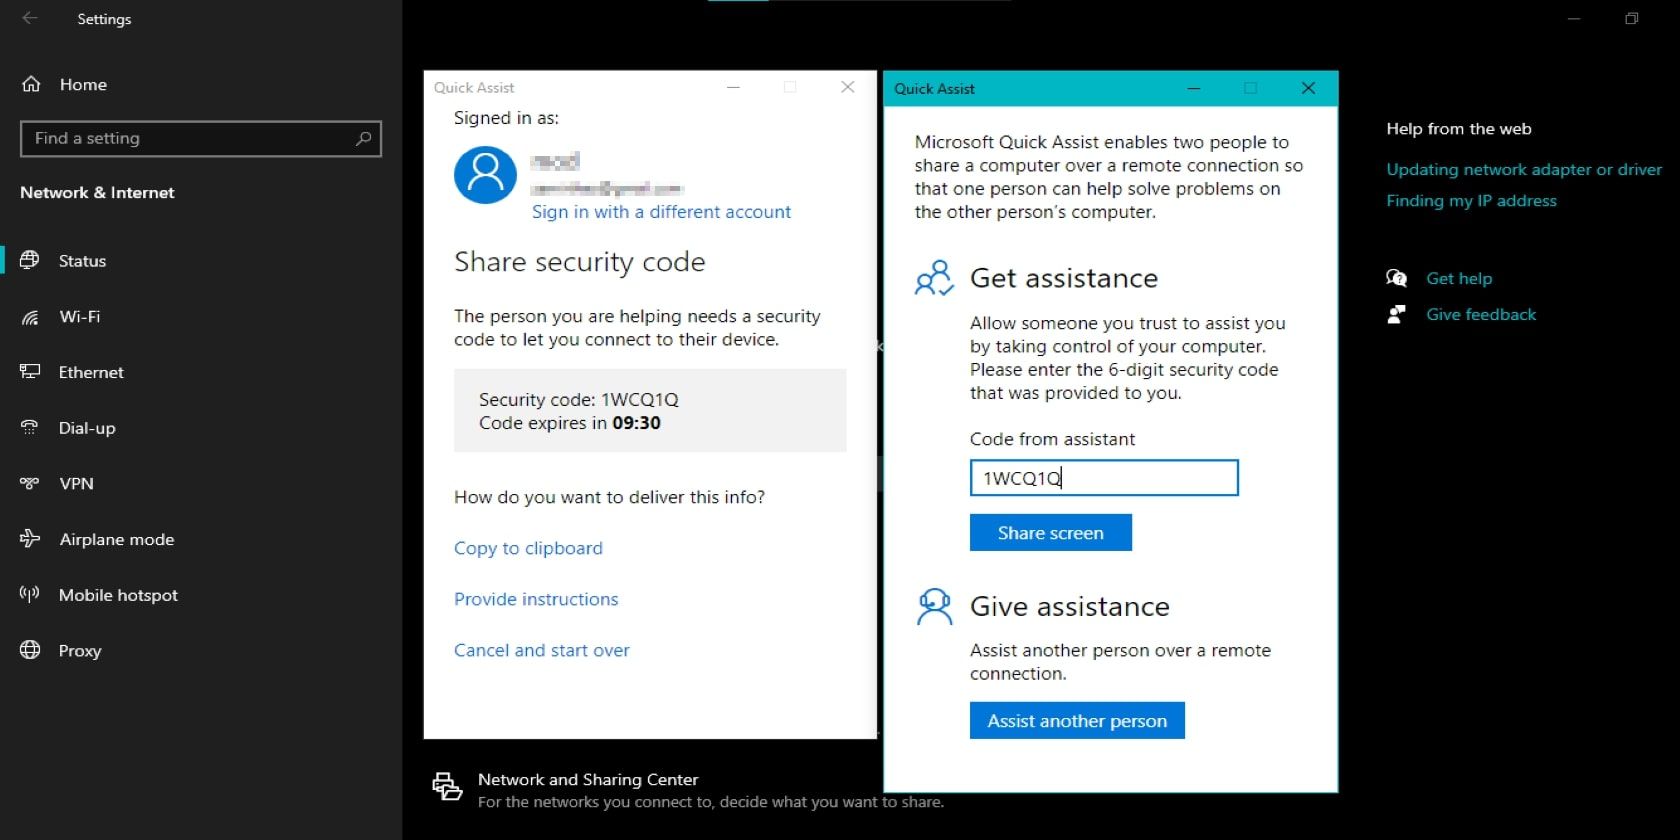
Quick Assist is a built-in remote assistance tool on your Windows 10 PC that allows one user to control another user's computer and provide assistance remotely. It can be helpful in many scenarios, such as providing technical support to a friend or helping a coworker resolve a problem.
To use Quick Assist in Windows 10, launch the program from the Windows 10 Start Menu. You can download it from the Microsoft Store if it's missing on your computer. If you're on Windows 11, check out how to start the Quick Assist tool on Windows 11.
Once the program is open, you must grant permission to the connection and the person offering assistance.
After initiating a connection, the person assisting can view your screen and operate your mouse and keyboard. This allows them to address any issues or demonstrate how to perform tasks. It's important to note that you have complete control over your PC throughout the process and can end the session anytime.
Quick Assist lets you remotely access another computer over a secure, encrypted connection. As such, personal information and data are protected. Moreover, it is accessible on all Windows 10 computers and even Windows 11.
2. Network Reset
The Network Reset feature in Windows 10 is a troubleshooting tool that helps to resolve network connectivity issues by resetting the network settings to their default state. It can be helpful if you're experiencing slow internet speeds or cannot connect to a network.
To use the Network Reset feature in Windows 10, Open the Start menu and go to Settings > Network & Internet. Select Status from the left-hand menu. Next, scroll down to the Network Reset section and click Reset now.
Windows will confirm that you want to reset the network settings and perform the reset. It may take a few minutes. Once the reset is complete, Windows will restart the network components, and you may need to reconnect to Wi-Fi networks and other network devices.
It's worth noting that resetting the network settings will remove all previously-configured network connections and settings, including Wi-Fi networks and VPN connections. Consequently, you'll need to reconfigure these connections after performing a network reset.
In most cases, Network Reset is a quick and effective way to resolve network connectivity issues. For example, it's one of the quickest ways to fix Network Discovery when it stops working. This feature can save you time and effort compared to manual troubleshooting and is an excellent first step if you're having network problems.
3. Virtual Private Network (VPN)
A virtual private network (VPN) is a secure connection that allows you to access a private network (such as your office network) over the internet. A VPN ensures that your internet connection is encrypted and secure, even when accessing the internet from a public location.
VPNs mask your IP address, making it more difficult for others to track your online activities. It helps protect your sensitive information, such as passwords and credit card numbers, from prying eyes. In addition, VPNs encrypt all the data you send and receive over the internet, protecting it from hackers that want to intercept and steal your information.
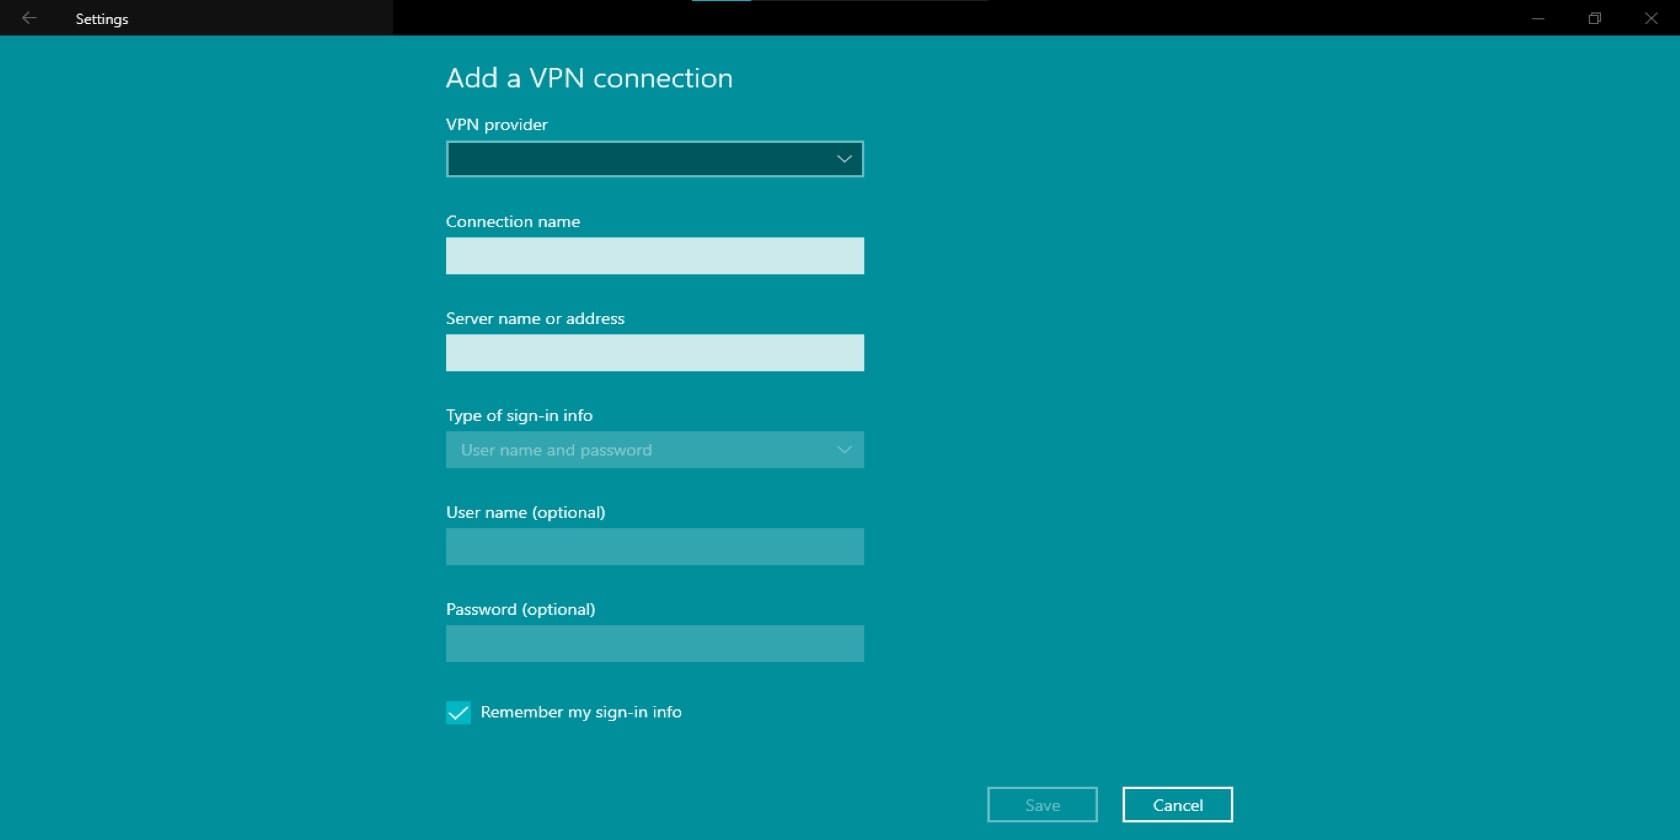
If you're going to set up a VPN on your Windows 10 PC, open Settings from the Start Menu or press Win + I. Click on Network & Internet and select VPN from the list of options on the left side of the menu. From the VPN menu, click on Add a VPN connection.
Fill in the required information for your VPN connection, including the server name or address, VPN type, username, and password (if needed). After that, click Save to add the VPN connection.
To connect to the VPN, go back to the VPN settings page and select the VPN connection you just created. Then, click on Connect. You should now be connected to the VPN and able to access the private network over the internet.
4. Wireless Network Management
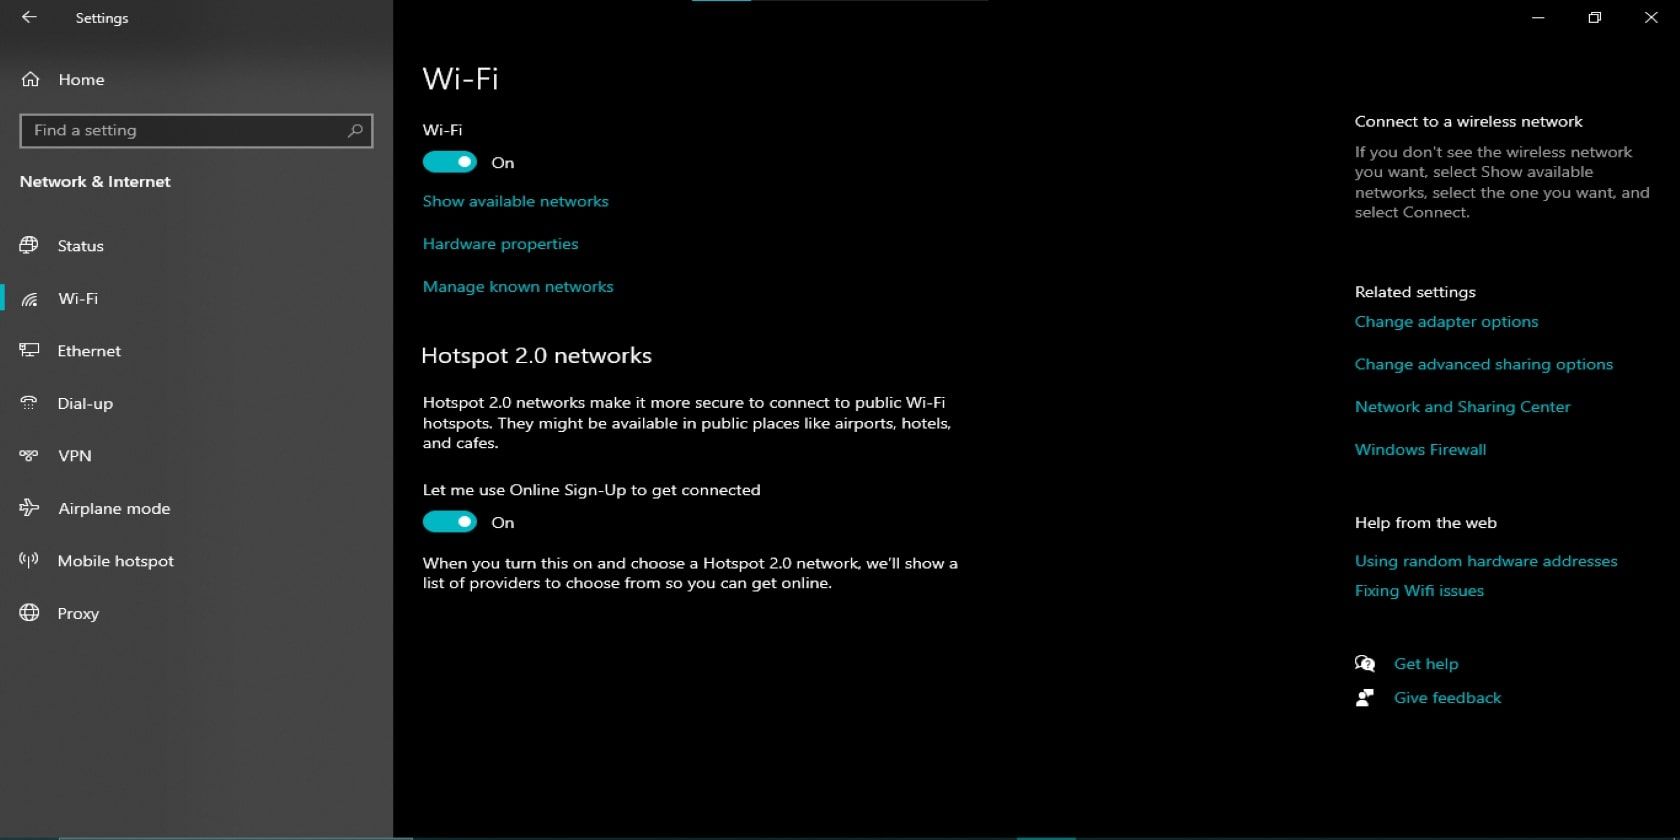
Windows 10 has a built-in Wireless Network Management feature that helps you easily manage and connect to wireless networks. This feature is located in Settings > Network & Internet > Wi-Fi and lists all available wireless networks.
You can connect to a network by simply clicking on its name. Secure networks may require a password or a custom login web page. If your desired network is unlisted or missing, click on Find a network to search for more.
Once connected, you can manage your connection by clicking on the network name in the list of available networks. Here, you can see information about the network, such as its security type, signal strength, and the IP address assigned to your device.
Windows 10 PCs can automatically connect to a network if it's in range. To disable this behavior for a particular network, click Forget and confirm your choice.
Ultimately, the Wireless Network Management feature in Windows 10 makes managing your wireless connections a breeze.
Maximizing Your Networking Capabilities With Windows 10
Windows 10 has several powerful networking features that can help you manage and optimize your network connections. Undoubtedly, the tools mentioned above will help meet your productivity needs whether you’re a seasoned network administrator or a curious beginner.


