Running into a Blue Screen of Death (BSOD) is a common headache for Windows users. Quite a few Windows users have encountered the "FAT FILE SYSTEM (fastfat.sys)" BSOD on their systems, and sometimes it will frequently appear again and again after the first crash.
This issue is typically caused due to outdated drivers, faulty hardware, corrupt drivers, and generic corruption errors within the system. In this guide, we will walk you through the troubleshooting methods for fixing this issue in detail.
What Is "Fastfat.sys?"
In this error, Windows cites "fastfat.sys" as the culprit. Fastfat.sys file (also known as the Fast FAT File System driver) is a Windows driver developed by Microsoft. It is associated with the File Allocation Table organization which was introduced by Microsoft for disk management and was the default file system before NTFS.
Currently, it is used exclusively as a file system for floppy disks and high-capacity memory devices such as flash drives and SD cards. You will find this file located in "C:\Windows\System32\drivers."
In general, this file runs silently in the background without causing any issues. However, if you are facing the FAT FILE SYSTEM Blue Screen, it might be caused due to incompatible hardware installed on the system, outdated drivers, and generic corruption errors.
Regardless of what's causing the problem, we've got a few methods below that helped other users fix the problem. Select the method that best fits your situation.
1. Look for Faulty Hardware
Before we jump into the more technical solutions, we suggest that you check whether the BSOD is hardware-related. There are times when the external devices act up, causing issues within the system. If an external device is the culprit, re-plugging or removing it should do the trick for you.
First, unplug the unnecessary external hardware devices; anything you are using except your mouse and keyboard. Then, reboot your system and check if the error appears again. If it does not, reconnect the devices that you removed one by one. You should encounter the error again right after you plug in the faulty hardware.
However, if the error persists even after removing the external devices, then this implies that the issue is software-related. In that case, proceed with the next method below.
2. Update Any Outdated Drivers
As we mentioned earlier, the fastfat.sys error is likely to occur if you have outdated or corrupt drivers on your system. Usually Windows will let you know in the BSOD's stop code which file is acting up, so be sure to learn how to find stop codes on Windows so you know how to squash BSODs better in the future.
Drivers are basically software components that facilitate communication between your operating system and gear. If any of the critical drivers stop functioning properly, you will run into errors such as the one under consideration.
The solution in this case is straightforward, as all you have to do is update the drivers. Installing driver updates ensures compatibility with the latest software, fixes bugs, and saves you from expensive issues down the line.
Follow these steps to update your drivers:
- Press Win + I to open Windows Settings.
-
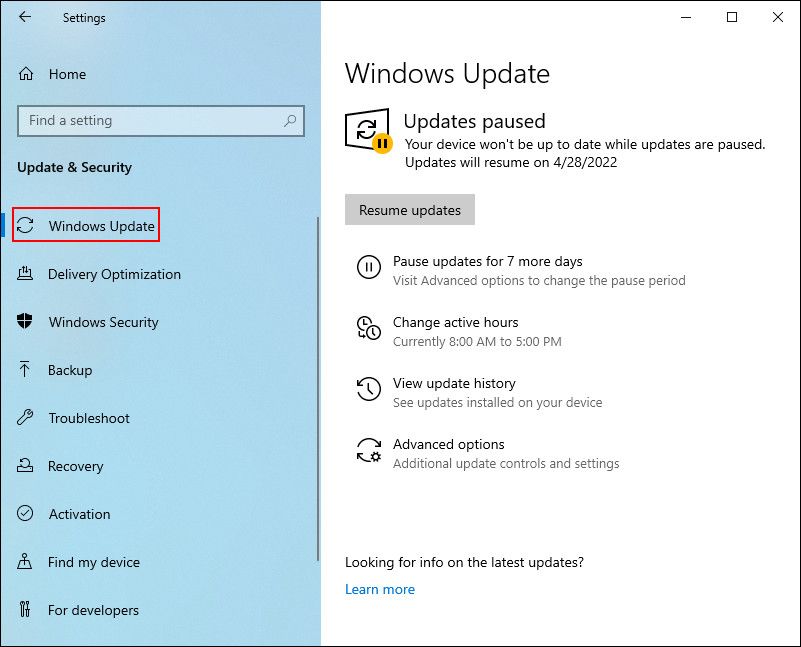
Choose Updates & Security, and then select Windows Update.
-
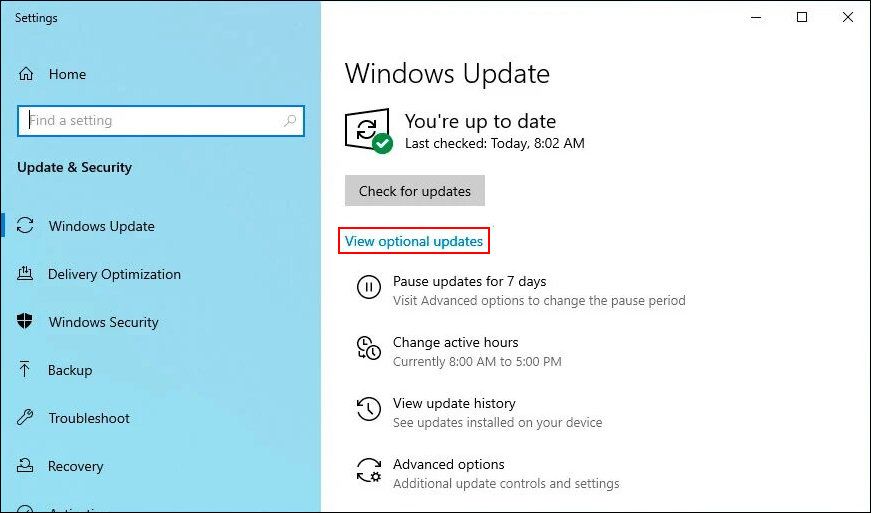
Next, click on View optional updates.
-
Expand the Driver Updates section and checkmark the updates that you need to install.
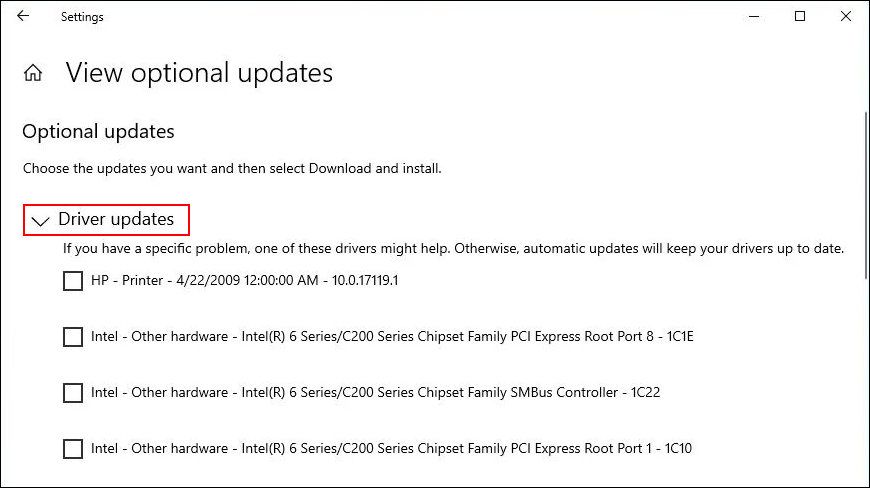
- Click on the Download and install button and wait for the updates to install.


Alternatively, you can also update specific drivers via Windows Device Manager. Follow the steps mentioned below to do so:
- Type Device Manager in the search area of the taskbar and click Open.
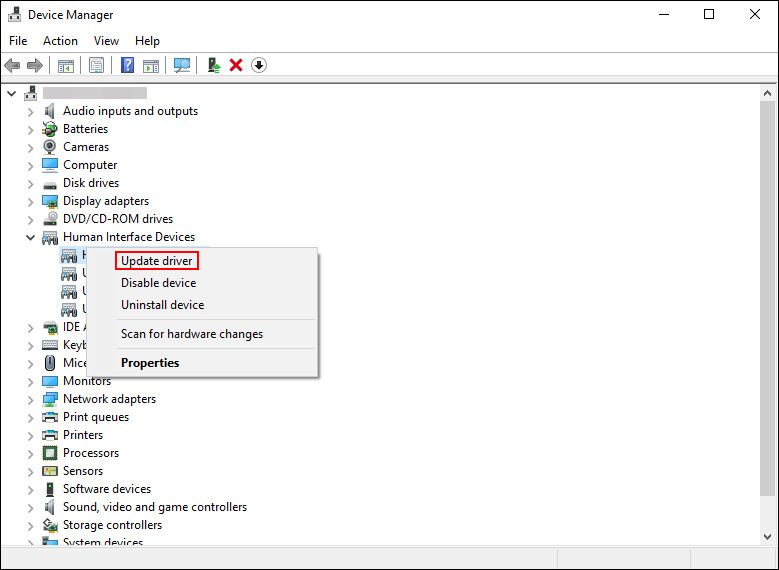
- Scroll down in the newly launched window to locate the targeted driver and right-click on it.
-
Choose Update driver from the context menu.
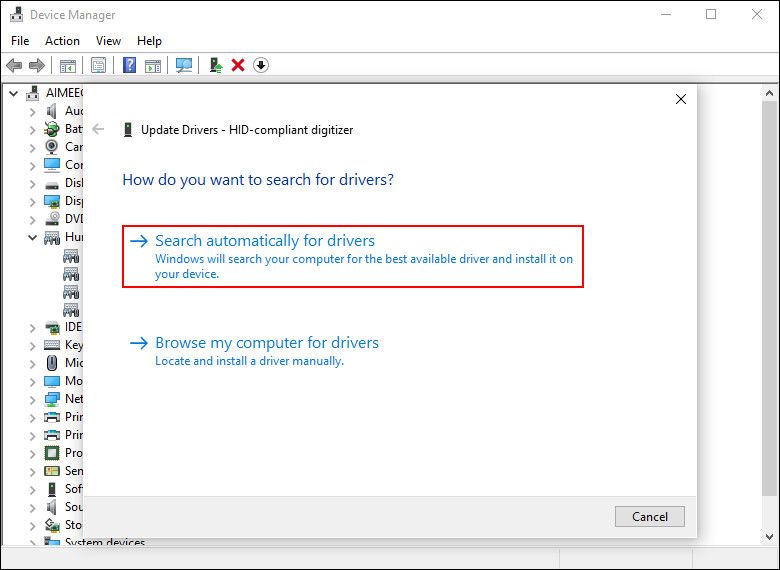
-
Next, click on the Search automatically for updated drivers option.
- If any updates are available, take your time to install them. In case the Device Manager does not display any updates, you can also visit your manufacturer’s website and install the latest drivers from there.


3. Identify Problematic Drivers With Driver Verifier
If installing the pending driver's updates did not help, then we suggest you manually look for the problematic driver and fix it. If this scenario is applicable, the best way to move forward is by using the Driver Verifier, which is a built-in Windows utility.
Unlike other utilities like SFC and DISM, this utility will not fix the faulty drivers but only identify them. However, it is important to note that your computer will go through several stress checks when you run this utility. Hence, before you proceed, we recommend that you create a restore point to have a backup in case anything goes wrong.
Also, make sure that you are logged into your system as an administrator.
Here is how you can run the Driver Verifier on your Windows operating system:
- Press Win + R to open a Run dialog.
- Inside the text field of the dialog box, type cmd and press Ctrl + Shift + Enter to open Command Prompt with administrative privileges.
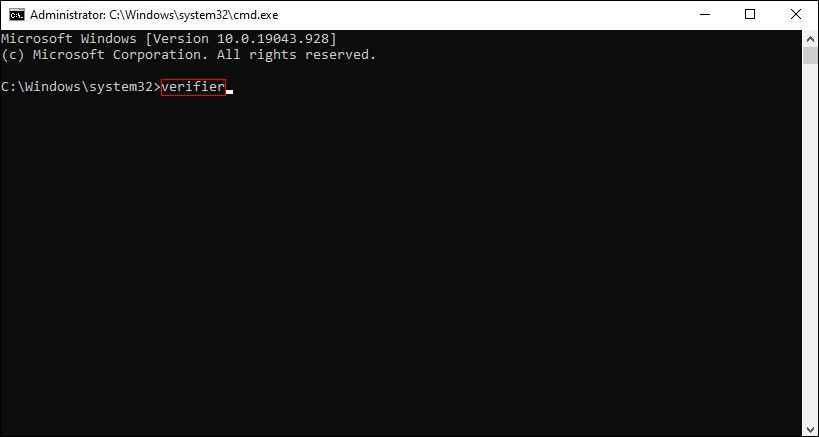
-
Type the following command in the elevated Command Prompt and hit Enter. This should launch the Driver Verifier utility.
verifier
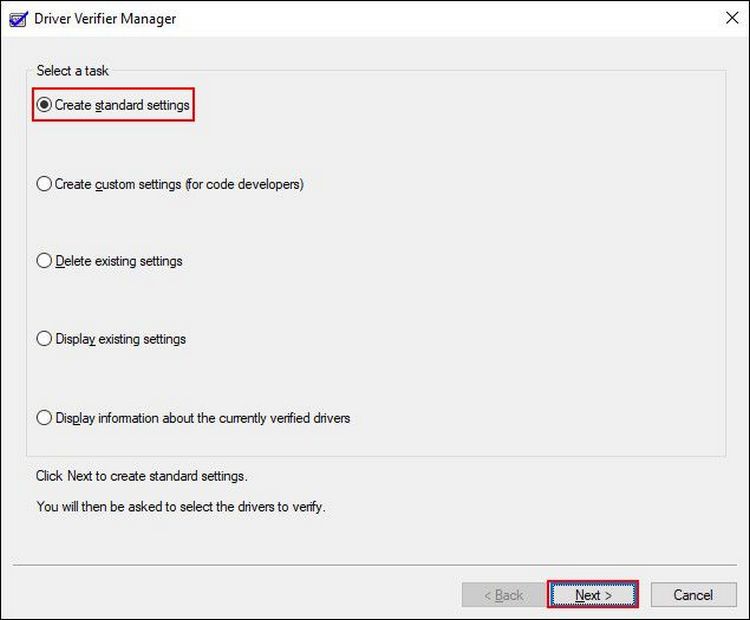
-
Now, select Create standard settings and hit Next to proceed.
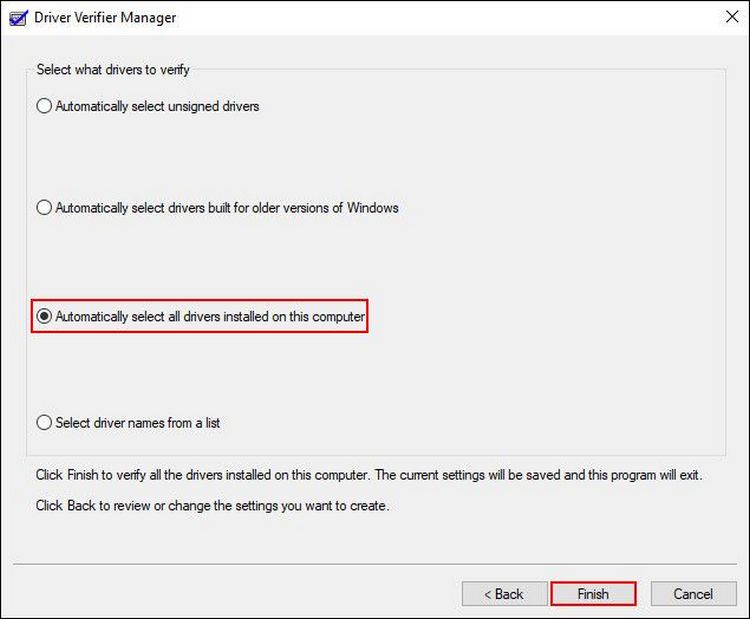
-
Then, click on Automatically select all drivers installed on this computer and press the Finish button.
- Once done, restart your PC.


Upon reboot, the Driver Verifier will run in the background. This utility needs to experience a crash to identify the problematic drivers, so wait for the crash to occur or repeat the action that previously caused the BSOD. The process can take anywhere from a few minutes to a couple of hours, so be patient.
Once the crash occurs again, the Driver Verifier will store the information about it in DMP files. You can then read the DMP files and update/rollback drivers to fix the issue.
Blue Screen Error, Now Resolved
Now you know how to fix the FAT FILE SYSTEM (fastfat.sys) BSOD on Windows 10. In the future, if a BSOD rears its ungly head, be sure to check the stop code and apply some general fixes to get everything working again.