
Looking to get the most out of your workday, minimize distractions, and streamline your workflow? You don’t need to scour the internet for add-ons and third-party apps; the operating system you use right has everything you need.
Microsoft has a slew of productivity tools built into Windows 10 from the get-go. They make working simpler, allow you to easily organize your workspace, let you see things more quickly at a glance, and be quicker in general. Here’s how you can use the features built into Windows 10 to get the most out of your computer for work.
1. Organize Your Work Better With Multiple Desktops
If you’re working on multiple projects simultaneously and need a way to keep the two separate, you should use Microsoft’s multiple desktops feature. This handy tool gives you a dedicated desktop for each of your projects, which helps keep things separate.
You can also use this feature if you have a meeting and need to quickly switch to a cleaner environment with fewer distractions. Because each desktop is standalone, you can cut out the chaff and only include the apps that help you there and now.
How to Set Up Multiple Desktops on Windows 10
To get started with multiple desktops with Windows 10:
- Look for and click on the Task view button on your taskbar. You can also use the shortcut Win + Tab to pull up all your open windows.
-
On the top left, you should see a button called New desktop. Click on it to create a new virtual desktop.
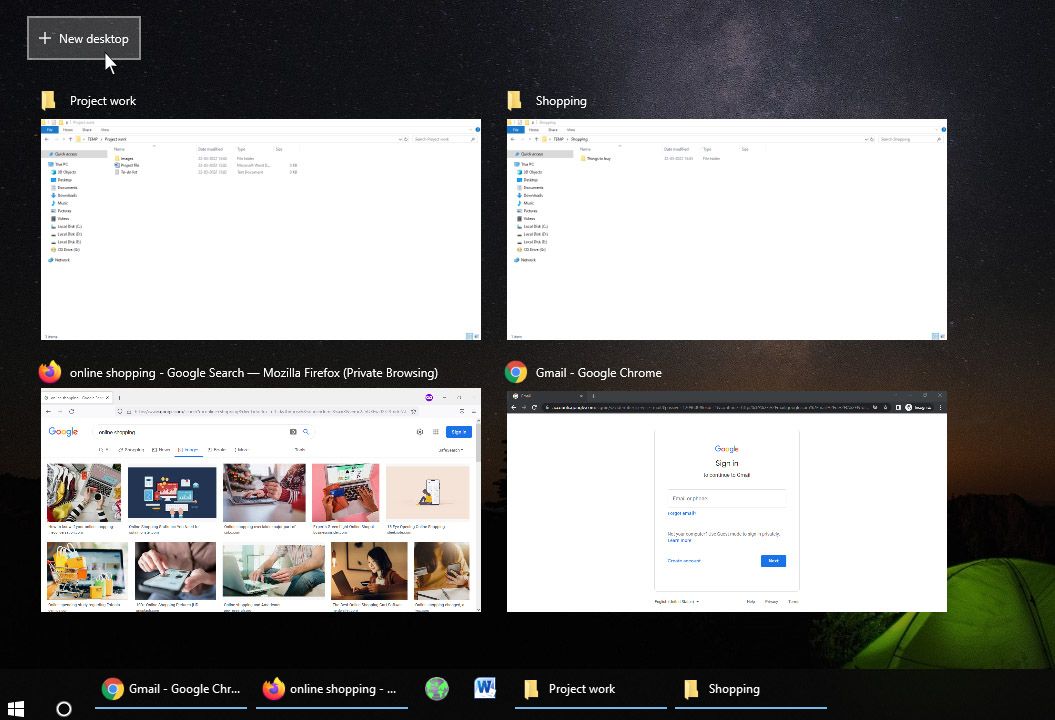
- To switch between multiple desktops, pull up the task view again and click on the desktop you want to use. You can also end a virtual desktop session by clicking the cross on top of a specific virtual desktop in the task view mode.


2. Get Snappier With Snap Assist
This feature is best used with large screens, but you can use it on standard laptop and desktop screens as well. As the name suggests, it allows you to “snap” open windows to certain parts of your screen, making for a cozier fit and allowing for smoother multitasking.

You can snap an open window by clicking on its title bar and dragging it to the left or right of your screen. An outline appears, showing how the window will snap in place. You can also do this via your keyboard by pressing the Win + left arrow key or the Win + right arrow key.
Once you’ve snapped a window in place, the Snap Assist kicks in, displaying thumbnails of the other open windows in the empty space. Select the window you want to snap into the empty space. You can drag the line dividing the windows to resize both simultaneously.

3. Breeze Through Your Work With Keyboard Shortcuts
Every power user must take full advantage of helpful Windows 10 shortcuts. They make your life so much easier with just a few button presses. And Windows 10 has a bevy of built-in shortcuts to make you more productive at everything from spreadsheets and text documents to organizing your files and switching between tasks.
Here’s a list of useful keyboard shortcuts for Windows 10 you should know if speed is your number one priority.
|
Keyboard Shortcut |
Function |
|---|---|
|
Ctrl + X |
Cut text or items. |
|
Ctrl + C |
Copy text or items. |
|
Ctrl + V |
Paste text or items. |
|
Ctrl + A |
Paste text or items. |
|
Ctrl + Z |
Undo the last action. |
|
Ctrl + Y |
Redo the last undo. |
|
F2 |
Rename the file or folder selected. |
|
Ctrl + Shift + N |
Create a new folder. |
|
Alt + Tab |
Quickly switch between open windows. |
|
Ctrl + W |
Close selected file or window. |
|
Print Screen key |
Take a screenshot. |
|
Win + Print Screen key |
Take a screenshot and store it in the screenshots folder. |
4. Use Night Light to Reduce Eye Strain
Light on the blue end of the spectrum is known to disrupt sleep patterns and throw the body’s biological clock out of its natural rhythm. Fortunately, Windows 10 has a great built-in feature to help reduce eye strain from using your computer for long hours, called the "Night Light." This handy feature reduces how much blue light enters your eyes and reduces eye strain.
How to Set Up Night Light on Windows 10
To get started with Night Light on Windows 10:
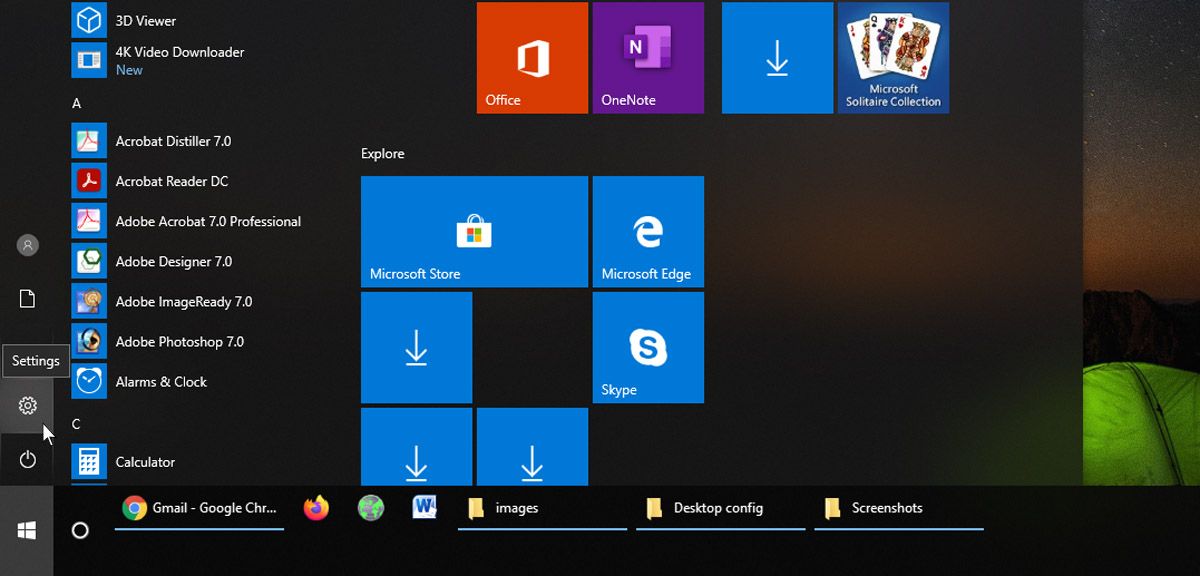
- Go to the Start menu and click on Settings, which is the gear icon on the left.
-
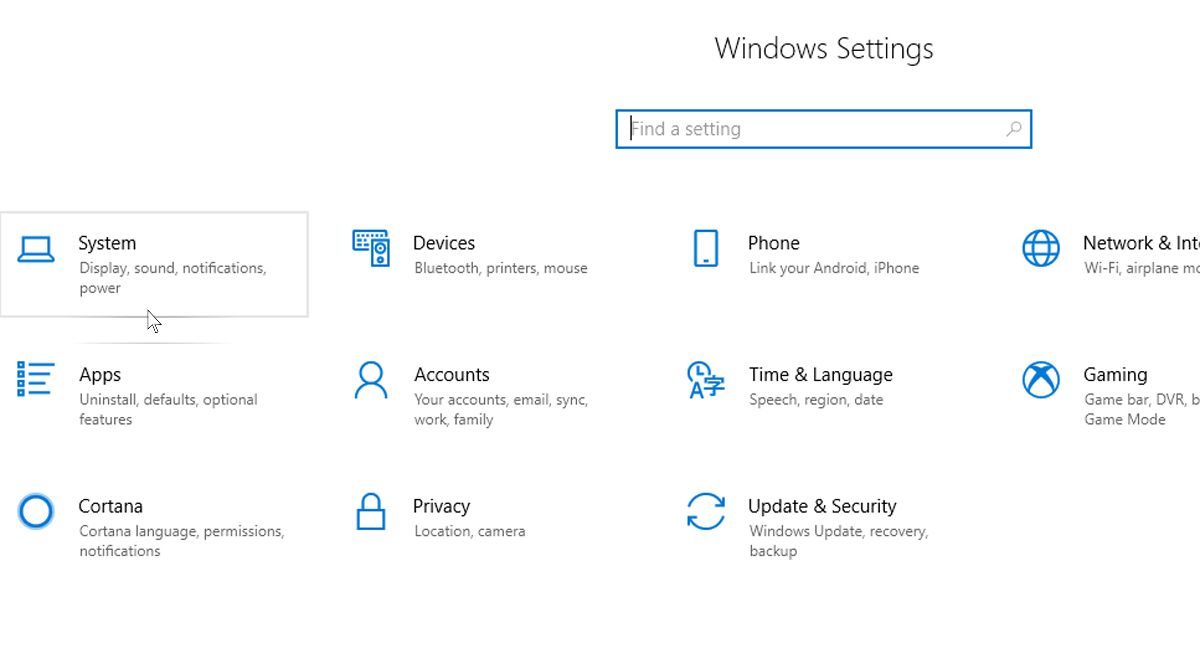
Navigate to System and then to the Display tab on the left.
-
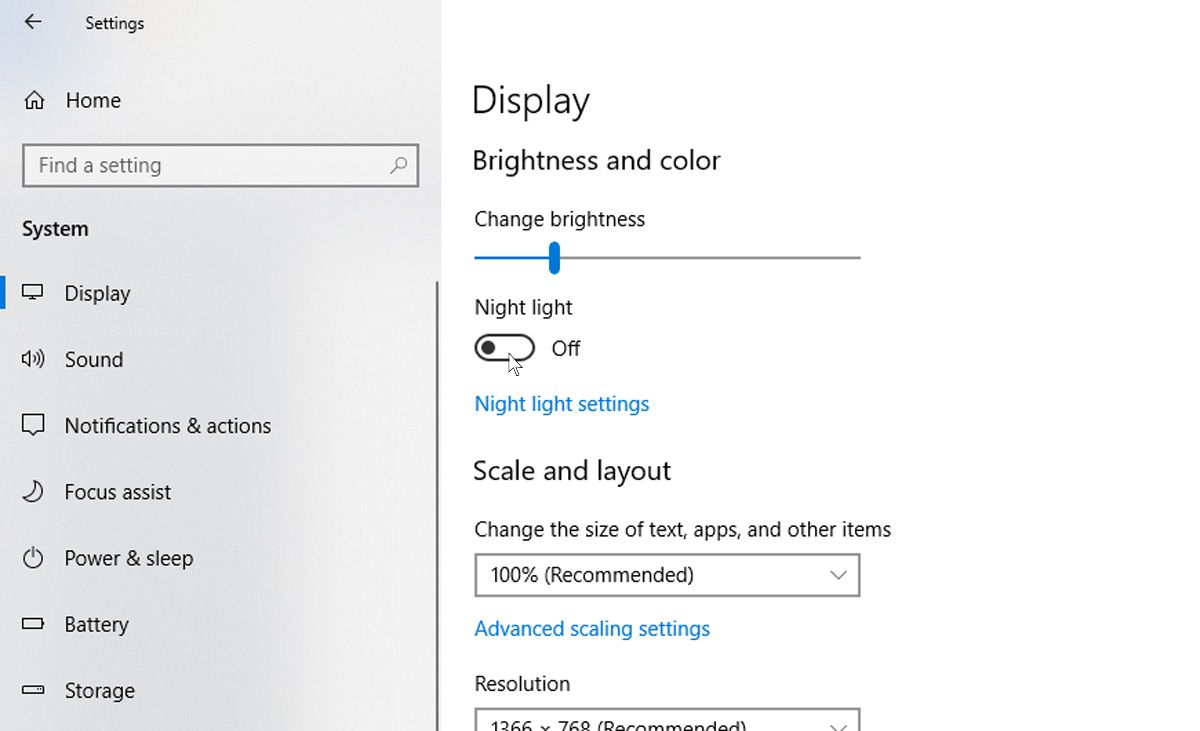
From here you can turn the Night Light feature on and off.
-
You can even customize Night Light settings, changing the color temperature and the Night Light hours.


However, don't get this feature confused with Dark Mode. The Night Light and Dark Mode have their differences, and using both in tandem can save your eyes from unnecessary strain.
5. Access Your Files From Anywhere With OneDrive
Being more productive means accessing all your important files wherever you are, across multiple devices, whether you’re using your laptop at home or the office desktop. To help you with that, Microsoft has a cloud service included in Windows 10 for free.
OneDrive allows you to store your files on the cloud for easy access from any signed-in device. The free storage limit is 5GB, but you can extend that to 1TB with a Microsoft 365 subscription. There’s even a OneDrive mobile app to access your work on the go. For more on OneDrive, see our guide to Microsoft’s cloud storage service.
6. Use OneNote for Quick Note-Taking
If you think having a notebook to jot down your thoughts or take quick notes is handy, it is. OneNote is the built-in note-taking feature on Windows 10 that lets you write down just about anything. Taking notes at a meeting or saving interesting things off the web is so much simpler. And it’s all saved instantly, so you needn’t worry about losing your work.
You can even include handwritten notes for a more personal touch. And if you didn't know that, OneNote has a ton of little-known features we think you’ll also love.
7. Minimize Interruptions With Focus Assist
Focus assist used to be called quiet hours in earlier versions of Windows 10. The feature lets you temporarily pause or hide distracting updates. That way, you can concentrate on the task at hand without being interrupted by notifications.
Turning on Focus Assist in Windows 10 is easy to do, and can be customized to your liking. This includes allowing only specific notifications to get through, in case a work-urgent message comes in and you need the alerts to fire.
How to Turn On Focus Assist on Windows 10
To turn on Focus Assist in Windows 10:
- Click on the Start menu and go to Settings.
- Click on the System settings option.
- Navigate to the Focus assist section in the left pane and select the Priority only bubble. This will keep all notifications from you, except those from apps on the priority list.

To change which apps can send you notifications when Focus assist is switched on, click on Customize your priority list.

Scroll all the way down to the Apps section and click on Add an app. Choose an app from the list that pops up.

What’s great about Focus Assist is that you can schedule it to turn on automatically during your work hours. Here’s how:
- Click on the Start menu, go to Settings, and click on System.
- In the Focus assist section, under Automatic rules, click on During these times and toggle the switch to the on position.
-
From here you can set when Focus Assist starts and ends, and whether you want this every day, or only on weekdays or weekends. You can also select what kind of focus level you want—whether it is for your priority list or only for alarms.


Boost Your Productivity With Built-in Windows 10 Features
You can try some or all of the features we’ve touched upon here to give you a nice kick in productivity while using your Windows 10 PC. They will make your life easier, and we’re sure you’ll soon be using most of them without a second thought. If you want to take things up a notch, there are Windows productivity apps that go beyond what's built-in.