Are you having trouble connecting your Apple AirPods to your Windows 10 PC? Chances are there's a minor Bluetooth glitch on your PC. There may also be a conflicting nearby device, an issue with Windows 10 updates, or another reason.
Regardless of what's caused the issue, you might be more interested in finding out how to resolve the issue. Luckily, there are various methods you can follow to potentially fix your AirPods issue and get them to connect to your PC.
1. Re-Pair the AirPods With Your Windows PC
If there's a minor Bluetooth glitch causing your AirPods not to connect to your PC, try unpairing your AirPods from your PC and then re-pairing them. This should fix most connection-related issues with your devices.
You can unpair your AirPods on your Windows 10 PC as follows:
- Press Win + I to open the Settings app.
- Click Devices on the Settings window.
- In Devices, click Bluetooth & other devices in the left sidebar. (In Windows 11, you can access this section by going to Bluetooth & devices > Devices)
- On the right, find your AirPods and click them. However, if you're on Windows 11, you can click on the three-dots icon instead.
- Select the Remove device option.
- Click Yes in the prompt to remove your AirPods from your PC.

You have successfully unpaired your AirPods that weren't working. Now, you can proceed to pair your AirPods again. If you're unsure about the procedure, feel free to check out our guide on connecting AirPods to a Windows 10 or 11 PC.
2. Toggle Bluetooth Off and On on Your PC
Sometimes, the Bluetooth on your PC doesn't work as it's supposed to. This could happen due to various reasons, but most of the time, you can fix it by turning Bluetooth off and back on.
This gives Bluetooth a fresh chance to start, and you can then connect your AirPods to your PC.
To restart Bluetooth, follow these simple instructions:
- Open the Settings app by pressing Win + I keys simultaneously.
- In Settings, click the Devices option.
- On the Devices screen, from the sidebar to the left, select Bluetooth & other devices.
- In the pane on the right, turn the Bluetooth toggle off.
- Wait for about half a minute, and turn the toggle back on.

3. Use One AirPod at a Time
Apple designed the AirPods so that you can use each one independently. If you're experiencing issues connecting AirPods to your PC, use one AirPod to connect and see if that works.
You'll follow the same connection process whether you're connecting a single AirPod or both AirPods. Simply bring one AirPod out of your AirPods case, wait for your Windows 10 PC to detect it, and it should then connect.
If one of your AirPods isn't working, put it back into the case and bring the other AirPod out. See if this one connects to your PC.
4. Disable Bluetooth on Your Other Devices
A common reason for most Bluetooth issues is conflicting Bluetooth devices in the surrounding area. If you've enabled Bluetooth on your other devices, like your iPhone or Android phone, turn the feature off on these devices and see if your AirPods then connect to your PC.
How to Disable Bluetooth on an iPhone
- Open the Settings app on the iPhone.
- Tap Bluetooth.
- Turn the Bluetooth option to the off position.


How to Disable Bluetooth on an Android Phone
- Pull down from the top of your screen.
- Tap on the Bluetooth toggle to disable the feature.


Likewise, you can manually turn off other Bluetooth devices nearby, like your wireless headset, mice, keyboards, etc., and then see if you're able to connect your AirPods to your Windows 10 or 11 PC.
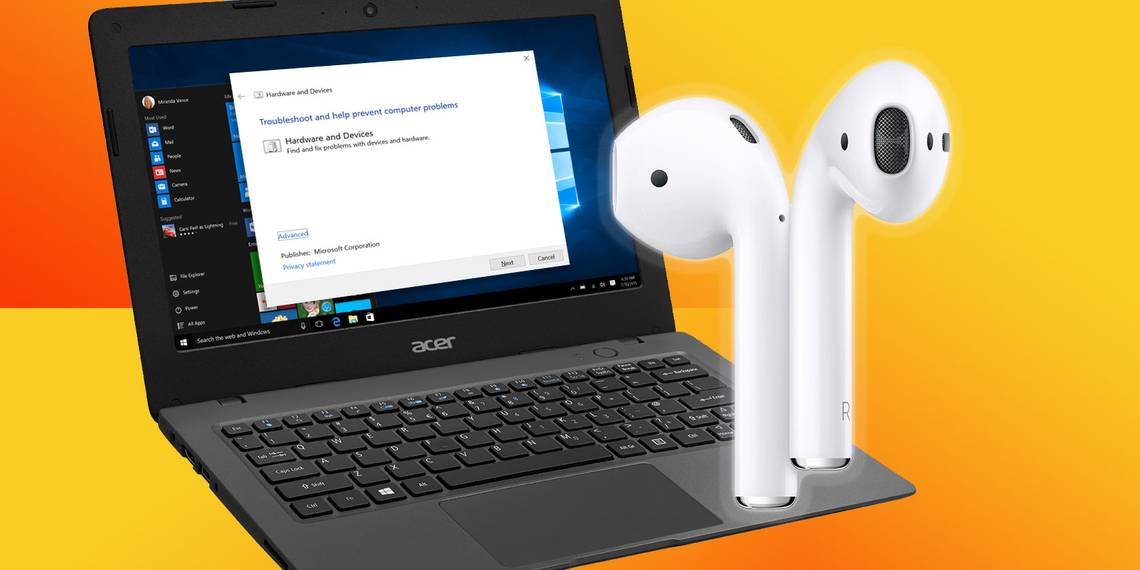
5. Use Windows's Hardware Troubleshooter
Windows has many troubleshooters to help you detect and resolve issues with various components on your computer. For example, one of these troubleshooters helps you fix hardware issues, like the one you're experiencing with your AirPods.
It's a good idea to run this troubleshooter and allow it to find and fix issues with your computer's hardware devices.
To use this troubleshooter:
- Press Win + R at the same time to open Run.
- Type the following in Run and hit Enter: msdt.exe -id DeviceDiagnostic
- In the Hardware and Devices window that opens, click Next to run the troubleshooter.
- Follow the on-screen instructions to troubleshoot your devices.

If the Windows troubleshooter couldn't identify the problem—which isn't uncommon—don't panic; there are still other things you can do to connect your AirPods to Windows 10 and 11.
6. Turn Off Swift Pair on Windows 10 and 11
To help you easily and quickly connect to nearby Bluetooth devices, Windows offers a feature called Swift Pair. Unfortunately, while this feature is useful for making Bluetooth connections within seconds, it might also be the reason why your AirPods refuse to connect to your PC.
To rule out this possibility, turn Swift Pair off on your PC and then see if your AirPods connect:
- Access the Settings app by pressing Windows + I keys at the same time.
- Select Devices from the Settings window.
- Choose Bluetooth & other devices from the sidebar to the left. (In Windows 11, you can access this section by going to Bluetooth & devices > Devices)
- Scroll down to the right pane and disable the Show notifications to connect using Swift Pair option.

7. Update Your AirPods' Firmware
Like other devices, Apple's AirPods receive firmware updates. These updates ensure your AirPods remain bug-free and that they continue to run at their optimal performance levels.
These AirPods firmware updates aren't as regular as other updates, but you must install these to rid your AirPods of any issues, including when the AirPods won't connect to your PC.
We've written a guide on how to update your AirPods, so check that out to learn how to go about updating the firmware version on your AirPods. But remember that if you don't have an Apple device, you're out of luck.
8. Roll Back a Windows Update
Windows updates are supposed to fix existing issues and bring new features to your PCs. However, sometimes, they're the reason you have problems with your computer. For example, if your AirPods don't connect to your PC after installing a Windows update, the chances are that update is the culprit.
In this case, you can roll back that update and undo all the changes it made to your computer. This doesn't delete any of your data from your PC.
Here's how to do that:
- Open the Start menu, search for Control Panel, and select it in the search results.
- Click Uninstall a program under Programs.
- In the sidebar on the left, click View installed updates.
- You'll see the installed updates on the right.
- Select the most recent update in the list and click Uninstall at the top.

Resolve Connection Issues With AirPods and Windows 10/11
If you ever have difficulties connecting your AirPods to your Windows 10 or Windows 11 PC, follow the methods outlined above, and you should be able to fix the problem. Whether you're on Windows 10 or Windows 11, the troubleshooting steps to fix and connect your AirPods remain the same. Sometimes, especially with Bluetooth issues, all it takes is changing an option here and there to resolve the problem.