
Battle.net is game launcher software with which users install and play Call of Duty: Warzone, Hearthstone, World of Warcraft, and Overwatch. However, users can’t launch Blizzard games when the Battle.net software doesn’t open on Windows. Battle.net may or may not display an error message when it doesn’t open, but that software doesn’t start either way.
You can probably resolve whatever Battle.net startup issue you’re trying to fix in Windows, so long as your PC meets the software’s minimum system requirements. These general fixes can resolve a wide variety of Battle.net startup errors or crashes in a Windows 11/10.
1. Set Battle.net to Run With Admin Rights
This is a simple potential fix for Battle.net not opening that some users have confirmed works. Setting Battle.net to run as administrator will give that software elevated system access, which can resolve permission issues. You can configure Battle.net to always run with administrative rights like this:
- Open Battle.net’s installation directory (folder) within File Explorer.
- Next, click the Battle.net Launcher.exe file with your right mouse button and select Properties.
- Click Compatibility on the Battle.net Launcher.exe Properties window.
-
Select Run this program as administrator if that checkbox isn’t selected.
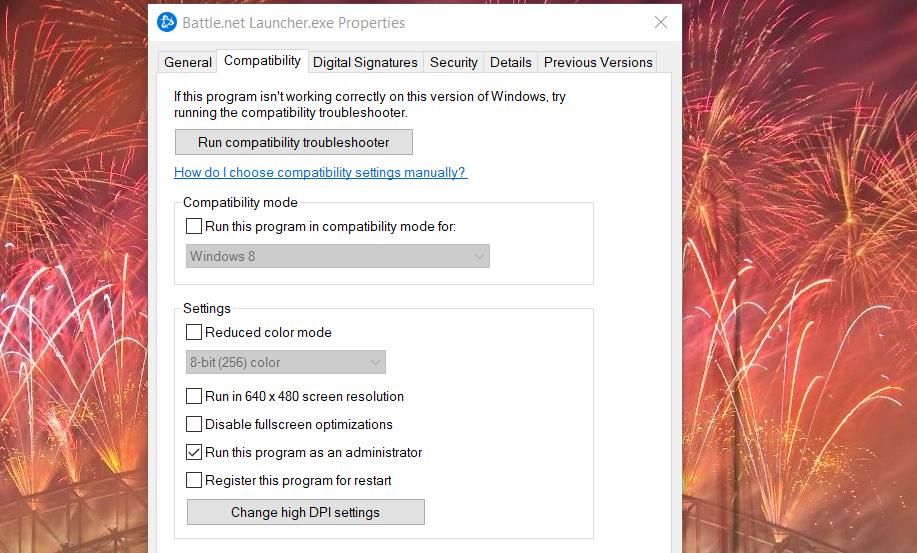
- Press the Properties window’s Apply button.

In addition, running the software in compatibility mode might help some users fix Battle.net not opening. You can do that by selecting the Run this program in compatibility mode option on the same Compatibility tab. Choose Windows 8 on the drop-down menu.
2. Delete the Battle.net and Blizzard Entertainment Data Folders
Battle.net and Blizzard Entertainment are two cache folders for Blizzard’s game launcher software. The Battle.net software often doesn’t start right when those folders contain corrupted data. Deleting those directories will clear Battle.net’s cache.
This is how you can erase those folders in Windows 11/10:
- First, make sure there aren’t any Battle.net background processes running by opening Task Manager’s Process tab. Disable any Battle.net processes you see there by selecting them and clicking End task.
- Hold the Windows keyboard key and press E to view the Explorer file and folder manager.
-
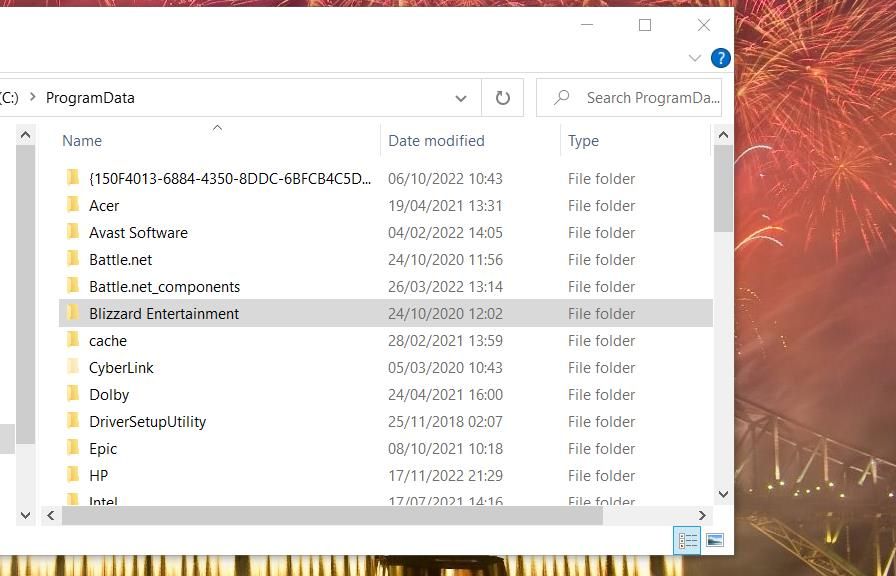
Clear Explorer’s folder path bar, and input this directory location there: C:\ProgramData
-
Right-click the Battle.net directory and select the Delete context menu option.
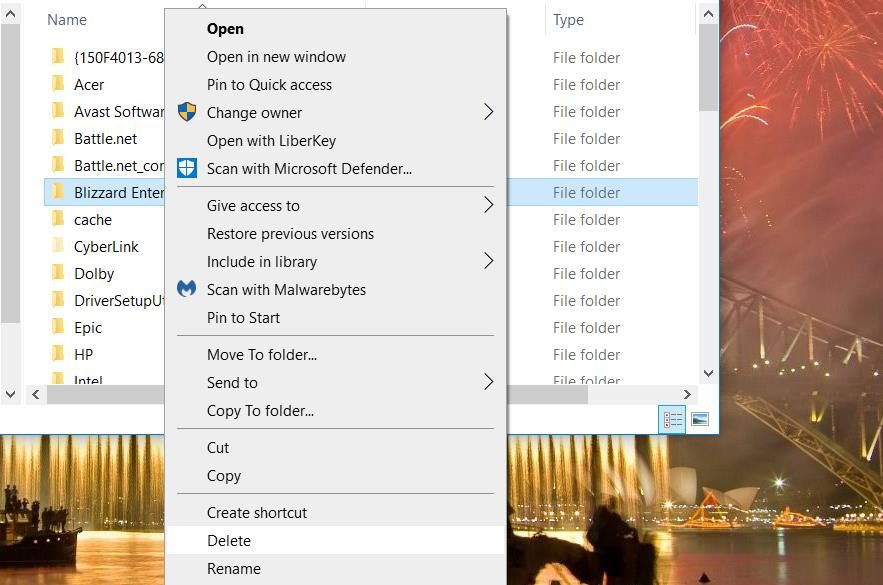
- Next, erase the Blizzard Entertainment folder.
- Try opening Battle.net again.


This should hopefully clear any cache issues and Battle.net should open correctly.
3. Check the Secondary Logon Service Is Enabled
The Secondary Logon service enables the starting of processes with alternative types of user credentials. That’s a required prerequisite service for Battle.net’s Blizzard agent. So, check Secondary Login is enabled and running like this:
- To open Services, click the search box or magnifying glass on your Windows 11/10 taskbar. Type services.msc in the search box, and select the Services app.
-
Double-click Secondary Logon to view the properties window for that service.
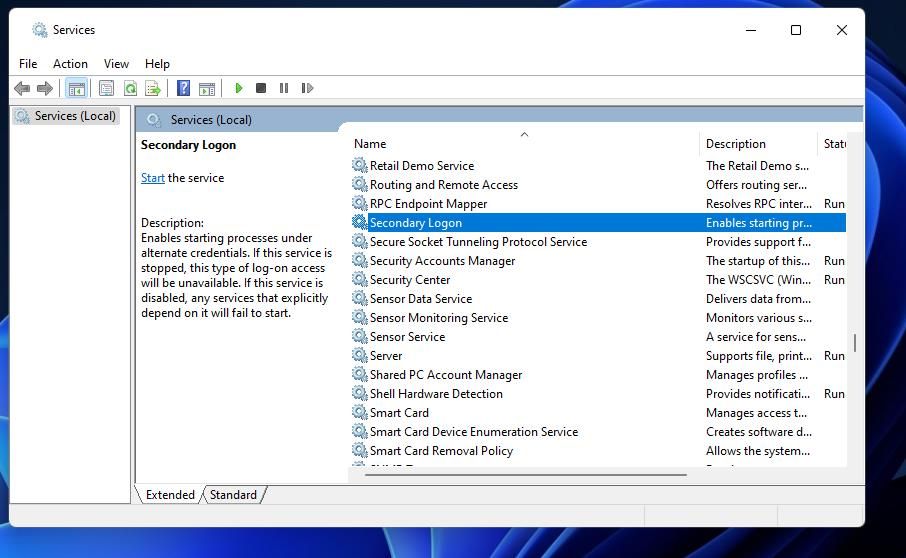
- Set the Startup type option to Automatic.
-
Click the Start service button for Secondary Logon.
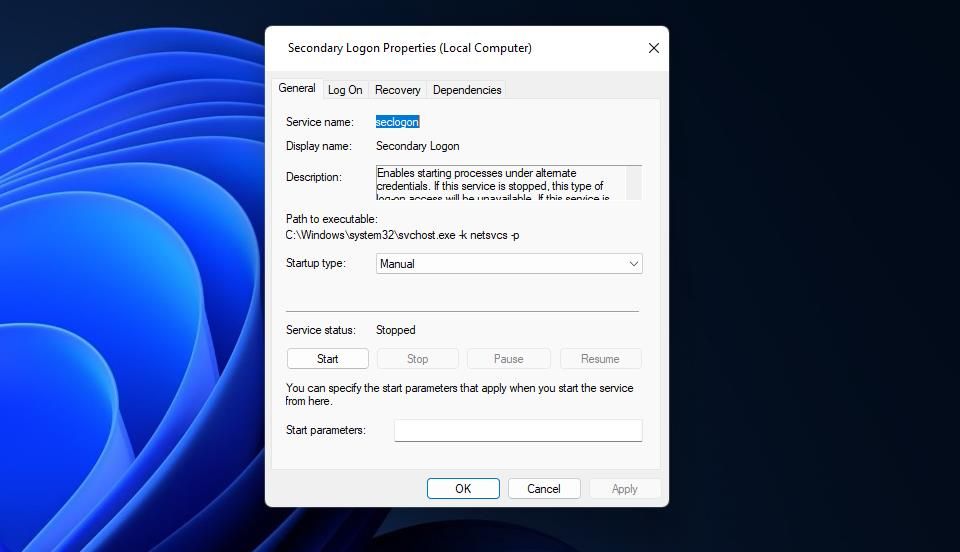
- Remember to select Apply to save the setting.
- Select OK to exit the Secondary Logon Properties window.
- Click Restart on the Start menu in Windows 11/10.


If you find Secondary Logon is already enabled, restart the service instead. Right-click Secondary Logon on the Services window to select Restart. Or you can click Stop and Start in the service’s properties window.
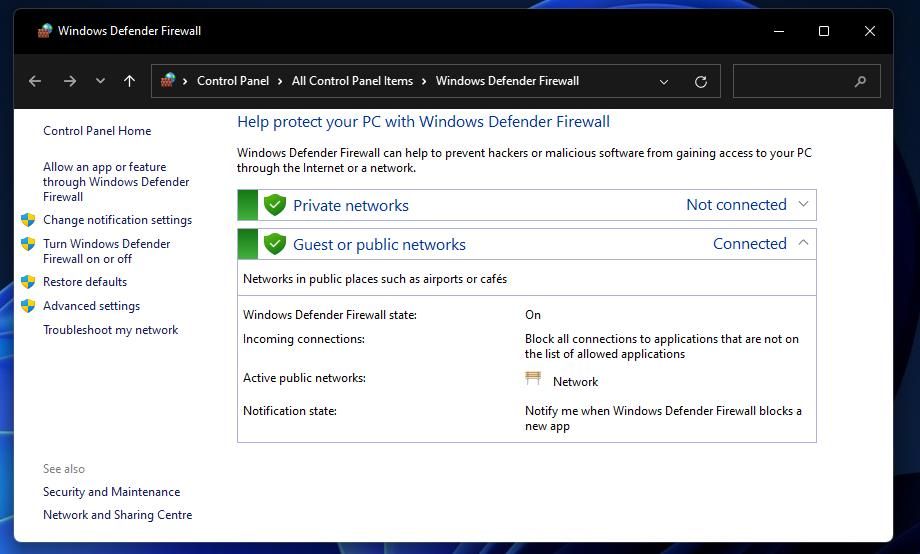
4. Turn Off the Windows Defender Firewall
Windows Defender Firewall will block Battle.net from connecting with Blizzard services if that software isn’t permitted through it. To test if that firewall is blocking the Battle.net client, temporarily disable it in the following steps:
- First, open WDF in the Control Panel with a method in our guide for opening the Windows Defender Firewall applet.
-
Select the Turn Windows Defender Firewall on or off navigation option on the left of the applet.
-
Click the Turn off Windows Defender Firewall options for both the public and private network settings.
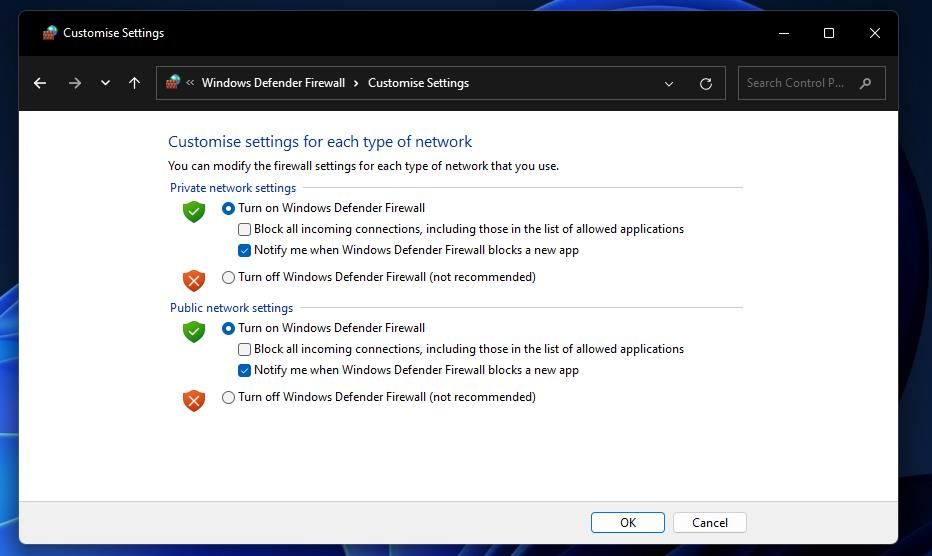
- Select OK to save the new WDF options.
- Try opening Battle.net again with the firewall disabled.


If Battle.net now starts, check Windows Defender Firewall’s app permission settings. Make sure the Battle.net software is allowed through that firewall. Check out our article about allowing apps through the Windows Firewall for full instructions. Then you can turn WDF back on.
5. Disable Third-Party Antivirus and Firewall Software
Some third-party antivirus and firewall software can also block Battle.net from running. Antivirus utilities sometimes wrongly identify legitimate programs to be malware. So, temporarily disable third-party antivirus tools or firewalls before selecting to launch Battle.net if you don’t want to uninstall anything.
You can usually find options for disabling third-party antivirus software on their context menus. So, right-click an antivirus icon in the system tray and look for an option to disable or turn off its shield on the menu that opens. If that works, you’ll know what’s causing the issue. Whitelist Battle.net in your antivirus tool’s exclusion settings.
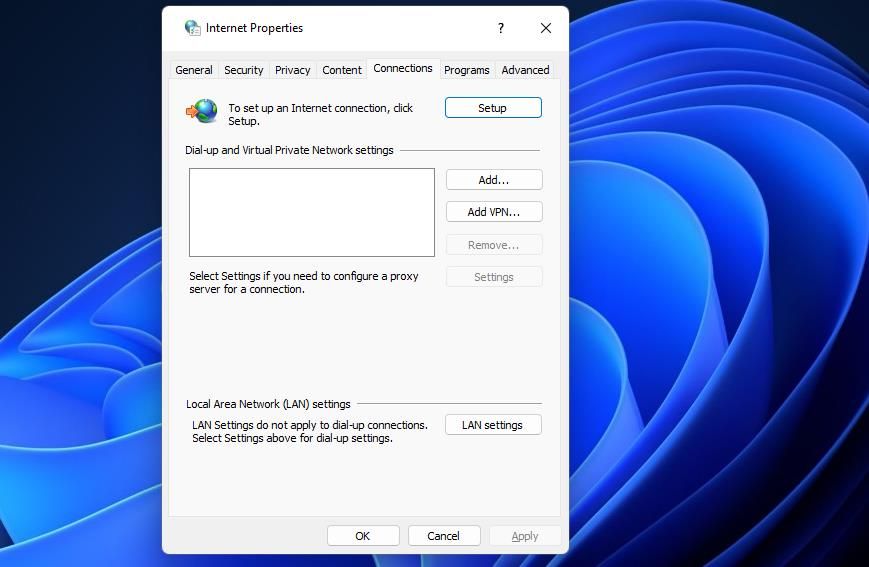
6. Disable the Proxy Server
Proxy servers conflict with Battle.net’s login module, which can prevent the software from launching. Even if you can’t recall enabling a proxy server yourself, double-check the proxy server setting isn’t selected in Windows. You can disable the proxy server as follows:
- Bring up the file and app search box in Windows.
- Enter inetcpl.cpl in the Type here to search text box.
- Select inetcpl.cpl to view Internet Properties.
- Click Connections to access network options.
-
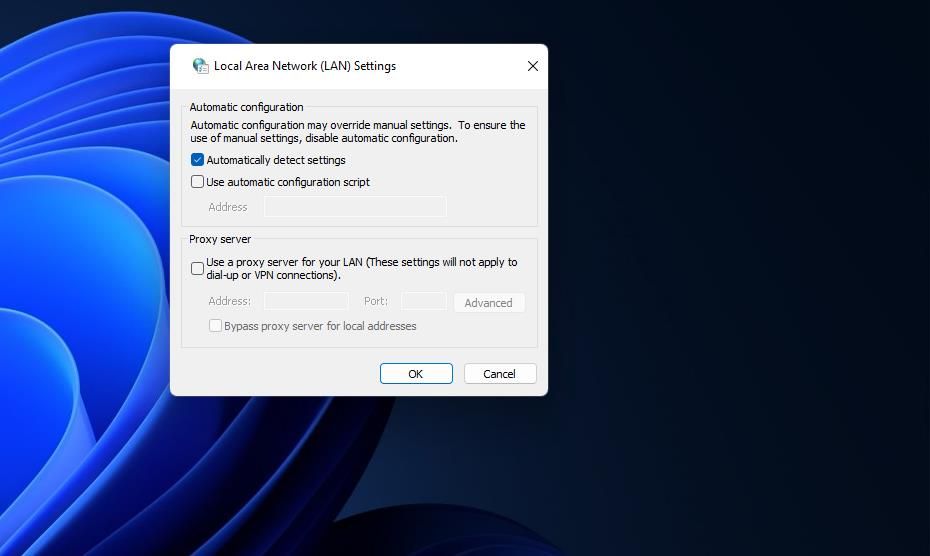
Next, click LAN settings to view a Local Area Network (LAN) window.
-
Uncheck (deselect) the Use a proxy server option if its checkbox is selected.
- Press the OK > Apply buttons.


Malware can activate a proxy server setting on Windows. If you discover a proxy server enabled, but didn’t select it yourself, consider manually running an antivirus scan. Our Windows Security (Defender) guide tells you how to run a scan with the built-in antivirus utility on Windows.
7. Set Windows 11/10 to Clean Boot
Clean-booting Windows is when you boot a PC without any third-party startup programs or services automatically starting. Configuring a clean boot disables all such startup apps and services. Our guide for performing a clean boot on Windows 11 provides details about how to remove all third-party software and services from the startup.

After setting a clean boot, restart your PC and try launching Battle.net. Did that potential resolution work? If it did, clean booting likely eliminated a program or service conflicting with Battle.net. Then you can keep the boot configuration as it is or attempt to figure out what software or service caused the issue.
8. Reinstall the Battle.net Software
Finally, reinstall Battle.net Launcher if all else fails. Reinstalling that software will replace its files and ensure you’re utilizing the latest version. That won’t uninstall games installed with Battle.net.

You can remove Battle.net in Control Panel’s Programs and Features applet, as outlined in our guide for uninstalling Windows software. After uninstalling the game launcher, open the Battle.net desktop app download page; click Download for Windows on that page. Then double-click the Battle.net-Setup.exe file in whatever folder it downloaded to, and go through the setup wizard to install.
Enjoy Blizzard Battle.net Games Again
When you’ve got Battle.net up and running again, you’ll be able to download, launch, and play Blizzard games. As there are many potential causes for Battle.net not starting, we can’t guarantee the solutions in this guide will resolve all startup issues for that software.
However, those potential resolutions will address the most common causes for Battle.net not opening in Windows 11 and 10. So, there’s a very good chance at least one will kick-start Blizzard’s gaming client on your PC.