Have you noticed that your monitor isn’t displaying the correct color when you’re editing a photo or watching a video? Whether you have an old monitor or a new one, their settings, such as colors and brightness, can vary depending on the type you have. To ensure that you see the correct colors on your screen, you need to calibrate it to match the standard setting.
In this article, we will discuss what gamma is and how to change it on your Windows computer, so you can have a better screen display.
What Is a Monitor’s Gamma?
Gamma refers to the luminance of each pixel of your monitor at a given brightness level, from 0-100%.
If the gamma levels of your monitor are low, the shadows are brighter. If they’re high, the light is more luminescent. That’s why lower gamma tends to make the display washed out and flat, while higher gamma produces more contrast.
Monitors are not created equal. That’s why the ideal gamma settings depend on the kind of monitor you have. If you have a higher-end model, you’ll even have extra gamma modes, so you can further tweak your monitor’s output depending on your preference. However, the standard gamma for the sRGB color space is 2.2, which generally gives Windows accurate color results.
If you have good gamma settings, your monitor will display better image quality and depth. But poor settings will remove essential details in the shadows and highlights. You should also modify your brightness and contrast settings since they also affect the calibration of gamma.
However, you should note that most monitors won’t achieve the ideal gamma settings on their own. You need advanced color management software to ensure you get the most accurate color. Lastly, gamma levels don’t fix the blurriness of your screen. This usually comes from using the wrong resolution on your monitor.
How to Change Gamma Settings on Windows 10 and 11
Important reminder: Before calibrating your display, make sure it’s been running for at least 30 minutes. This guarantees that the monitor has warmed up and shows the normal brightness and colors.
- Open Settings by pressing Win + I.
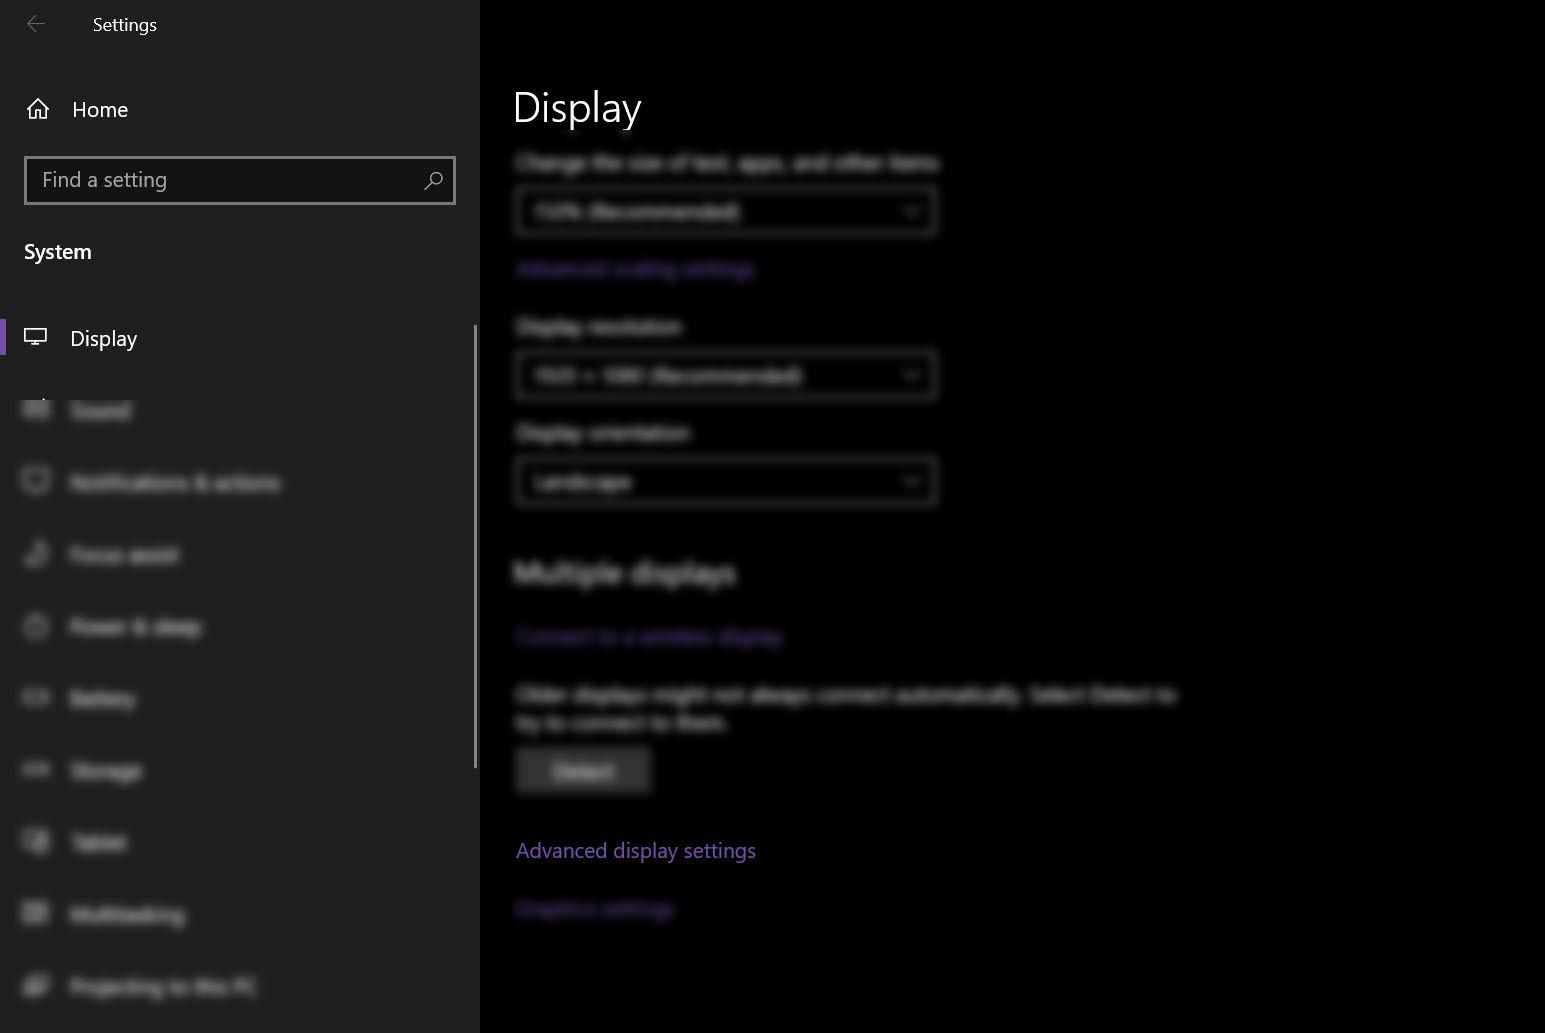
- Then, go to Settings > Display.
- Under the Display window, click Advanced display settings.
-
If you have a two-monitor setup, select the display you want to calibrate from the drop-down menu on the top part of the screen. If you only have one display, skip this step.
- Next, click Display adapter properties for Display 1 (or whichever display you’re changing the settings).
-
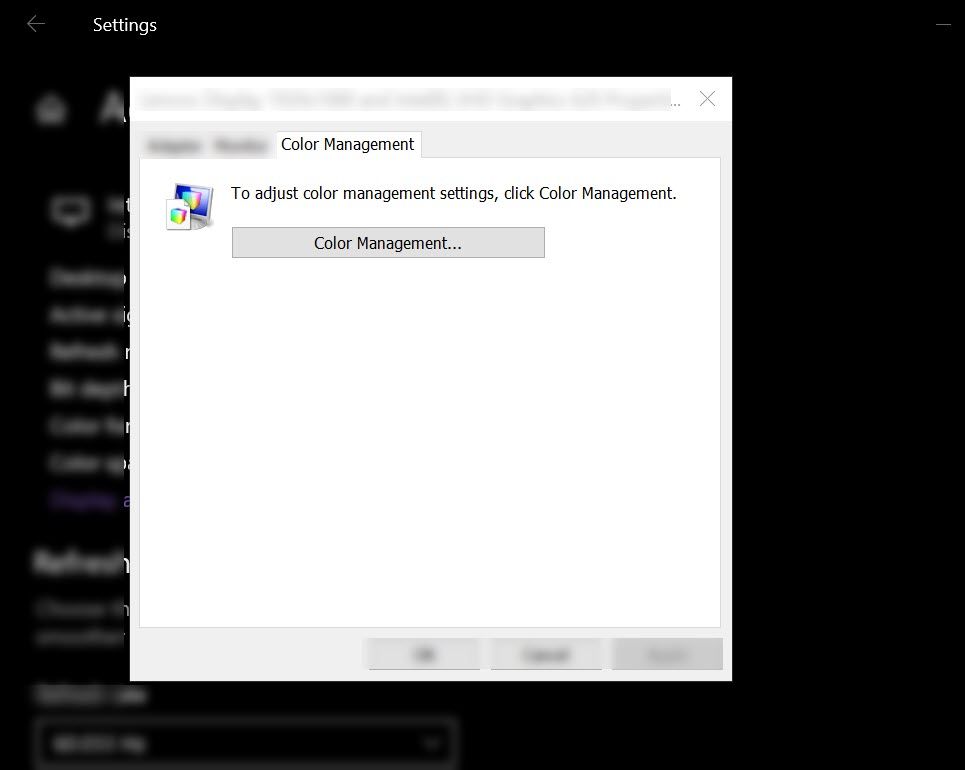
On the dialogue box, select the Color management tab and click Color Management.

-
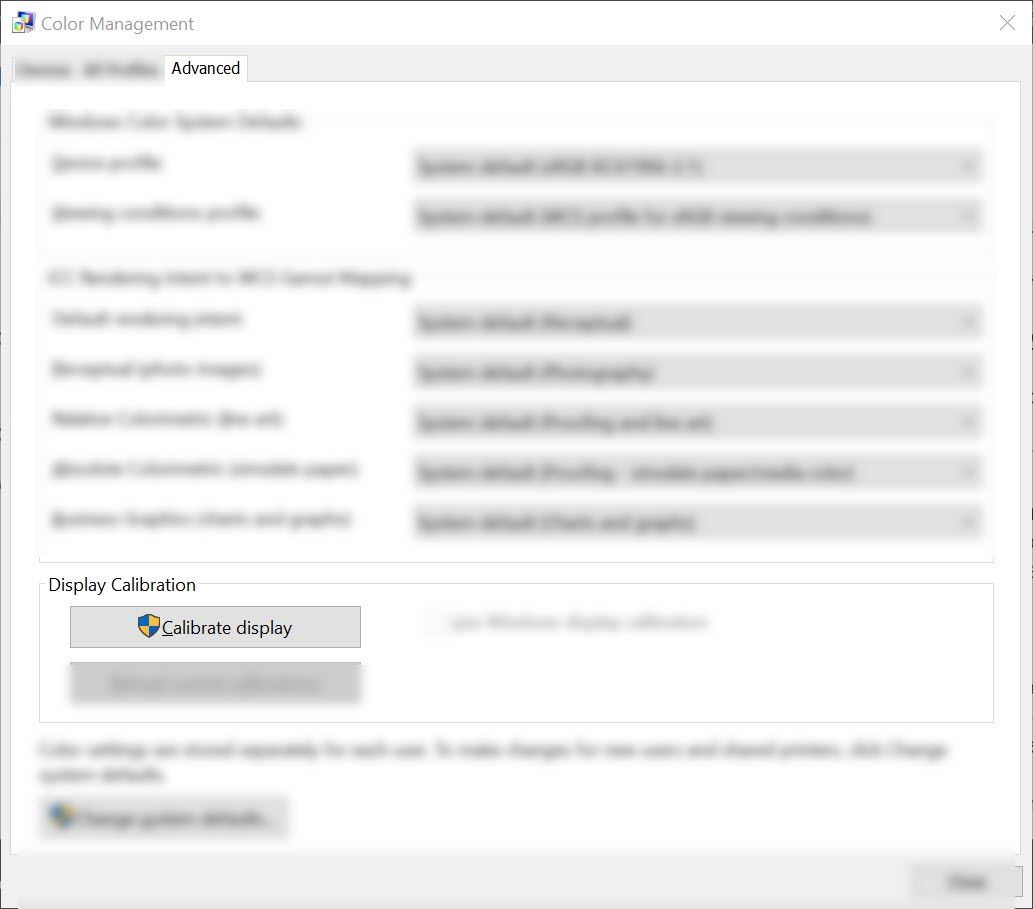
Then, press Advanced. Under the Advanced tab, click Calibrate display from the Display Calibration section. This will open the Display Color Calibration Wizard.
-
To start the process, press the Next button.
-
Read the on-screen instructions. Once done, click Next until you arrive at the Adjust gamma page.

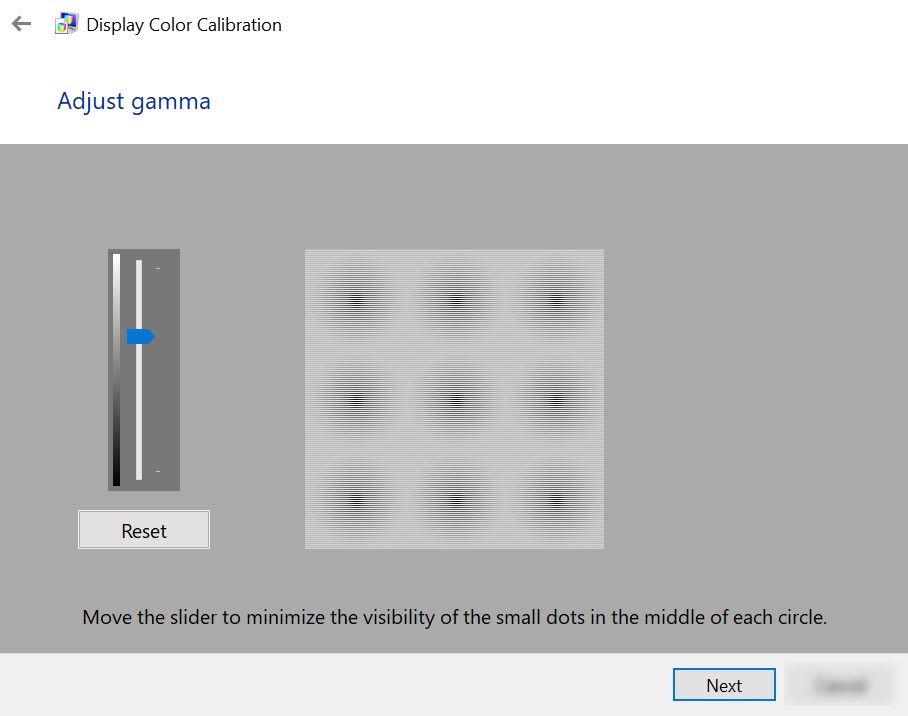
- On the Adjust gamma window, use the slider on the left to find the right gamma setting for your display. To do this, adjust the slider until the dots in the middle are less visible. Moving the slider changes your screen's brightness and color, so don’t be surprised if your screen goes brighter or darker. Also, don’t worry if you can’t make the circle disappear. Just find the right setting that blends it in. Once you get the correct blend, click Next.
-
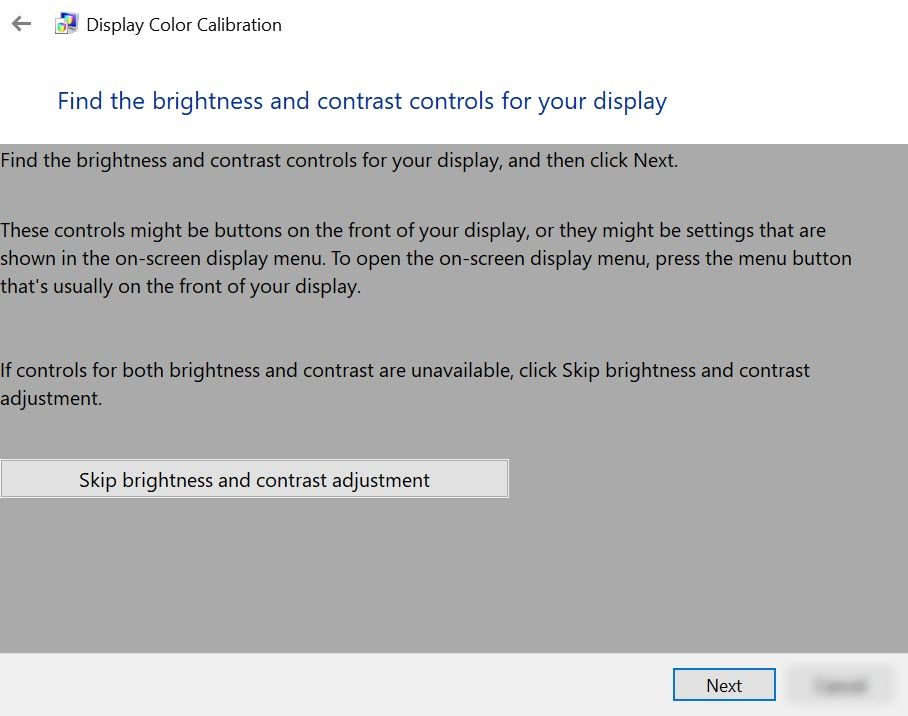
Then, find the brightness and contrast controls of your computer. If you don’t know where to find it, press Win + X keys and choose Mobility Center. You can adjust the brightness of your screen here. Alternatively, use the controls found on your monitor.
- After finding the controls, click Next in the Display Calibration Window. If you can’t control the brightness and contrast of your screen, press Skip brightness and contrast adjustment. This will bring you to the color balance adjustment setting found in step 17.
-
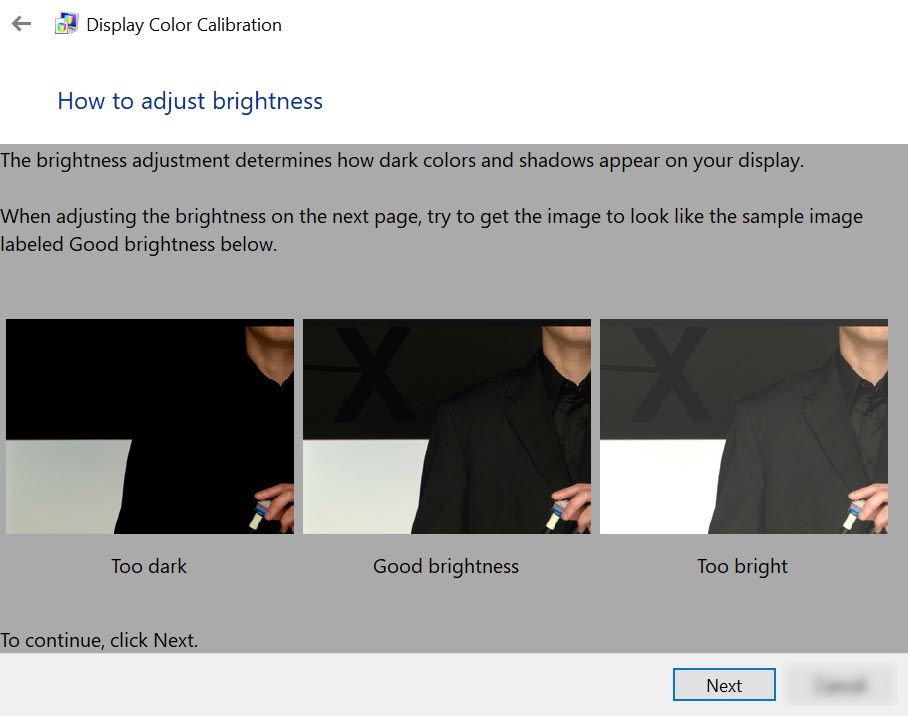
If you opt to adjust the brightness of your screen, follow the on-screen instruction and press Next.
-
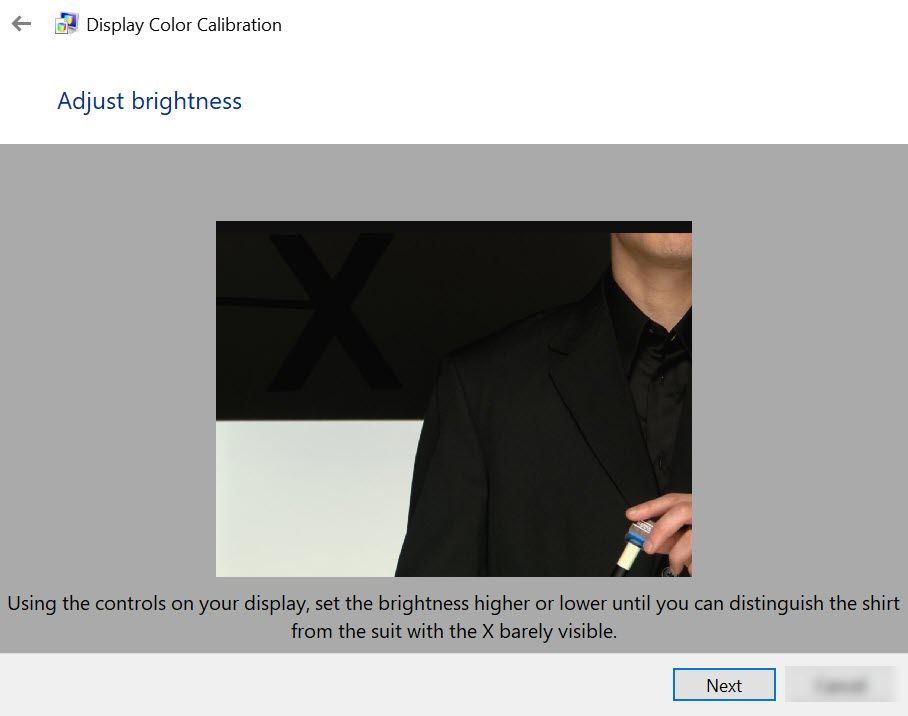
Then, adjust the brightness by using the control buttons on your monitor, keyboard, or mobility center until you see the suit stand out from the background. Don’t worry if you still see the X mark; what’s more important is that the wall should not be washed out.
-
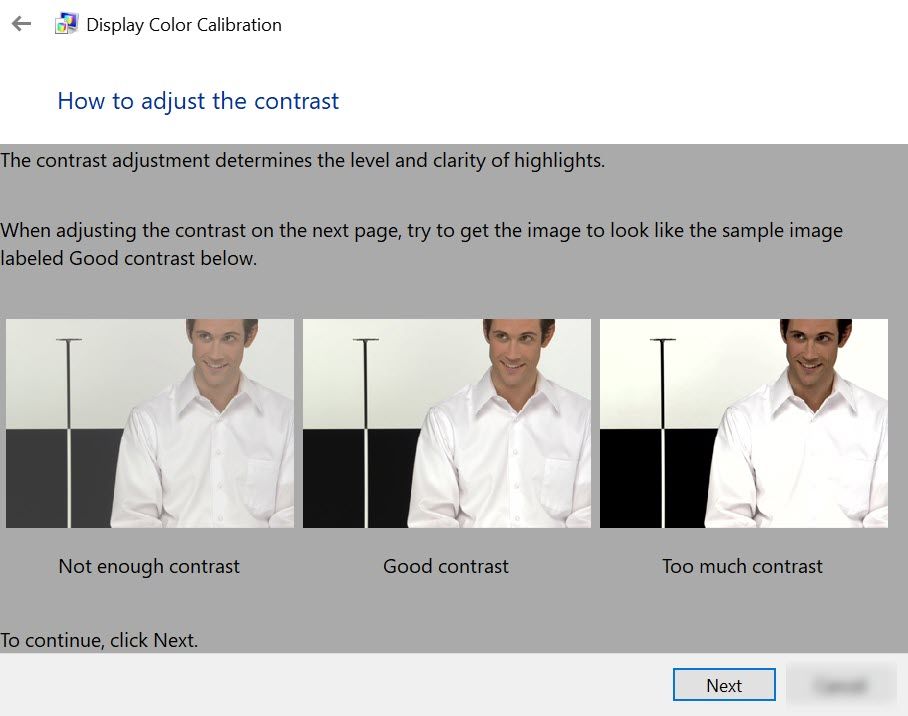
After adjusting the brightness, you’ll need to change the contrast of your screen. Click Next to start modifying it.
-
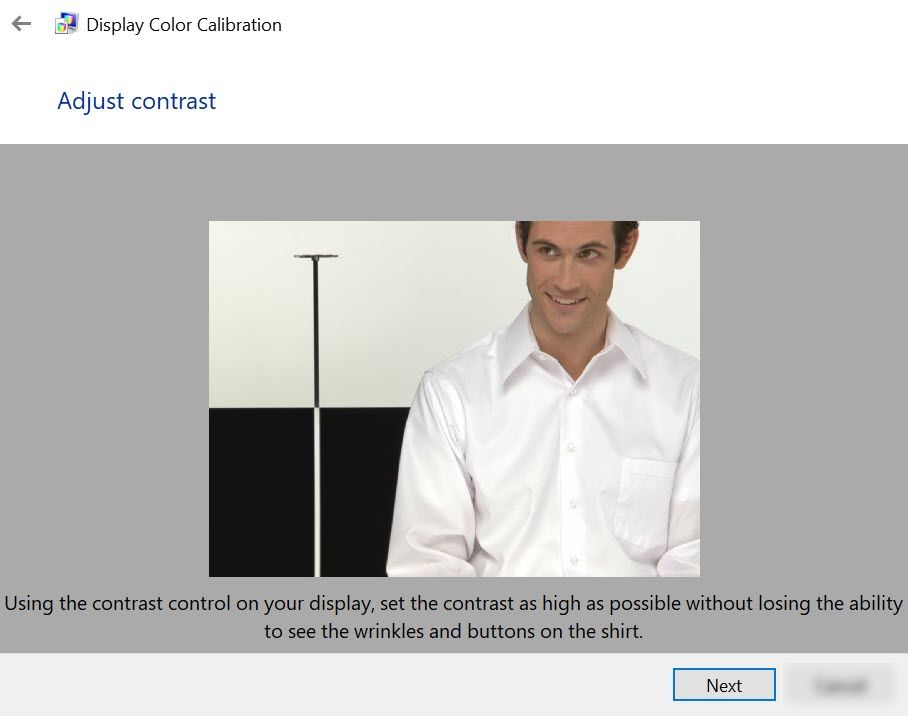
Next, use the buttons on your monitor to set the contrast. Make sure you can see the buttons and the wrinkles of the man's shirt in the picture, and the background isn’t bright white. Once you get the right balance, press Next.
-
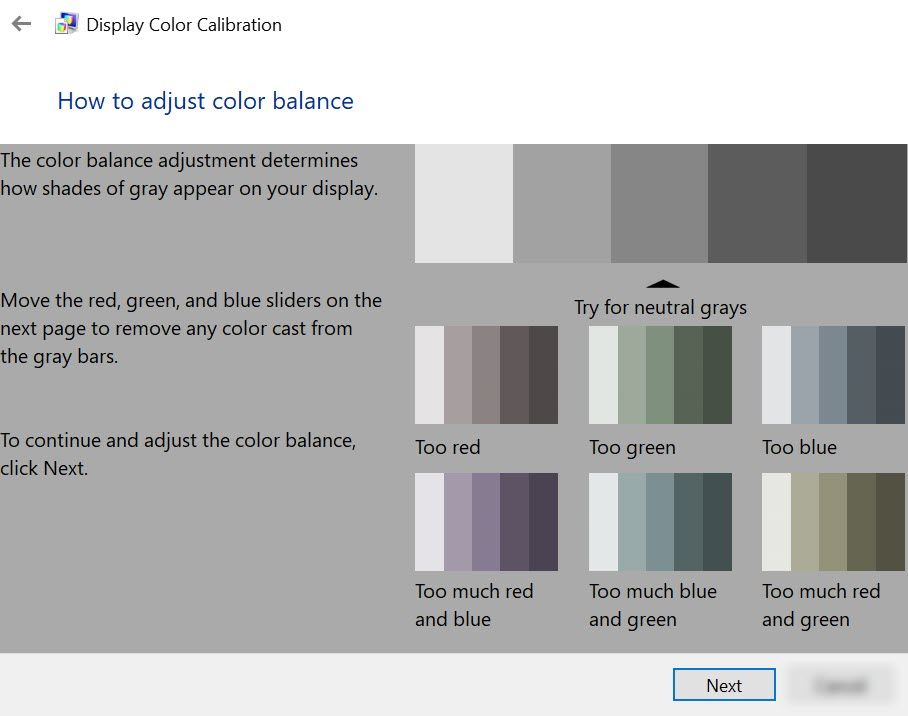
Once the contrast is set, you’ll need to modify the color balance. Read the on-screen instruction and click Next.
-
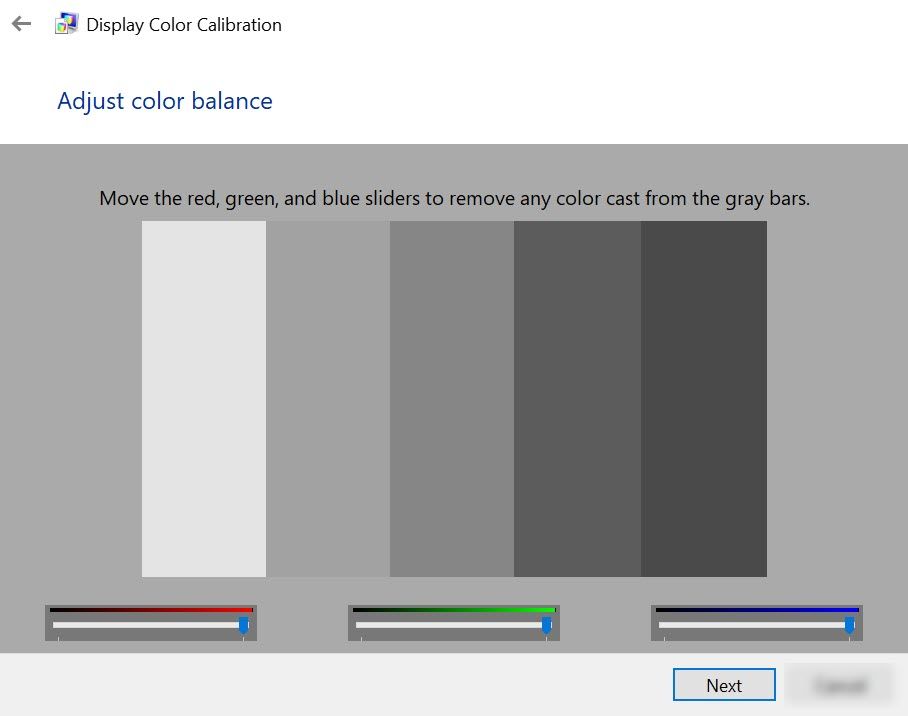
To adjust the colors, use the sliders found at the bottom of the window and aim for neutral gray colors. This can be tricky, so if you’re having a difficult time, you can download a photo of color bars and use it as a reference. After getting the right color, click Next.
-
You’ve successfully created a new calibration. To compare your changes, click the Previous calibration and Current calibration buttons. Keep in mind that this will not apply the changes you made but rather show you the difference between your new and previous settings. If you want to change any settings from the calibration, just click the arrow found on the page's top-left corner. But if you’re happy with the calibration results, click Finish. Otherwise, press Cancel, and start the calibration again.


If you want to get the best results, go through the steps again but start from the end. This is because each step affects the next one, and changing the order will help you modify the settings better.
Achieve Your Ideal Gamma Settings
Unfortunately, there’s no such thing as the perfect gamma settings. The correct levels depend on your monitor and its output. However, you can still improve and modify the display depending on your preference. If you feel like your monitor is not giving you accurate color, maybe it’s time to look for a new monitor that’s perfect for your needs.