
Whitelisting an email address in Gmail is a super easy thing to do. However, it can be pretty daunting if you don't know how to begin.
Here's how to whitelist an email address in Gmail quickly and easily.
Why Whitelist an Email Address?
First, you must know what email addresses you're trying to whitelist and why. That's because Gmail automatically sends untrustworthy emails to your spam folder, but sometimes it can get overzealous.
If you're worried about this happening, you can create a whitelist to ensure that emails from specific addresses always make it to your inbox.
How to Whitelist an Email Address in Gmail
-
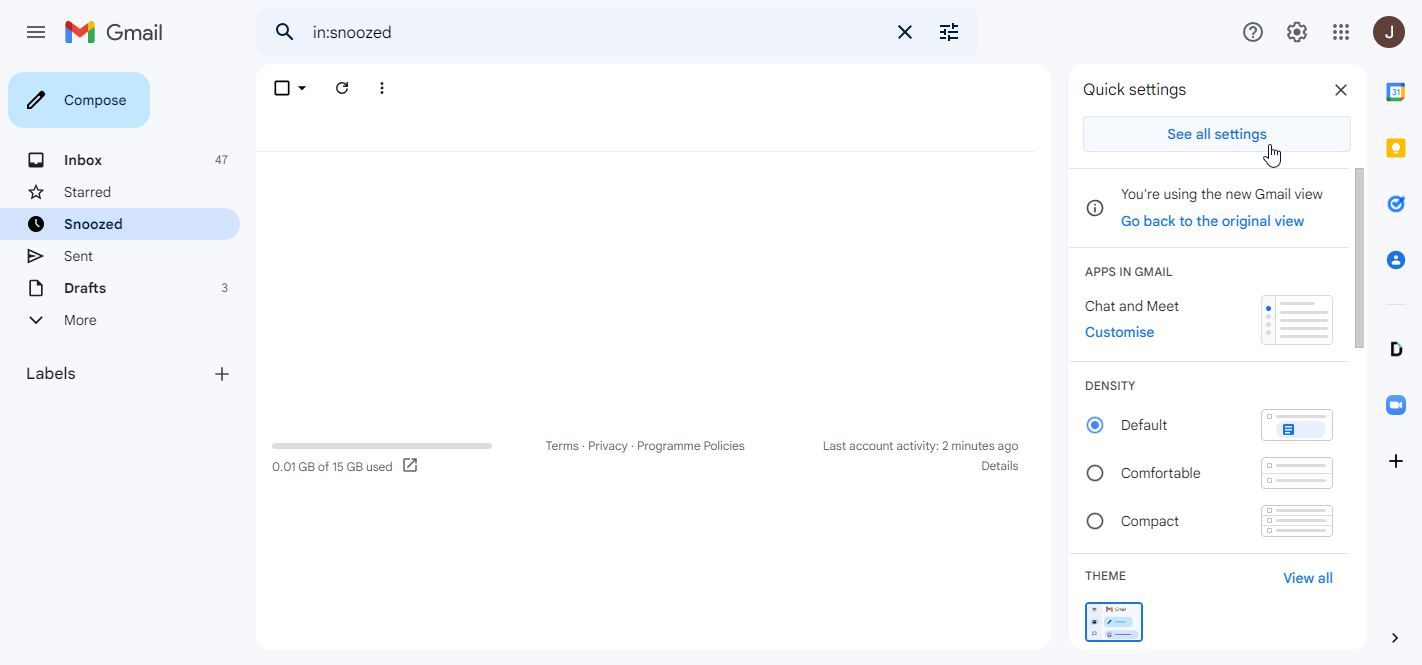
Find the gear icon in the top right corner of the Gmail client. Once you click on this, the quick settings menu will drop down. Click on the top of this menu where it says See all settings.
-
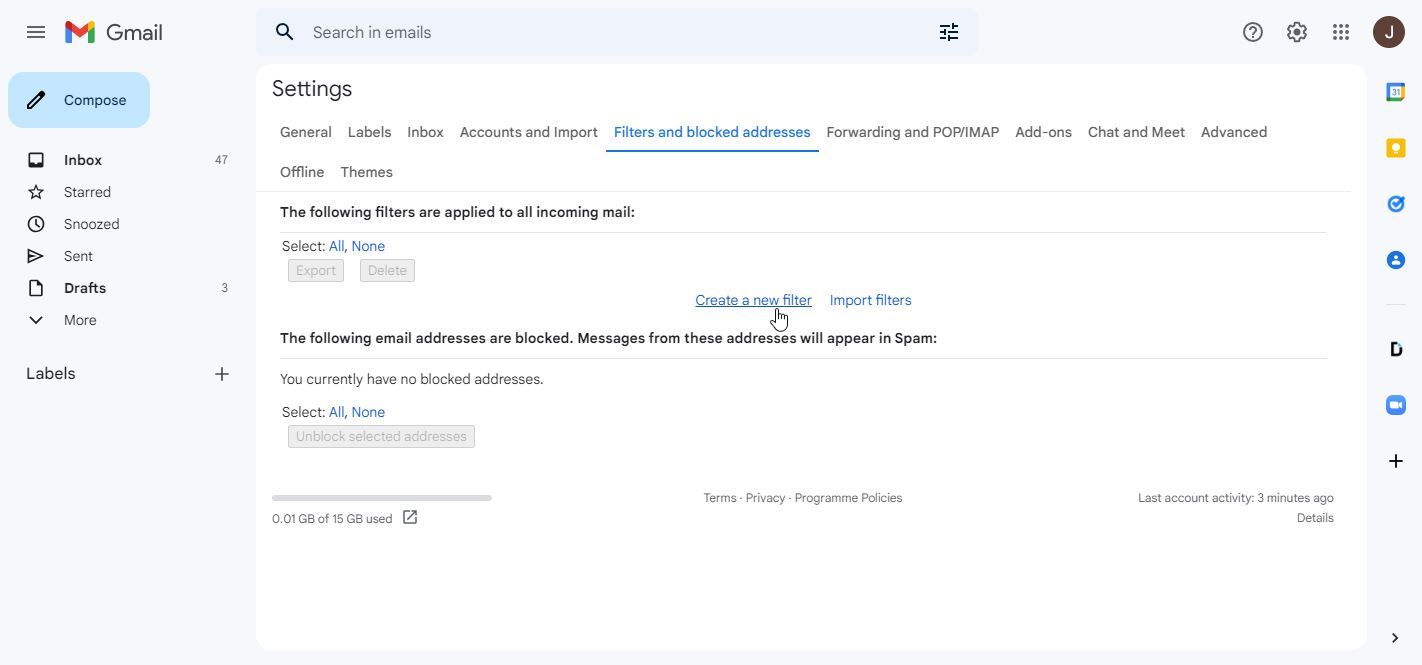
From here, you'll want to navigate to the header labeled Filters and Blocked Addresses. Beneath that, Click on Create a new filter.
-
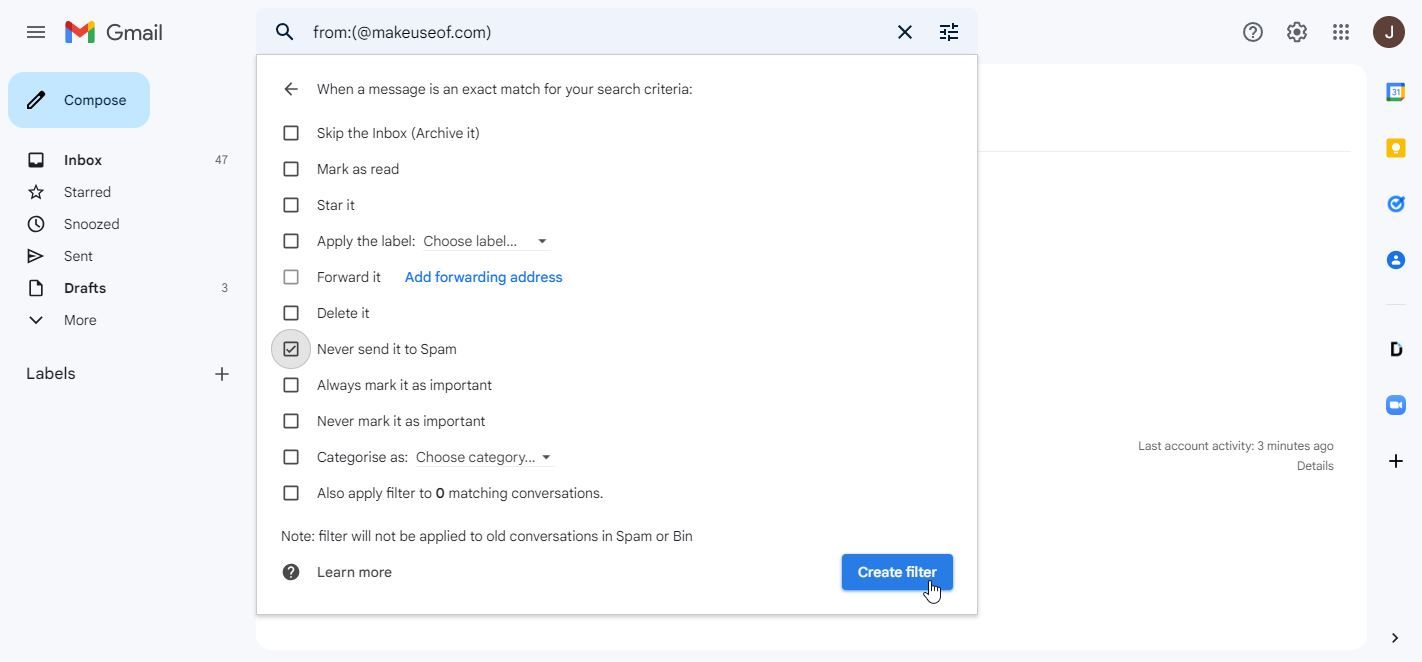
Type the email address you want to whitelist in the From entry. You can include an email address or domain to the whitelist. You can also add multiple email addresses if you separate them with a comma (,). If you have contacts with a custom email address using Gmail, you can whitelist them to ensure you receive their emails.

-
Once you click on Create filter, you'll be given the options to choose from for your filter. Tick the box that reads Never send it to Spam.


And with that, you're done. Now, whenever someone sends you an email from the address or domain you whitelisted, you are confident it'll land in your inbox.
Whitelisting Doesn't Have to be Difficult
As you can see, this is a pretty easy way to set up a whitelist for Gmail. If you've ever wondered how to whitelist an email address in Gmail, then now you know.