Each Linux desktop environment comes with its own screenshot utility. Many have similar features, but that doesn't make them equally usable. Whose looks the best? Which is the most powerful?
Since this is open-source software, some desktop environments reuse the same screenshot tool. Here is a look at what the screenshot experience is like across many of the most popular Linux desktops.
1. GNOME
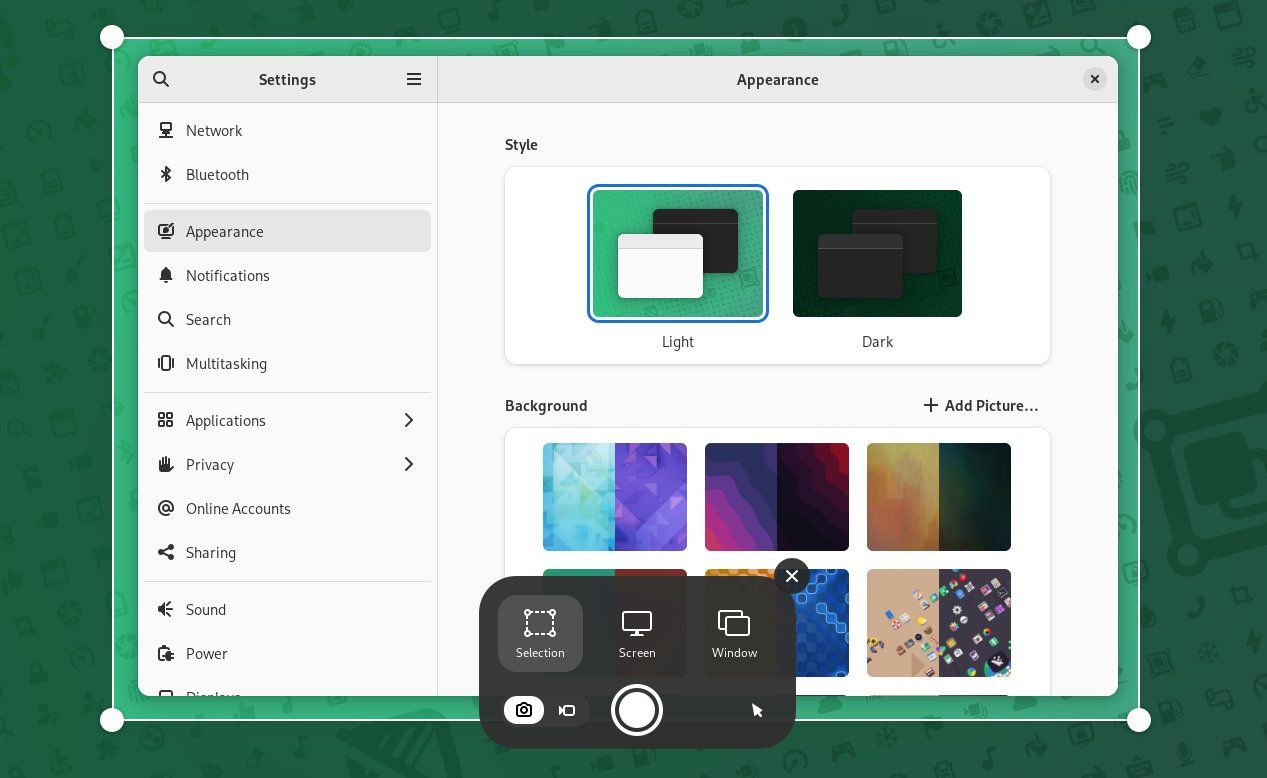
GNOME underwent a major redesign in version 40, and this hasn't only impacted the desktop. In version 42, GNOME changed its approach to taking screenshots. That means going forward there are two options, the built-in functionality that comes as part of the GNOME Shell interface, or the dedicated Screenshot app used prior to version 42.
The default GNOME Shell screenshot interface provides the option to capture the full screen, the active window, or the selected area. For screen-sharing, click a toggle to enable the ability to record your entire screen or a specific area. After taking a screenshot, a notification appears that you can click to open the image.
There is functionality here that is notably missing from before, namely the ability to set a delay before taking a screenshot. For that, you can still install the Screenshot tool that served as the default prior to version 42.
GNOME 42 saves screenshots to a Screenshots subfolder within your Pictures folder. In previous versions, pressing the Print Screen button on your keyboard saved images to the Pictures folder by default. Opening the Screenshot tool manually, instead of using Print Screen, gives you the ability to select where to save your image, regardless of which version of GNOME you use.
2. KDE Plasma
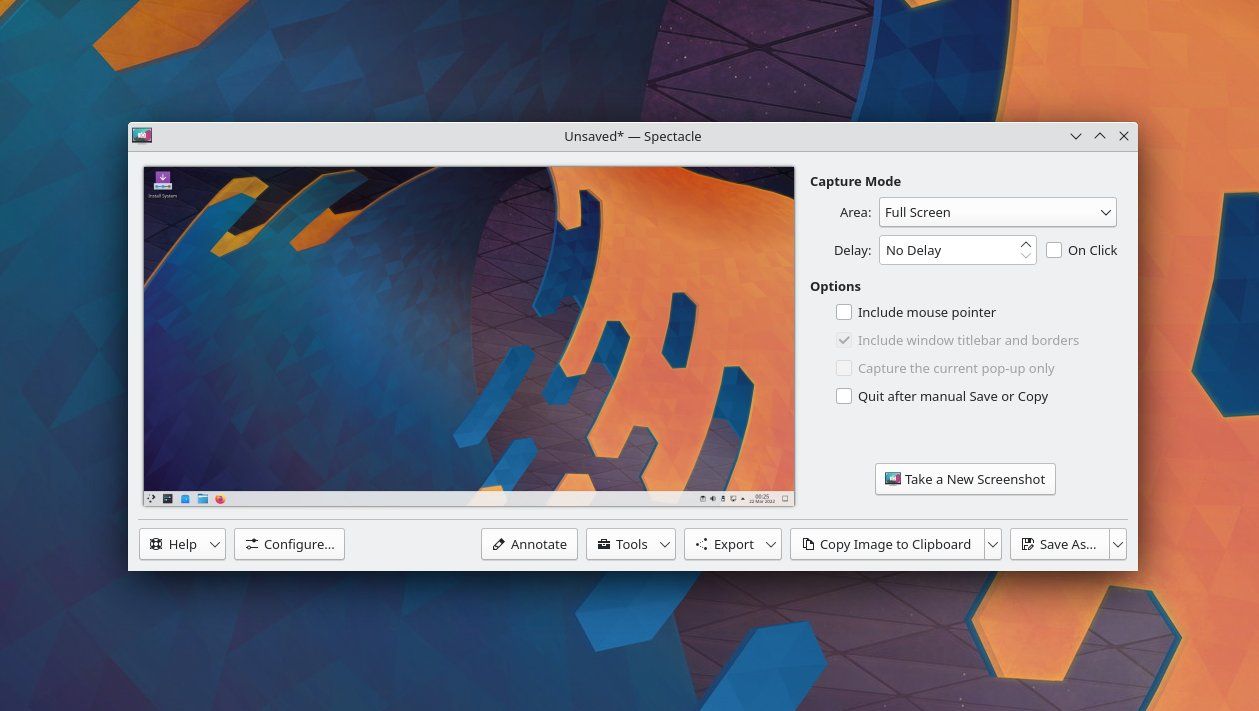
KDE's screenshot tool goes by the name Spectacle. As is often the case with KDE software, this is handily the most powerful screenshot tool on the list. When you open Spectacle, a screenshot is already taken. If you're happy with it, you can simply save it. But if you want to crop a certain area, or only highlight a specific window, you can take another screenshot and do that too.
Another advantage of Spectacle compared to GNOME Screenshot is that you can easily set your preferred default folder. This means Spectacle won't just save your screenshot in a specific location this one time, but every time. Not only that, you can create a format for how you want to name your files.
Annotation tools come built-in, saving you from needing to install a separate dedicated app for image editing. As for screen-recording, you can initiate the process from Spectacle, but it will open up another app to do the work.
All in all, Spectacle is powerful enough to go from being a mere default Print Screen functionality to the kind of full-featured tool to compare among the best apps for taking screenshots on Linux.
3. elementary OS Pantheon
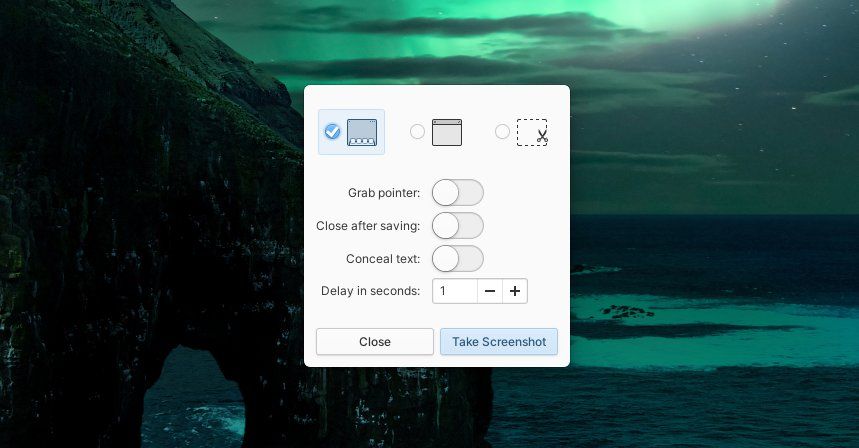
elementary's Pantheon desktop comes with one of the most intuitive screenshot apps. It delivers the essential functionality in a way that doesn't take up much space or leave much room for mistakes. It is a dedicated app, but it has the look of a simple popover window like on GNOME.
You can select what portion of the screen you wish to take a screenshot of, decide if the cursor should be visible, and add a timer if needed to give you time to prepare for the screenshot. Done.
Even though elementary Screenshot doesn't come with a set of annotation features, you do have the option to conceal private text.
elementary may have perhaps the most basic option on this list, but it isn't exactly lacking anything essential. As is often the case with elementary software, you may feel drawn to this app, not for any particular feature, but because its layout feels attractive and straightforward. You can expend even less thought on the app itself and keep your focus on taking the screenshot.
4. Budgie, Cinnamon, MATE, and Xfce
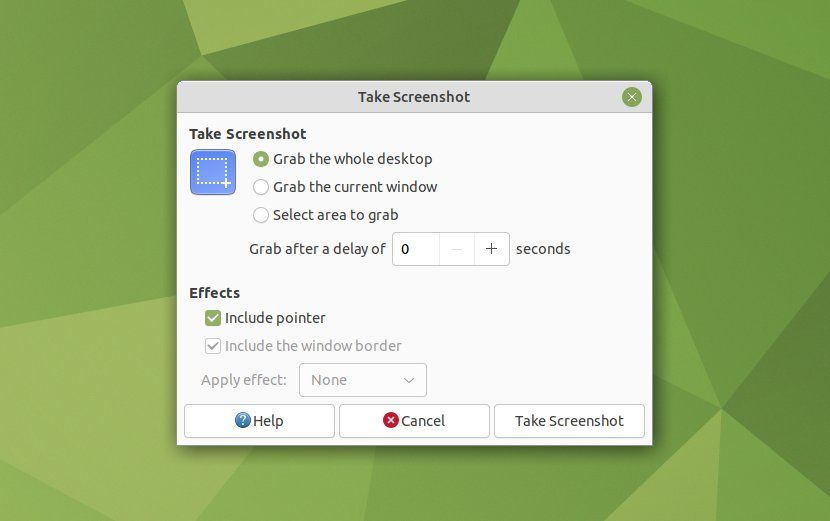
These four desktop environments all use variations of the same screenshot tool. Across these various desktops, the appearance may change here or there, but you will see the same core functionally.
As with the aforementioned screenshot tools, you can capture your entire screen, the active window, or a specific region of the screen. In addition, you can decide whether to show the mouse pointer and whether to show the window border.
If you need some time, you can set the app to wait a few seconds before capturing an image. After taking a screenshot, you can choose where to save the image.
On some desktops, you will also have the option to apply an effect, such as a drop shadow or border, when taking a screenshot of the active window. There is also a variation on what your options are after taking a screenshot. Some desktops will ask where you would like to save your image, while others may present the option to save to the clipboard or upload to an online service.
Compared to Spectacle, there isn't much to see here. Next to elementary's option, there are a few extra features, but elementary's ability to blur private text is a nice-to-have feature that is notably absent here. As for GNOME, the screenshot functionality is comparable, if you overlook the lack of screen sharing.
Are You Stuck With the Default Screenshot Tool?
How much flexibility you have to swap out your default screenshot functionality depends on your desktop environment. On GNOME, you can't easily change the Print Screen button to trigger a different screenshot tool, but you are perfectly free to install an alternative that you launch manually—including Spectacle!
Screenshot functionality isn't likely to factor heavily for most of us when picking a desktop environment, but depending on your workflow, it can make all the difference. Some of us take screenshots often, and cluttering up our Pictures folder can be frustrating enough to nudge us to consider an alternative.

