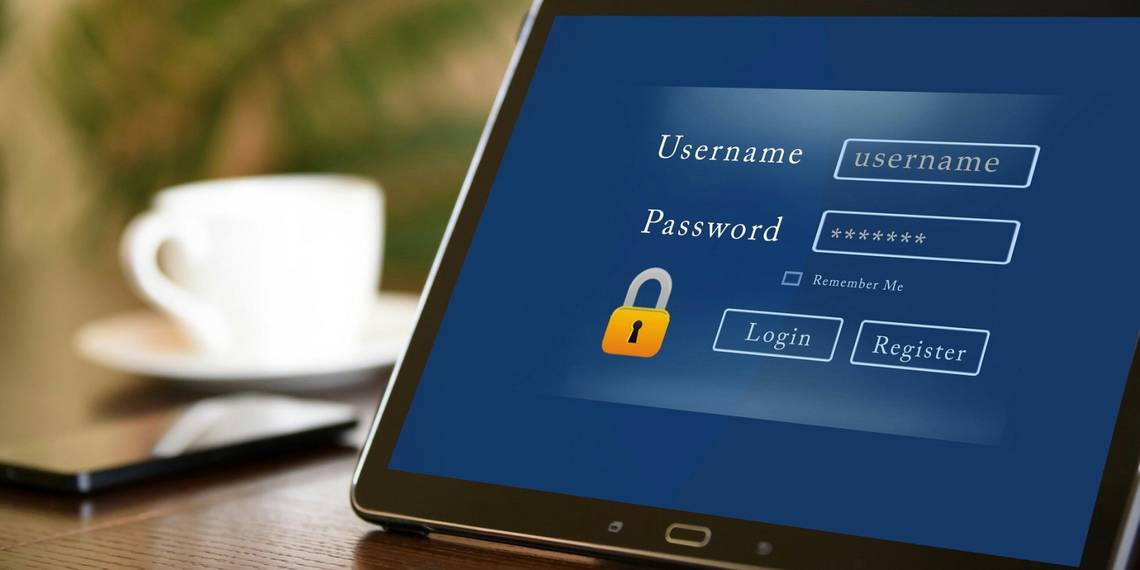
Signing into Windows 10 is a breeze. You start the system, enter your login credentials, and you are in. But, this ease of use comes at the cost of privacy.
Programs such as malware and viruses can gain access to your login information by imitating the sign-in screen. As a user, you would never be able to tell whether the sign-in screen is safe to use or not. This is where Windows 10 Secure Sign-In using Netplwiz comes in. Netplwiz resolves these issues by enabling you to configure user account settings to be more private.
Let us see how you can enable Windows 10 Secure Sign-In using Netplwiz.
What Is Netplwiz?
Netplwiz is a Windows built-in tool that lets you edit user account settings. From changing the username and password to enabling Secure Sign-In, Netplwiz allows you to configure how you want to authenticate Windows login.
For instance, you can use Netplwiz to get rid of the login password. This way, you can enter Windows without entering any credentials at all.
On the other hand, you can also use Netplwiz to make Windows’ sign-in process more secure.
Windows 10’s sign-in process is not without its faults. Because, although it is generally safe to use, malware programs can hijack the process. By spoofing the login screen, malware programs running in the background can trick you into giving up your login details.
Windows 10 Secure Sign-In cuts the root of the problem by blocking programs from displaying a fake sign-in screen.
How Does Secure Sign-In Work?
Using Netplwiz, you can set up Secure Sign-In for Windows. Secure Sign-In allows you to thwart such attempts by making the login screen accessible only after pressing a certain combination of keys. This combination is usually Ctrl + Alt + Del.
Programs don’t have access to the path created by the Ctrl + Alt + Del. Windows has used the combination as a Secure Attention Protection/Sequence since Windows Vista. Pressing this combination before entering the login credentials makes sure the credentials are safe from viruses and malware.
One quick note before we move on: Secure Sign-In is not a replacement for anti-malware programs. Be sure to have other safeguards against malware installed on your computer.
Enabling Secure Sign-In on Windows 10
To enable Windows 10 Secure Sign-In, press Windows key + R to start the Run utility. Then, in the Run box, type netplwiz and press Enter. This will open the User Accounts panel.
Next, in the User Accounts panel, select the user that you want to enable Secure Sign-In for. Click on the username from the list.

Afterward, go to the Advanced tab and select Require users to press Ctrl + Alt + Delete.

Finally, click on Apply to complete the process.
Every time you start your computer, Windows will require you to press the key combination before entering your login details.
So, before you can sign in, press Ctrl + Alt + Del, and when the screen is visible, type in your details and press Enter.
Using Secure Sign-In Is a Simple Way to Keep Your Login Details Safe
Using Secure Sign-In gives you the peace of mind that your login details will remain safe no matter which programs you have installed on your computer. Secure Sign-In was a feature that debuted with Windows Vista as Secure Attention Protection/Sequence. It has persisted in Windows 10, enabling users to protect themselves against spoofing attacks by malware.
That said, Secure Sign-In is not the "one solution to rule them all." So, install some anti-malware programs as well.