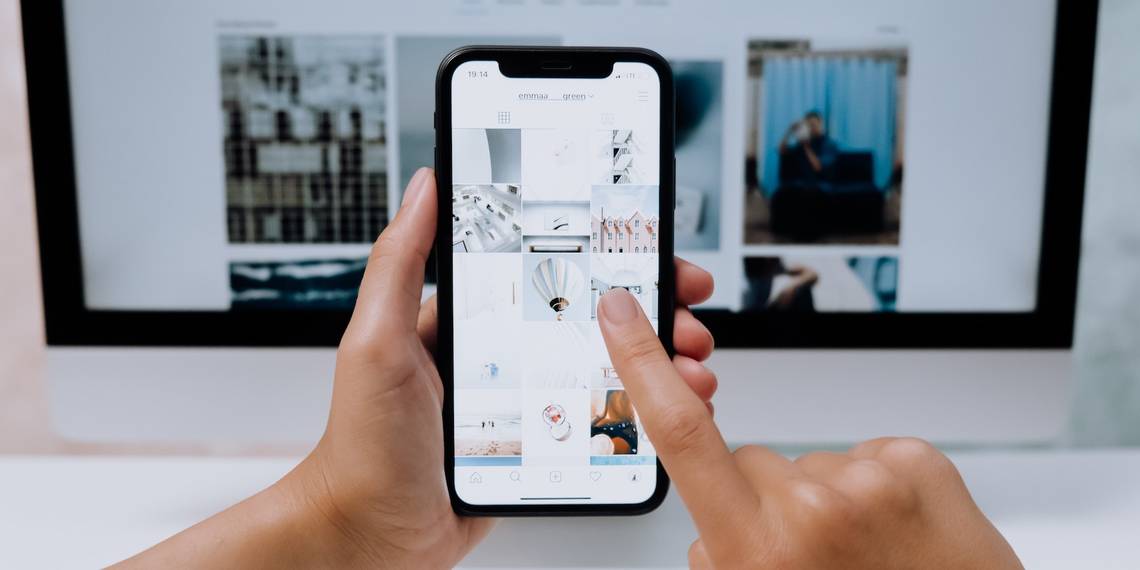
We're all constantly snapping photos on our phones, capturing memories to later reminisce over. Yet, few of us will take the time to organize our photos into albums—let alone create printable gifts with them.
Using an app like Snapfish can make preserving memories easy. Snapfish is very straightforward, as soon as you know the basics of the app. Here's a step-by-step beginner's guide to setting up Snapfish on your phone.
What is Snapfish?
Snapfish is a web-based photo printing service you can use to create printable photo albums and gifts. You can access its features on the Snapfish app or via the desktop website.
One of the perks of using the Snapfish app is that you can claim 100 free photo prints every month. You only have to pay the shipping fee.

You can also use Snapfish to easily create photo gifts, such as books, cushions, phone cases, and playing cards, to name a few.
Download: Snapfish for Android | iOS (Free)
How to Set Up Your Snapfish Account
You can create a Snapfish account via the platform's website, but it's just as easy to sign up on your phone.
How to Set Up Snapfish on Your Phone


- Download the Snapfish app from your app store.
- Open the Snapfish app.
- Tap on Allow to give Snapfish permission to access photos and media on your device.
- Choose your cookie settings (either Allow All or toggle the sliders to choose cookies). Click Confirm My Choices.
- Tap on the three line menu bar (the “hamburger” icon) in the top left of the app home screen, and then Sign In.
- If you are new to Snapfish, tap Sign Up.
- Enter your first name, last name, email, and password.
- Use the toggle button to choose whether you want to accept email offers.
- If you are happy with the Terms & Conditions, Privacy Notice, and Cookie Notice, tap on Sign Up.
You should receive a confirmation email after successfully setting up your account.
How to Navigate the Snapfish App
Snapfish will display the shopping menu as the homepage when you open the app. From here you can access the menu bar, shopping cart, choose to order prints, access your photos, and access your projects.


You can use the menu bar—accessed by tapping on the three-lined hamburger icon in the top-left of the app—to access a variety of app functions:
- Settings: Tap on the cog icon to access photo sources, location, and notification settings.
- Photos: Here you can upload photos from your device, or connect to Google Photos, Instagram, or Facebook.
- Shop: Select different photo gifts to personalize and buy, including cards, mugs, and jewelry. You will also find discount codes here.
- Saved Projects: Start a photo project. You can also access any projects you may have started on the Snapfish website.
- Order History: Check the progress of previous Snapfish orders.
- Notifications: Order updates or other app notifications will be displayed here.
- Credits: Find your free prints quota (including expiry date) here.
- Help & Contact Us: You can access the FAQ, customer service live chat, and other help services here.
How to Upload Photos to Snapfish
Once you have logged into the Snapfish app, you are ready to start adding photos. Tap on the menu icon in the top left of the screen, and then tap Photos to get started. From here, you can add photos from your device, Google Photos, Instagram or Facebook.


- Tap on Photos from the menu bar.
- Tap on the Sort By tab to arrange your images by Date Taken or Date Added.
- Alternatively, tap on the Show Albums tab to see the photo albums on your phone. Tap on Show Grid to return to the All Photos view.
- Select the photos you want to upload. You can select individual photos by tapping on the greyed-out tick icon for each image.
- Alternatively, tap on Select All in the top-right of your screen.
- To view an image before you select it, press in the center of the image. Press the arrow in the top-left corner to return to all images.
- Once you have made your final selection, tap on Upload at the top of the screen.
- You will be given the option to Select a Product to immediately turn your photos into a gift. Tap Continue Uploading to just upload your photos to Snapfish.
- Upload to a new or existing album. For New Album, enter your album name when prompted and tap OK.
Your photos will then upload to Snapfish. You can now access your uploaded photos in the Photos menu, found under the Snapfish icon.
How to Claim Your Free Prints on Snapfish


The Snapfish app offers users 100 free 4×6 prints each month. Here’s how to claim yours:
- On the Snapfish home screen, tap on Order Prints in the bottom-left of the screen.
- Tap on 4×6 Prints.
- Select the photos you want to print. Tap on the white tick at the top right of your screen to confirm your selection.
- On the next screen, you can Edit, Remove, or choose More Sizes for each print. Only 6×4 are valid for the free prints offer.
- If you want to add more photos, tap on Add Photos in the bottom-left of your screen.
- When you are happy with your selection, tap Order in the top-right of the screen.
- You may receive offer pop-ups to add to your order. Tap on No Thanks if you want to proceed without any additions.
- Tap on Checkout Now to review your order. Your free prints credit will automatically apply at checkout.
- You can choose to Ship To a domestic address, or Pick-Up from a retailer address. Tap on the appropriate tab at the top.
- Enter your Shipping Address, choose your Shipping Speed (fees apply), and tap on Enter Payment.
- Tap on Credit Card or PayPal Account to choose your payment method.
- Tap on Place Order to complete your transaction.
You should receive an email confirmation of your order.
You Can Also Create Amazing Photo Gifts on Snapfish
Now you know the basics of how to set up and use Snapfish, you can create incredible photo gifts using just your phone.
Upload photos from your device, or link to Google Photos, Instagram, or Facebook, and you can turn your images into gifts for all your family and friends.