If you want your photography to look and feel like fine art, you've got more than a couple of sources of inspiration that you can turn to. We aren't talking about the likes of Mondrian, Pollack, or even Goya, either.
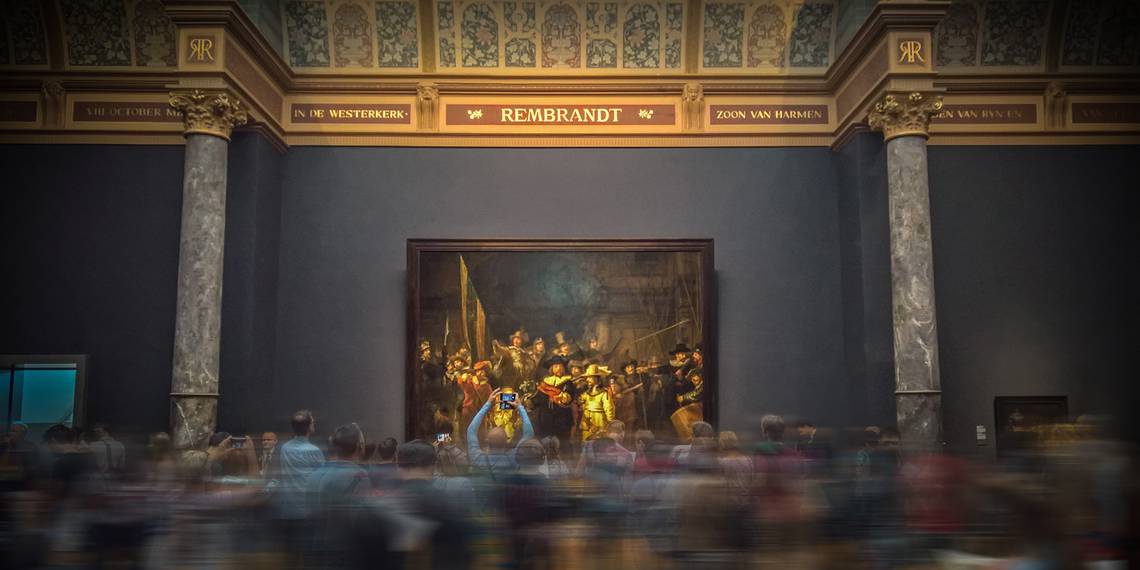
Rembrandt was an artist working and living during the seventeenth century. His work is some of the most celebrated in all of art history, and a lot of it has to do with the way that he used light in each composition.
Rembrandt's spirit lives on today through our own work. In this Rembrandt lighting tutorial, we'll discuss some of the finer aspects of this technique. You'll be throwing it down like a pro in no time.
What Is Rembrandt Lighting? Definition, History, and Legacy

Rembrandt lighting is one popular way of lighting a portrait. A better question to ask at this juncture might be: who was Rembrandt in the first place?
Rembrandt Harmenszoon van Rijn was one of the world's greatest Dutch Baroque artists to have ever seen the light of day. He was a master portrait painter, including many gorgeous renditions of himself. One aspect of his work that we still love and utilize ourselves: Rembrandt-style lighting. You'll find it in nearly every example of his work in portraiture.
Many tend to associate Rembrandt lighting photography with the low-key stylings of his predecessors, like Caravaggio—but, classically, it's actually a much subtler look.
One relevant vocabulary word to remember is the concept of chiaroscuro, which is essentially the practice of employing a highly-contrasted ratio of values across the face. If the dark side and the bright side differ greatly, you're shooting just like a Baroque.
You might notice that all five of the portraits above have something in common, aside from the fact that they all appear to be lit by only one single source of light. What exactly is the Rembrandt "triangle"? How is it used in portrait photography?
What Is the Rembrandt Triangle?

The Rembrandt triangle refers to the characteristic spot of light that glances across the dark side of the face, usually right on the apple of the cheek.
As you can see, we have the Rembrandt triangle in each of these portraits called out in red. Rembrandt was famous for refining this look and mastering it in his work. Rembrandt-style photography utilizes this same lighting trope—the key light should just be kissing the dark side of the face, resulting in a perfect Rembrandt triangle.
Using the Rembrandt triangle to mold the light around the subject is our most highly-recommended Rembrandt lighting technique; it serves as the perfect point of reference and shows you exactly how the light is wrapping around the model's profile.
Why the Rembrandt Lighting Technique Lives On

This style of portraiture flatters the face while still providing enough detail to discern it; an especially effective approach when there are many faces in the frame. Rembrandt light, by nature, puts a spotlight on the subject, allowing the background to fall off tonally to some extent. This is cinematography 101; it keeps the eyes of the viewer right where you want them.
All in all, it's a humanistic approach through and through. Rembrandt lighting makes ordinary events and gatherings feel like history in the making. It's an iconic look, and it's beyond easy to accomplish in your own work.
How to Use Rembrandt Lighting in Photography

If you're familiar with the three-point lighting model of portrait photography, Rembrandt photography will likely come naturally to you.
It's essentially the same setup with an offset key light, minimal fill, and an optional kicker; instead of showcasing the face in all of its glory, we romance the viewer, leaving some amount of detail to the imagination.
How to Create a Rembrandt Lighting Setup

Rembrandt lighting at home is actually beyond easy to accomplish. In fact, we would even go so far as to argue that Rembrandt-style lighting is a matter of configuration entirely, no more, no less.
What does that mean for you? It means that you don't even need any gear to do this aside from your camera and a face to photograph.
The bare necessities for a Rembrandt lighting portrait are:
- The subject.
- A camera, facing the subject head-on.
- A key light, 45 degrees above the subject and 45 degrees to the side (it should be striking the bright side of the face and just skimming across the bridge of the nose).
- A reflector or bounce card (if you prefer a slightly less dramatic ratio of values on either side of the face).
Your key light can be literally anything—a street light, a floor lamp, a strobe, a speedlight, or even just the sun. What matters most is your light source's position relative to the face that you're photographing just barely making it to the dark side.
Once you've got everything up and running, you'll be able to experiment with your lighting scheme, making small adjustments unique to your own style and preferences.
A couple of Rembrandt lighting variations that you can try:
- Changing the position of the key light so that it's at one extreme or another—flooding the subject's face with light, or just barely making it to the dark side of the face.
- Playing with different levels and configurations of diffusion—heavy, quiet, applied at the head, or perhaps cutting the light from the frame of a window.
- Trying out oddball sources of light—computer or television monitors, busted fluorescents, a sodium-vapor lamp (if you can get your mitts on one).
- Incorporating some additional fill or perhaps a backlight into the mix.
The elegance of the Rembrandt scheme lies in its simplicity; it keeps your shoot light on its feet, all without compromising one ounce of style. It's the perfect vessel to co-opt and to make your own, tailoring your setup so that it does exactly what you need it to do.
Aside from that, it really is up to you. Try it out, put a new spin on it, and see what you can come up with.
Rembrandt Lighting Photography: A Brand Nearly 400 Years in the Making
Rembrandt light is unquestionably one of the greatest triumphs in the history of portraiture. One thing's for sure: the man certainly knew what he was doing, and this was way before Hollywood and Fashion Week.
You should definitely give this technique a shot, especially if you're ever tapped for inspiration in the field. It's a great baseline setup to start with, evolving naturally into more advanced lighting arrangements as you continue. Let the sparks fly.