With over 3 million downloads and 350,000 active monthly users, Magic Poser has gained a substantial following. But what is it about this 3D pose tool that makes it stand out from others of its kind? Keep reading to find out.
What Is Magic Poser?
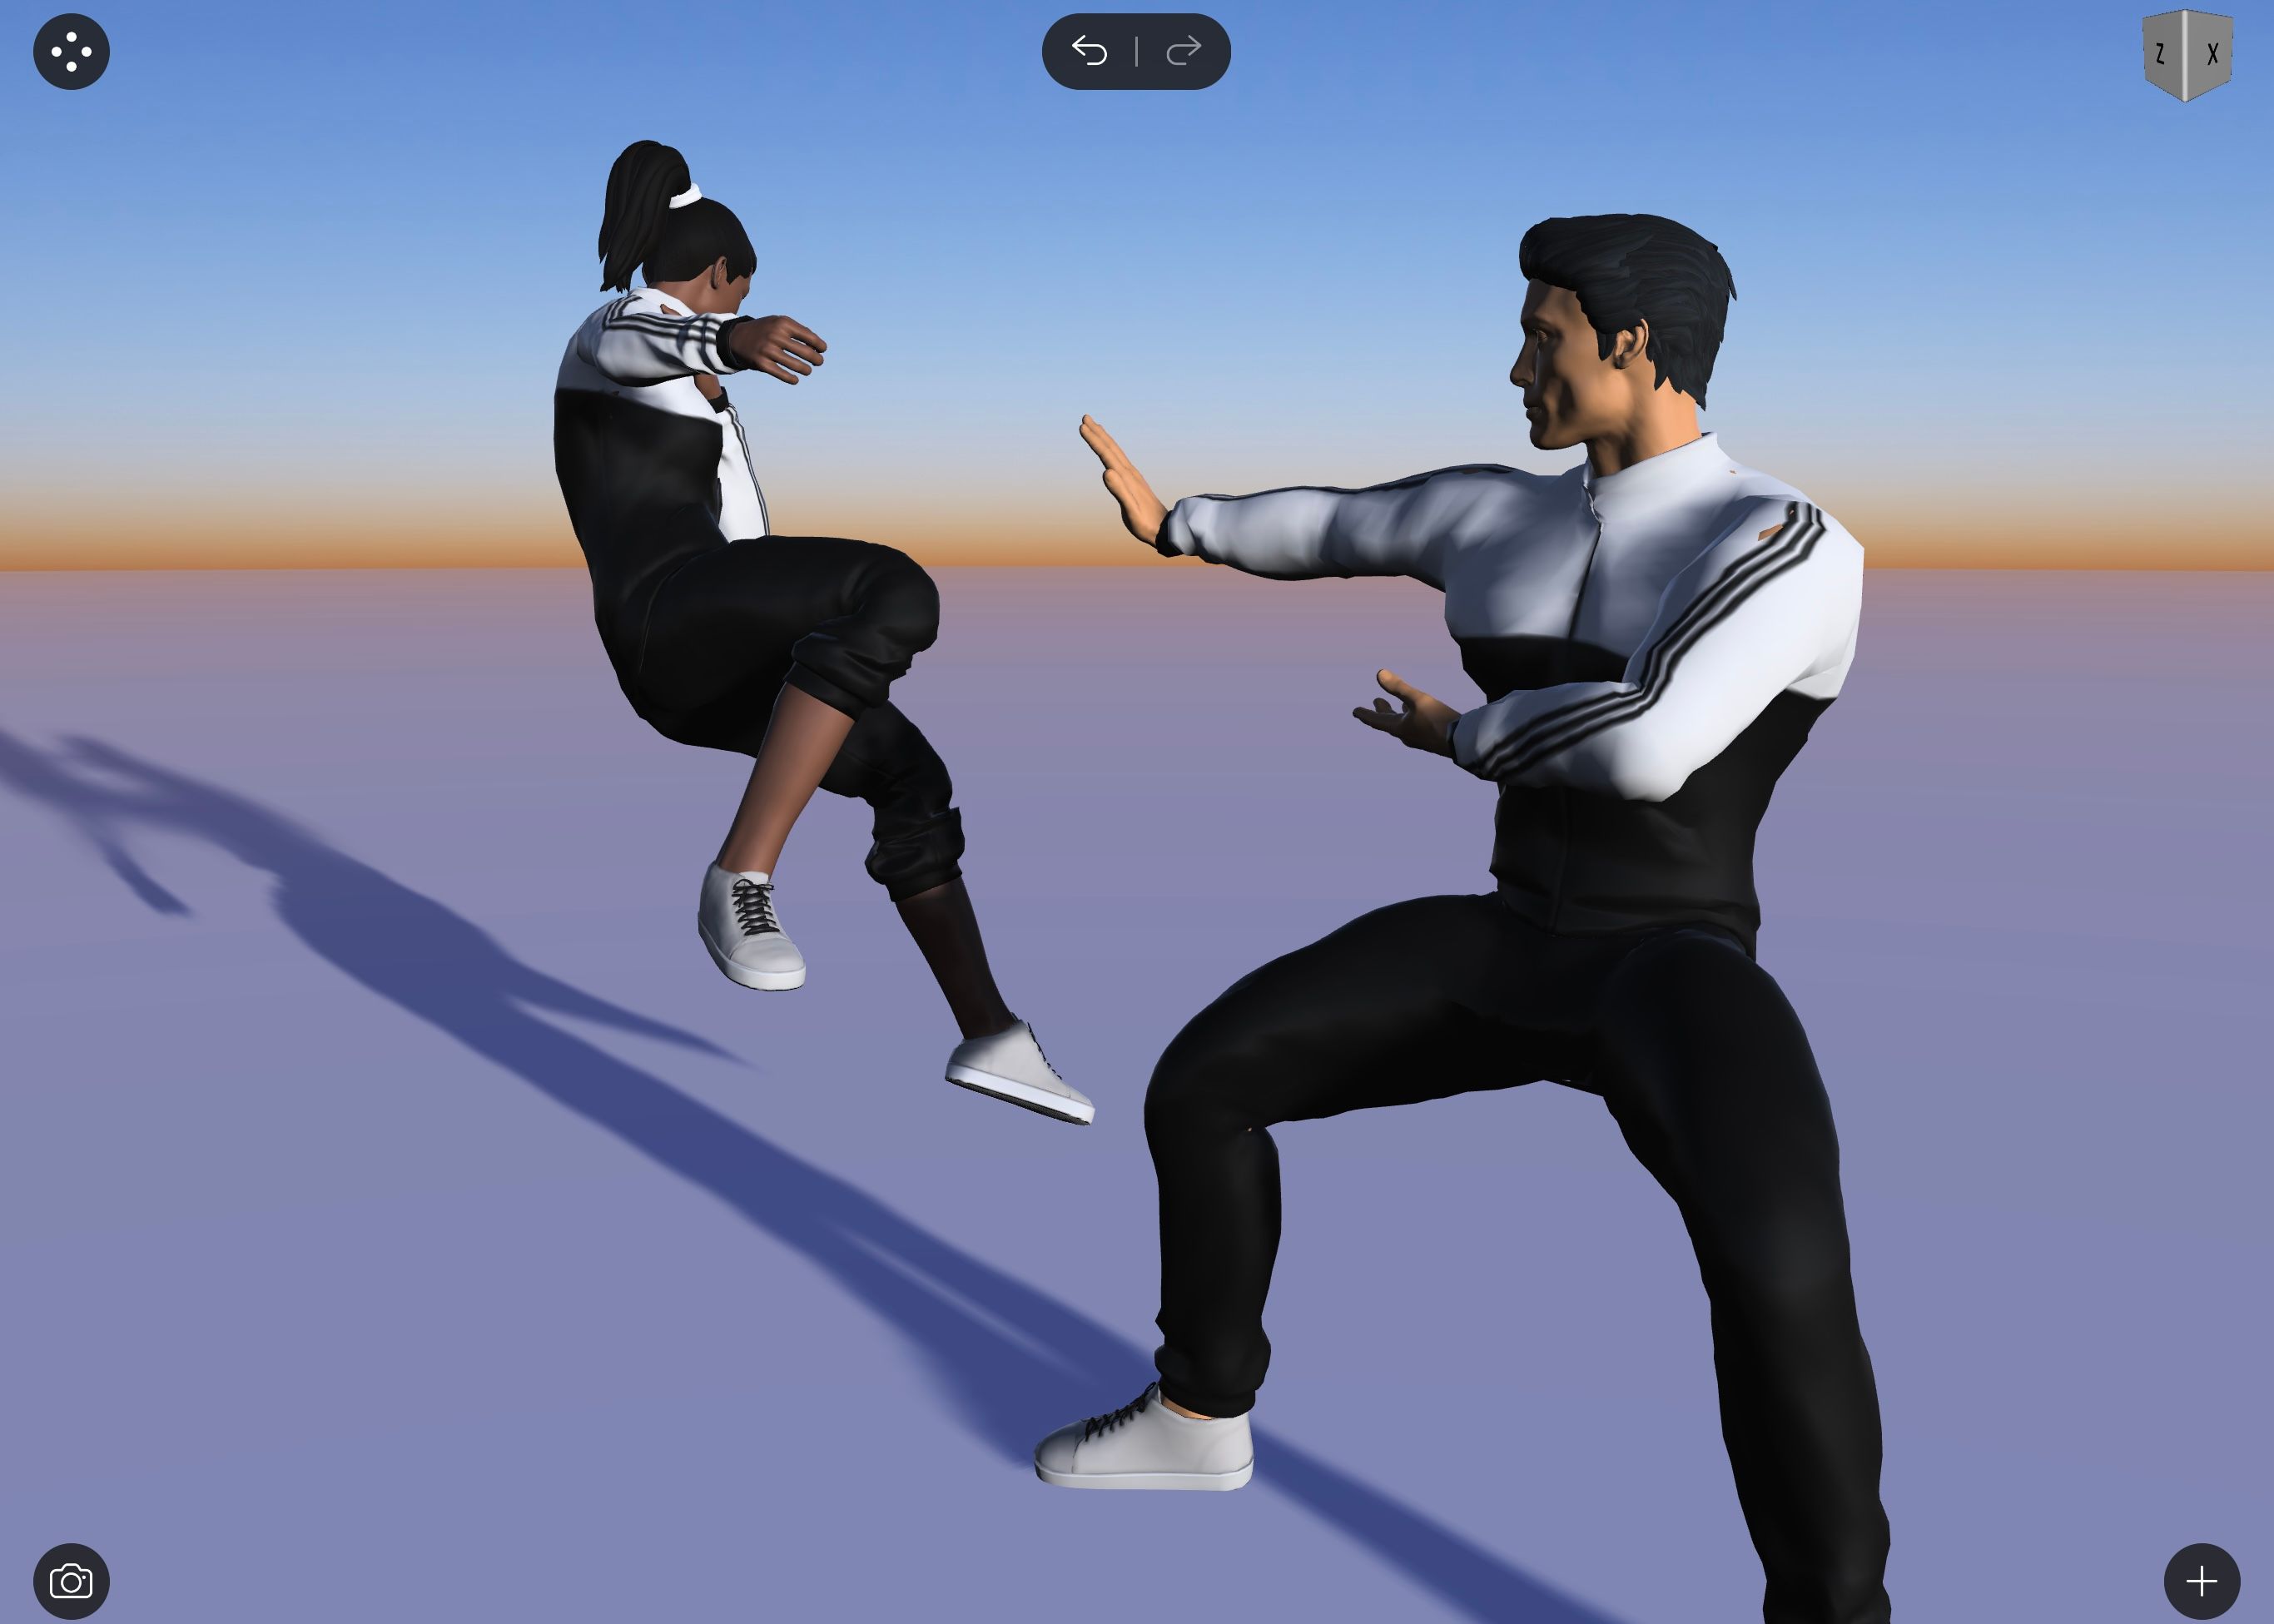
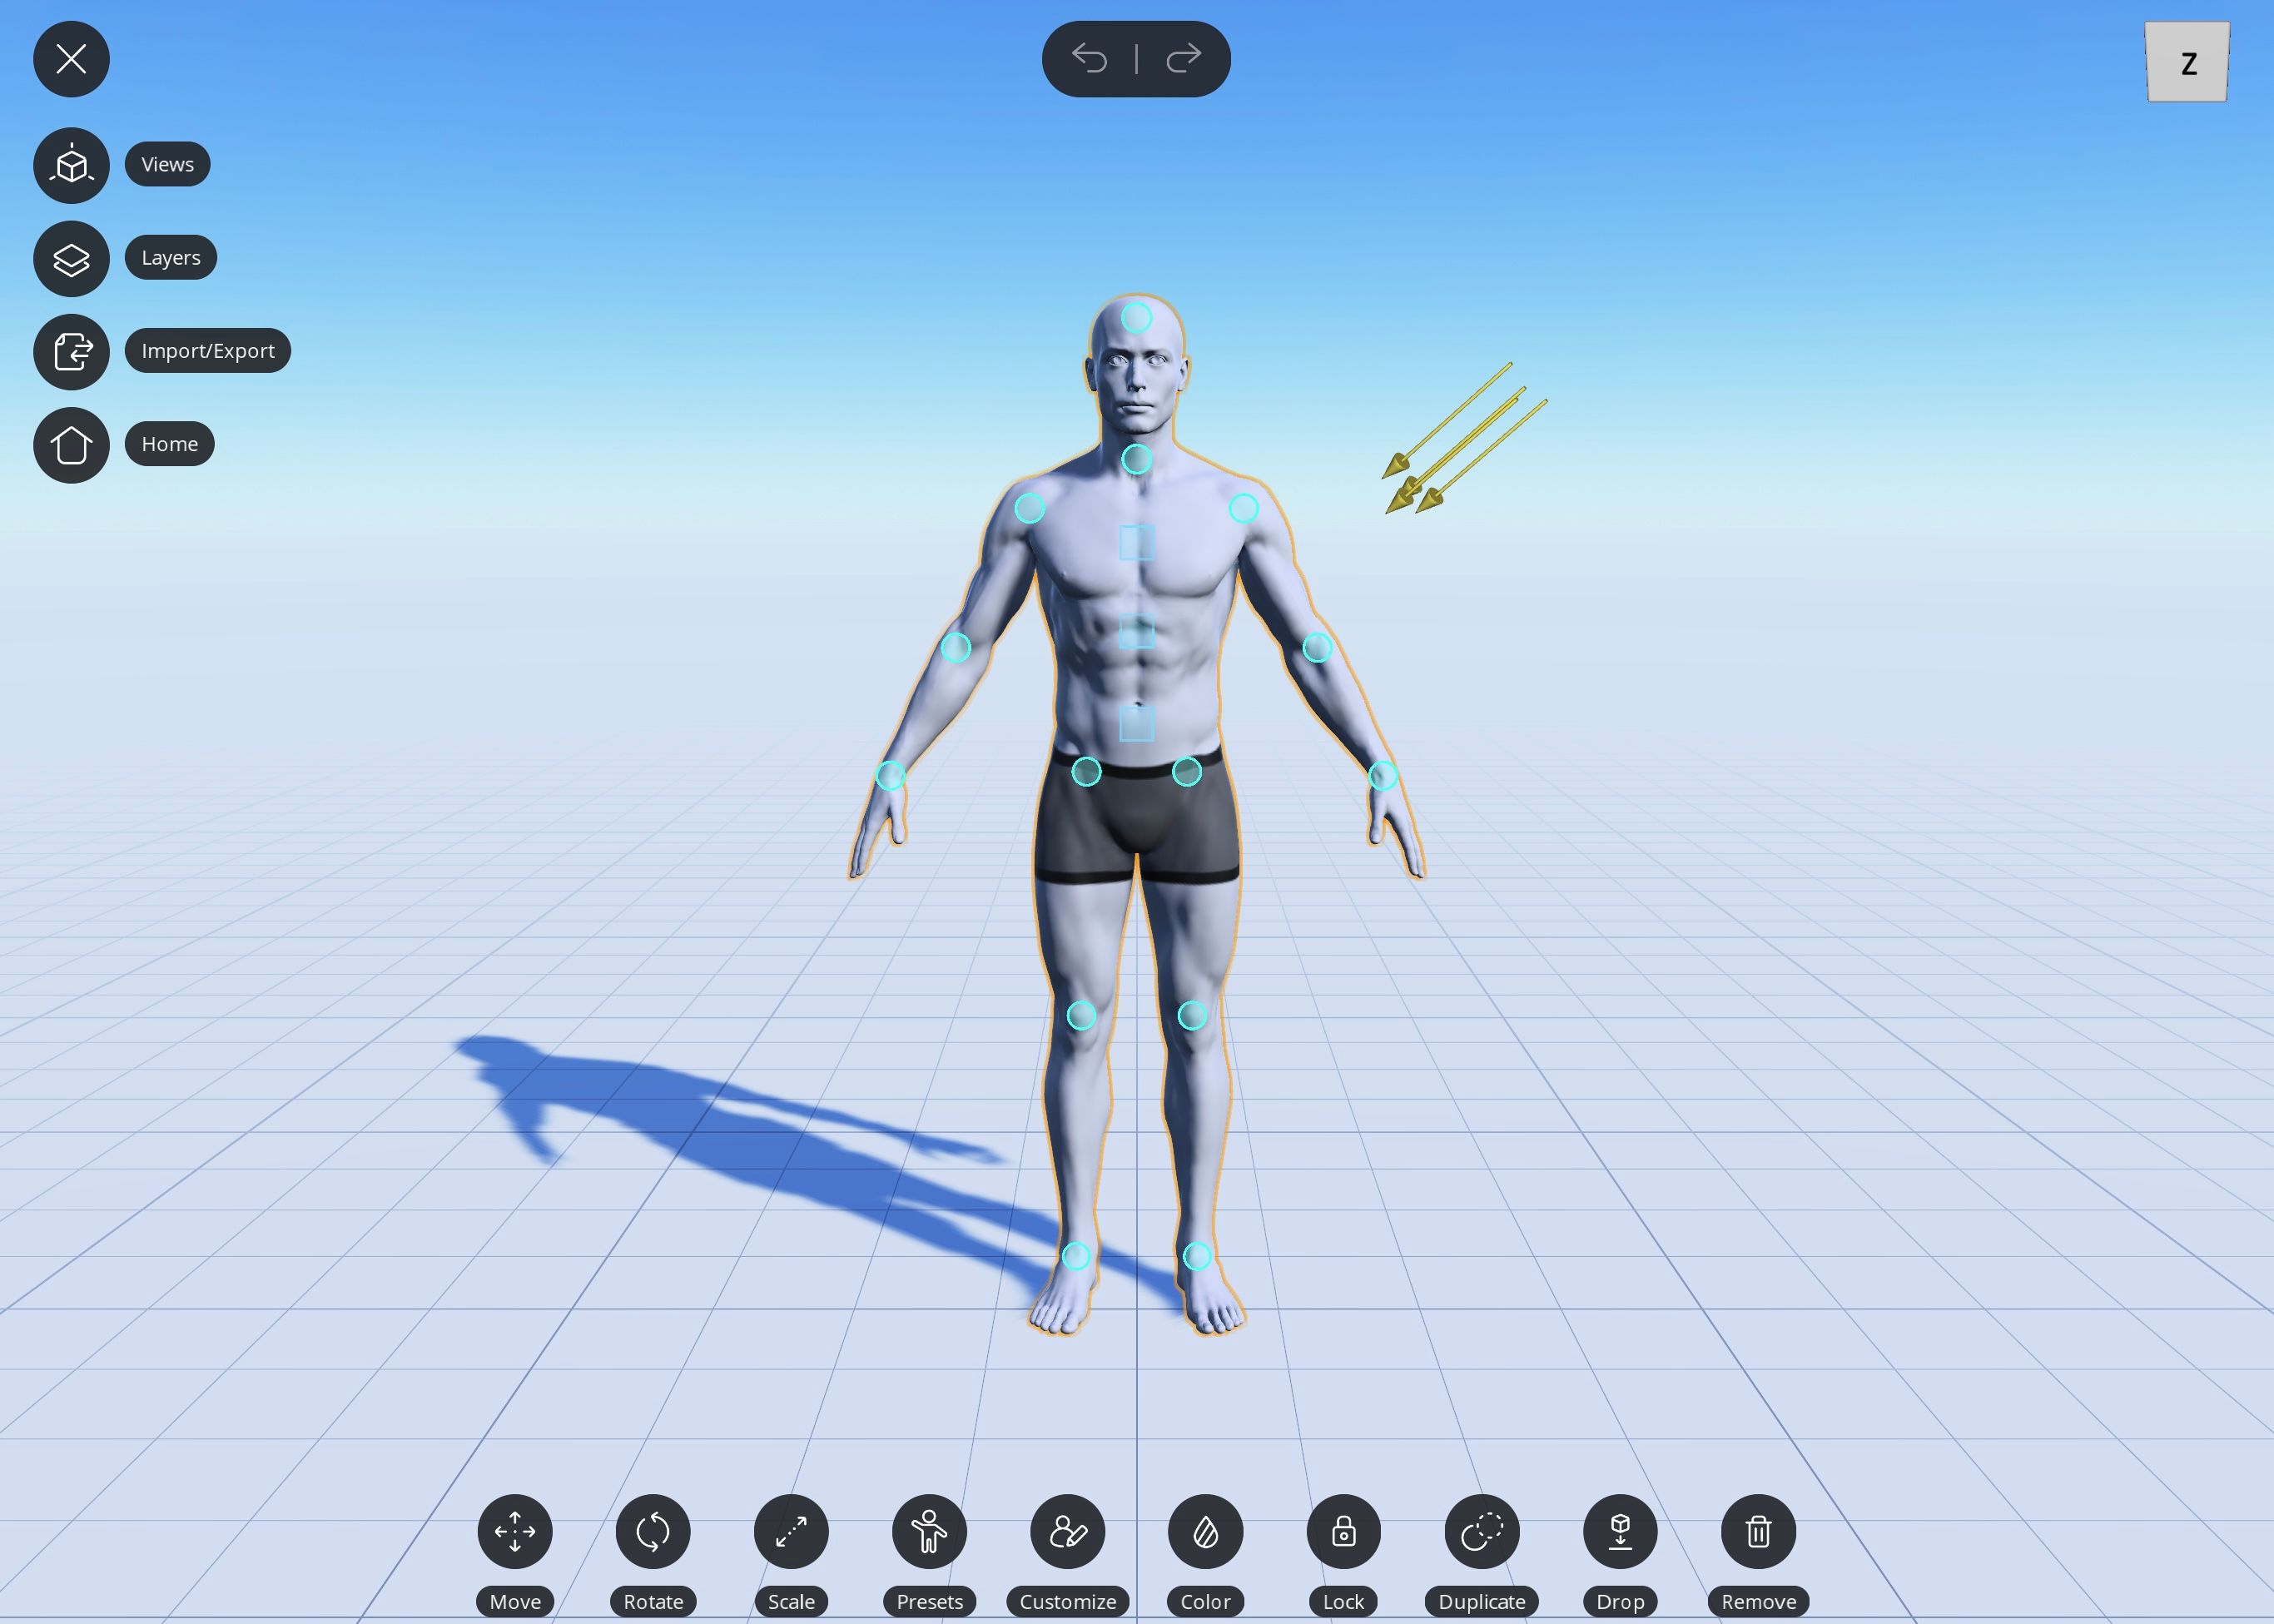
Magic Poser is a one-of-a-kind art pose tool that allows you to create 3D scenes using a large variety of characters and props. These characters and props can be modified, moved along an XYZ axis, colorized, scaled, and morphed to create a unique scene.
What makes magic poser so unique? Aside from being one of few apps that allow you to work with 3D modeling, Magic Poser is the only app that lets you position several figures at a time. In fact, the number of figures you can add is hypothetically limitless.
Magic Poser is available for download on both iOS and Android devices, although there are some slight differences; we'll be using the iOS version for this demonstration.
You can also test out the web browser version (only supported with Firefox and Chrome). If you want to expand your horizons, check out these 3D modeling software that won't cost a cent.
Download: Magic Poser for Android | iOS (Free, in-app purchases available)
Magic Poser App Layout
The app layout is simple with specific sections, making it easy for you to navigate. Let's explore it.
Files
The Files section is where your saved work is stored. You will either find your files under Local, existing only on the device you're using, or Cloud, which can be accessed with any device as long as you log into your account on a compatible device. This is also the section you will use when you're starting a project by clicking Create New File.
Community
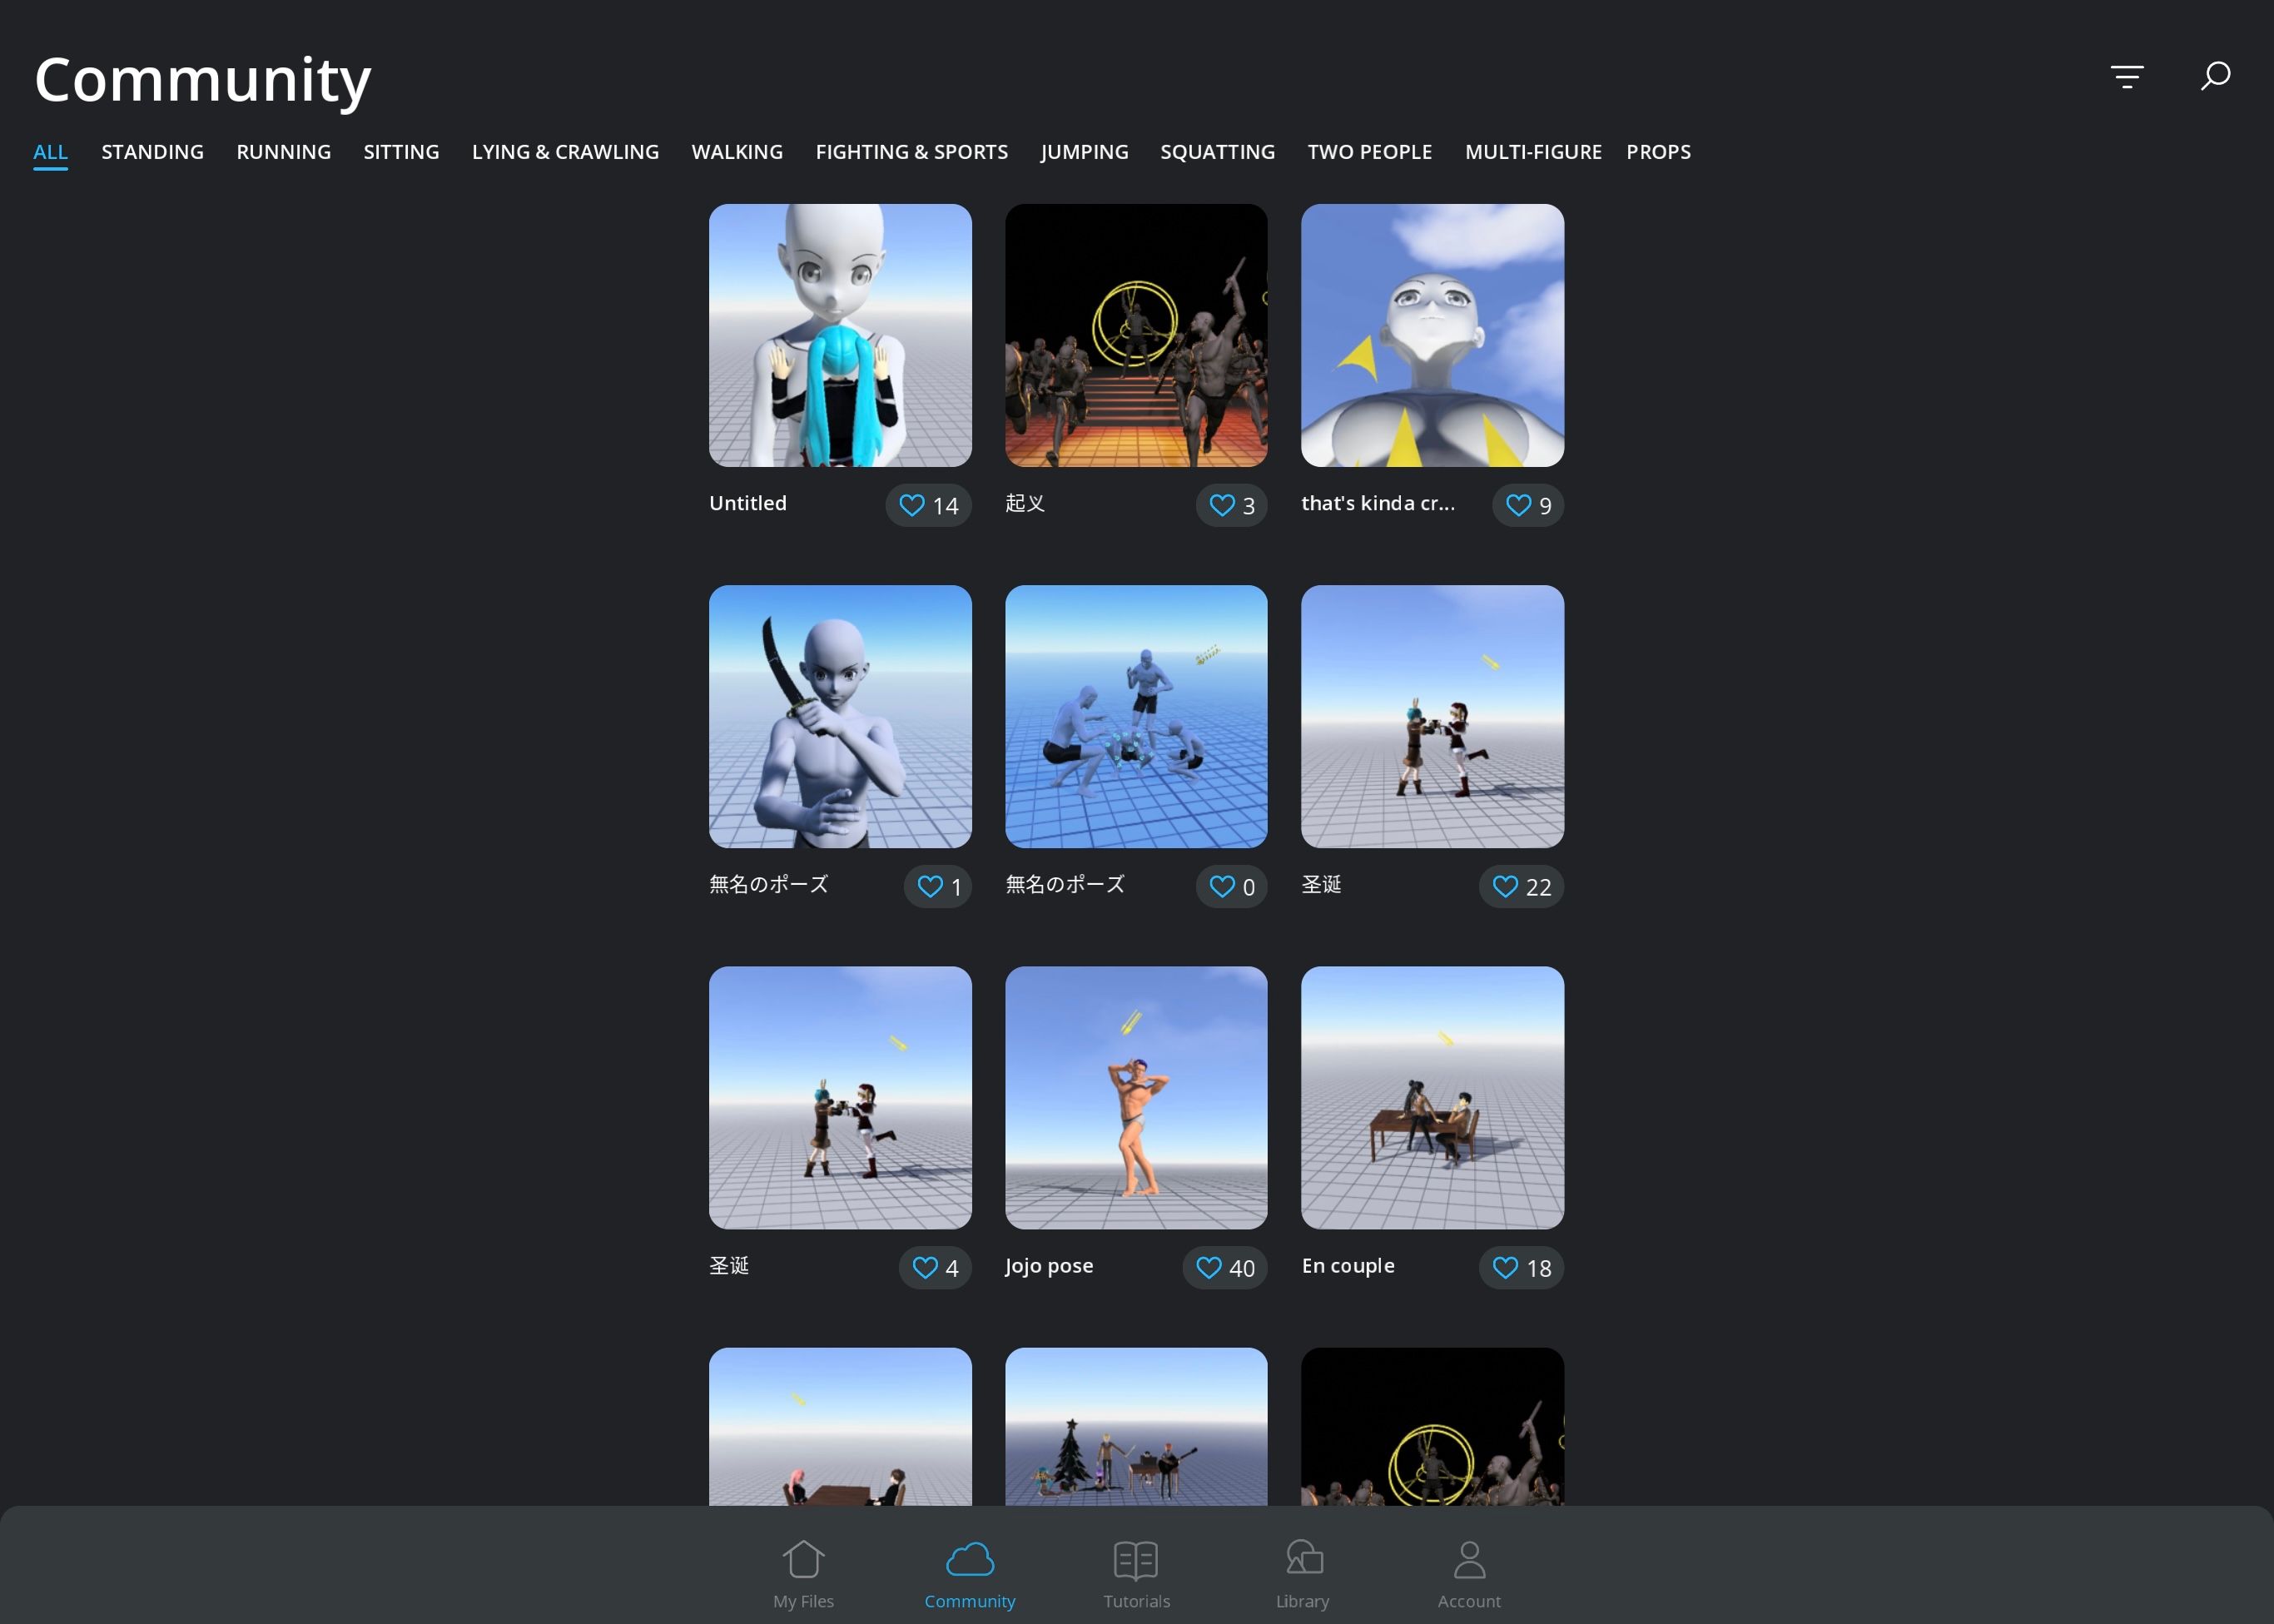
Community is where you can view other people's creations. At the top of the screen in this section you will be able to filter results if you're looking for something specific.
You can also use these scenes to create your own scene if you don't want to start from scratch, adding to and modifying what another person has already created. Additionally, you will be able to upload your creations to the Community if you want others to gain access.
Tutorial
Tutorial is a fantastic feature for new users because it demonstrates all the basic functions. It is broken down into three sections:
- Get started, where you can take a video tour of the app.
- User Manual, which has all the written instructions for using the app.
- Migration guide, which was made specifically for old users who understand the app but are not familiar with the newer version.
Library
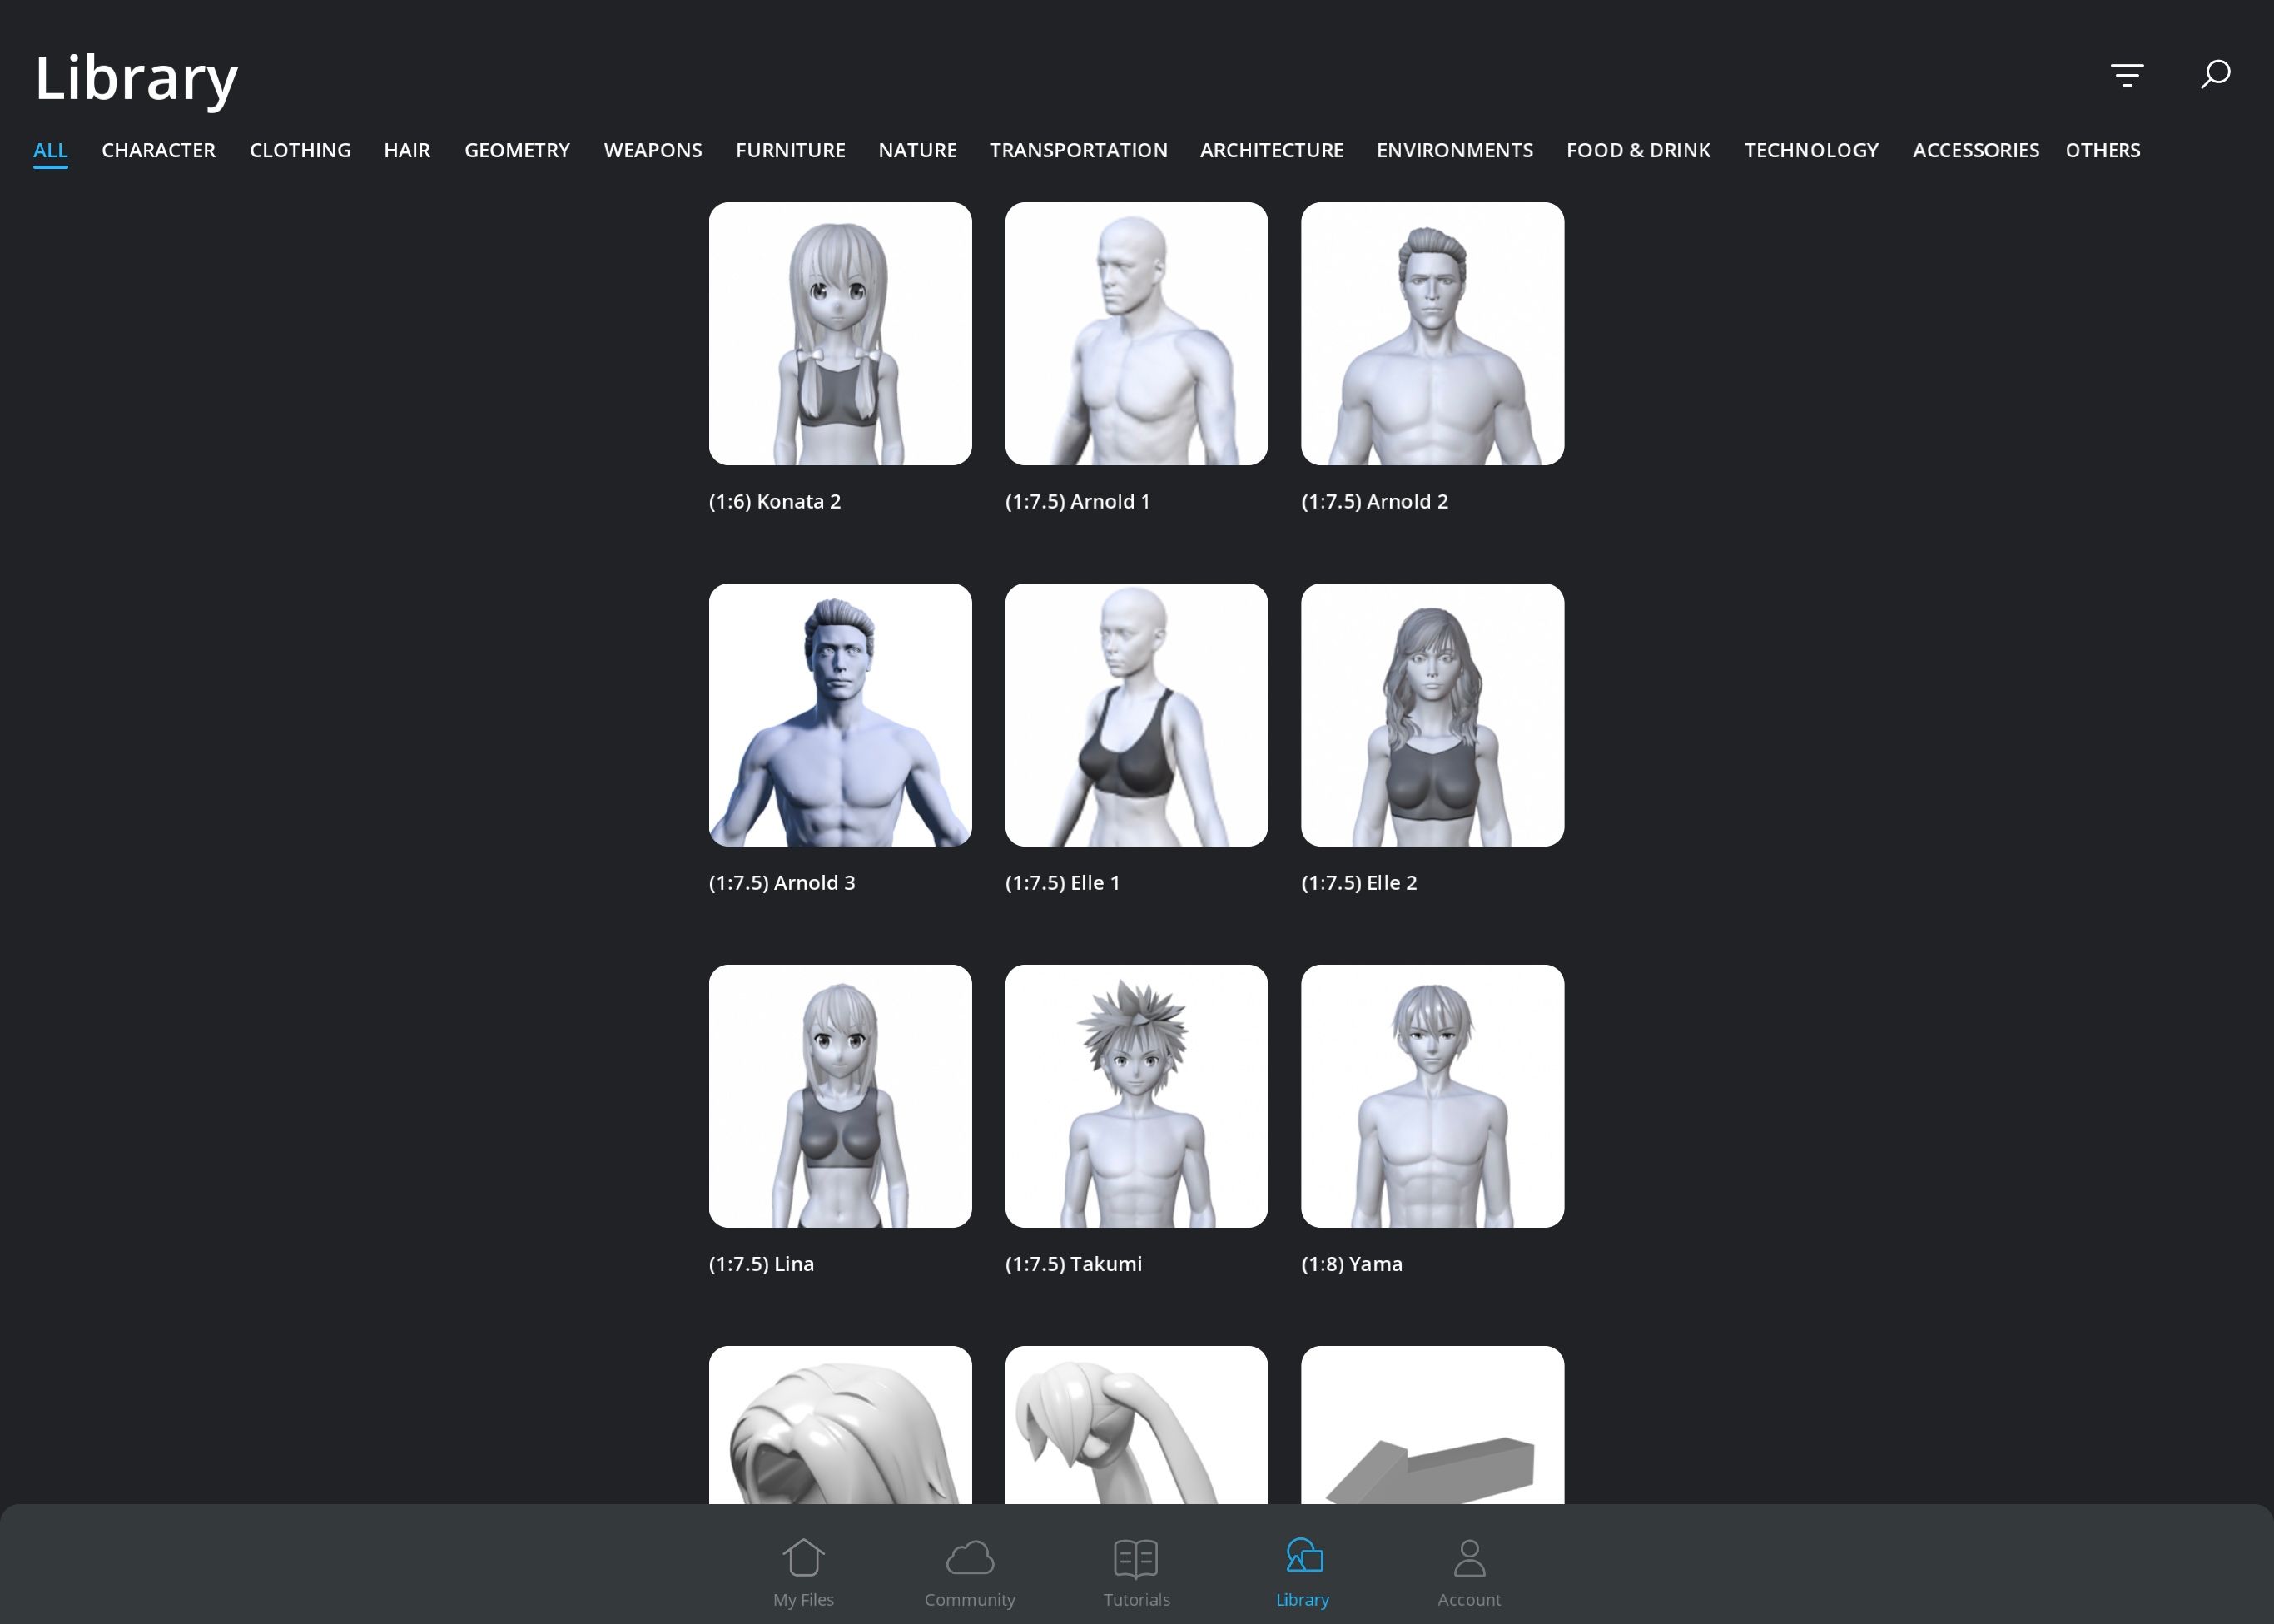
In Library, you can view all the available characters and props for use; you can also download which ones you want to use. Depending on your subscription plan, you will either have access to everything or limited items.
You can immediately see which ones are unavailable to you because they will have a Pro or Master banner, requiring an upgrade for you to use.
Account
Account has all your information. The account you used to sign up (for example, your Facebook account) will be linked here, and you can also find other personal information like your purchases, rewards, and account type.
Getting Started With Magic Poser
Getting started is easy, and you have three plans to choose from: free, pro, and master. The monthly subscriptions will give you access to certain content, such as characters and outfits that are otherwise unavailable, but in terms of the features, you can do just about anything with the free version.
To create a new scene, go to Create New File in the File section. The starting scene will always be the same when creating a new file, but you can easily change the settings and characters with a few quick taps.
Modifying Characters and Props
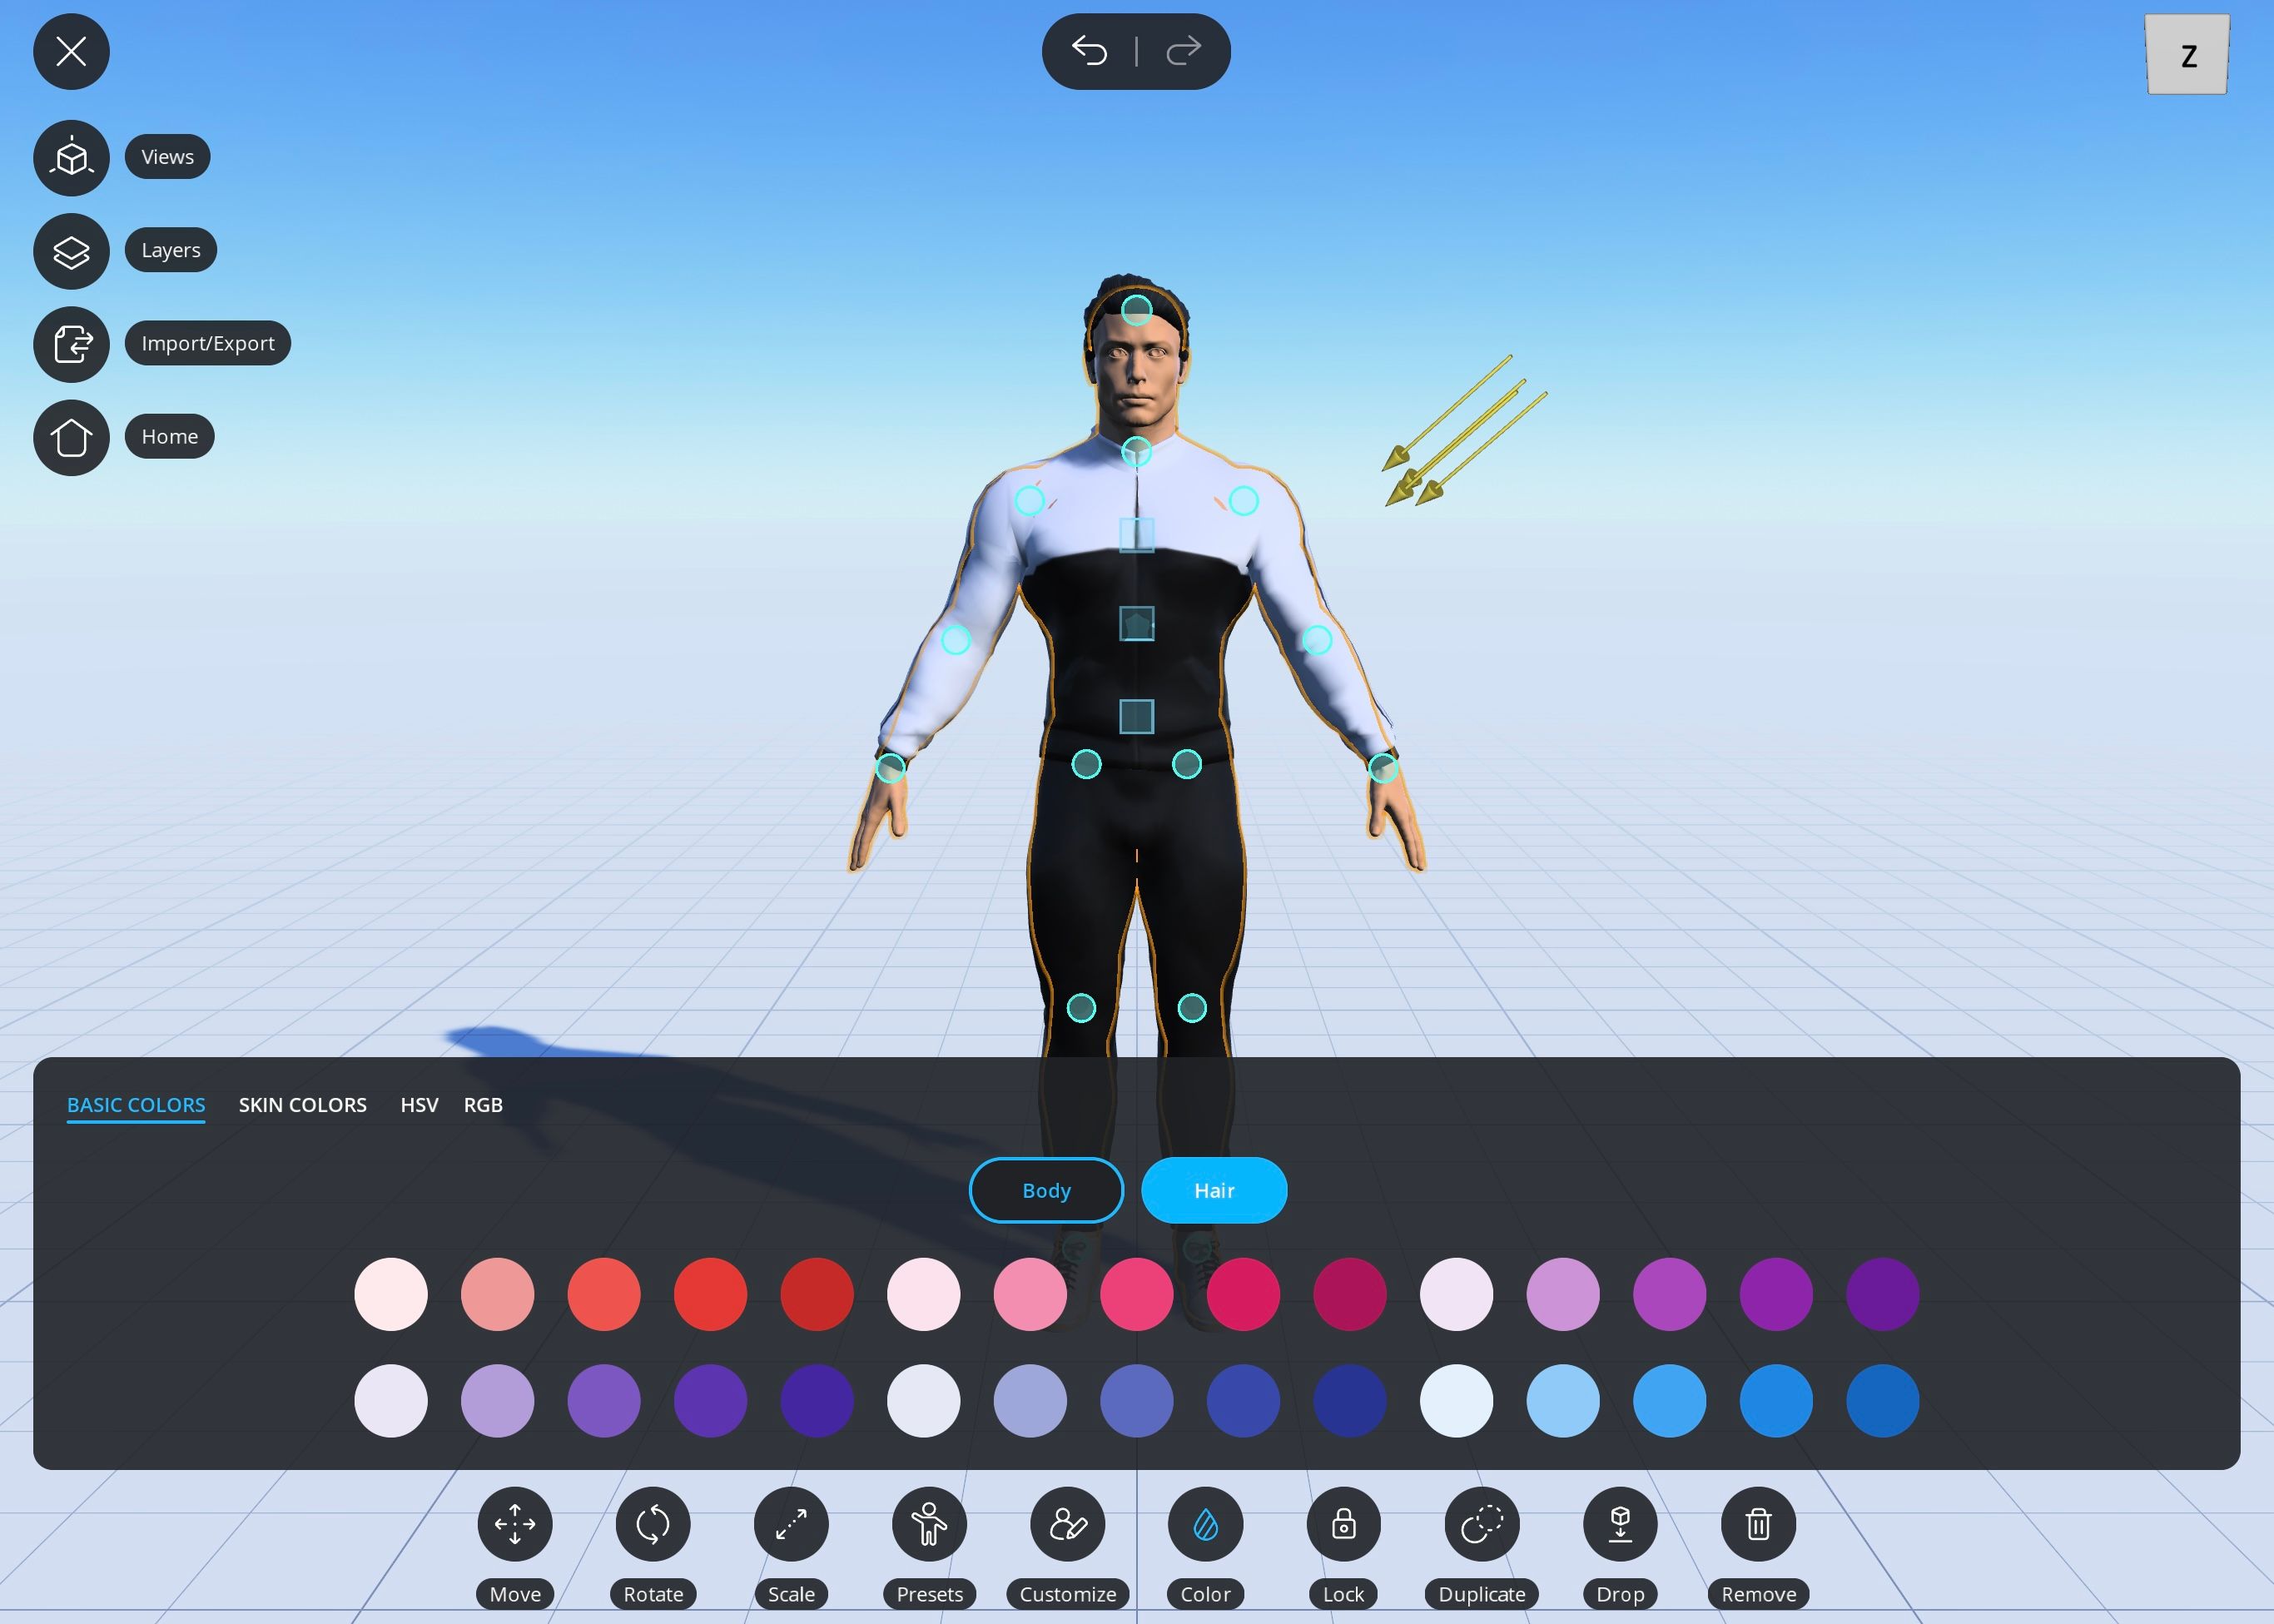
Characters and props can all be modified by tapping on (highlighting) the model you want to change. Only the latest realistic characters, Arnold 3 and Elle 3, allow you to morph their bodies into fat, muscular, or skinny.
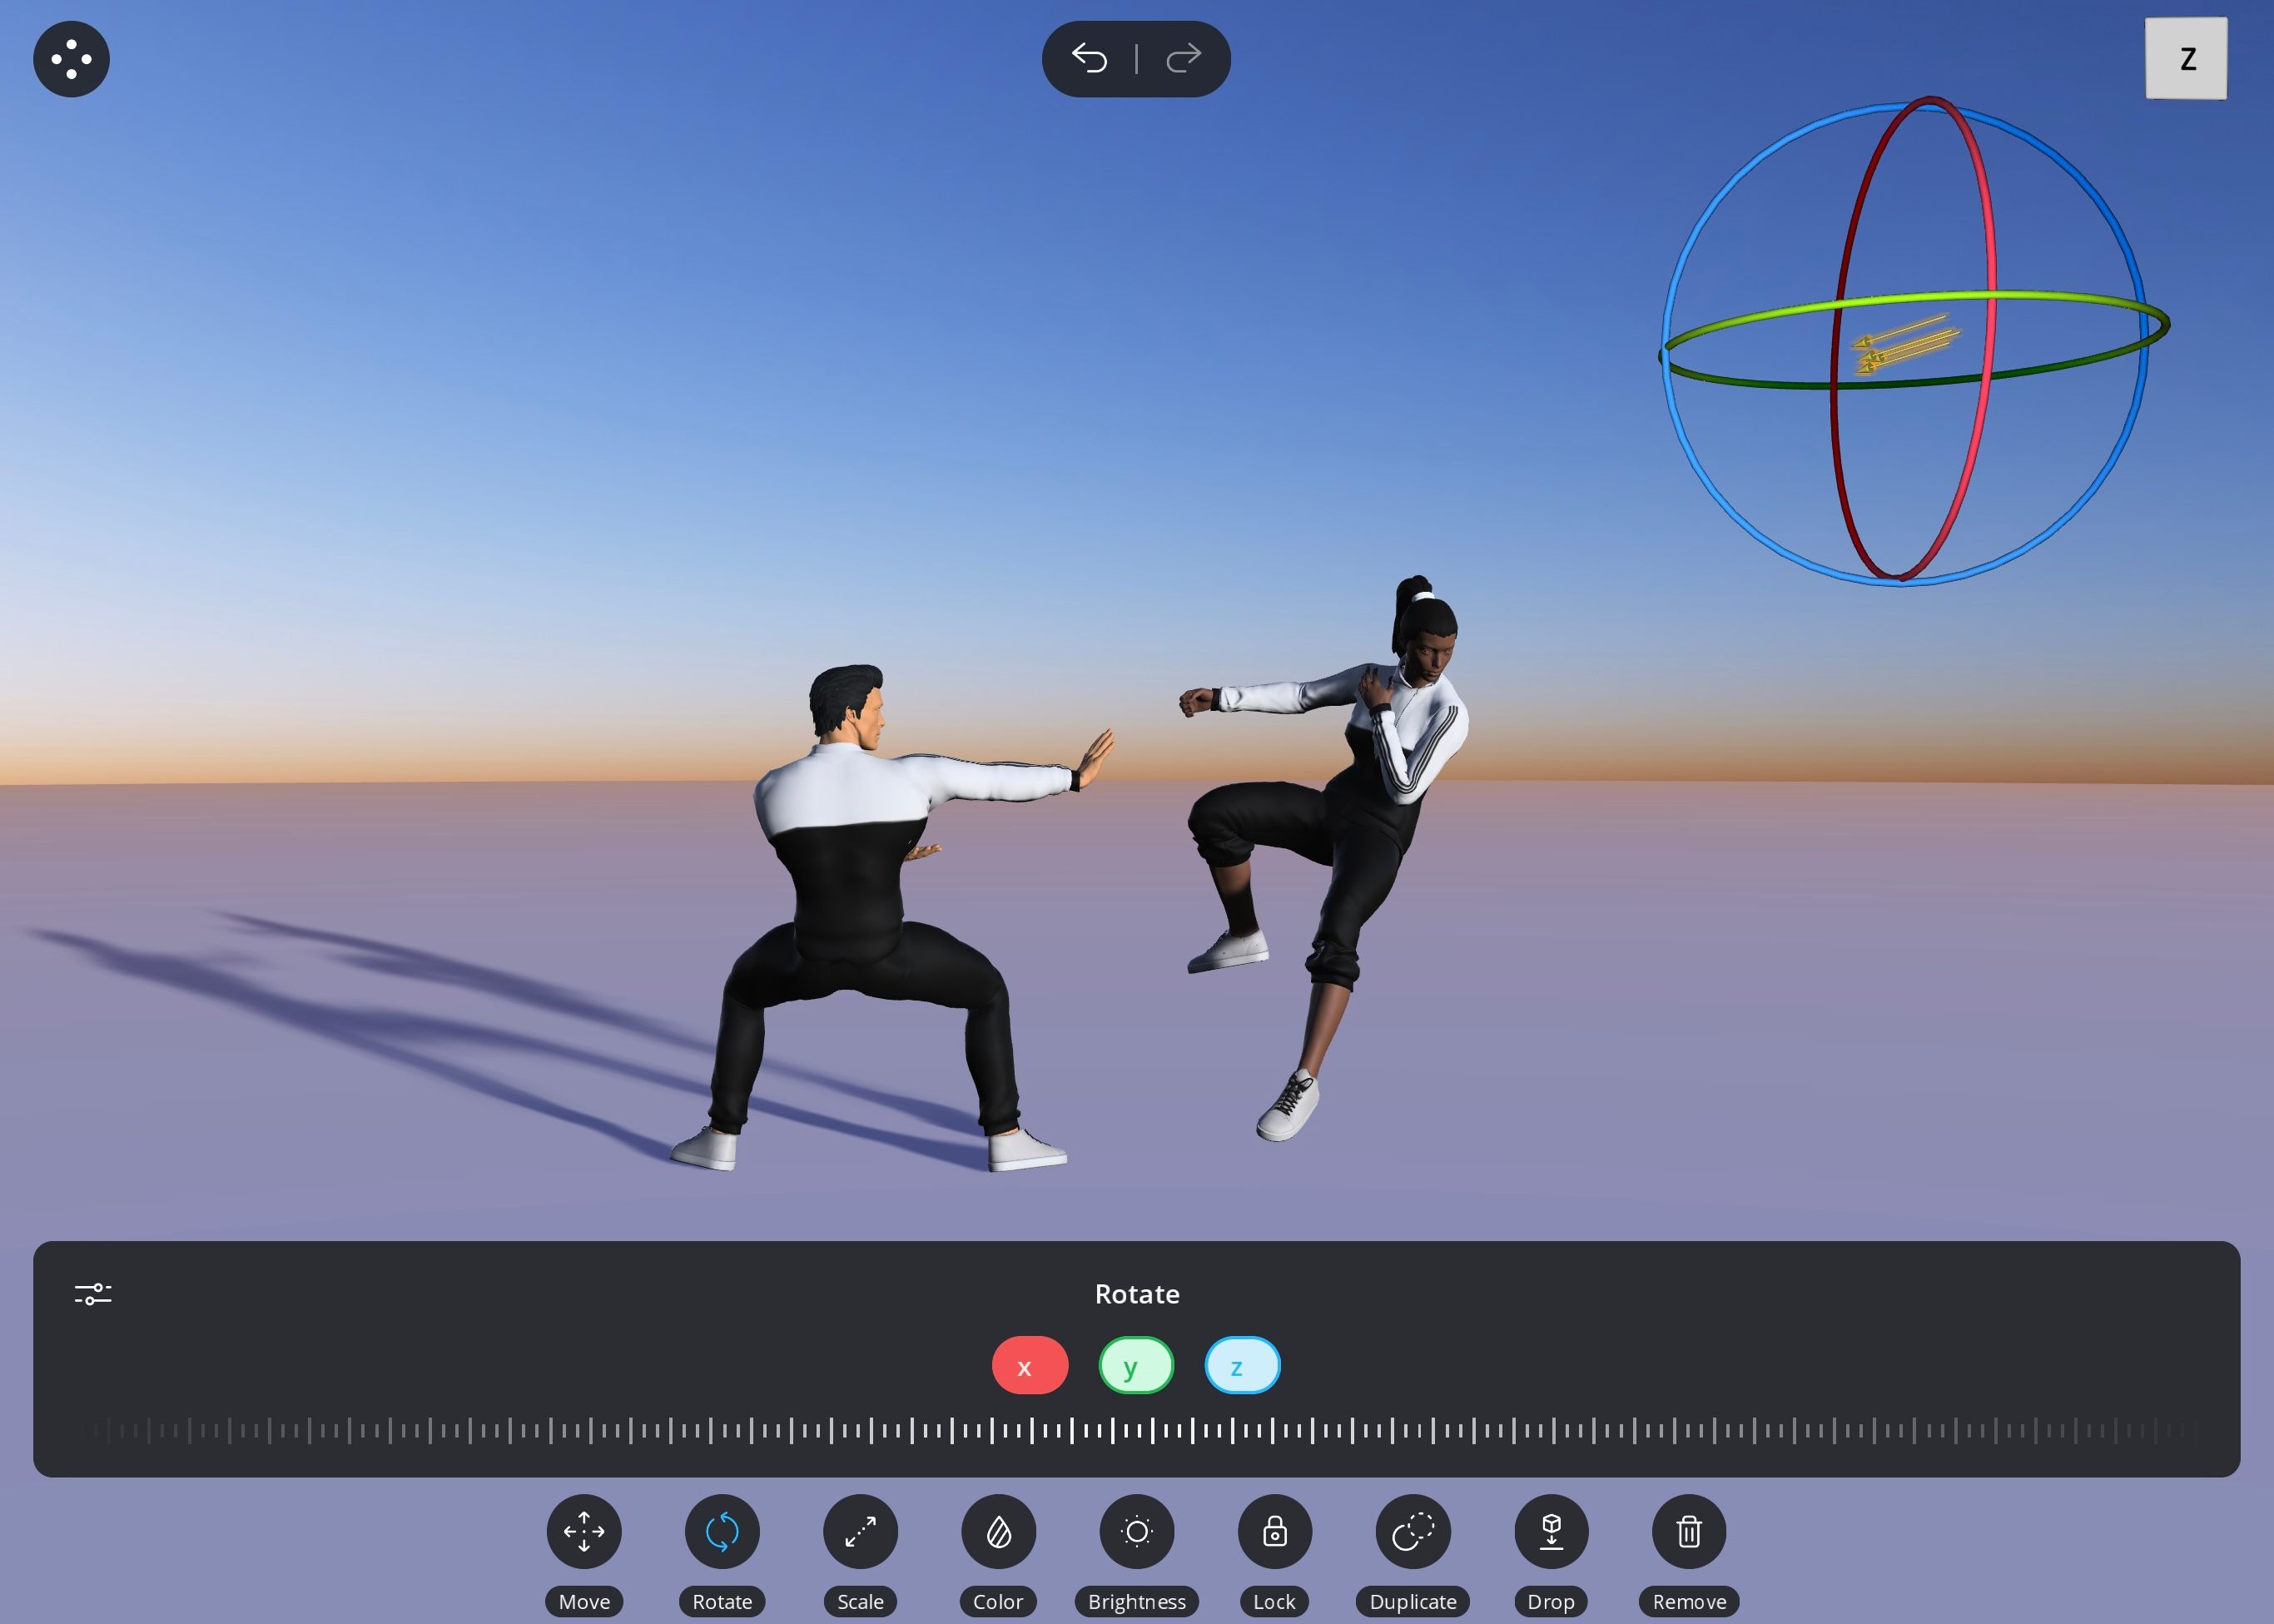
You can, however, still modify every character and prop in other ways; you can scale the object, colorize and customize it, move it along the XYZ axis, and rotate it for easier movement.
Character Presets
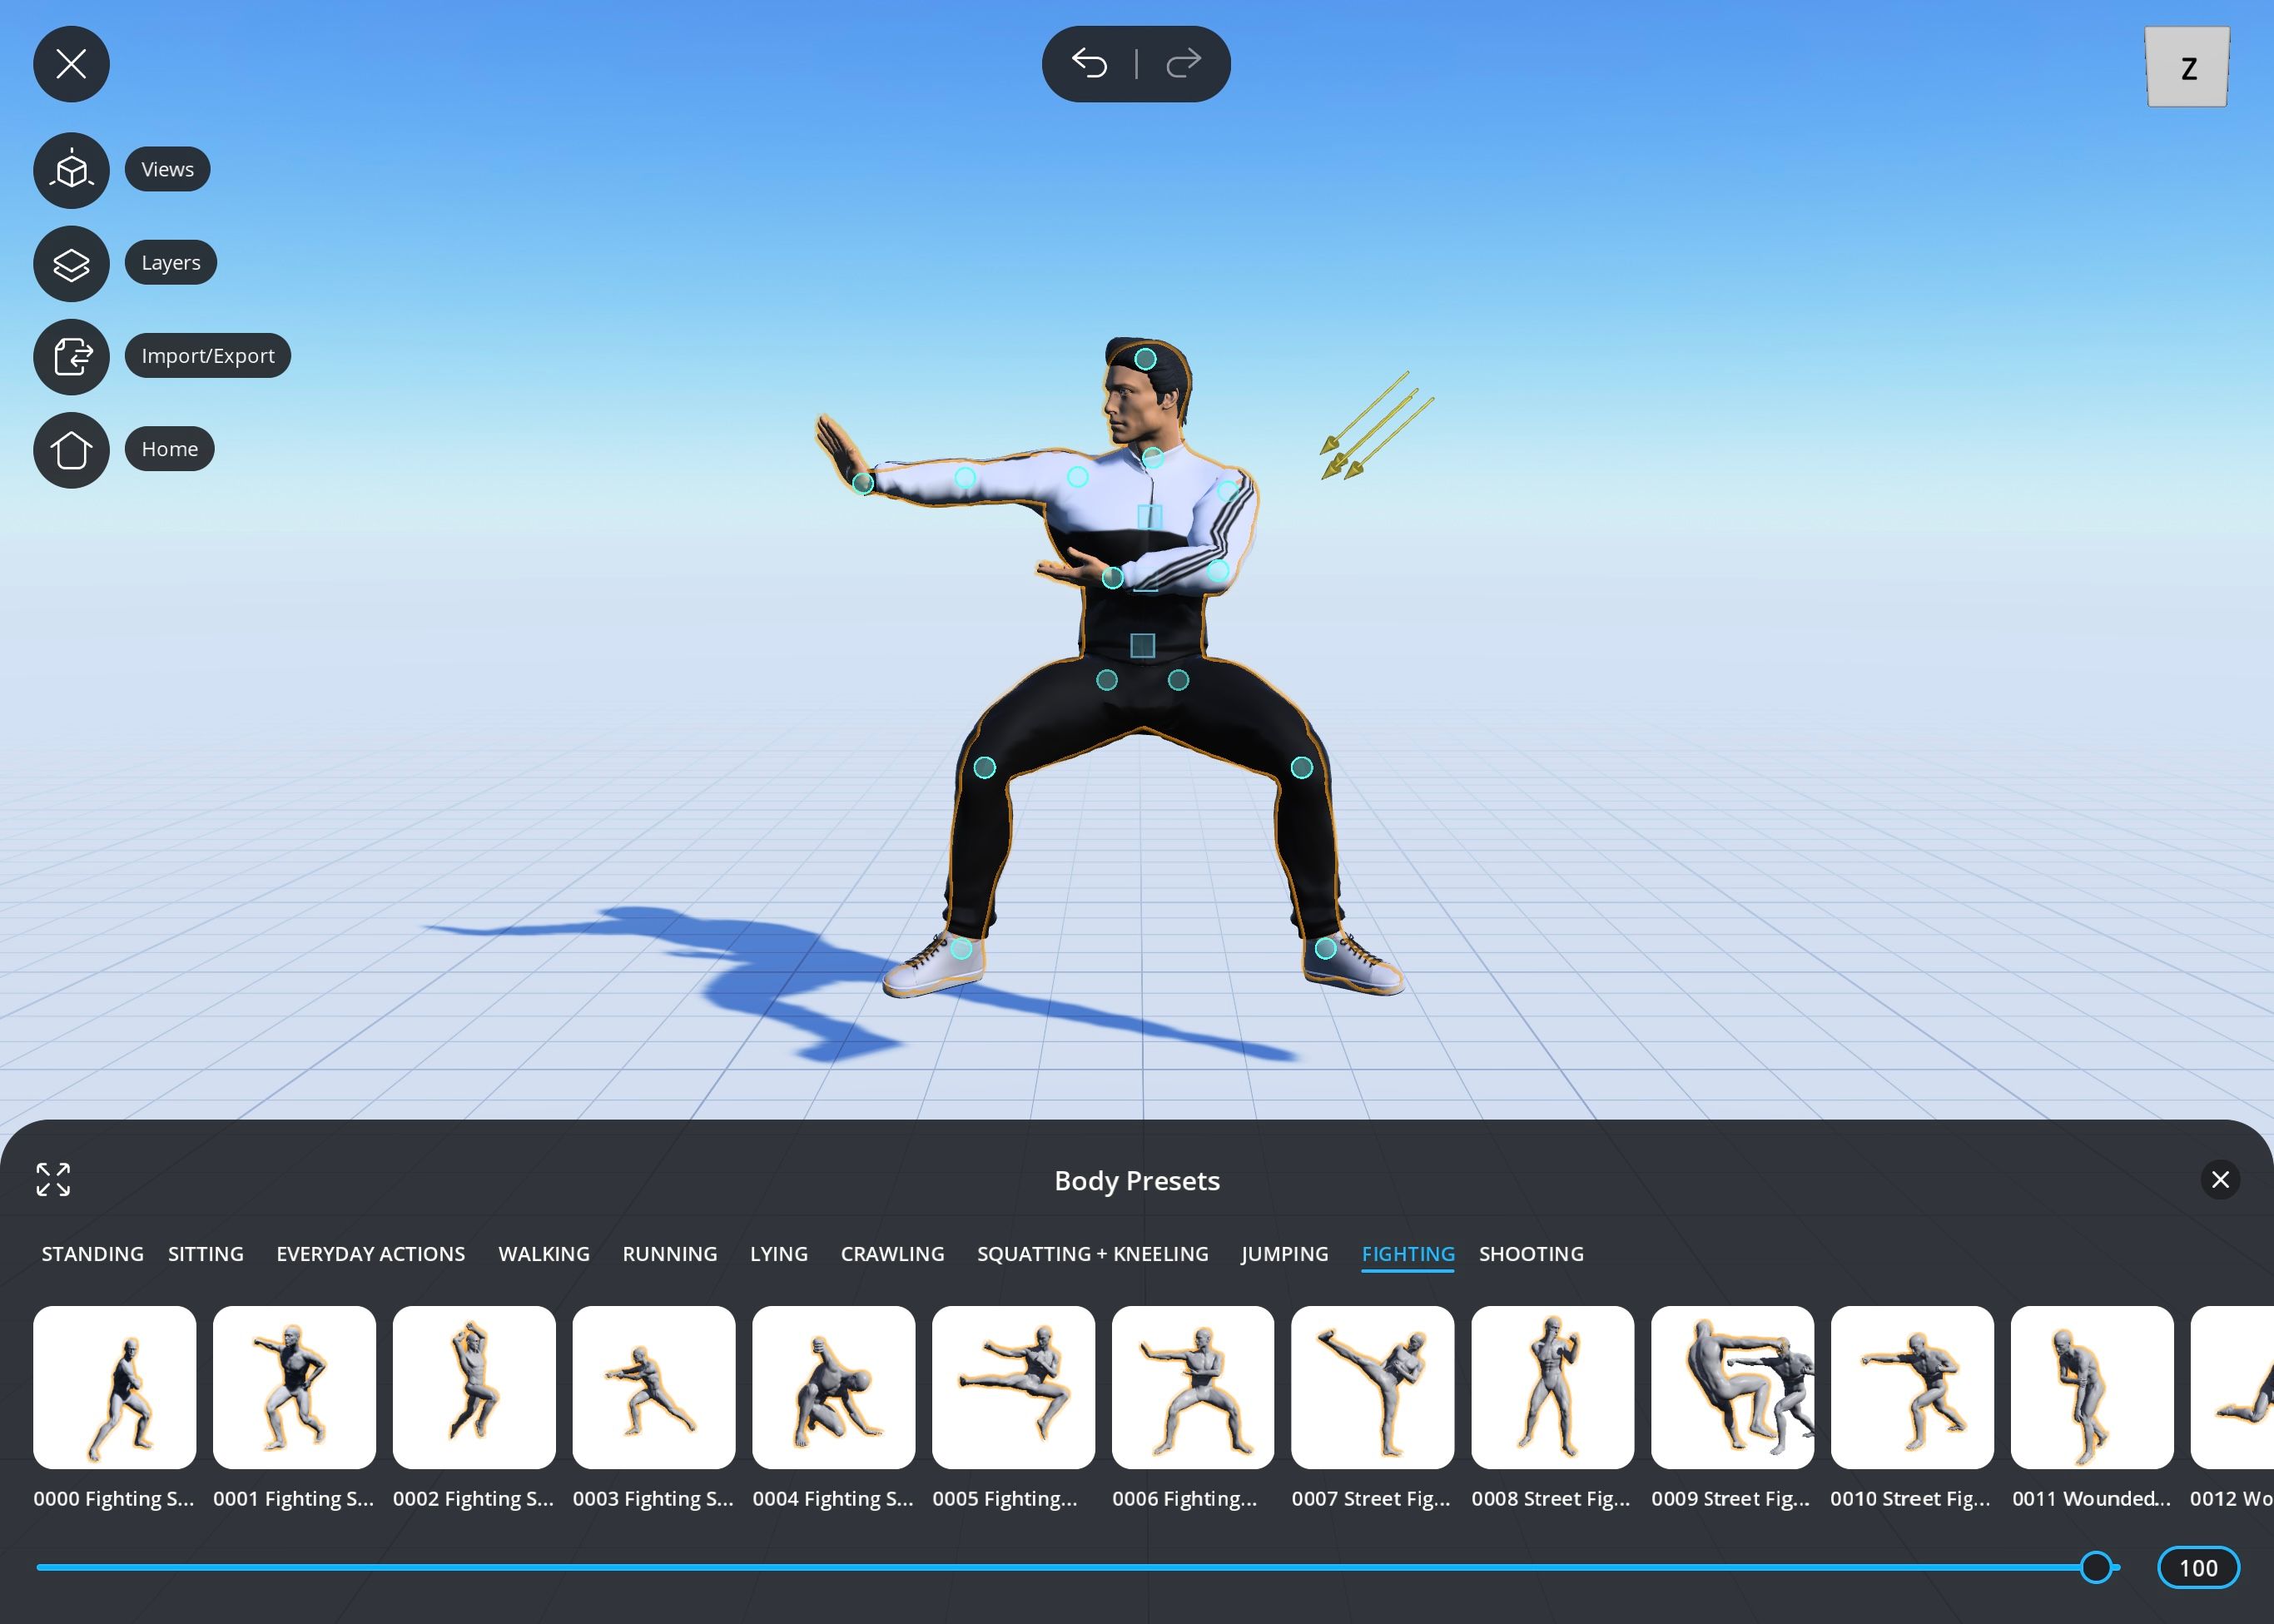
Some characters have presets which are poses that have already been created for your convenience. You can find them by highlighting the character and choosing Preset.
Scroll through the sections to decide what kind of pose you want (for example, a standing pose), and select a preset from the list; your character will immediately follow suit, and you can leave it as is or make adjustments.
The Views
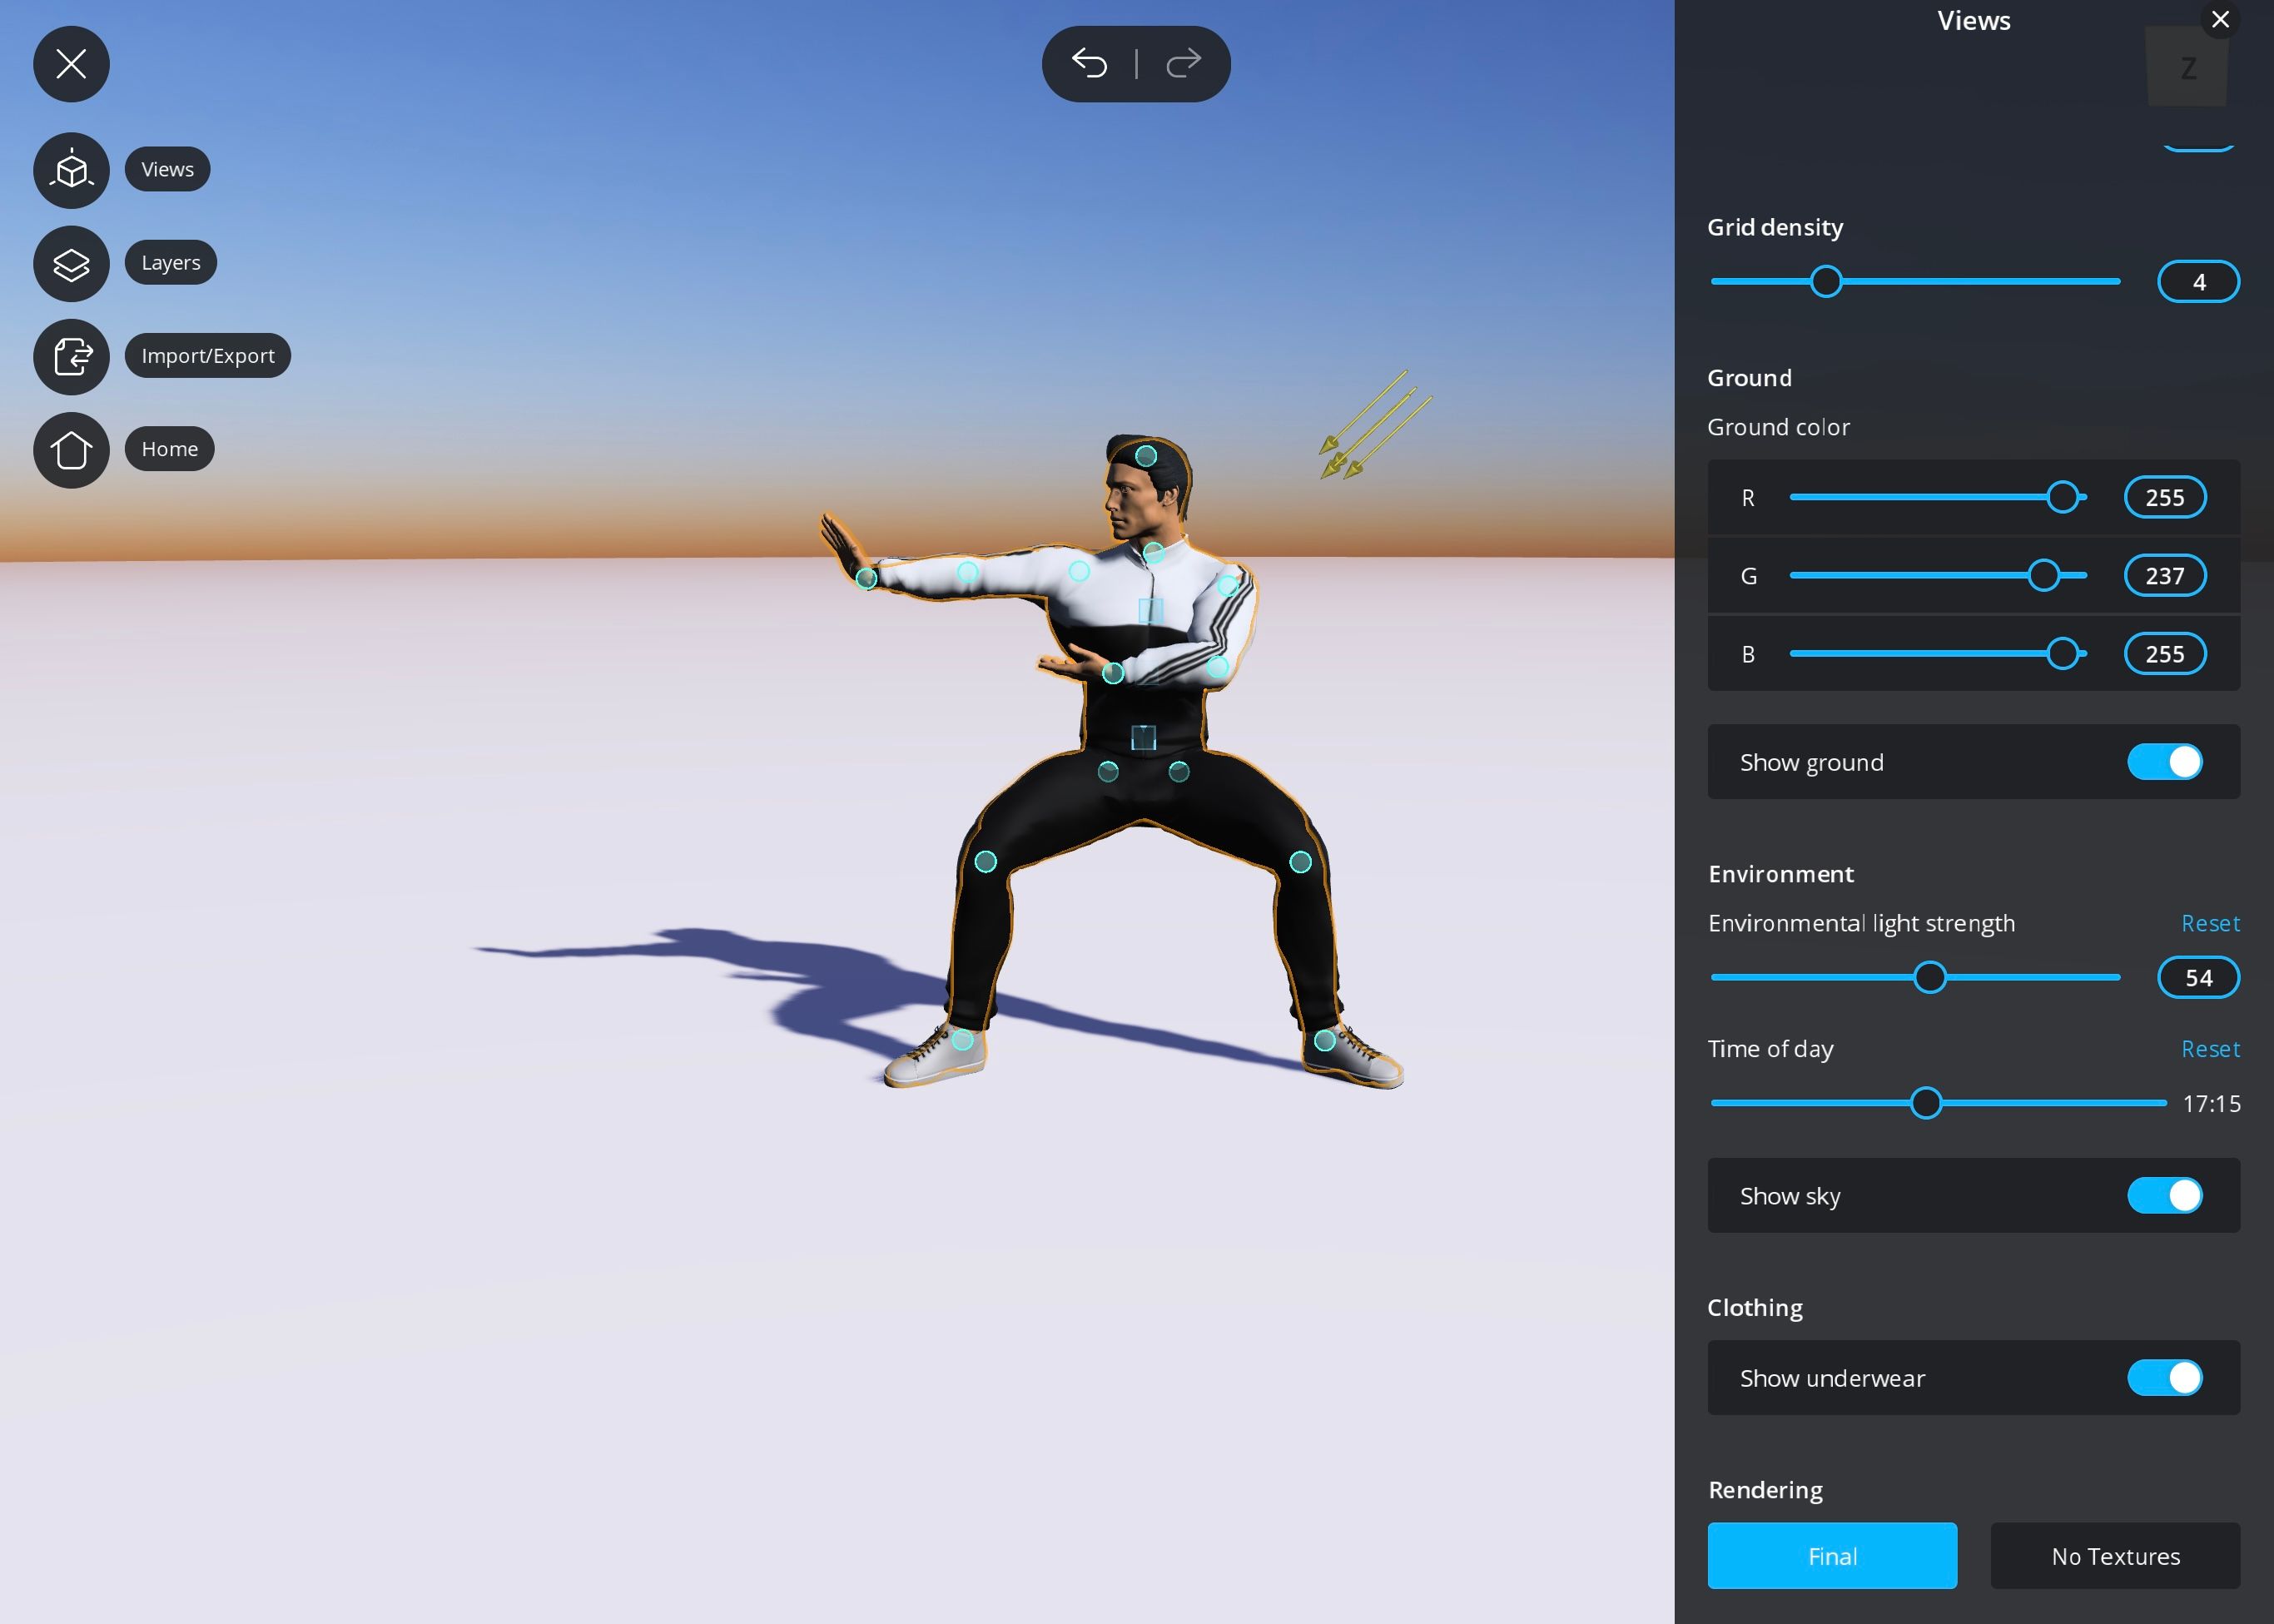
By clicking on Views along the left panel, a number of settings regarding the view come up. Here, you can alter the grid, lighting, time of day, and more with some easy adjustments.
Adding Another Character
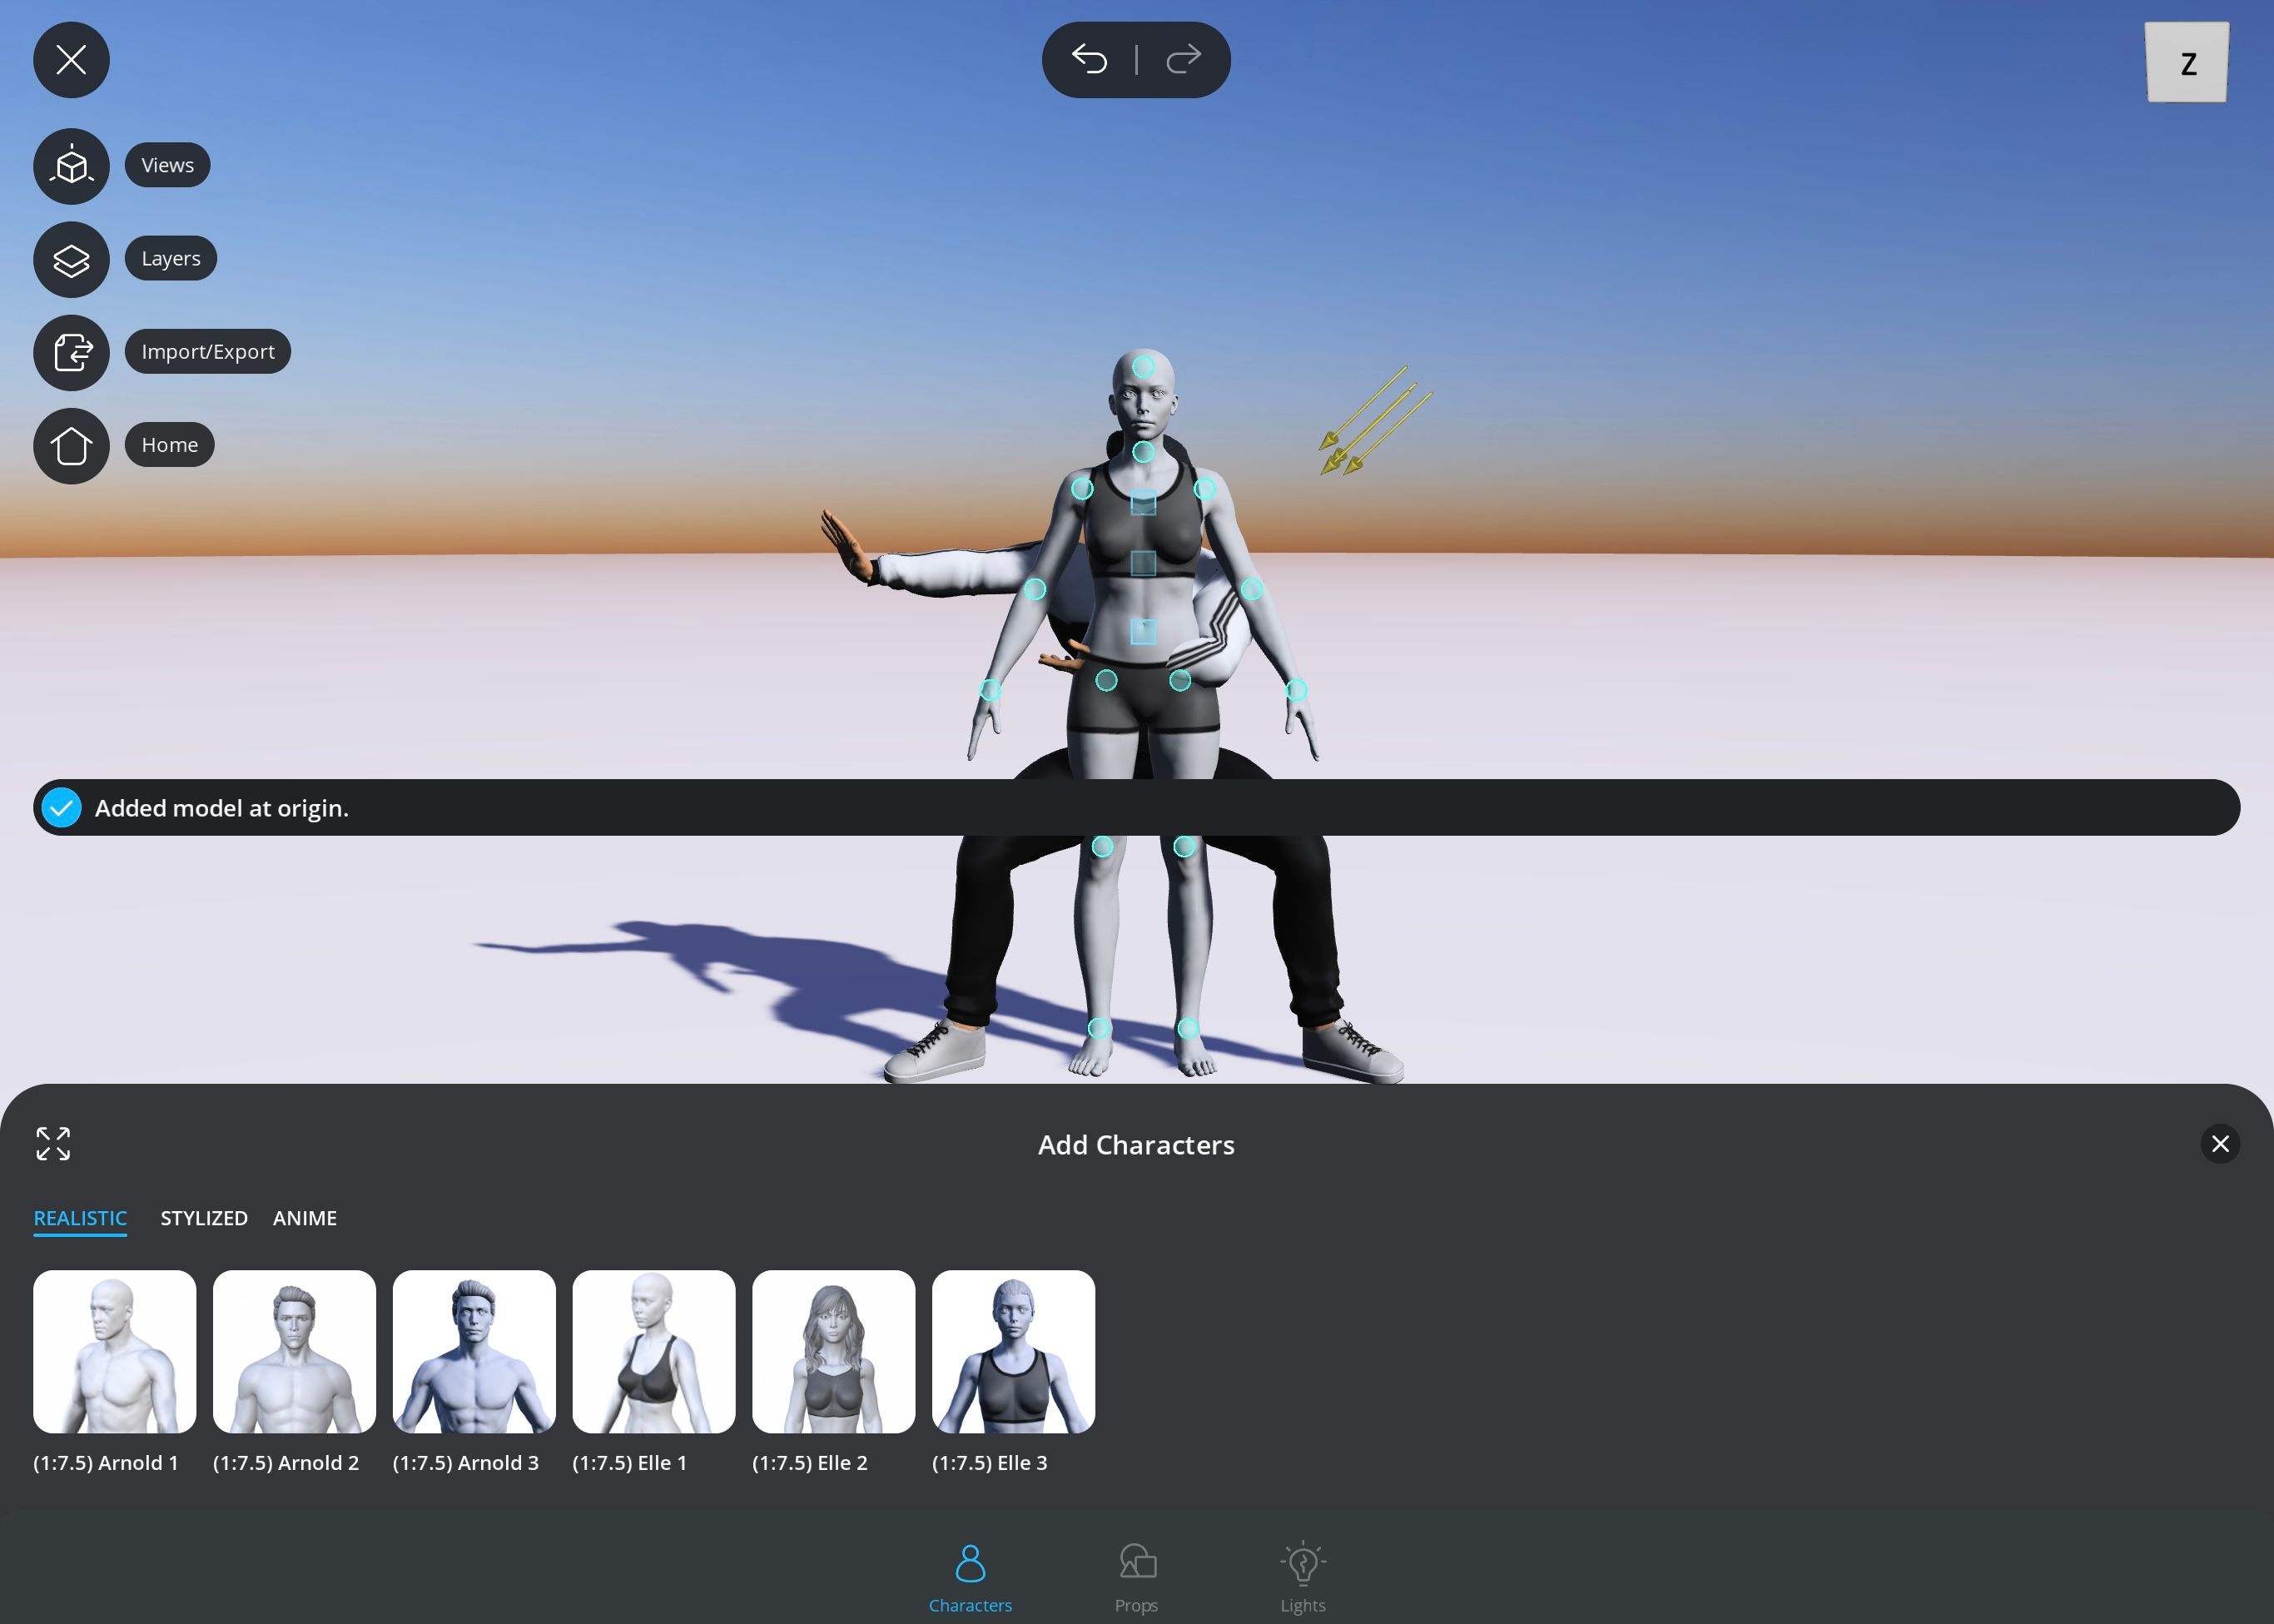
To add another object—in this case, another character to the scene—press the plus sign in the bottom right corner and choose someone from your available options. All newly added characters and props will automatically be added to the very center of the screen's axis, and they will always be neutral in form and color. You can then customize them like you did your first character.
Rotating the Light
Depending on your intention with Magic Poser, you might wish to change the direction and flow of light to suit your desired vision. There are three Light options available, but the arrows are the default.
Changing the direction of light can alter the way you perceive the surfaces of the models. To learn more about this, check out the difference between textures and materials and why it matters in 3D modeling.
You can change the direction of the light to highlight or hide certain features, and you can also create realistic shadows with the light. Moreover, if you wanted to add more lights (or use all three options available), you could do so too.
Adding Props to the Scene
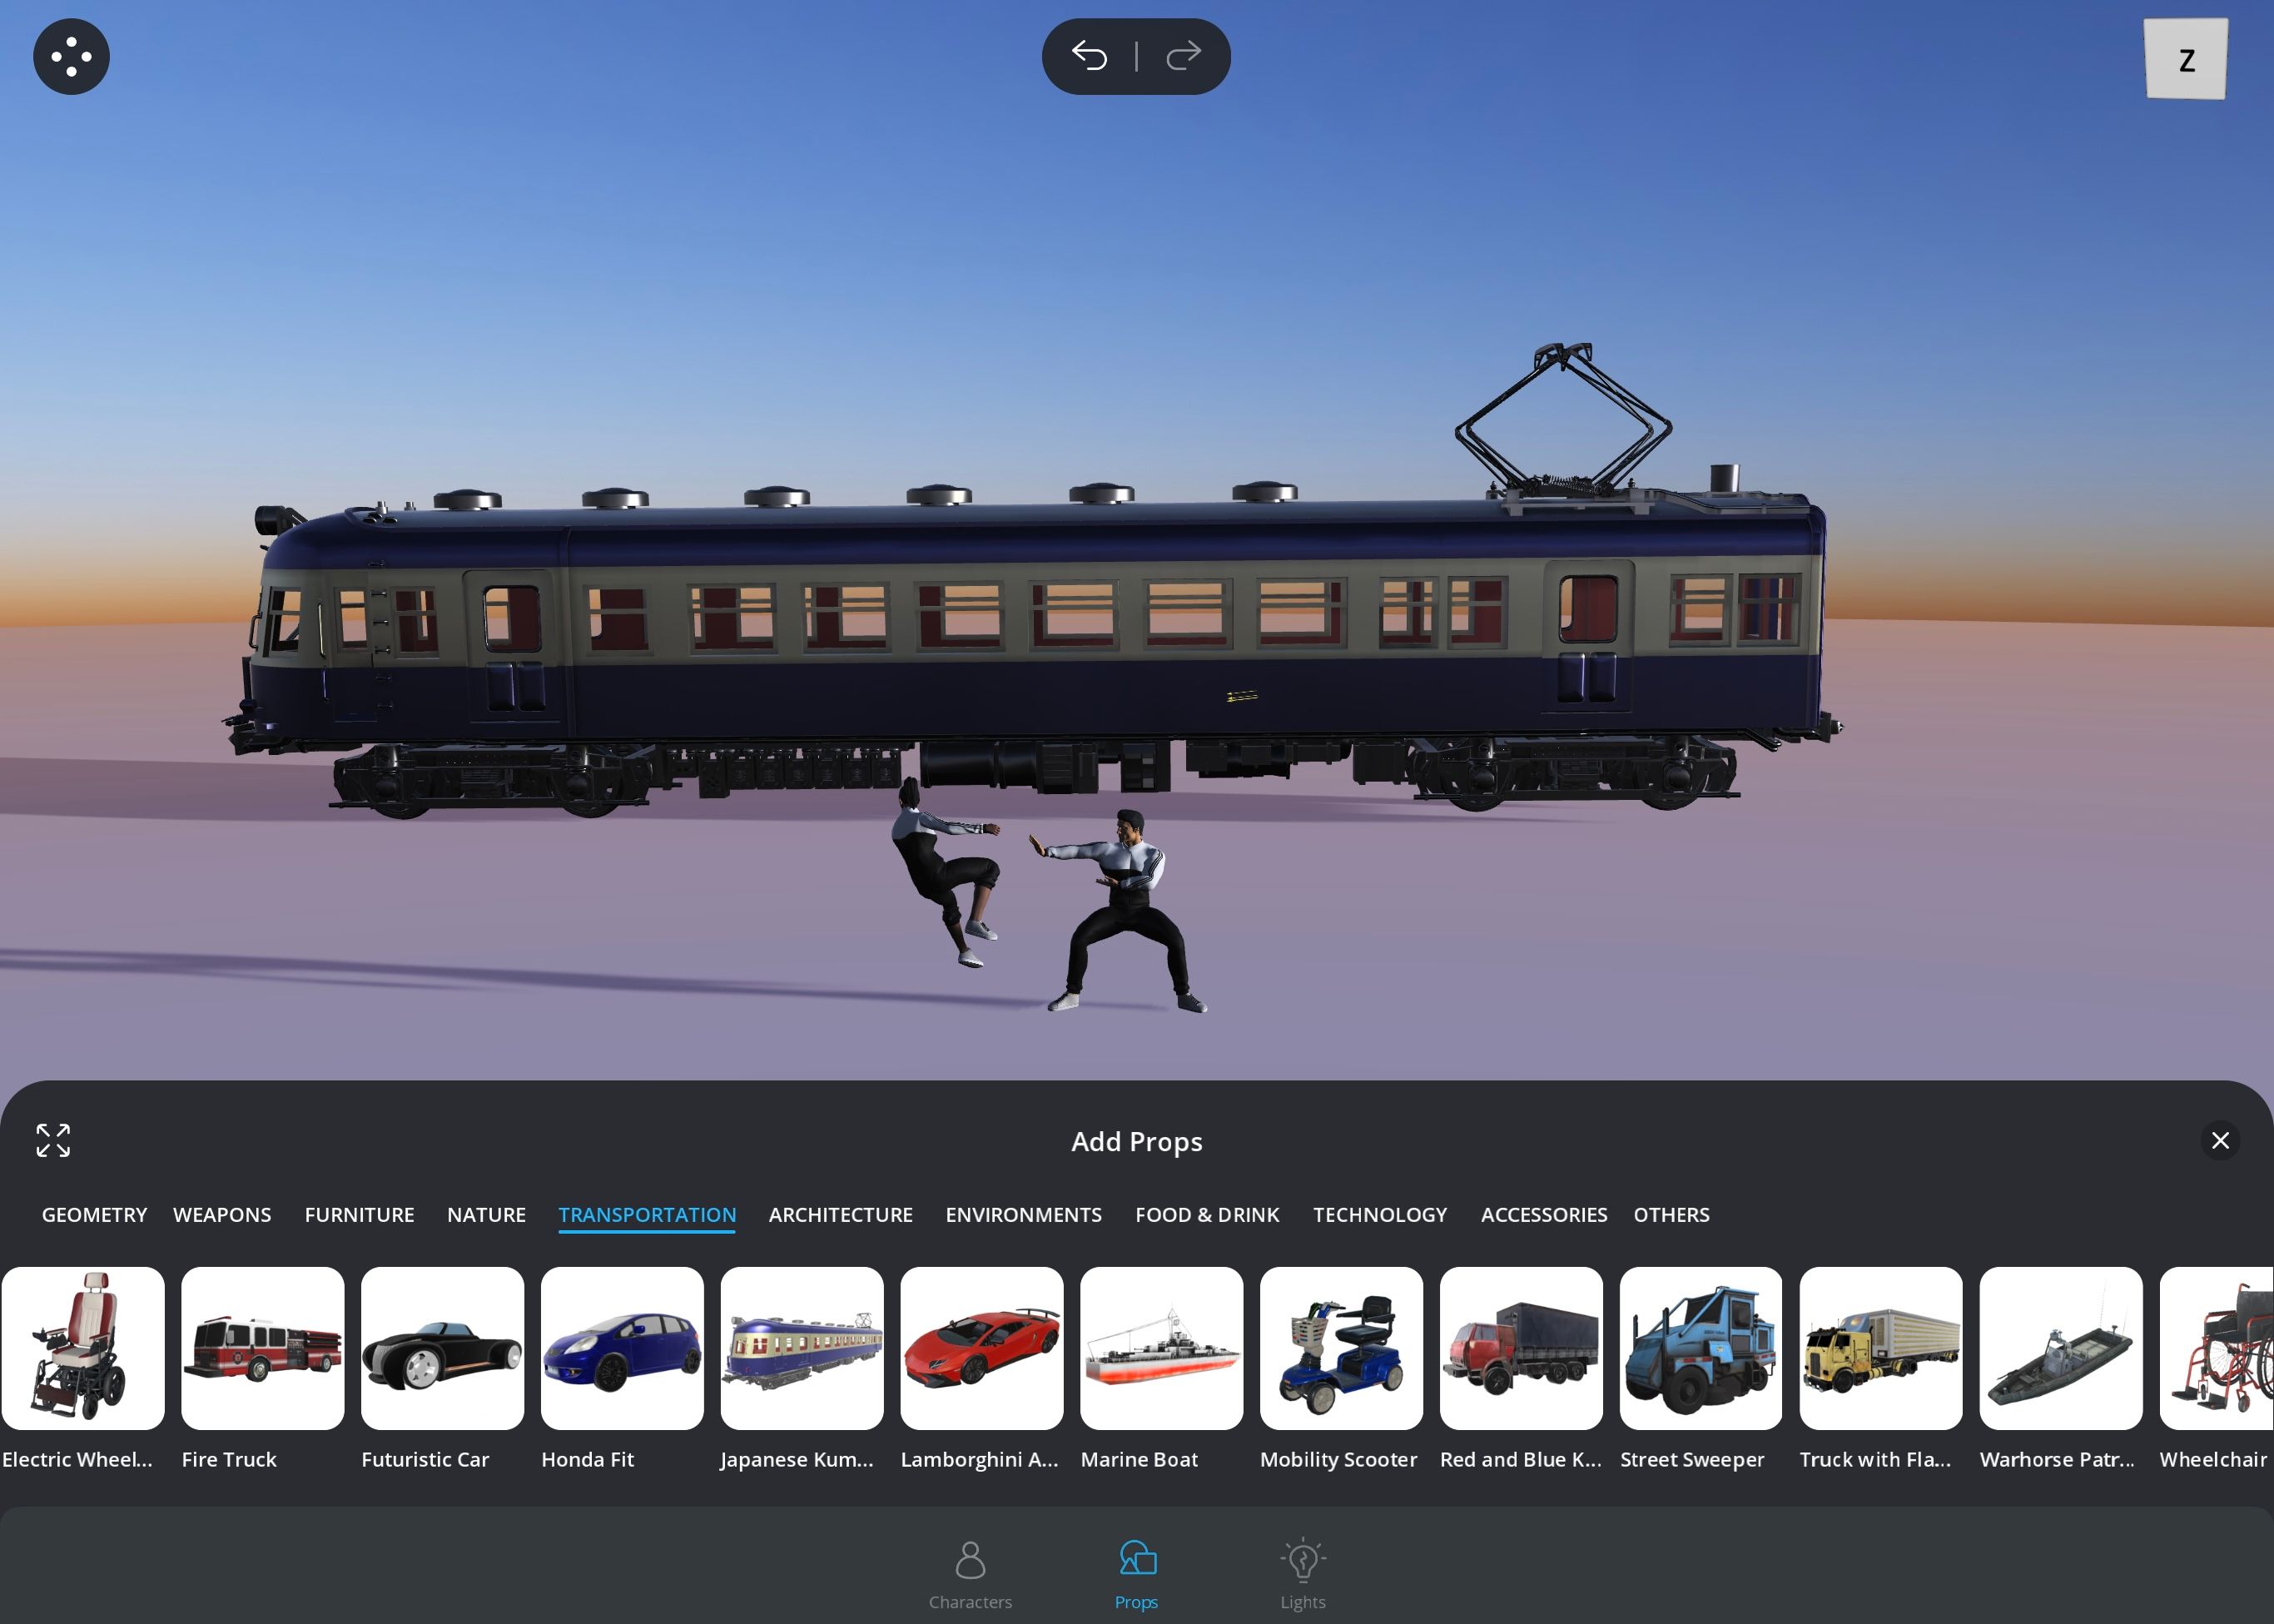
To add a prop, you can press the plus sign as you did for your additional character, but instead, choose Props this time. You will notice that the props are filtered under section headers like nature, transportation, and architecture to make finding what you need easier.
Find the prop you want, touch it to download (if it isn't downloaded already), and press it again to insert it into the scene. You can then go ahead and adjust it as needed.
Import and Export
Lastly, Import lets you import other scenes from local files, and Export allows you to export the 3D object in OBJ or Magic Poser File (.mp) format, and also as a 2D image.
3D Scenes Made Easy With Magic Poser
Magic Poser is not just for creating 3D scenes, but also for aiding artists in their illustrations. You could use Magic Poser to find an appropriate pose, or the accurate proportions for your artwork. This user-friendly app frequently gets updated with new features, so whether you're a serious digital artist or you just use the app for fun, don't be afraid to experiment.

