Animating a video is often a hard skill to master. Jitter is a browser-based tool that allows anyone to create animated motion designs. It’s a straightforward tool that’s very intuitive to use, even with no background in motion design.
If you’ve put motion design on the back burner due to its difficulty, now is the time to come out of hiding and improve your skills. Here’s everything you need to know about Jitter.
What Is Jitter?
Jitter is a browser-based motion design tool. Its simple design is great for a novice, someone who just wants to work quickly without learning a new program in-depth.
Jitter’s premise is that it’s like Figma, but for motion design. What does this mean? Well, Figma is an easy-to-use browser-based tool for UX/UI design. Not to mention, Figma has also become the leading tool for the UX/UI design industry, becoming more popular than the previous industry standard: Adobe. Jitter aims to become that and more.
You may know of Adobe’s After Effects software. Often used for video design and animation, great for creating motion designs for social media or creating LottieFiles for your UX/UI design. But it's hard to learn and takes up a lot of space on your hard drive. You won’t have those problems using Jitter. It is motion design for the true beginner. It boasts an intuitive interface, simple actions, and great results.
Is Jitter Free?
The best thing about Jitter is that it’s available for free. At least, it has a free option with plenty you can do. There’s also a premium option that gives you a little more freedom in motion design.
Jitter’s free plan gives you unlimited projects, allowing you the chance to learn and create as much as you want; however, the designs will have a Jitter watermark on them. Depending on your intended use for the video, you may find some creative cropping allows you to use the video without the watermark on display.
You can export in both GIF and video outputs. This is great for any social media use, such as creating Instagram Stories or posts. You can even make a YouTube intro. With the free version, you can only export in 720p at 30fps. The free version gives you plenty of design options, and most people probably wouldn’t need that much more from the paid plan.
You can cancel your paid plan at any time. There are two payment options: $18 per month for monthly billing, or the equivalent of $12 per month but billed yearly at $114.
With Jitter’s paid plan, you can export your video designs without the watermark, you have priority support if needed, and—on top of everything in the free plan—you can export in 1080p at 60fps. You also get the huge benefit of exporting with a transparent background. Although there are workarounds to get transparency with the free version, it’s much easier to access it simply while exporting.
Templates
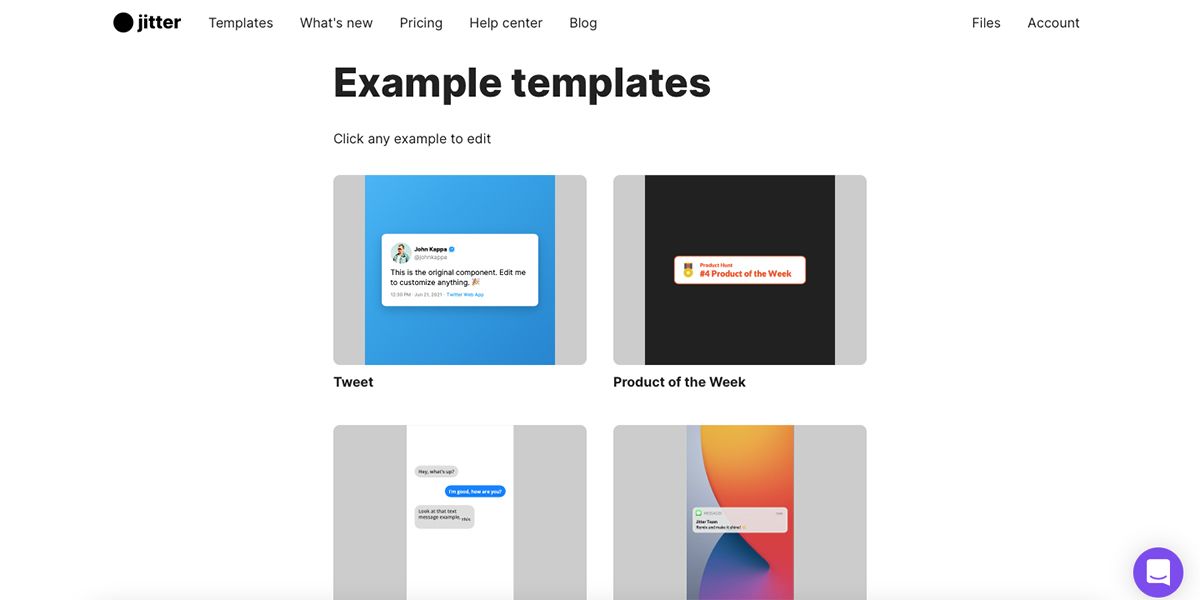
Regardless if you have access to the free or paid plan, Jitter offers a huge library of motion design templates for you to use. These templates follow trending designs—like a Tweet or text message thread—as well as geometric background designs or button styles. These can be great to add to a YouTube video as well.
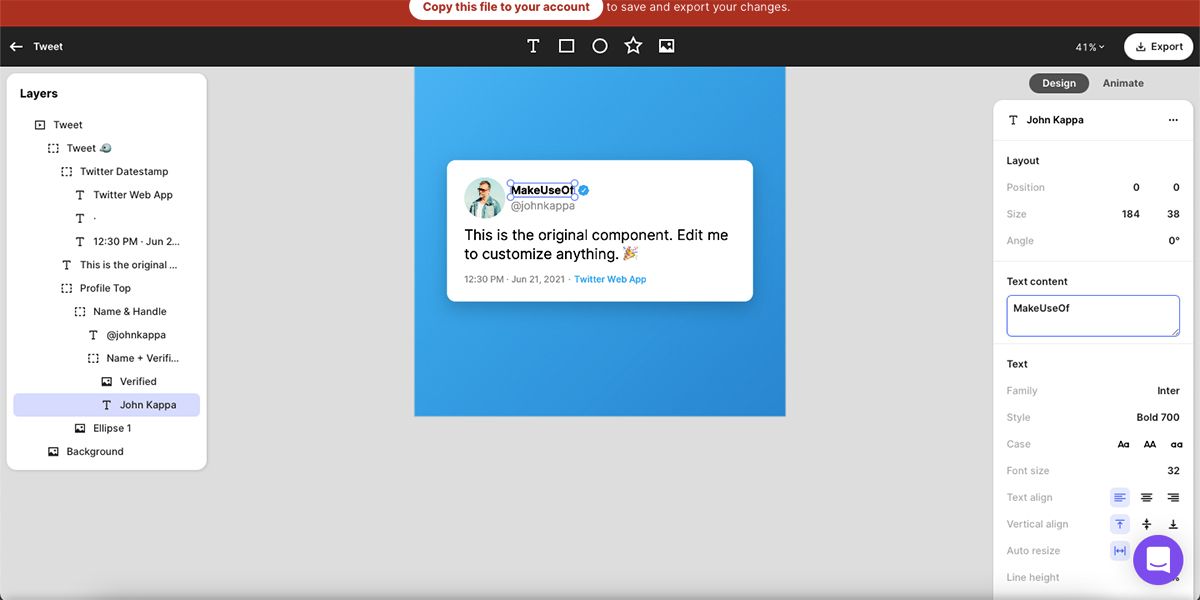
Even with the huge selection of templates, each one can be edited to make it unique to your style and brand. The templates are a great guide to learning how Jitter works. Clicking on any template will bring the design into the workspace. The workspace offers two different ways to change your motion design; there’s a Design workspace and an Animation workspace.
You can keep the same animation style and timings from the template but change the content of the design—such as editing the words in the Tweet or changing the background color. You can also change the animation settings separately—maybe you want an element to fade rather than spin, you can do that. This part has a bit of a learning curve, however.
Customization
Jitter’s design space offers a couple of different ways to create custom motion designs from scratch. While the templates are a great starting tool, at some point, you might not want to use all the same designs as other people anymore. Why not create your own unique designs?
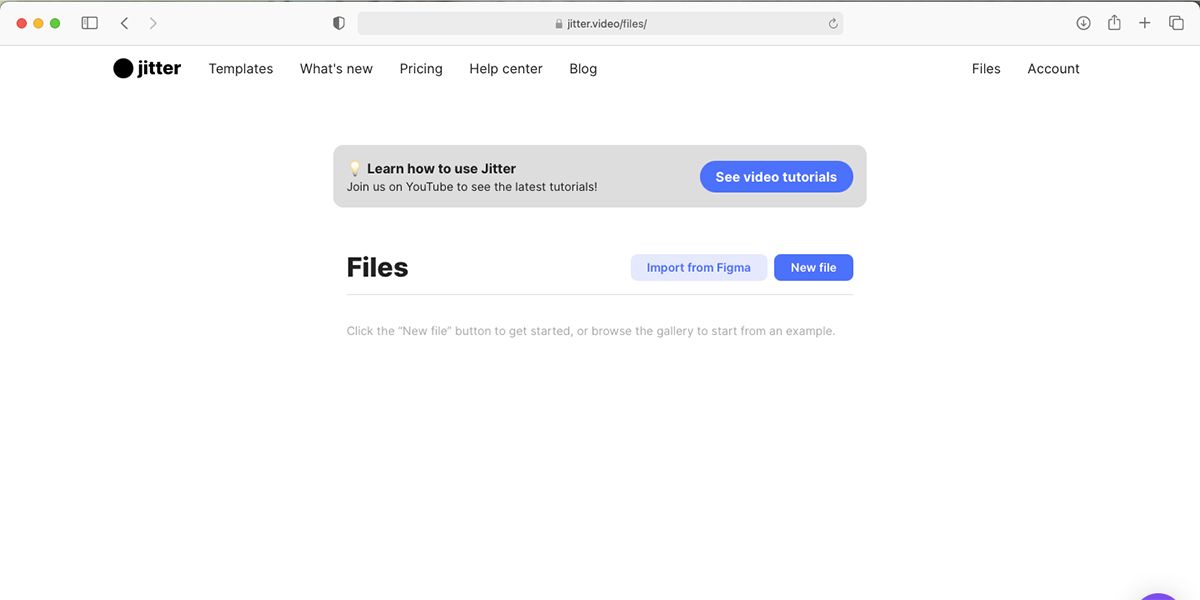
One great way to use Jitter is by importing your files from Figma, with a Figma plugin. If you’ve got a UX/UI design you’ve made in Figma that’s lacking some animated elements, import the design straight to Jitter with the click of a button. This adds another great tool to use with Figma.
But if you want to create a motion design that’s not related to Figma or UX/UI design, you can make a design from scratch with New File. This option is great for experimenting and creating something unique.
It offers you a blank canvas on which you can create or import any design elements to animate. Jitter treats imported video clips the same way as a rectangle design element, so you can import video clips and round the corners out, change the size, or edit it in any way that you could manipulate a rectangle element.
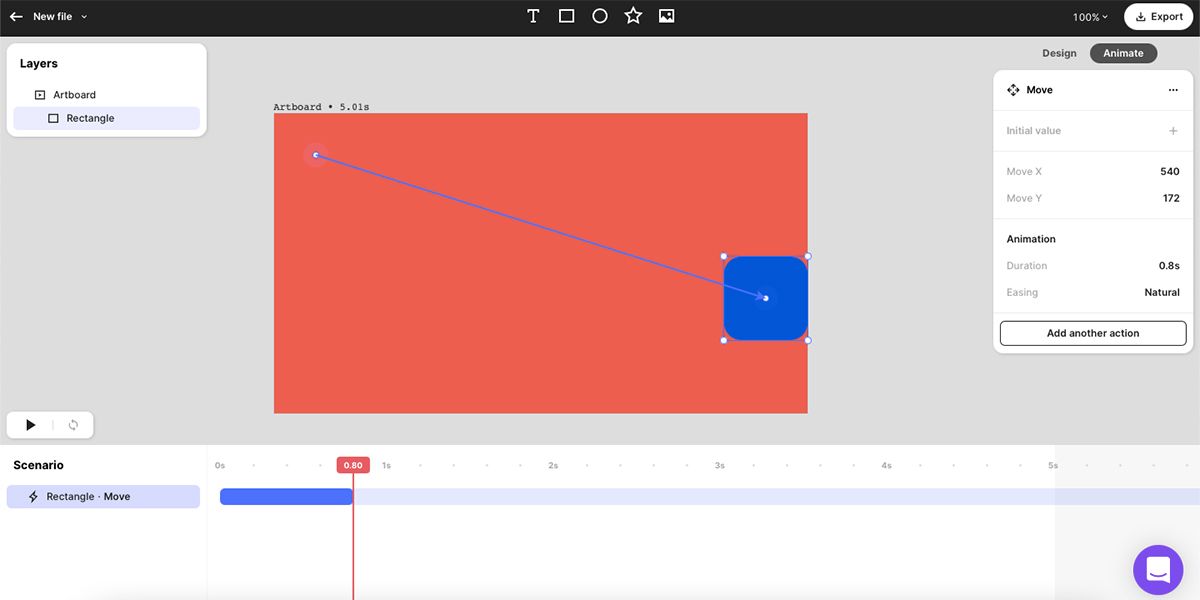
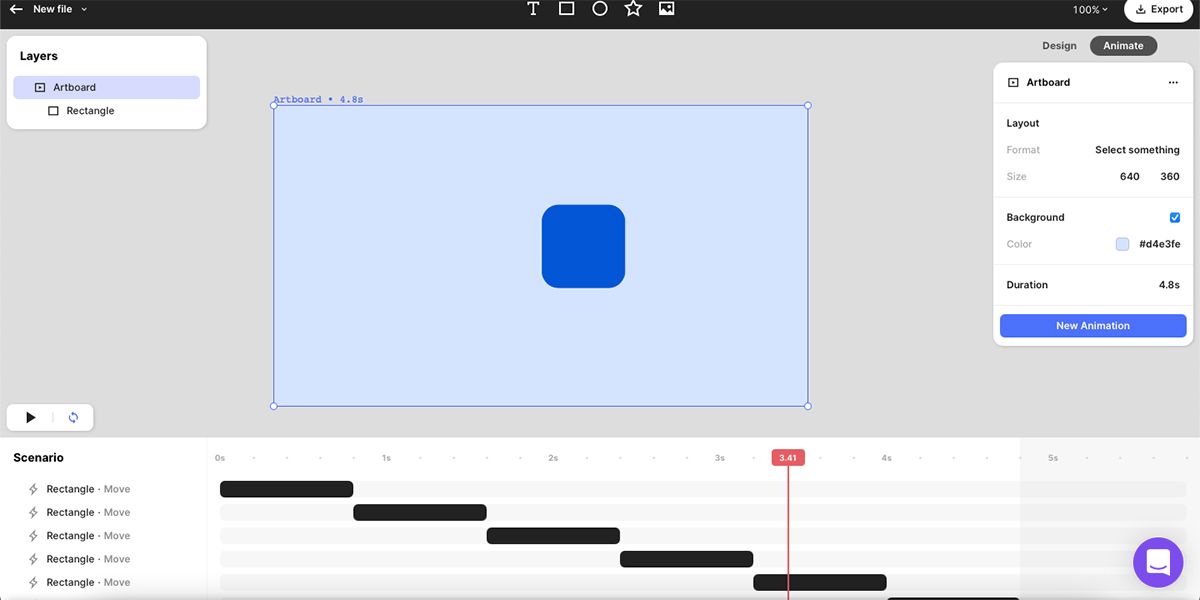
Once your design elements are in place, switch from Design to Animate, so that you can animate them. There are premade animation options, like Fade, Scale, Mask, and plenty of custom options. The custom options allow you to Move, Scale, and Color with custom animation elements.
Although the system looks simple, you can create plenty of cool animations that have the mark of professional animation. With the tool being free, it allows for plenty of experimentation without loss of money, storage space, or time learning how Jitter works.
Motion Design Made Easy With Jitter
Whether you’re using the provided templates or creating videos from scratch, Jitter can change the way you create. It’s a great tool to add to your skillset, and one that won’t take long to learn but will give you impressive results.

