If you’re starting to learn more about photography, you might hear the term f-stop frequently. The f-stop setting on your camera is one of the most essential tools for getting a sharp, clear image.
When you take your camera out of Auto mode, you may find your images look either too dark or out-of-focus. In both cases, you probably set your f-stop incorrectly.
In this article, you’ll learn about the f-stop, why it’s important, and how you should change it in different scenarios.
What Does F-Stop Mean?
Whether you're new to photography, or a seasoned veteran, the f-stop is a photography term you must know.
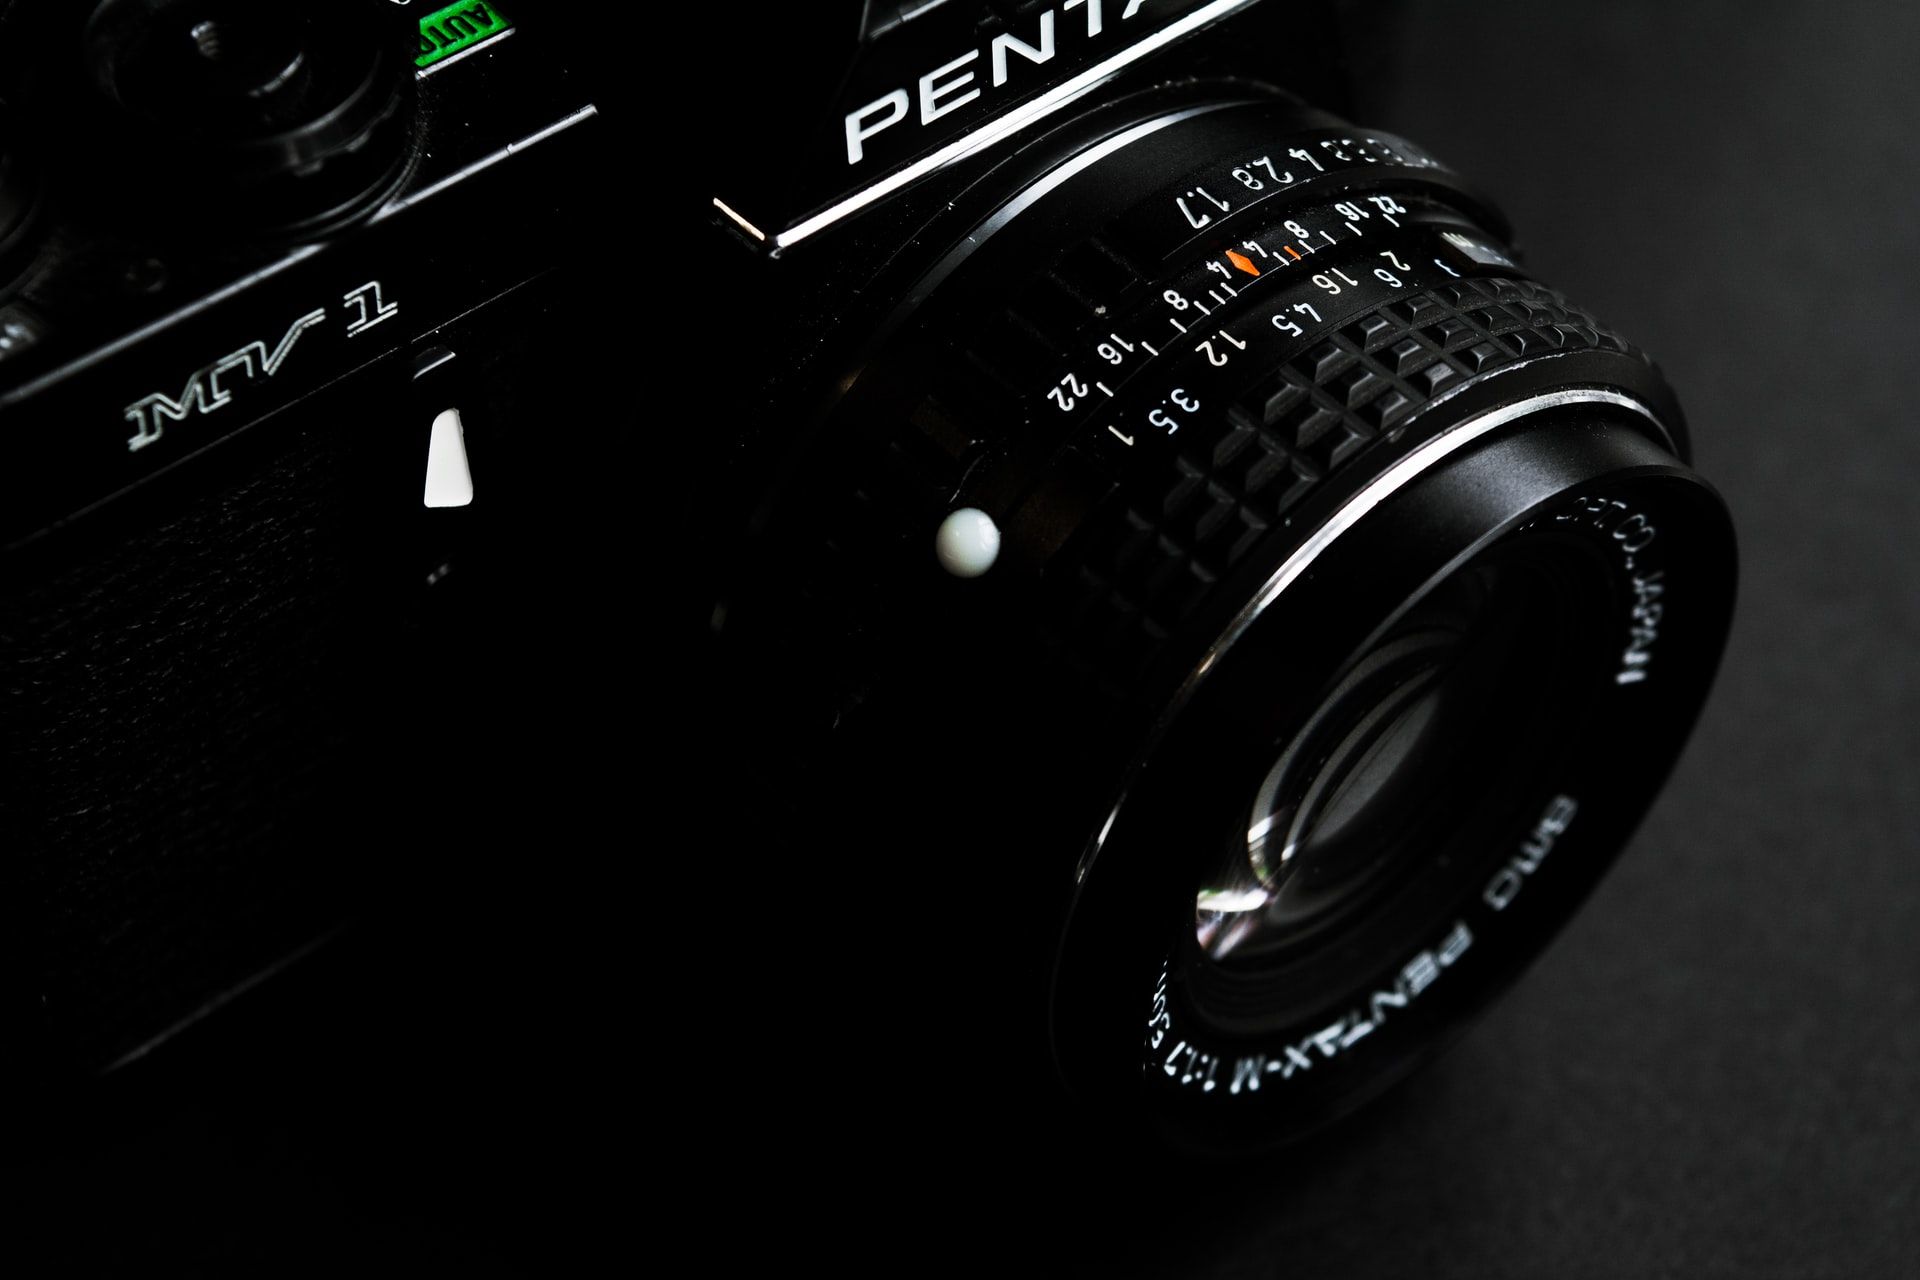
The f-stop refers to focal length. The feature is usually marked with f-numbers on your camera, which is where its name comes from.
When you change the f-stop on your camera, you decide how big or small your aperture will be for a particular photo. If you set the aperture at a higher number, your camera will let in less light. When the aperture on your camera is lower, more light will get into the device.
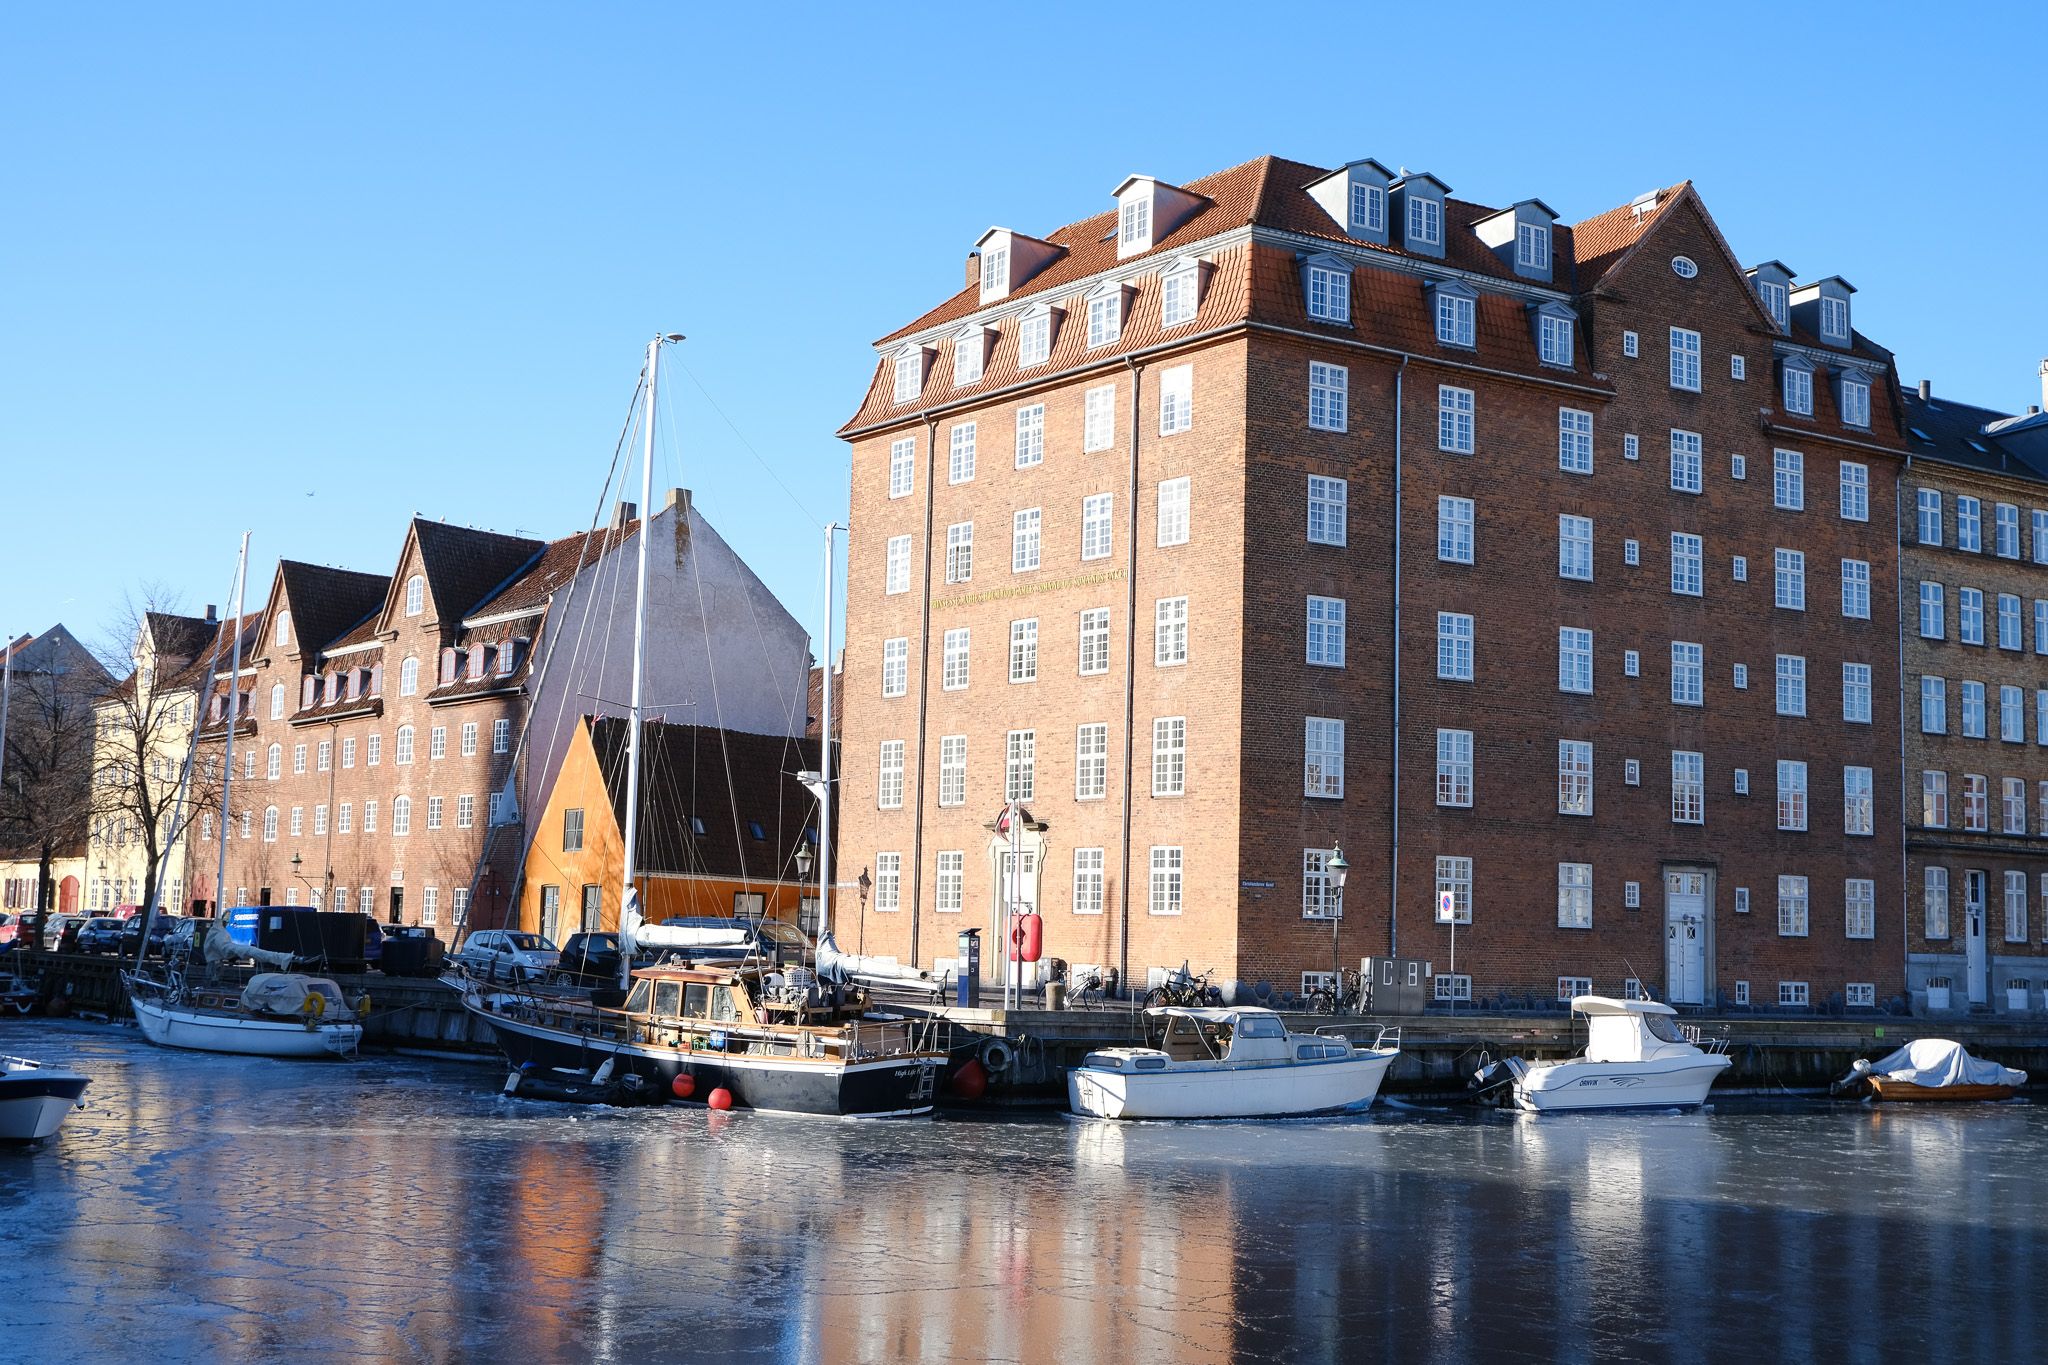
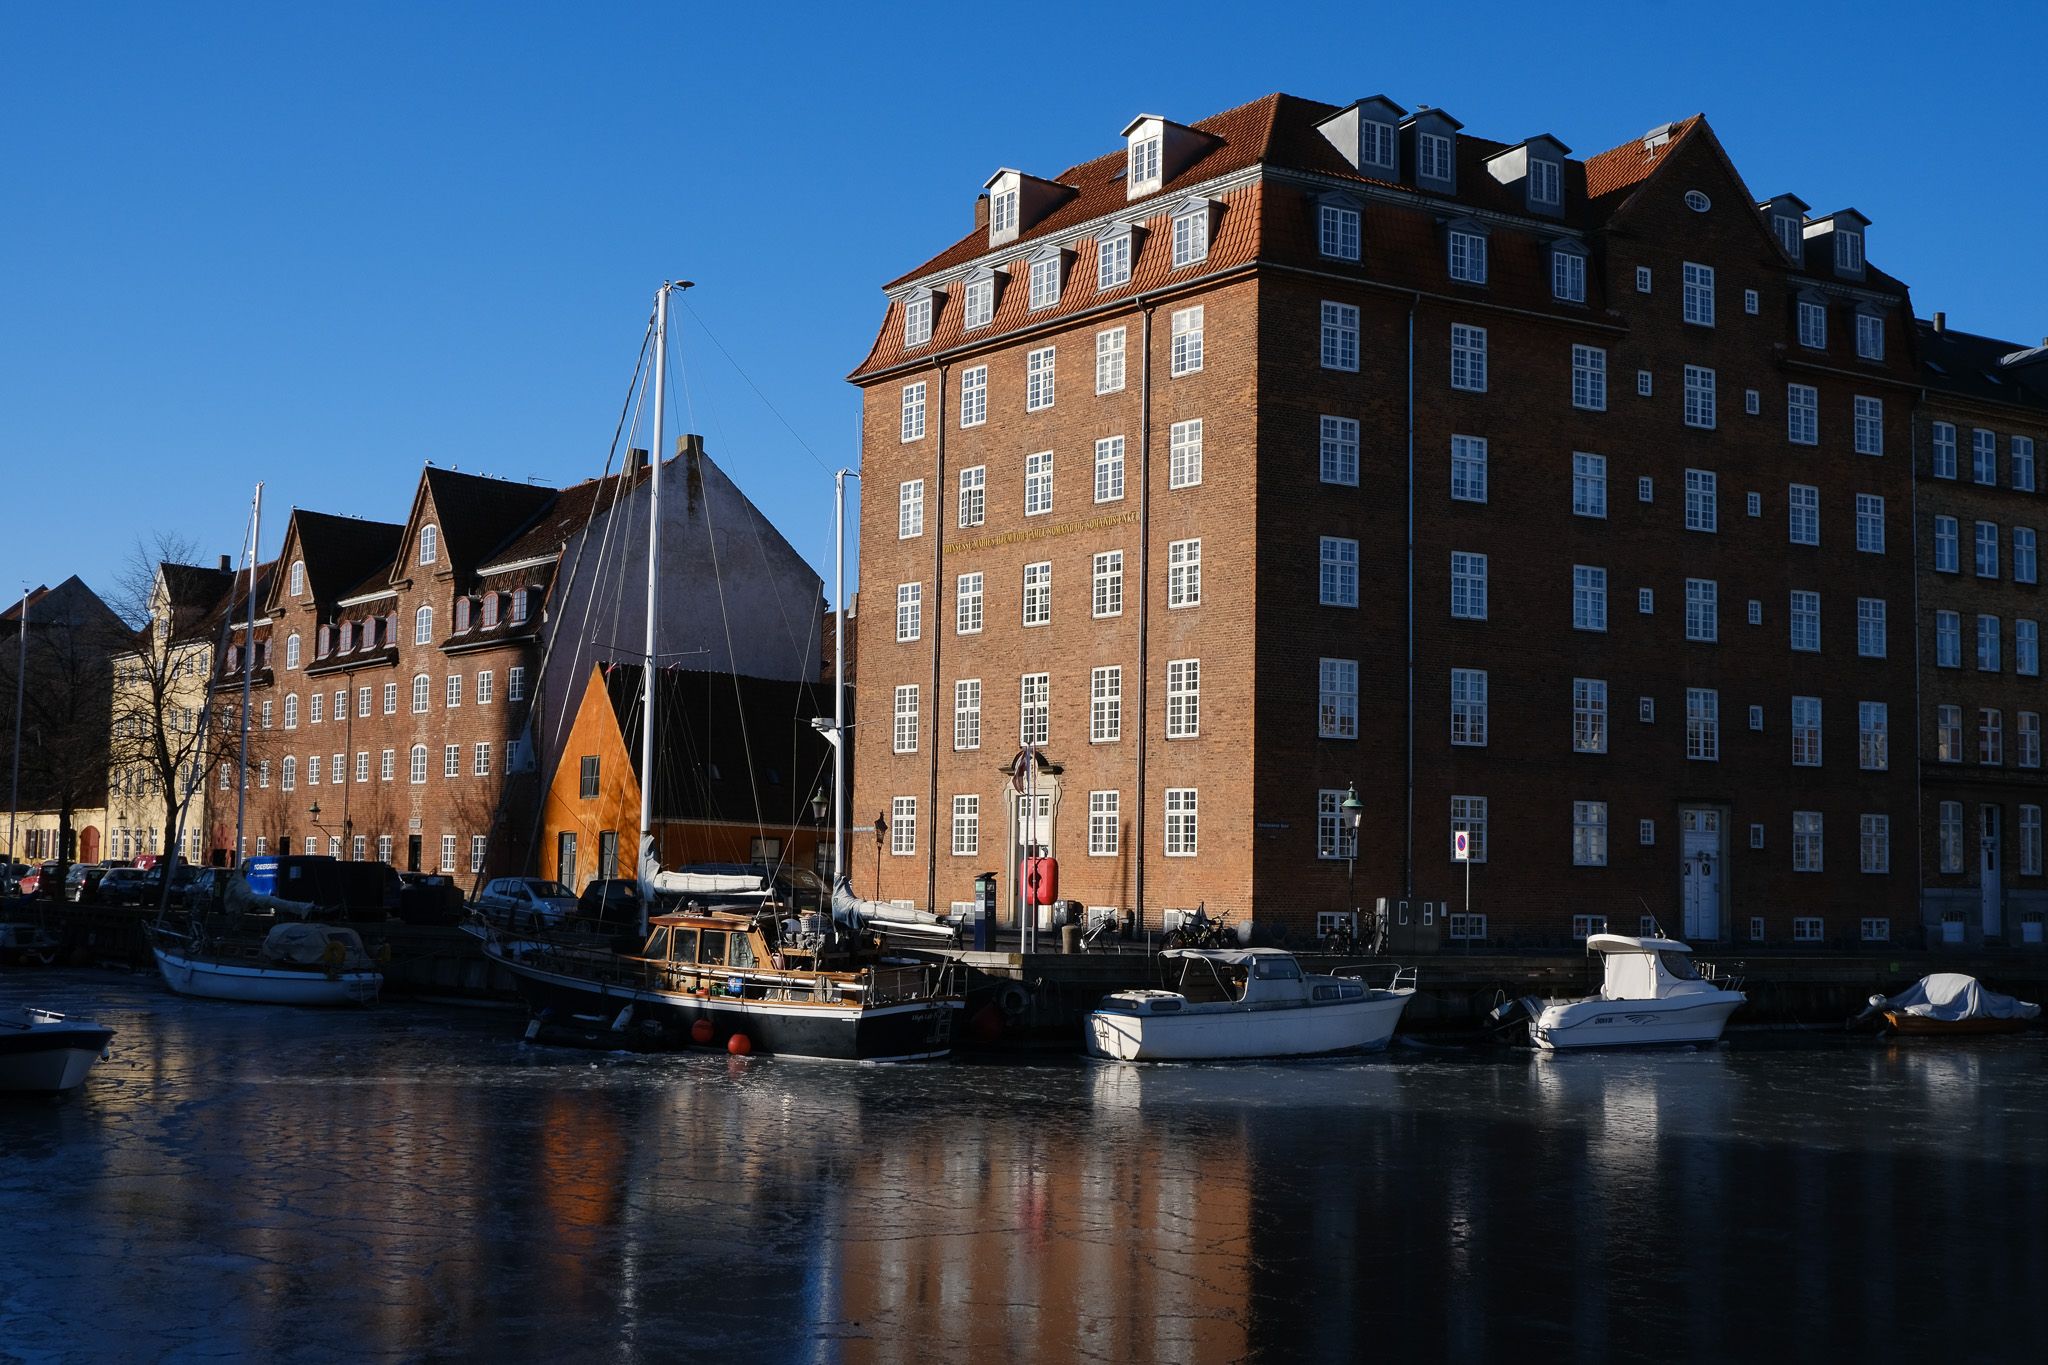
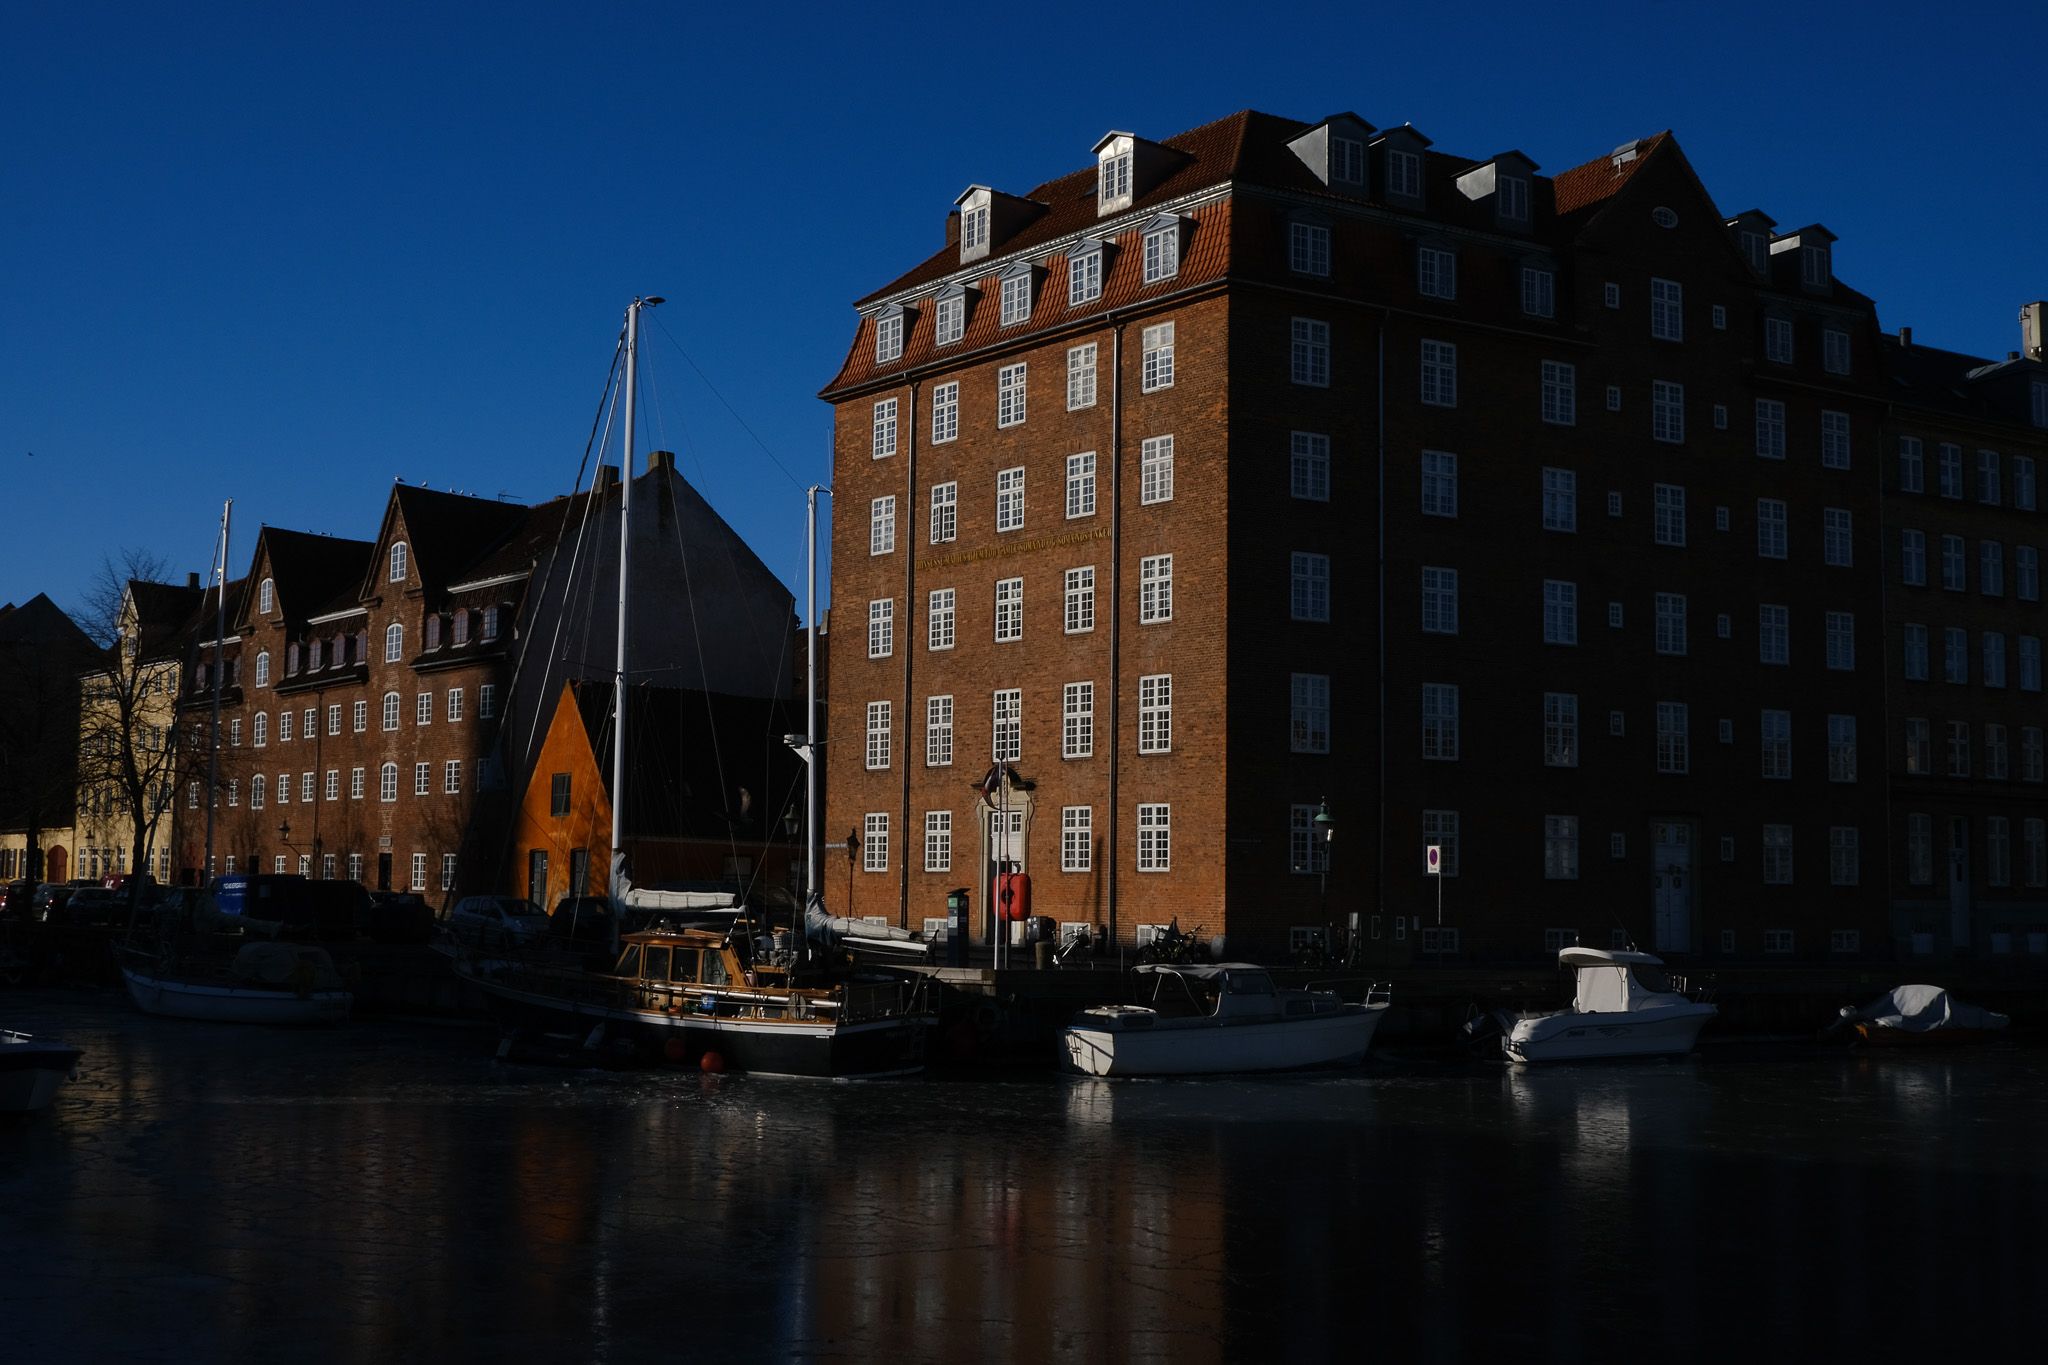
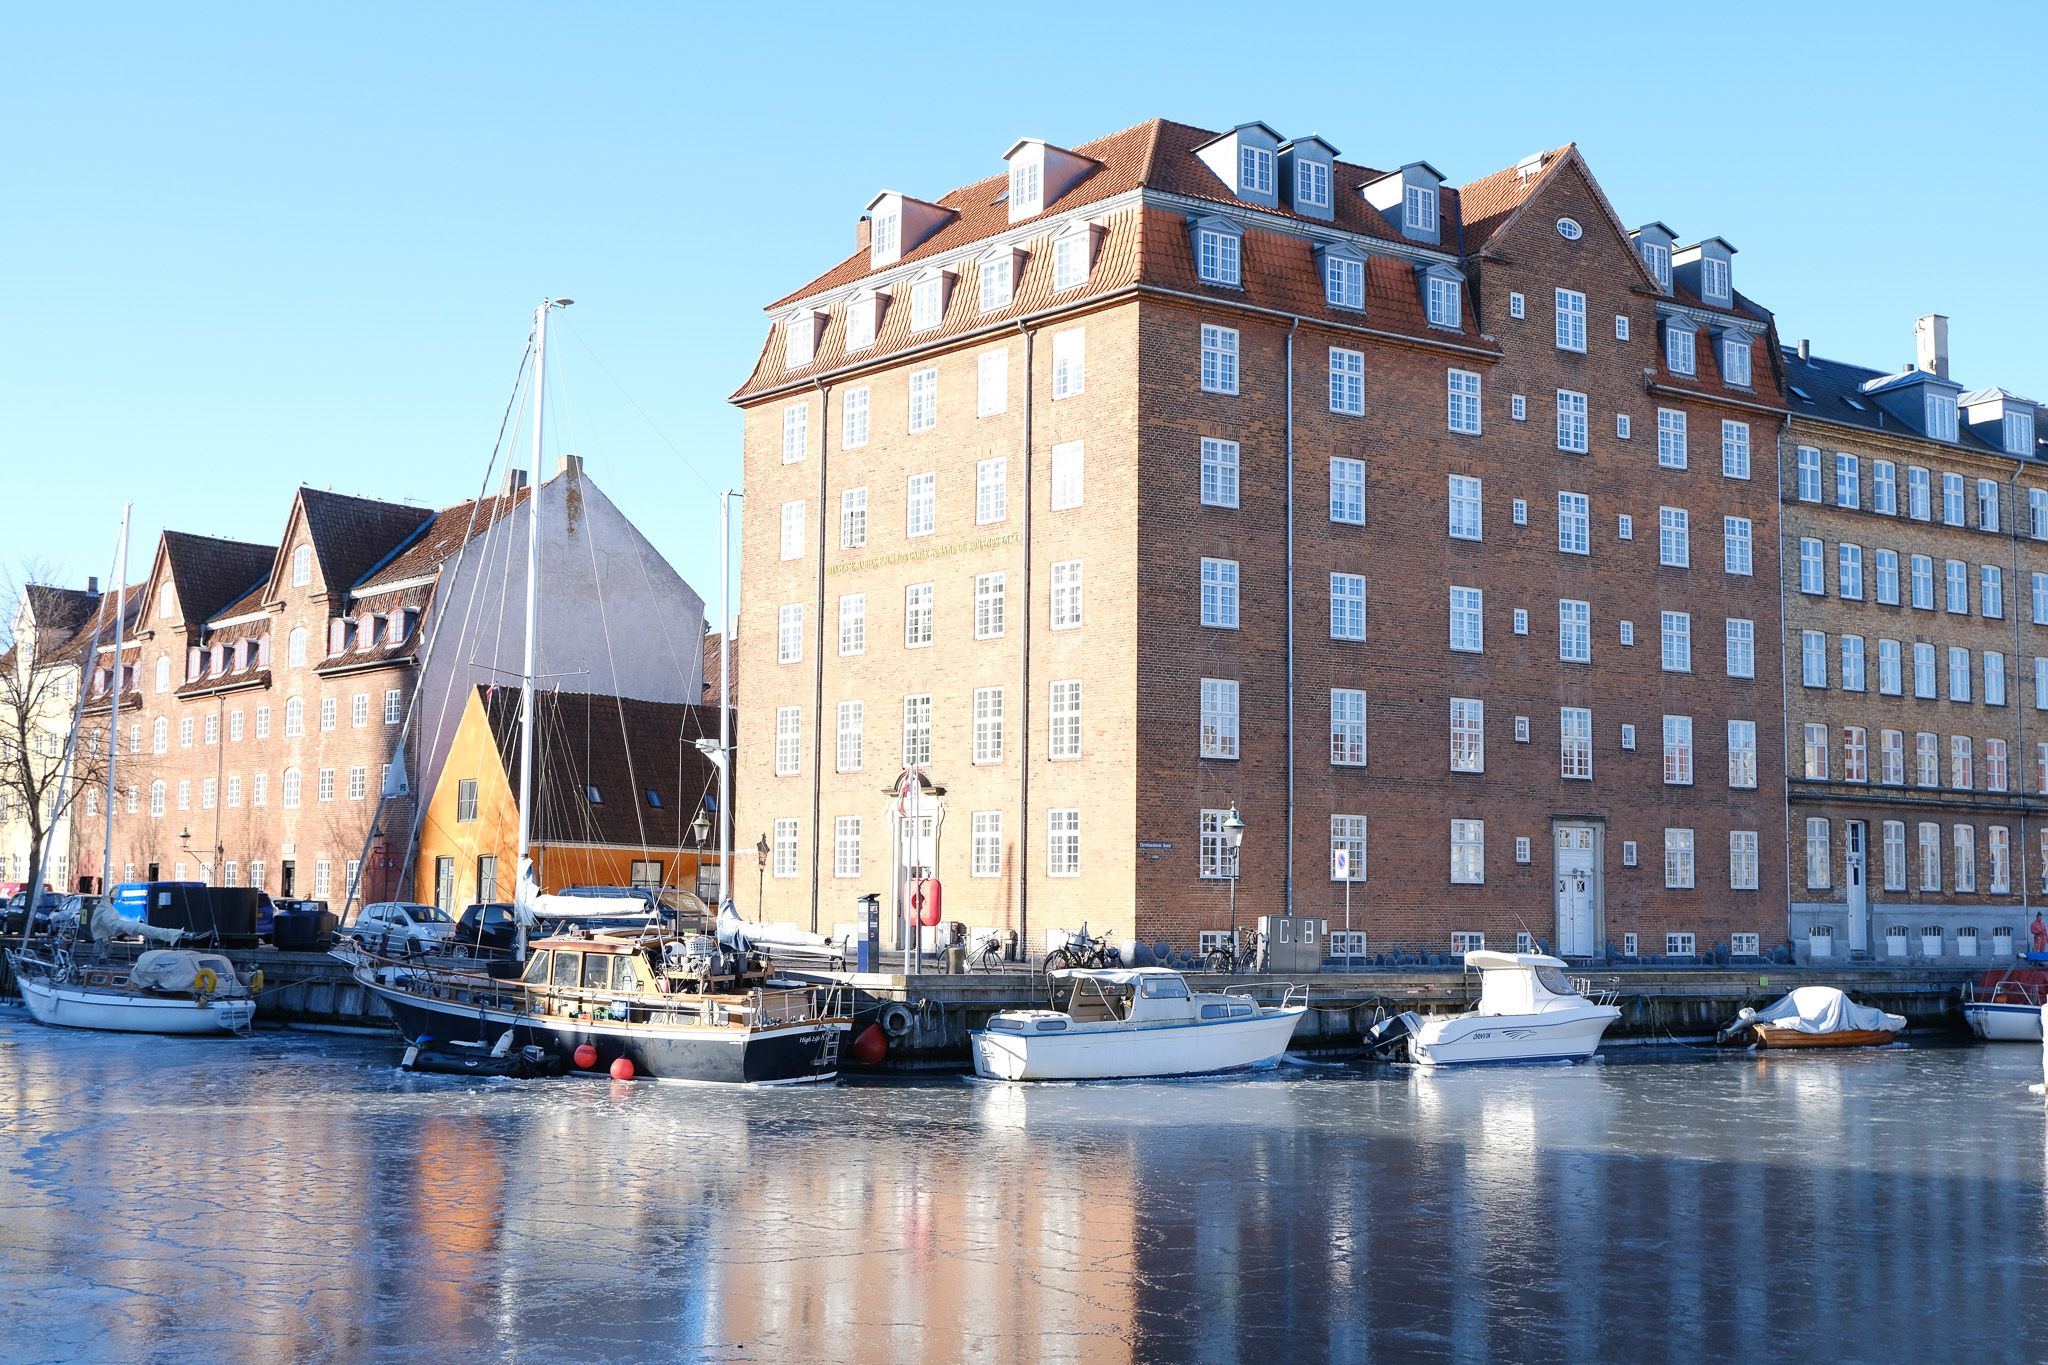
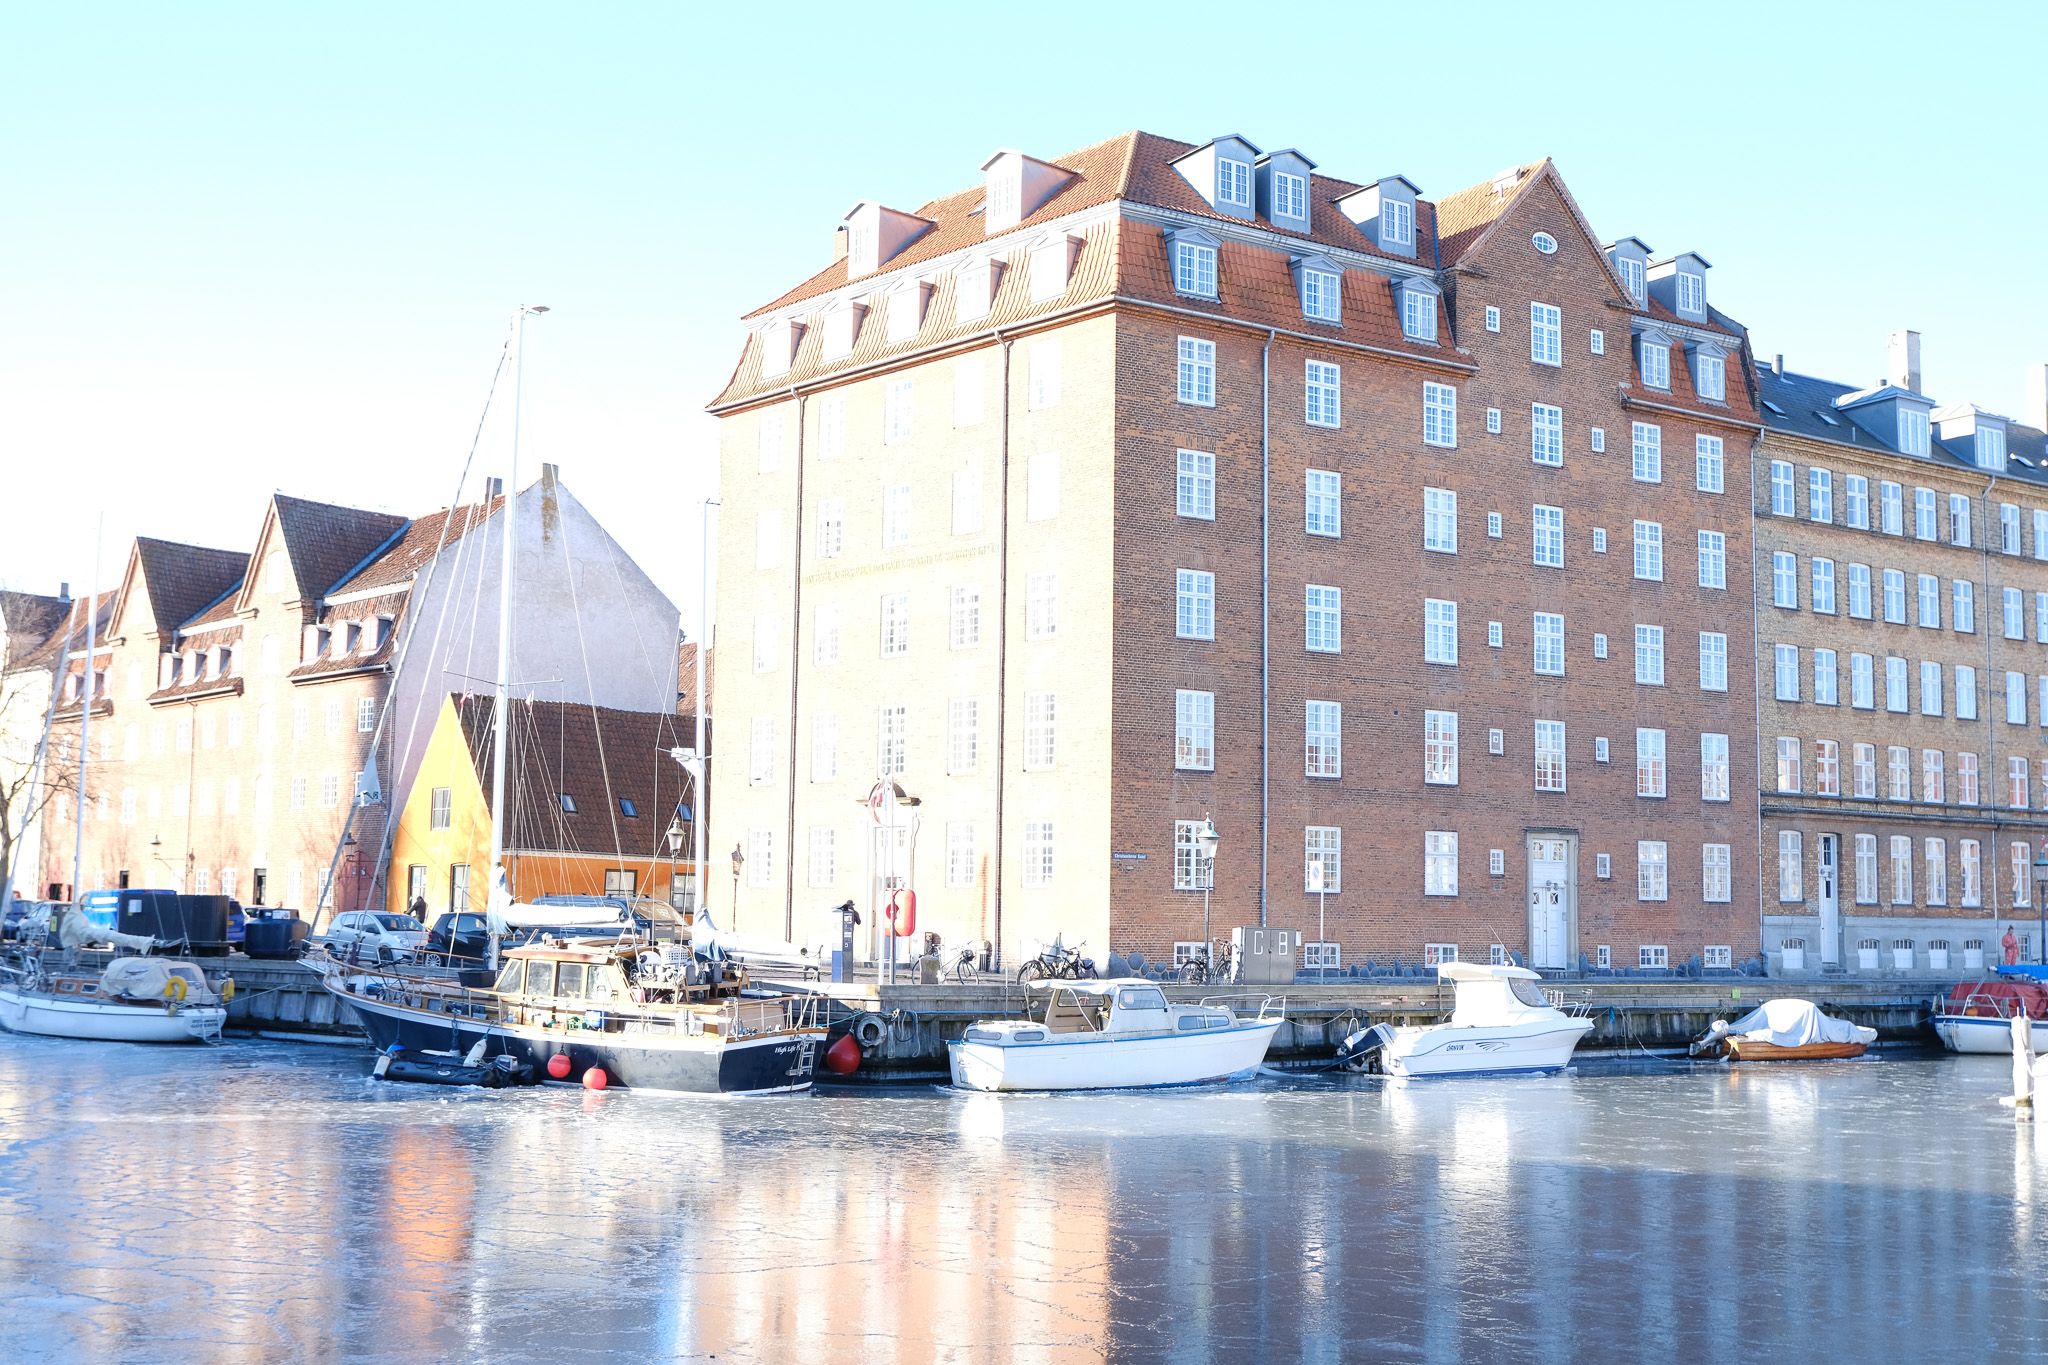
Below, you can see examples of the same photo taken at five different aperture lengths.
f/8:
f/14:
f/22:
f/6.4:
f/4.4:
Besides making your picture lighter or darker, adjusting the aperture on your camera will also determine how much of your photo is in focus.
When taking a picture at a lower f-stop, the main image subject will be sharper. However, the background will also be more blurry. This is why photos taken with a smaller aperture number have a shallow depth of field. The portrait below is an example of this:
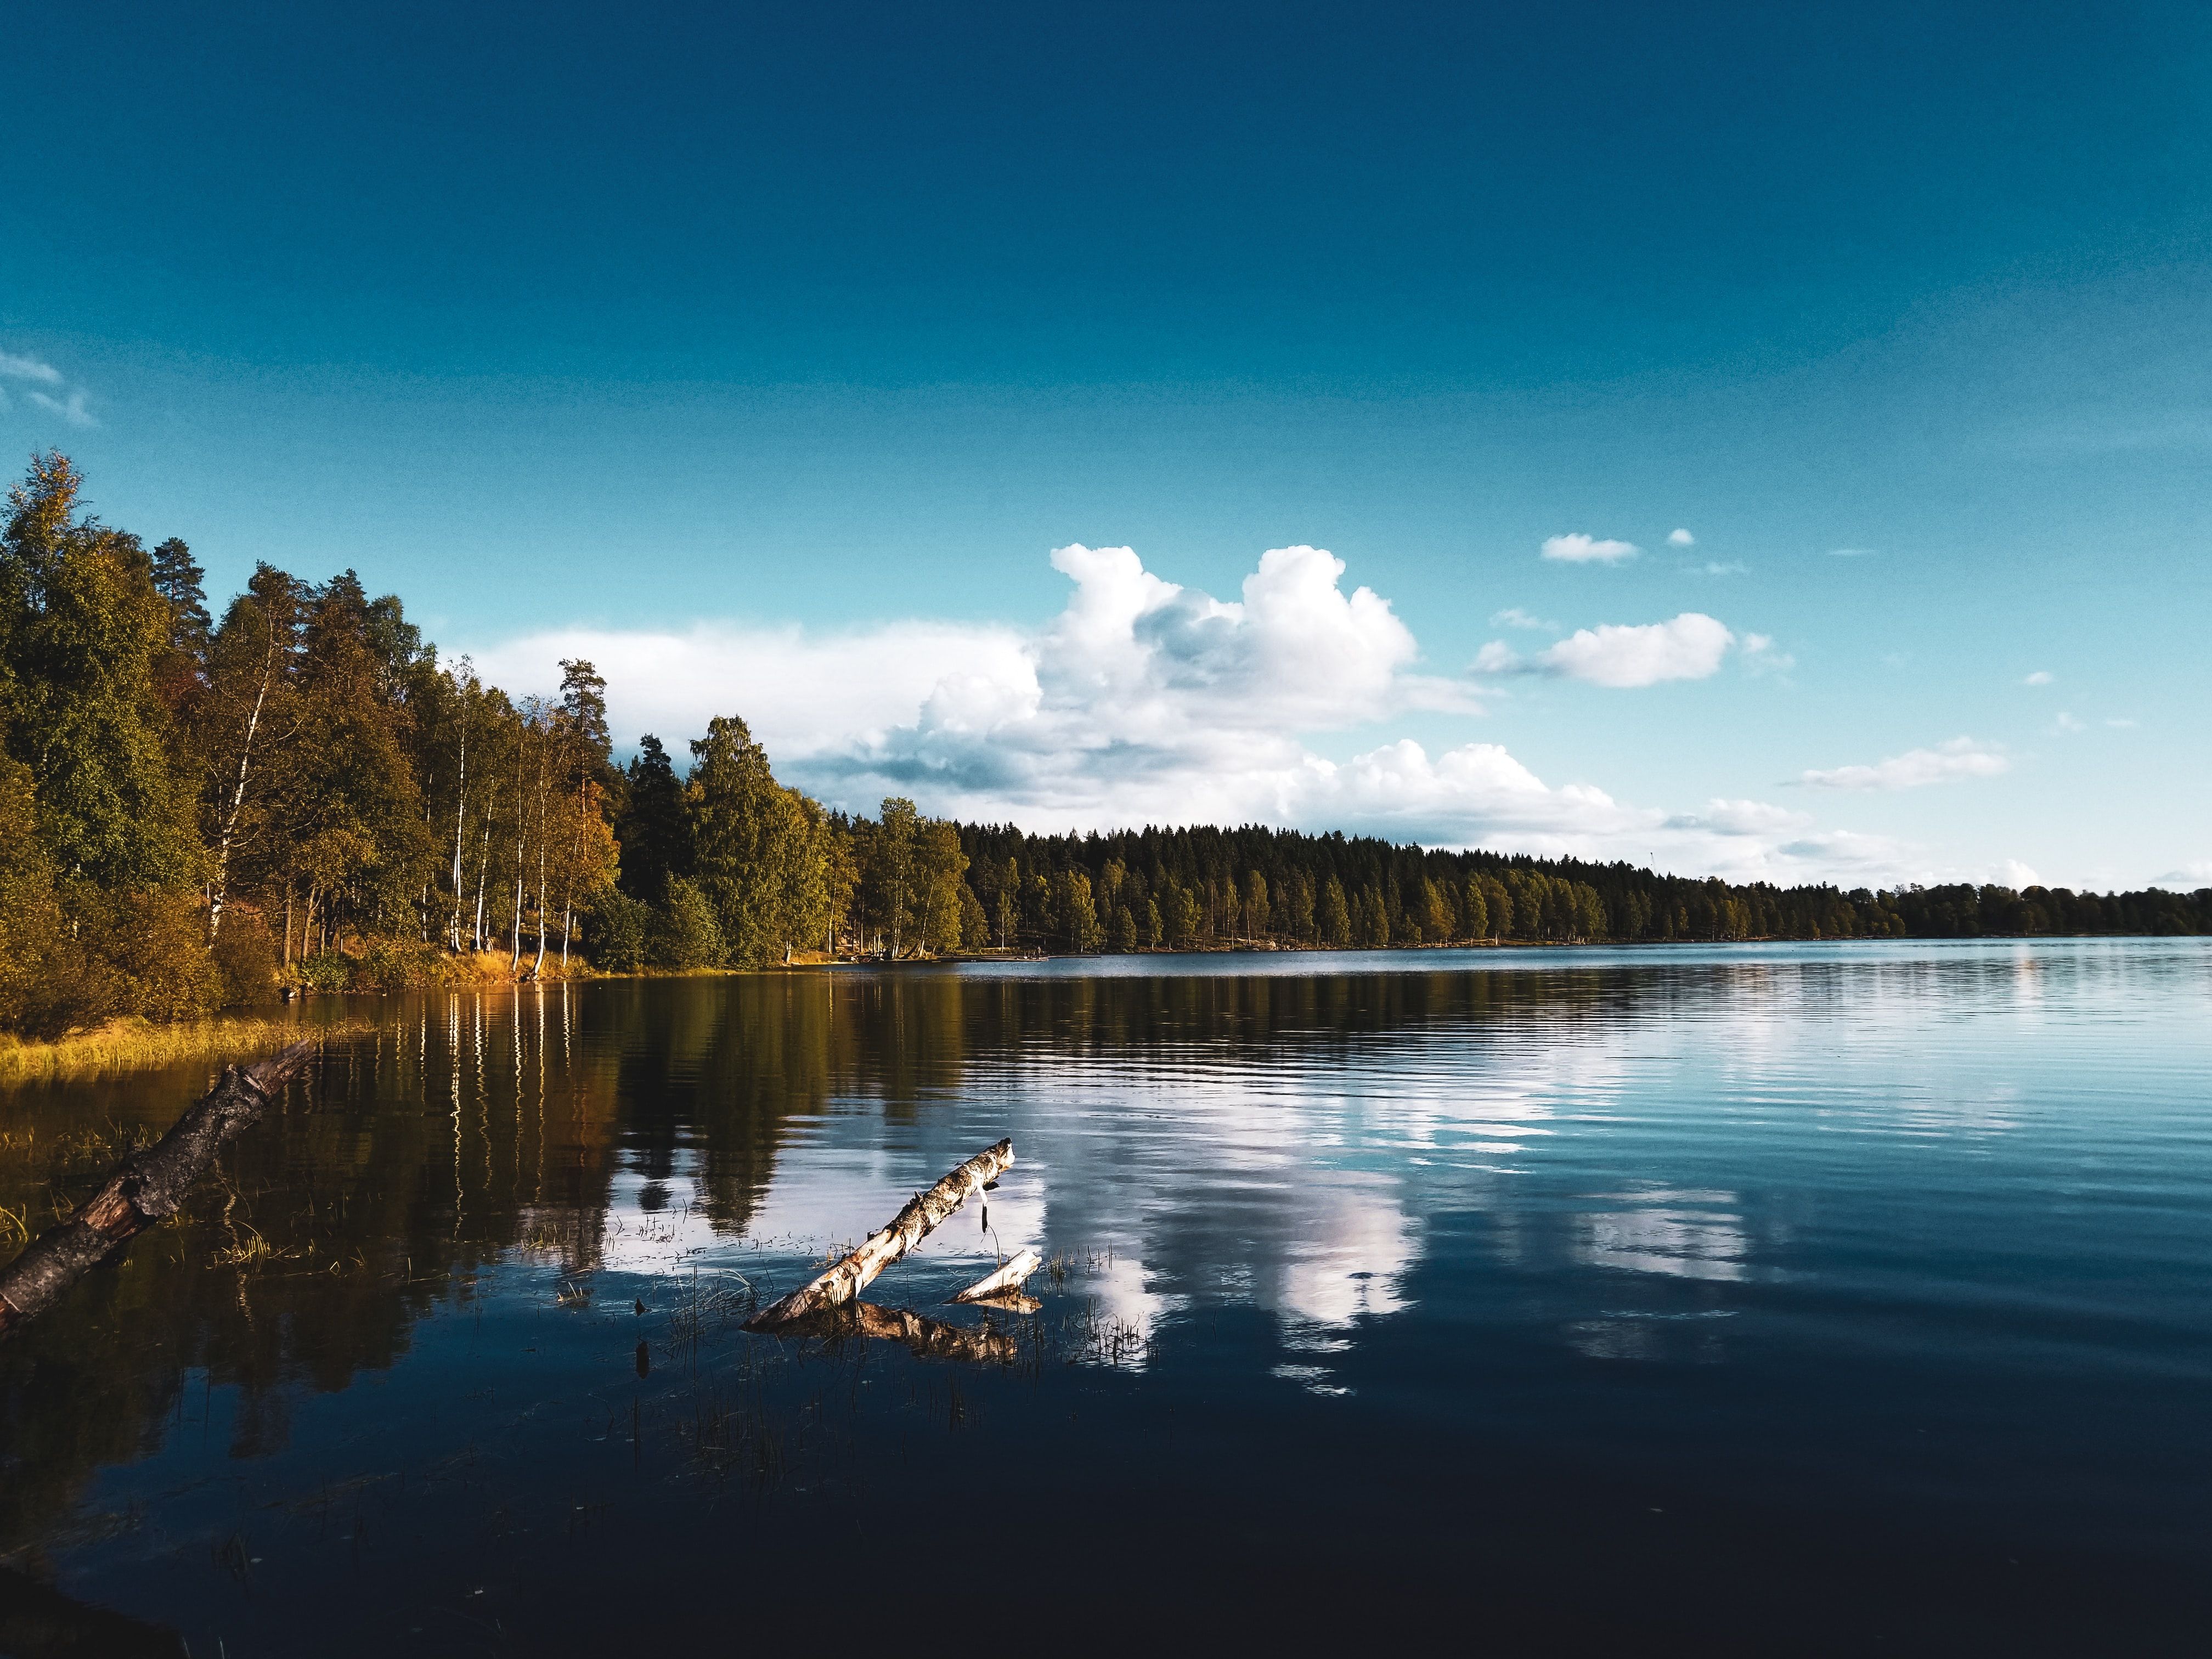
On the other hand, photos taken with a higher f-stop will be sharper across a wider area, as shown below.
Most DSLR and mirrorless camera kit lenses will range between f/3.8 to f/5.6 and f/22 to f/24. But, you can also buy lenses with an f-stop as low as 1.4. Some lenses can even go as high as f/40.
The Importance of the F-Stop
Though photography is subjective, and there are hundreds of different styles out there, most photographers follow The Exposure Triangle.
The Exposure Triangle ensures neither too little nor too much light gets into the camera for each photo. The triangle involves your camera’s f-stop, shutter speed, and ISO.
If you overcompensate in one area—for example, having your shutter speed too high or too low—you need to balance the lighting out by adjusting the other two settings.
When it comes to lighting, the f-stop is vital because if it’s too high, you’ll either need to raise your ISO or lower your shutter speed. When you boost your ISO, your photos become less detailed and more grainy.
When you lower your shutter speed, you need to keep your camera more still to get a sharp photo. If your f-stop is too high when shooting without a tripod and you need to lower your shutter speed below around 1/120, your photos will become shaky.
When Should You Use Different F-Stops?
Depending on the type of photo you’re taking and the outcome you want, you’ll need to adjust your f-stop on a case-by-case basis.
In general, it’s a good idea to keep your f-stop as low as possible. In most situations, you won’t need to take pictures above f/14. Also, keep in mind that your photos could have less detail when you crop them with smaller apertures (i.e. f/22 and higher).
Some lenses are sharper than others at certain f-stops. But for a good general rule of thumb, consider the following apertures for your photography.
- Portraits: f/2.8 to f/5.6. When taking portraits, the f-stop you should use depends on the outcome and the type of portrait you’re taking. Be careful not to use too small of a number, though, because other parts of the person’s body or face might become out-of-focus.
- Nighttime photography: f/1.4 to f/5.6. When taking photos at night, The Exposure Triangle is fundamental. You might need to compromise focal length if shooting free-handed, as taking photos below a specific shutter speed without a stable surface is almost impossible.
- Landscapes and skylines: f/8 to f/14. When photographing landscapes and skylines, you want to get as much of the image in focus as possible without losing detail. f/8 is usually a good starting point for most cameras, but depending on the landscape, you can push the aperture slightly higher if you feel like more should be in focus.
- Street photography: f/5.6 to f/9. Street photography settings depend on what you’re trying to capture and how high or low your shutter speed is. If you’re looking to take a picture of a busy street, a higher f-stop will probably work better for you. But if you want to focus on one person, consider using a shallower depth of field.
To an extent, you can still capture a great shot while not using the right f-stop. However, you will need to make edits to sharpen the photo’s less detailed parts.
How to Make Sure You’re Using the F-Stop Correctly
No matter what digital camera you own, there are plenty of ways you can control the f-stop to improve your pictures’ outcome. Below are a few examples.
Shoot in Aperture Priority Mode
When you shoot in Aperture Priority Mode, your camera will control the f-stop for you. Depending on the shutter speed and ISO you set, the camera will pick a higher or lower aperture to balance your picture’s lighting.
Aperture priority mode is handy for taking pictures in fast-paced settings, such as on a busy street or while photographing a sporting event. Most cameras will mark aperture priority as AP.
Use a Tripod
If you’re taking pictures in settings with low light or in cold weather (when your body is more likely to shake), using a tripod is a great way to make sure you still choose the right f-stop. Tripods will allow you to set the correct aperture and lower your shutter speed without taking a blurry picture.
If you don’t have a tripod, you can rest your camera on a stable surface like a wall or park bench.
Manually Control Your Camera’s Settings
If you want to control all the settings on your camera, shooting in Manual mode is your best option. When shooting manually, you can control both the ISO and shutter speed in addition to your aperture.
Shooting in manual mode is a little daunting for beginners, but beneficial for experimentation. Besides learning more about how your camera works, you also have more flexibility to develop your unique style.
Make Sure Your F-Stop Is Right
When looking to improve your photography, understanding the f-stop and how it works is essential. Controlling your aperture will help you take pictures that you’re happier with, and also means you need to make fewer edits in the post-production stage.
Consider your surroundings when changing your f-stop, and whether you want more or less of the picture to be in focus. Above all else, don’t be afraid to experiment and fail—you’ll learn a lot faster than if you didn’t make an effort to learn at all.

