
Key Takeaways
- Adobe Bridge is a free creative workflow optimization tool.
- Use Adobe Bridge to batch rename files, organize your folders, change file formats, and more.
- Adobe Bridge works with several Adobe Creative Cloud apps, including Photoshop.
Discover how to use Adobe Bridge to manage your photos, videos, and other creative assets. We'll explain Adobe Bridge today and show you walkthroughs of its various features. You'll also find out how to get the app.
What Is Adobe Bridge, and What Can You Do With It?
Adobe Bridge is a content management platform included in the Adobe Creative Cloud suite. The tool lets you organize multiple file formats, including PSD, JPEG, and RAW. Besides moving your folders around, you can also delete files directly from the software.
Below are some of Adobe Bridge's most essential core functions:
- Browse your entire media collection. Preview images and play video/audio.
- Create libraries to compile everything you need for specific projects.
- Save time by batch-renaming files.
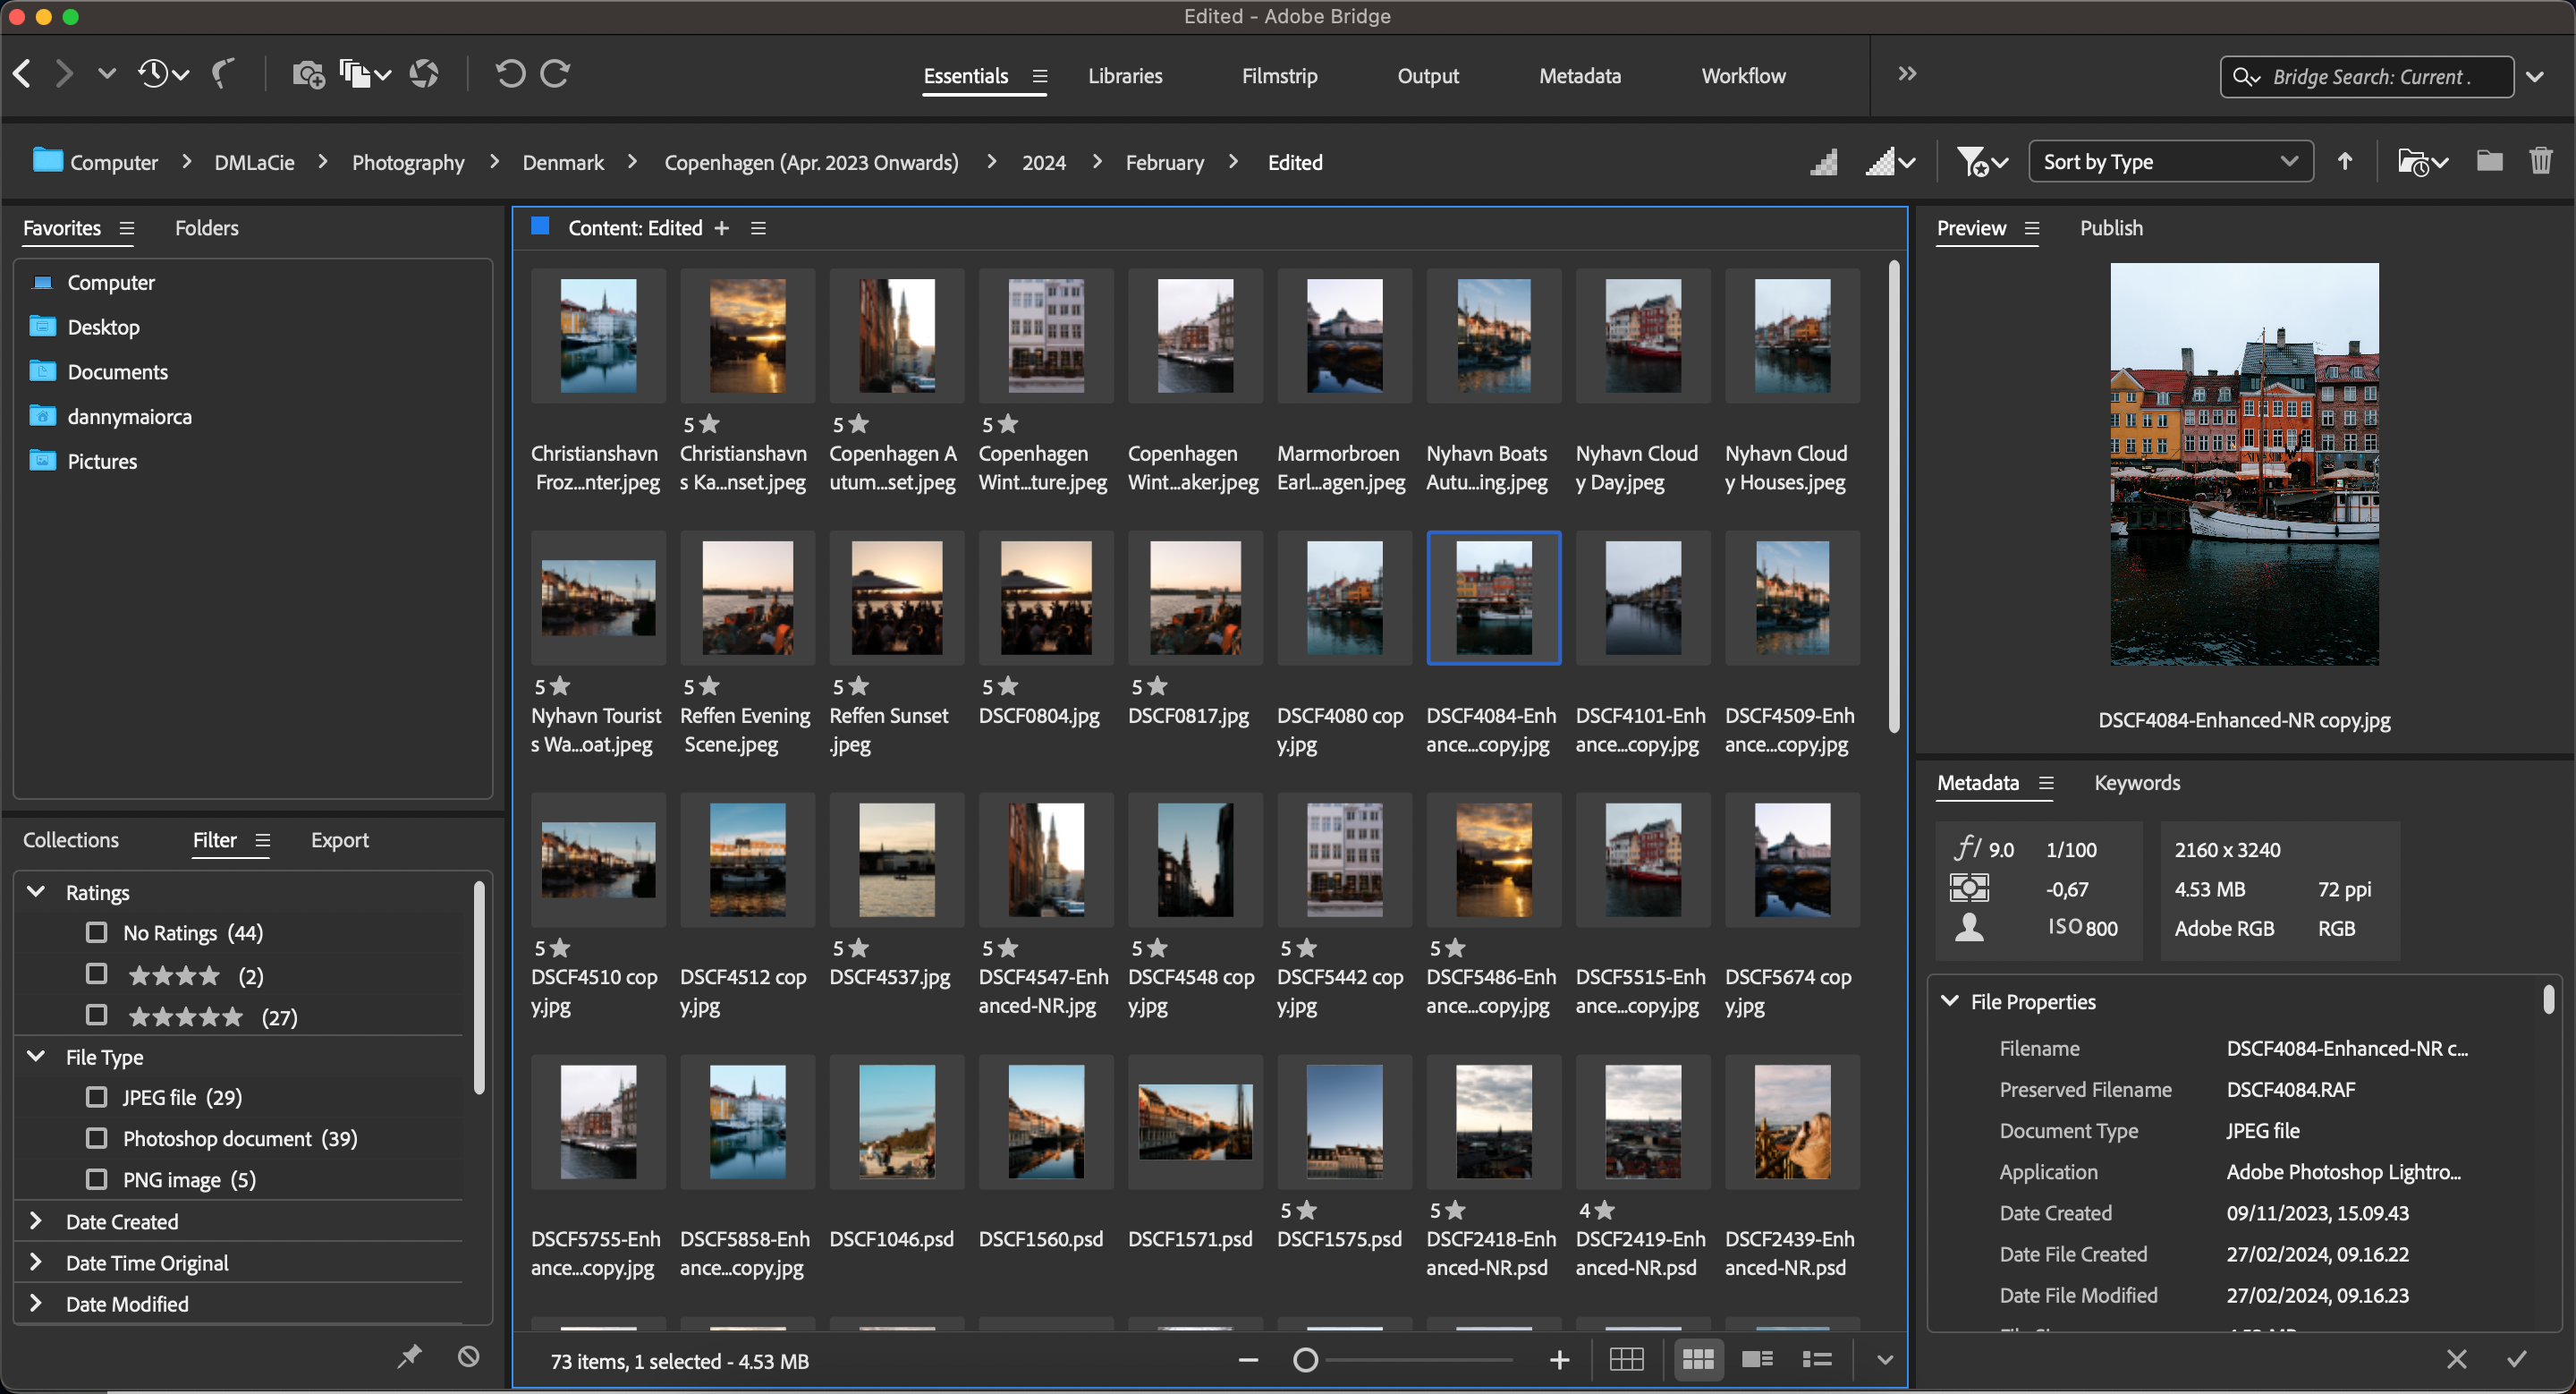
Adobe Bridge also lets you pick star ratings for your content, filter based on these ratings, and look for exactly what you want via the comprehensive search function. The app also has several tabs and features, including:
-
Essentials: The default workspace. Here, you can filter based on multiple parameters.
-
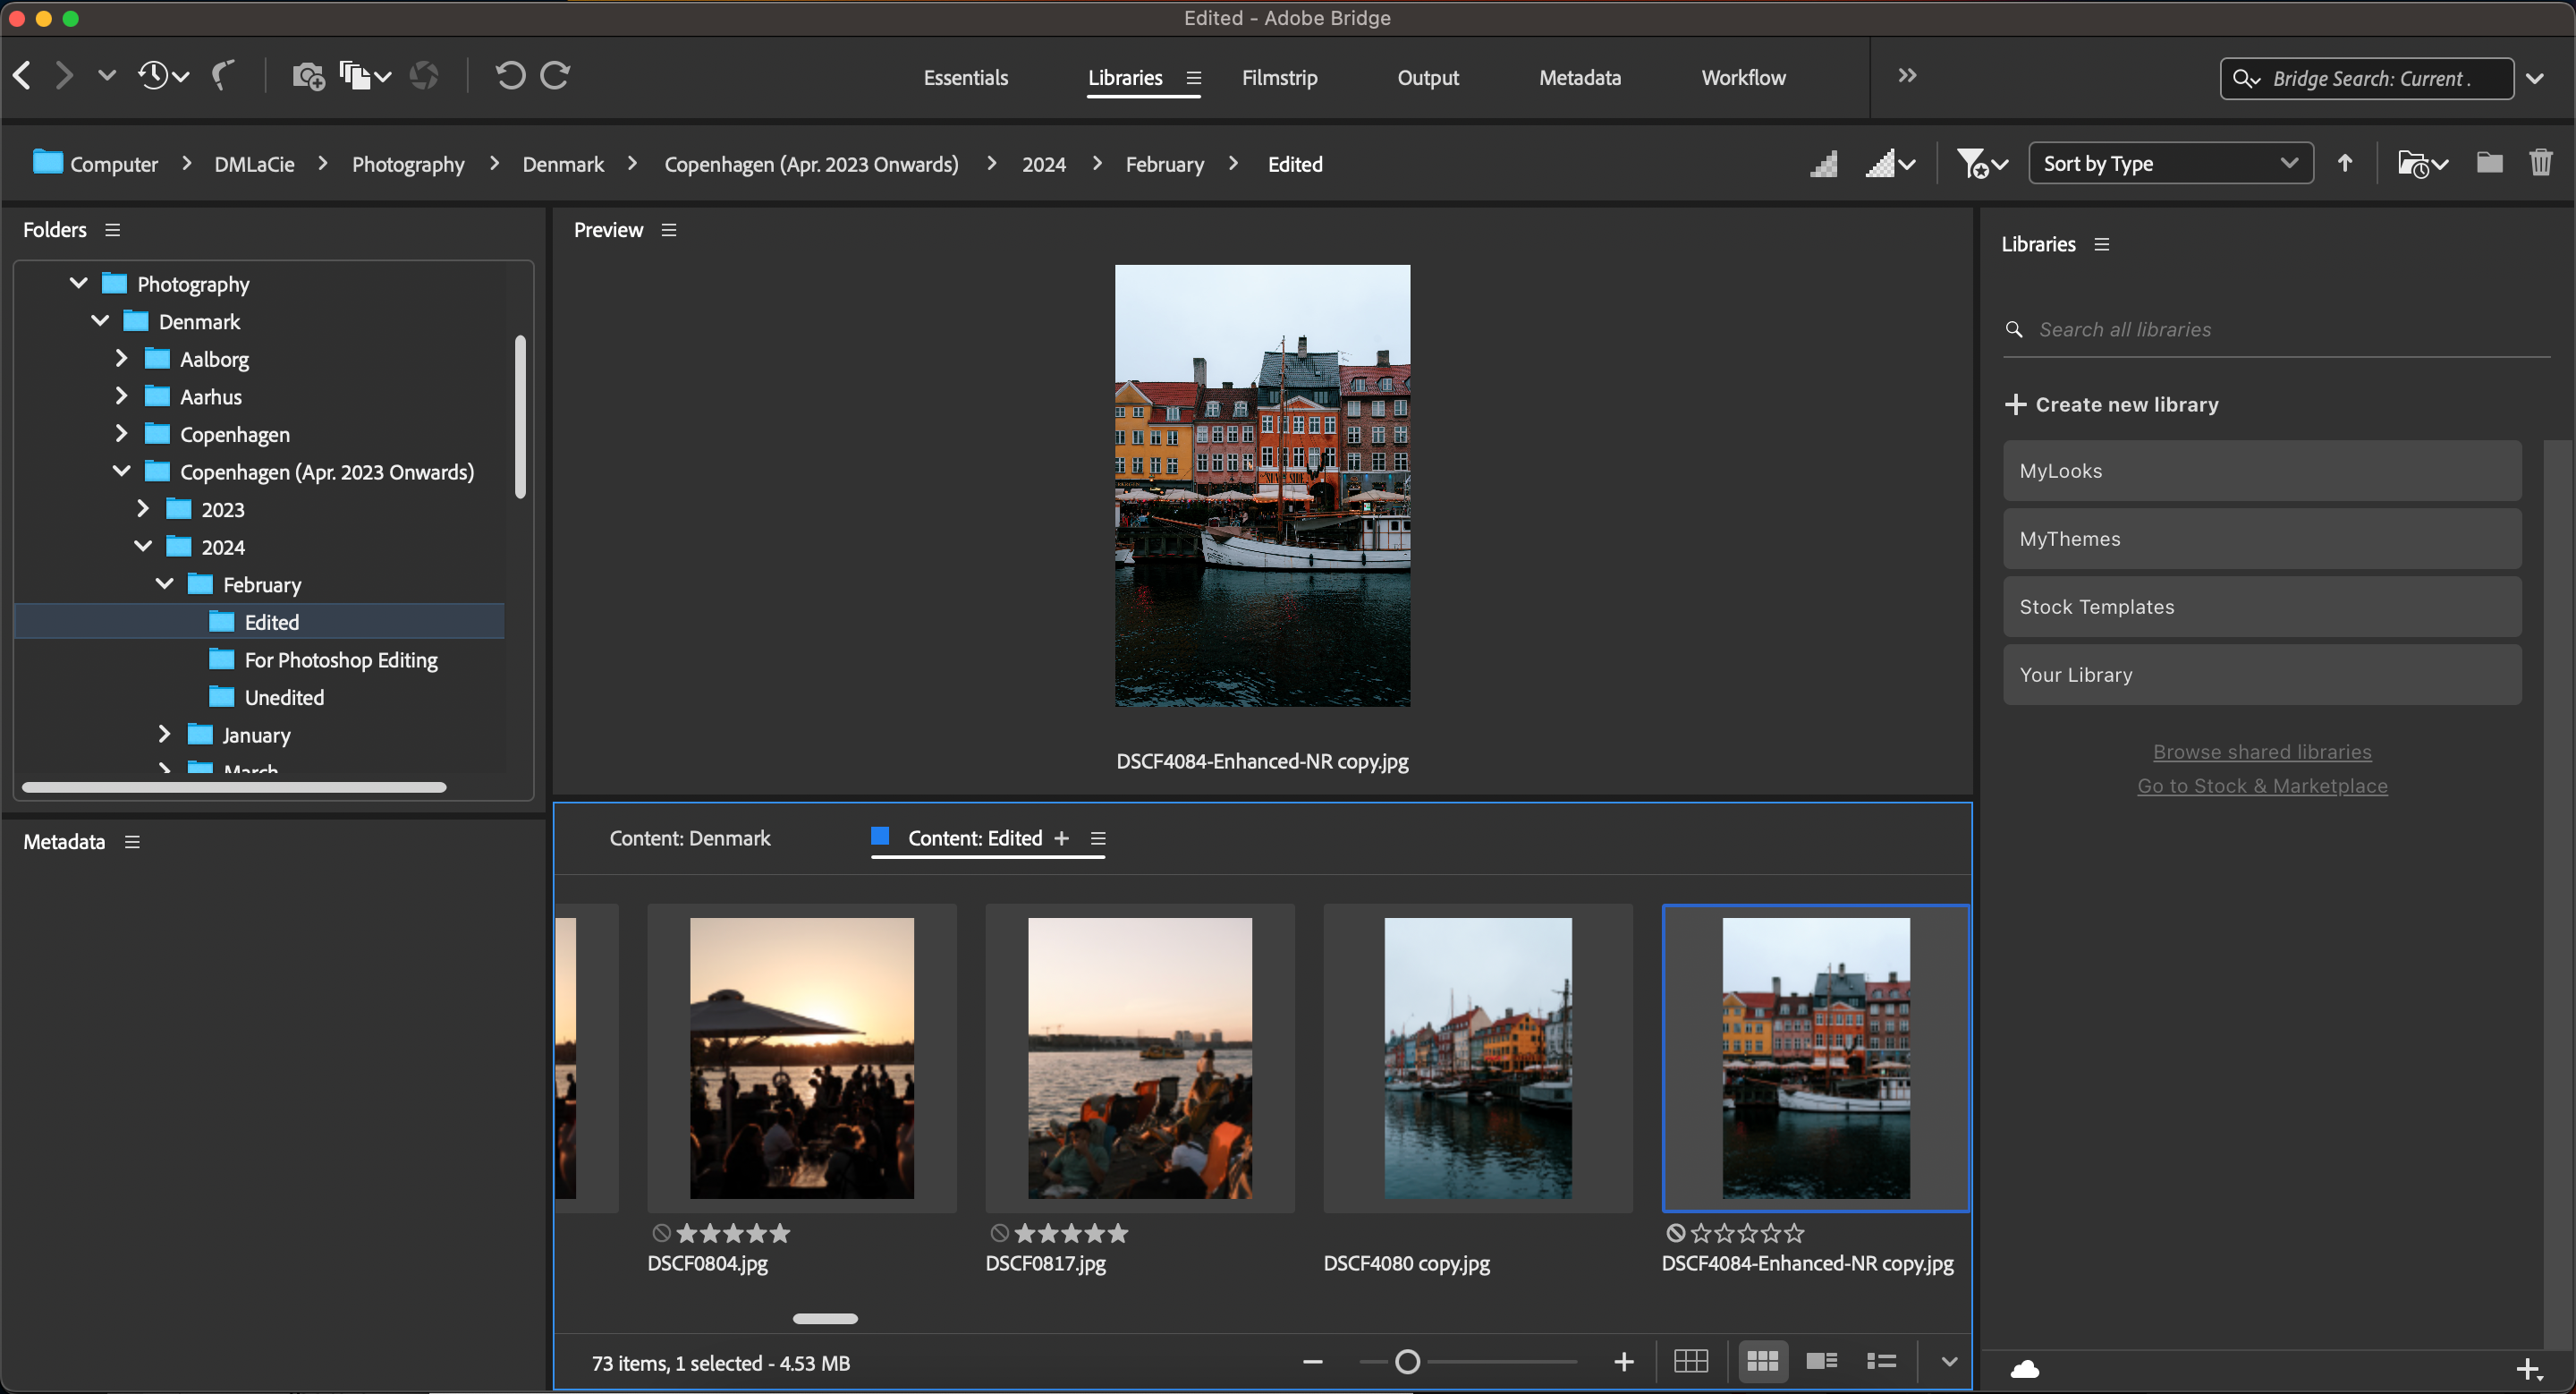
Libraries: View all of your content in more detail.
-
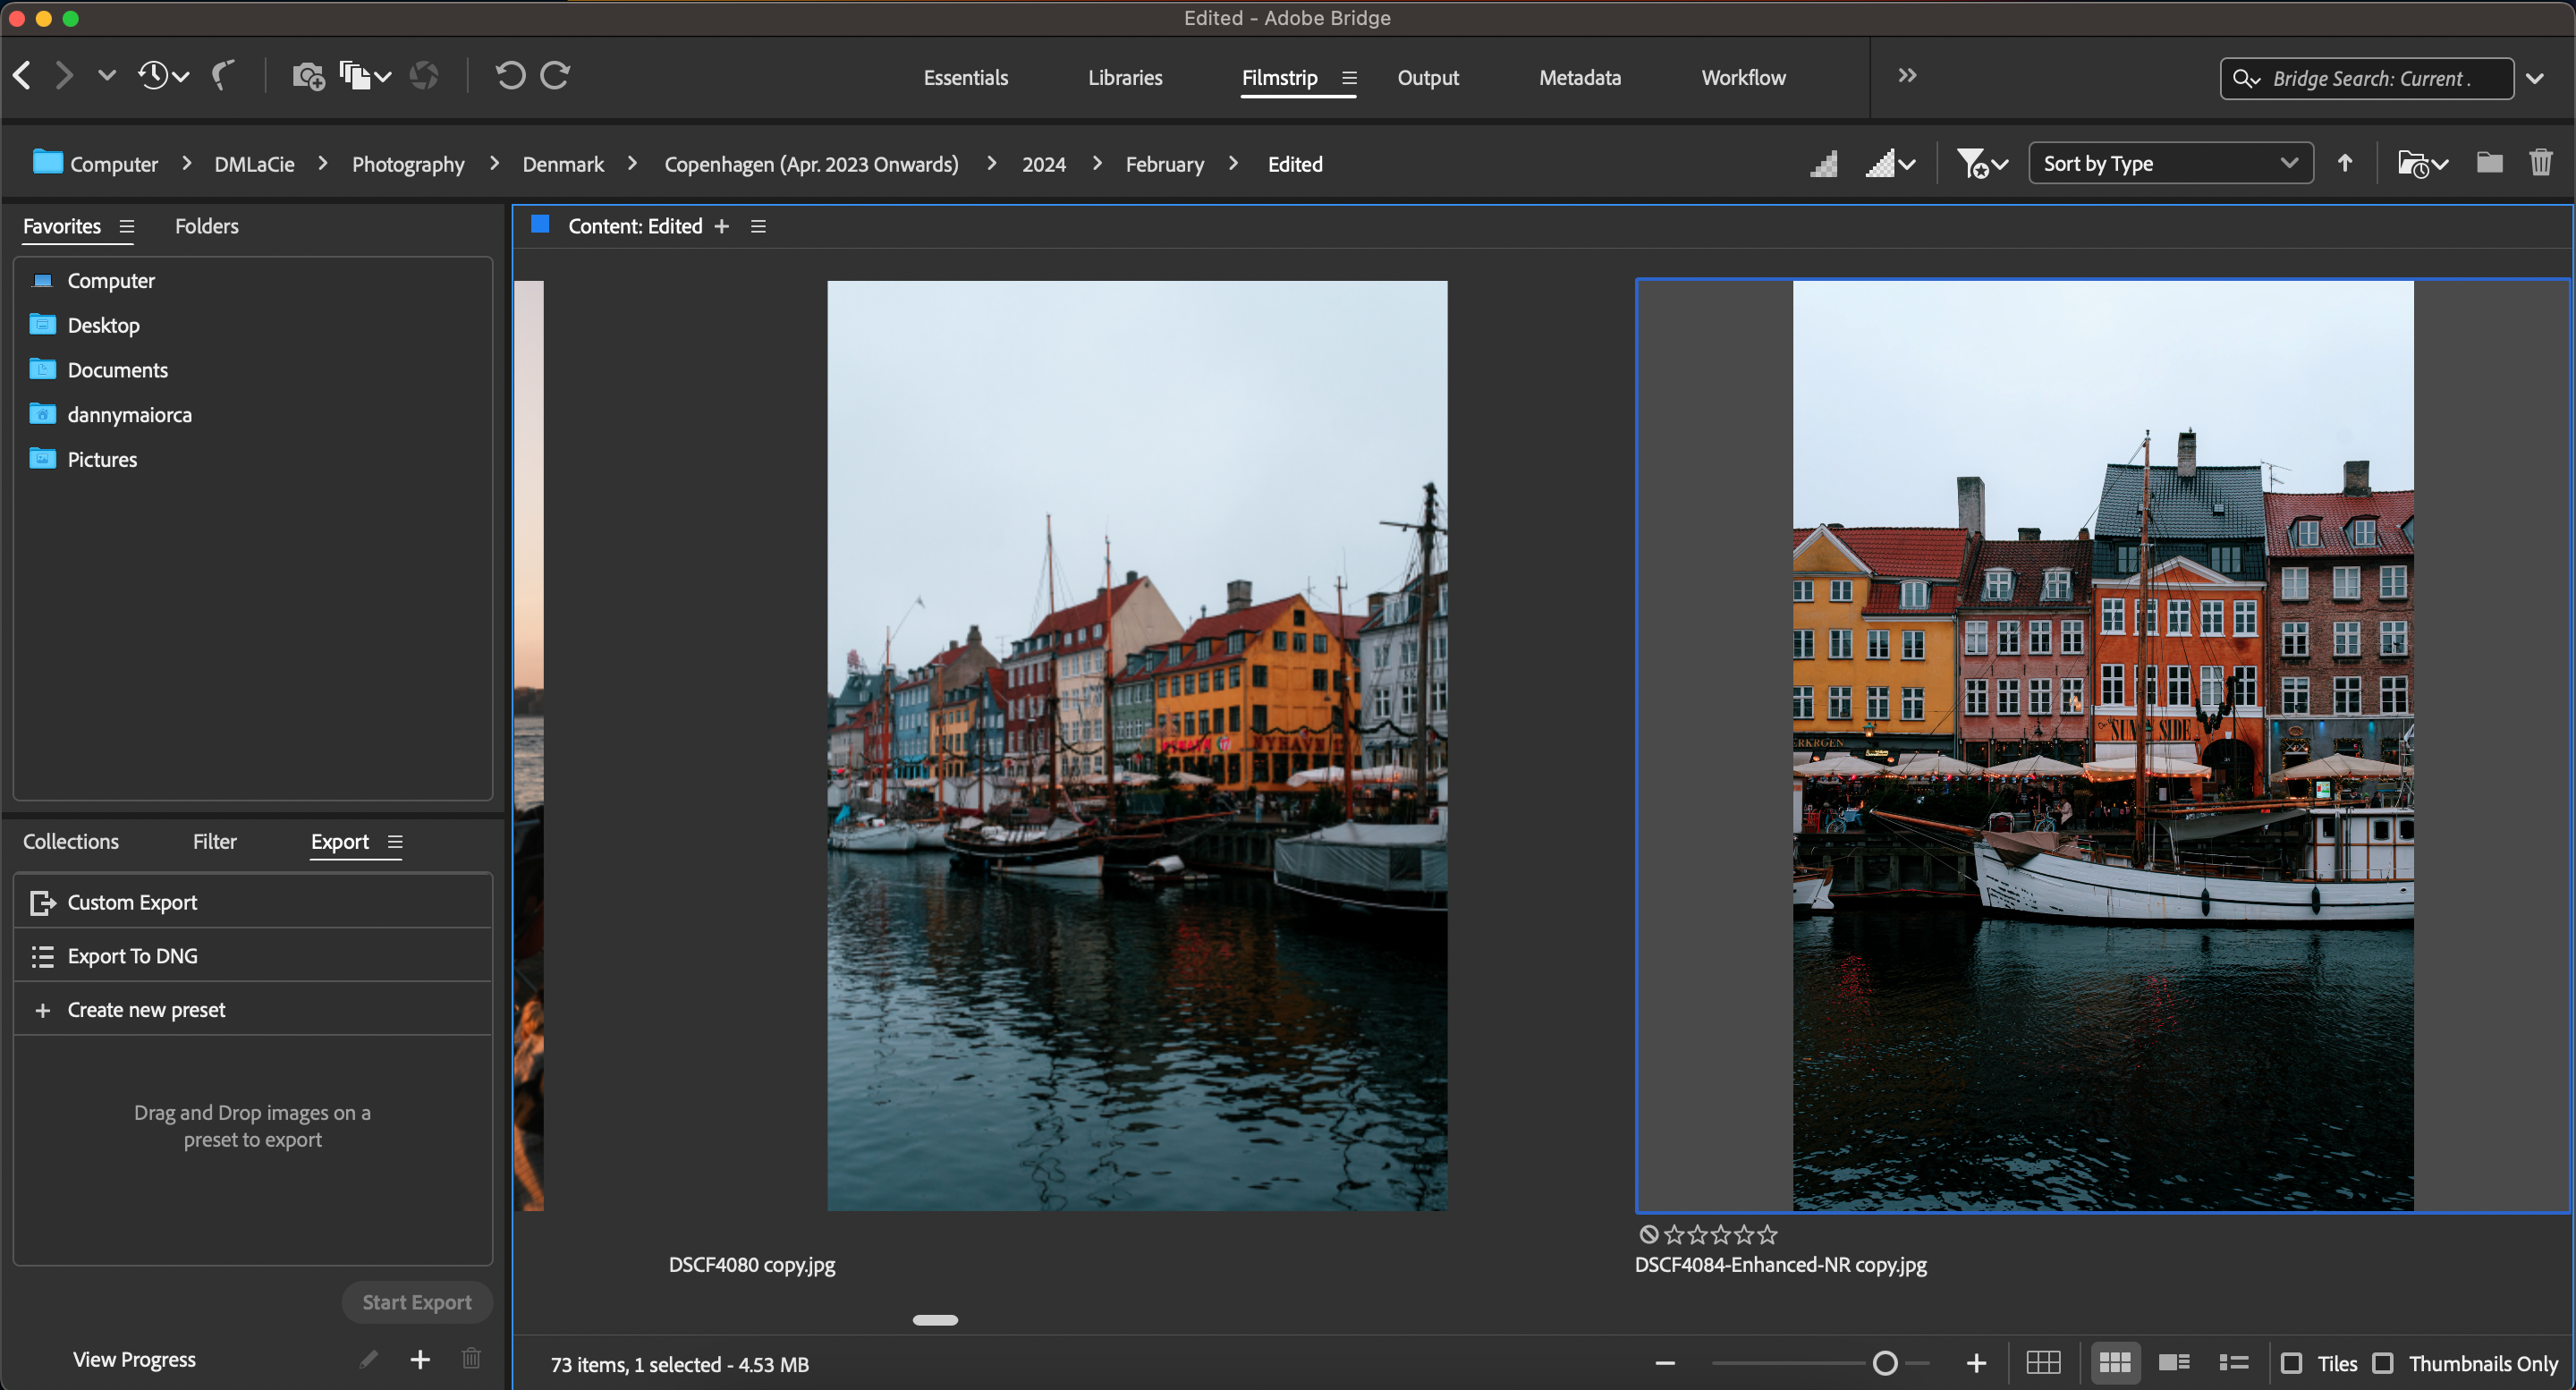
Filmstrip: Offers a thumbnail view of everything in the folder.
-
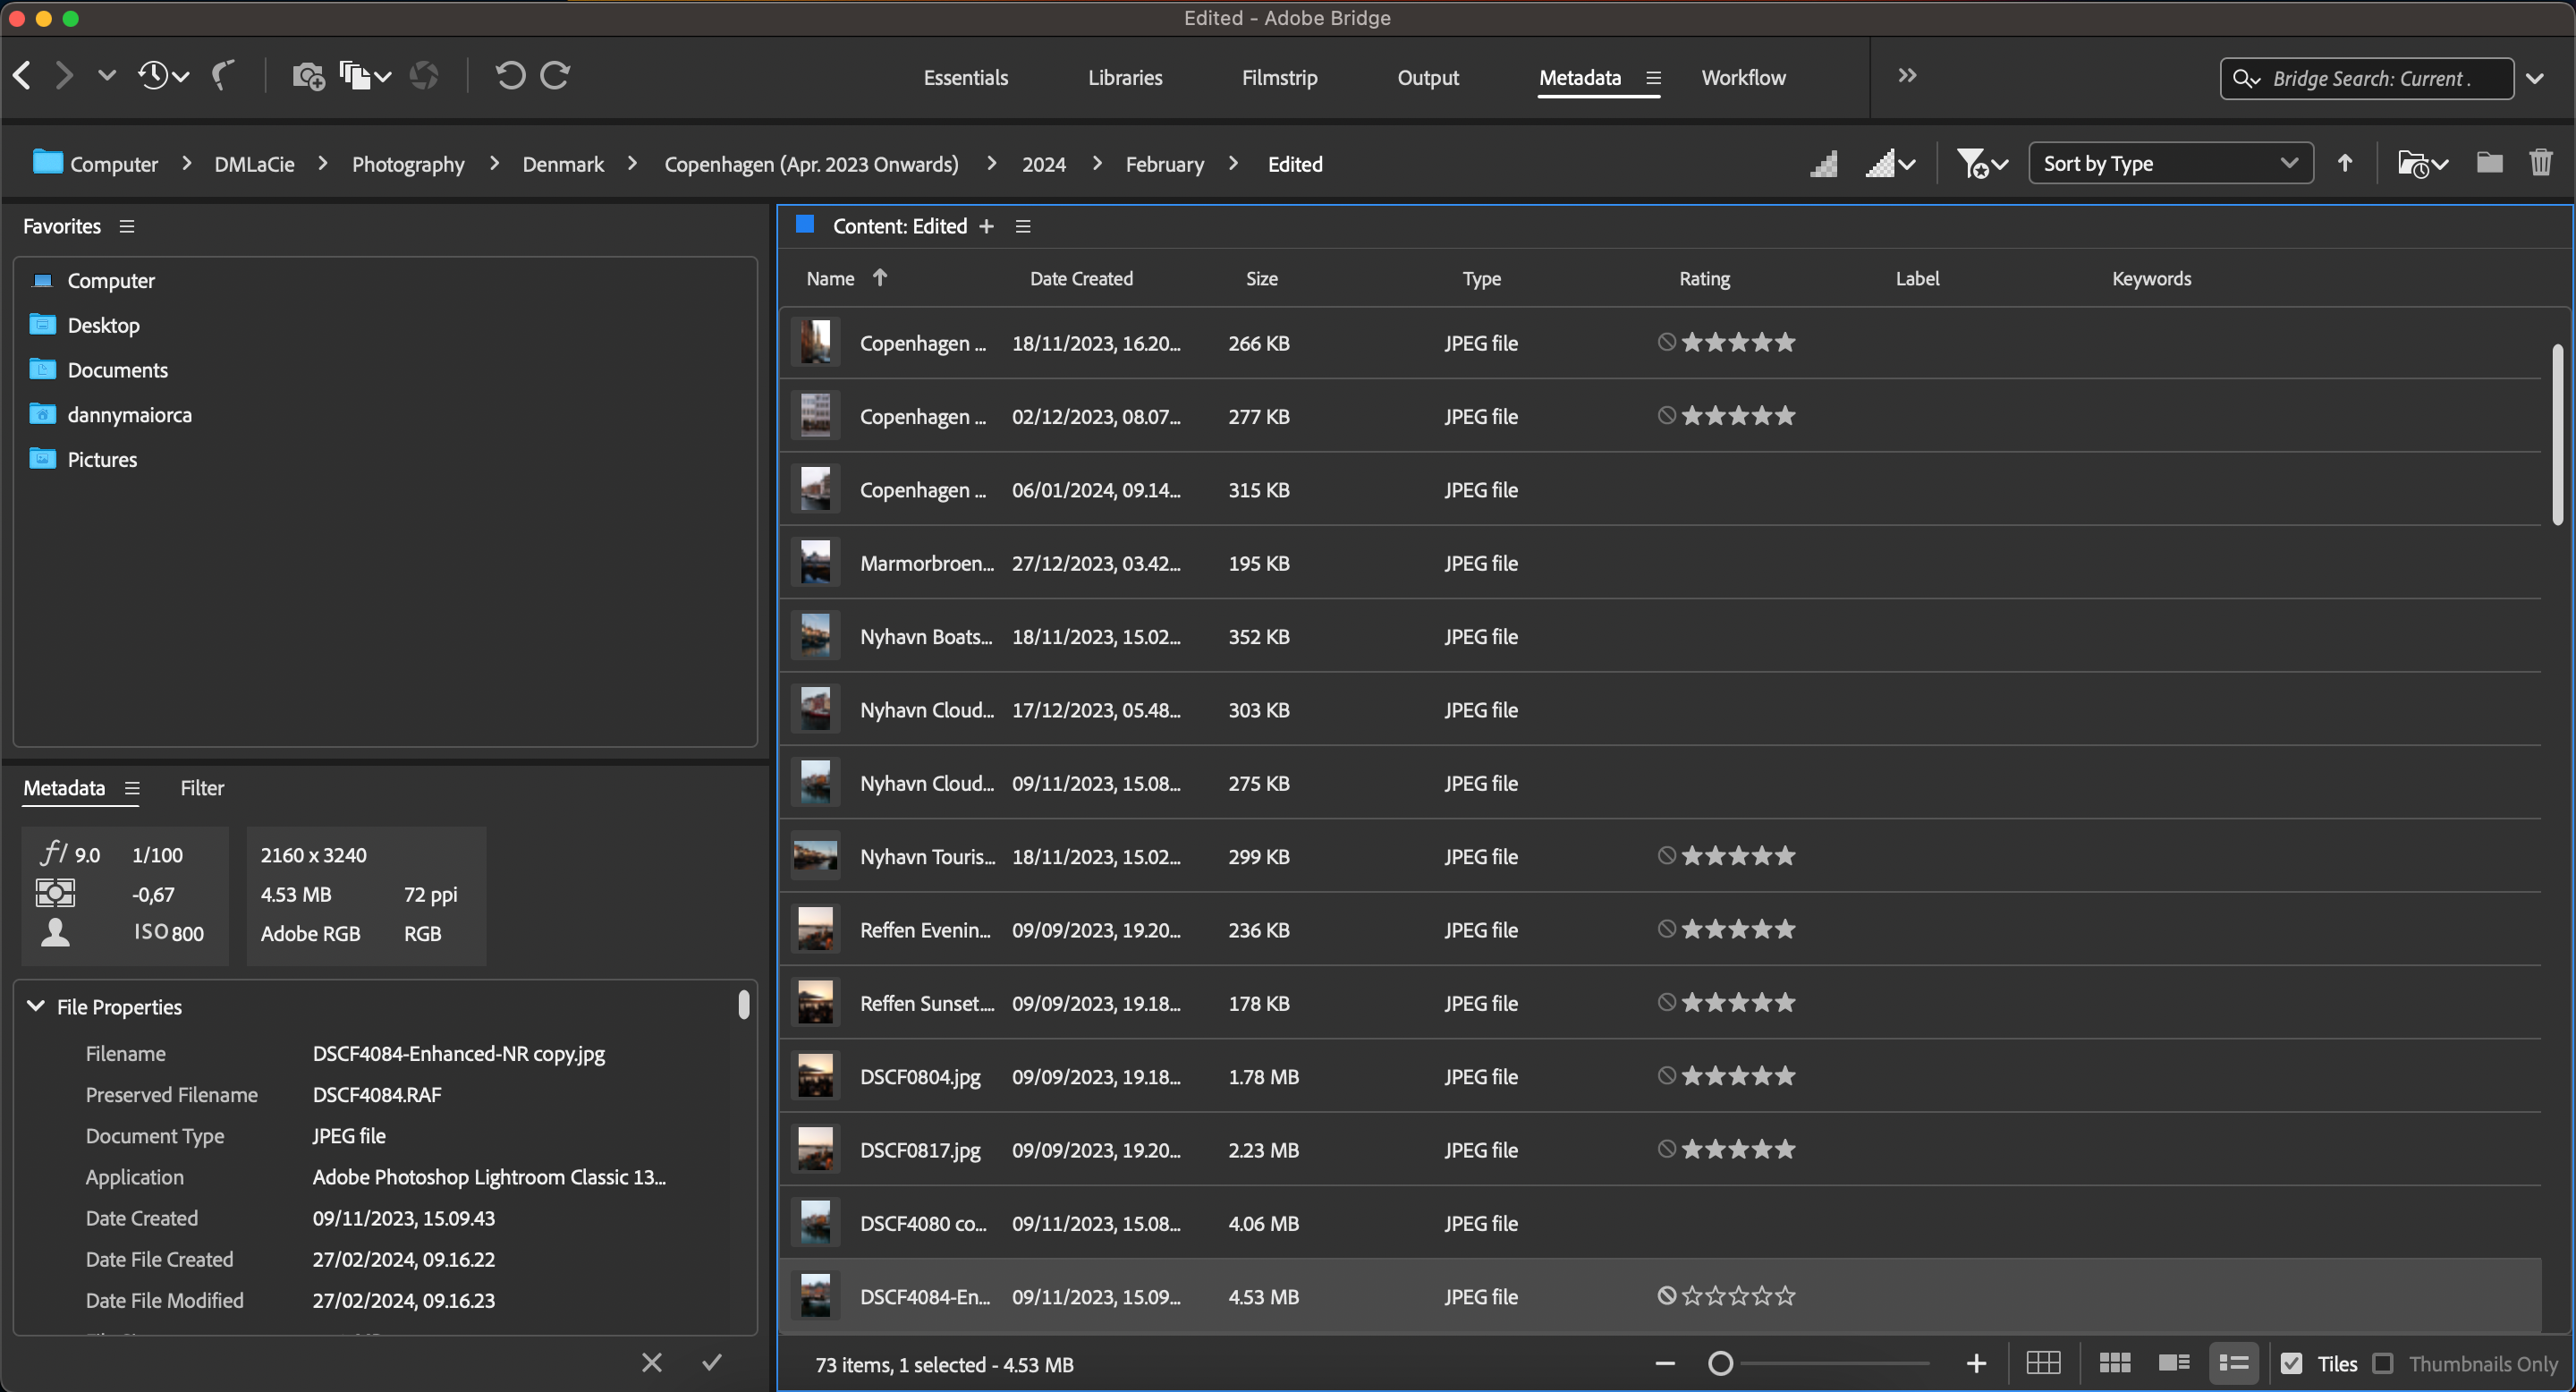
Metadata: Find filenames, content details, and more.


The Libraries workspace is helpful for browsing all content, whereas Filmstrip is better if you want to see a bigger version of your images.
Double-clicking on any image in Adobe Bridge directly automatically opens the image in Photoshop. Doing the same with a video file prompts your computer's default video player to launch.
How to Get Adobe Bridge
Adobe Bridge is completely free to download and use. The system requirements differ depending on your computer's operating system, and you can discover those for your specific device on the Adobe website.
After confirming that you can download Adobe Bridge, follow these steps to get the app:
-
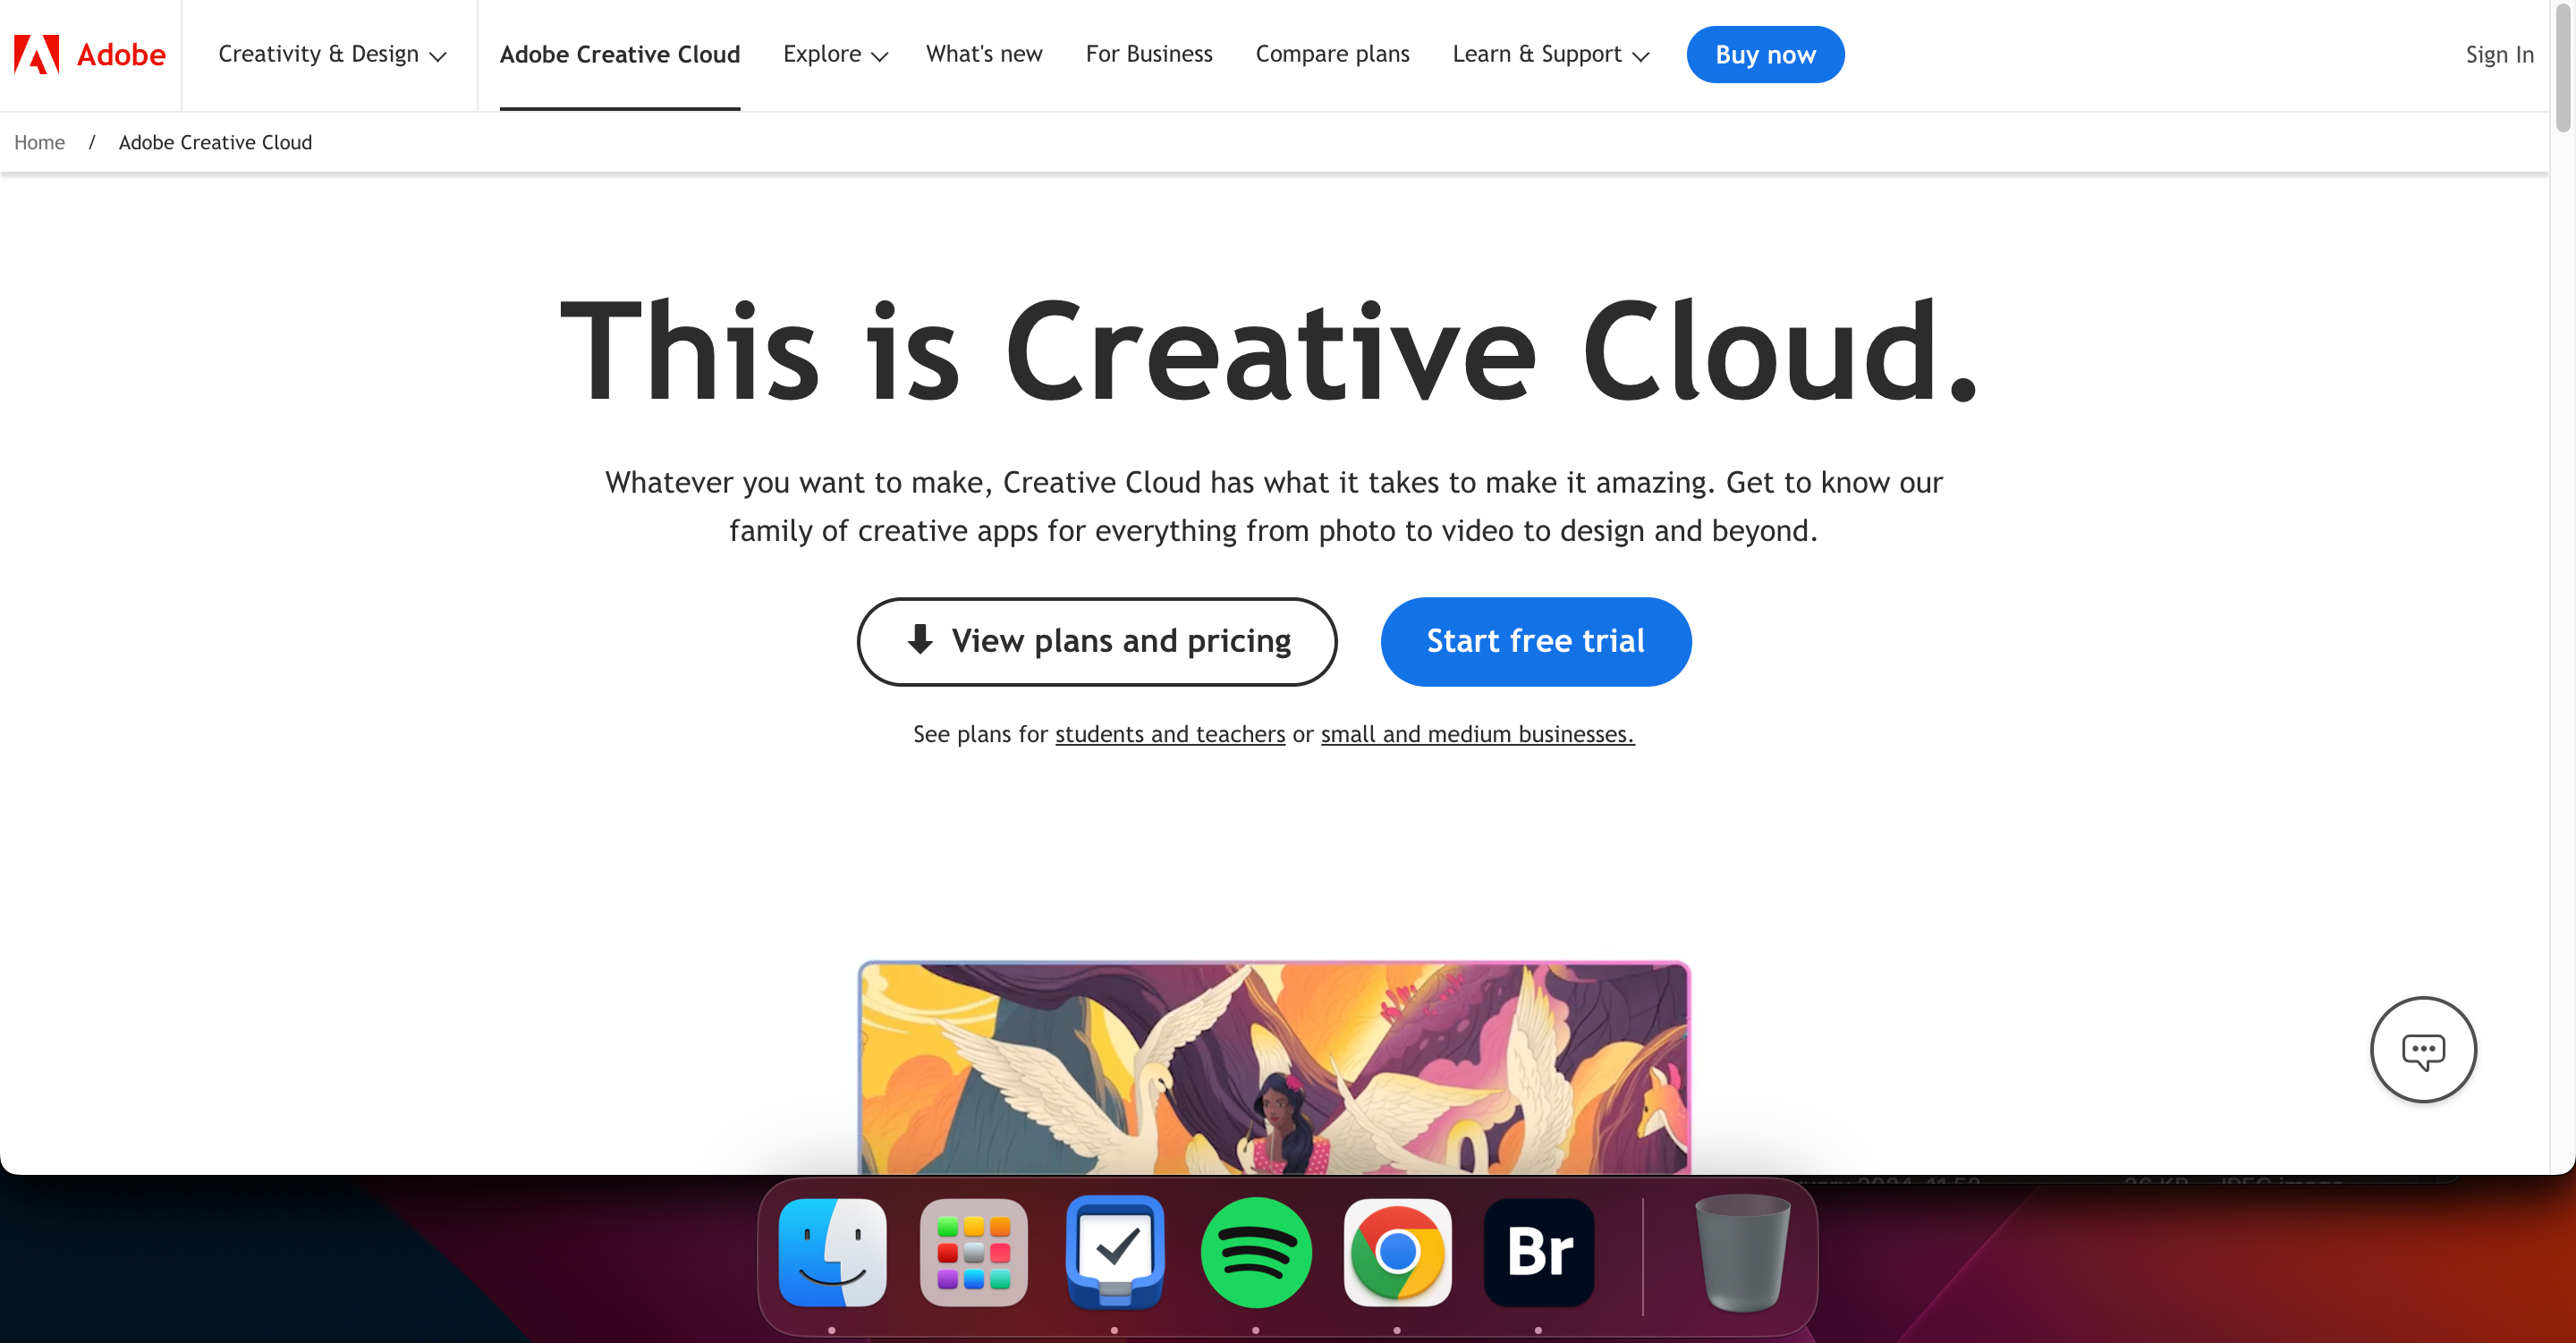
Visit the Adobe Creative Cloud website and go to Sign In (it's in the top right-hand corner).
-
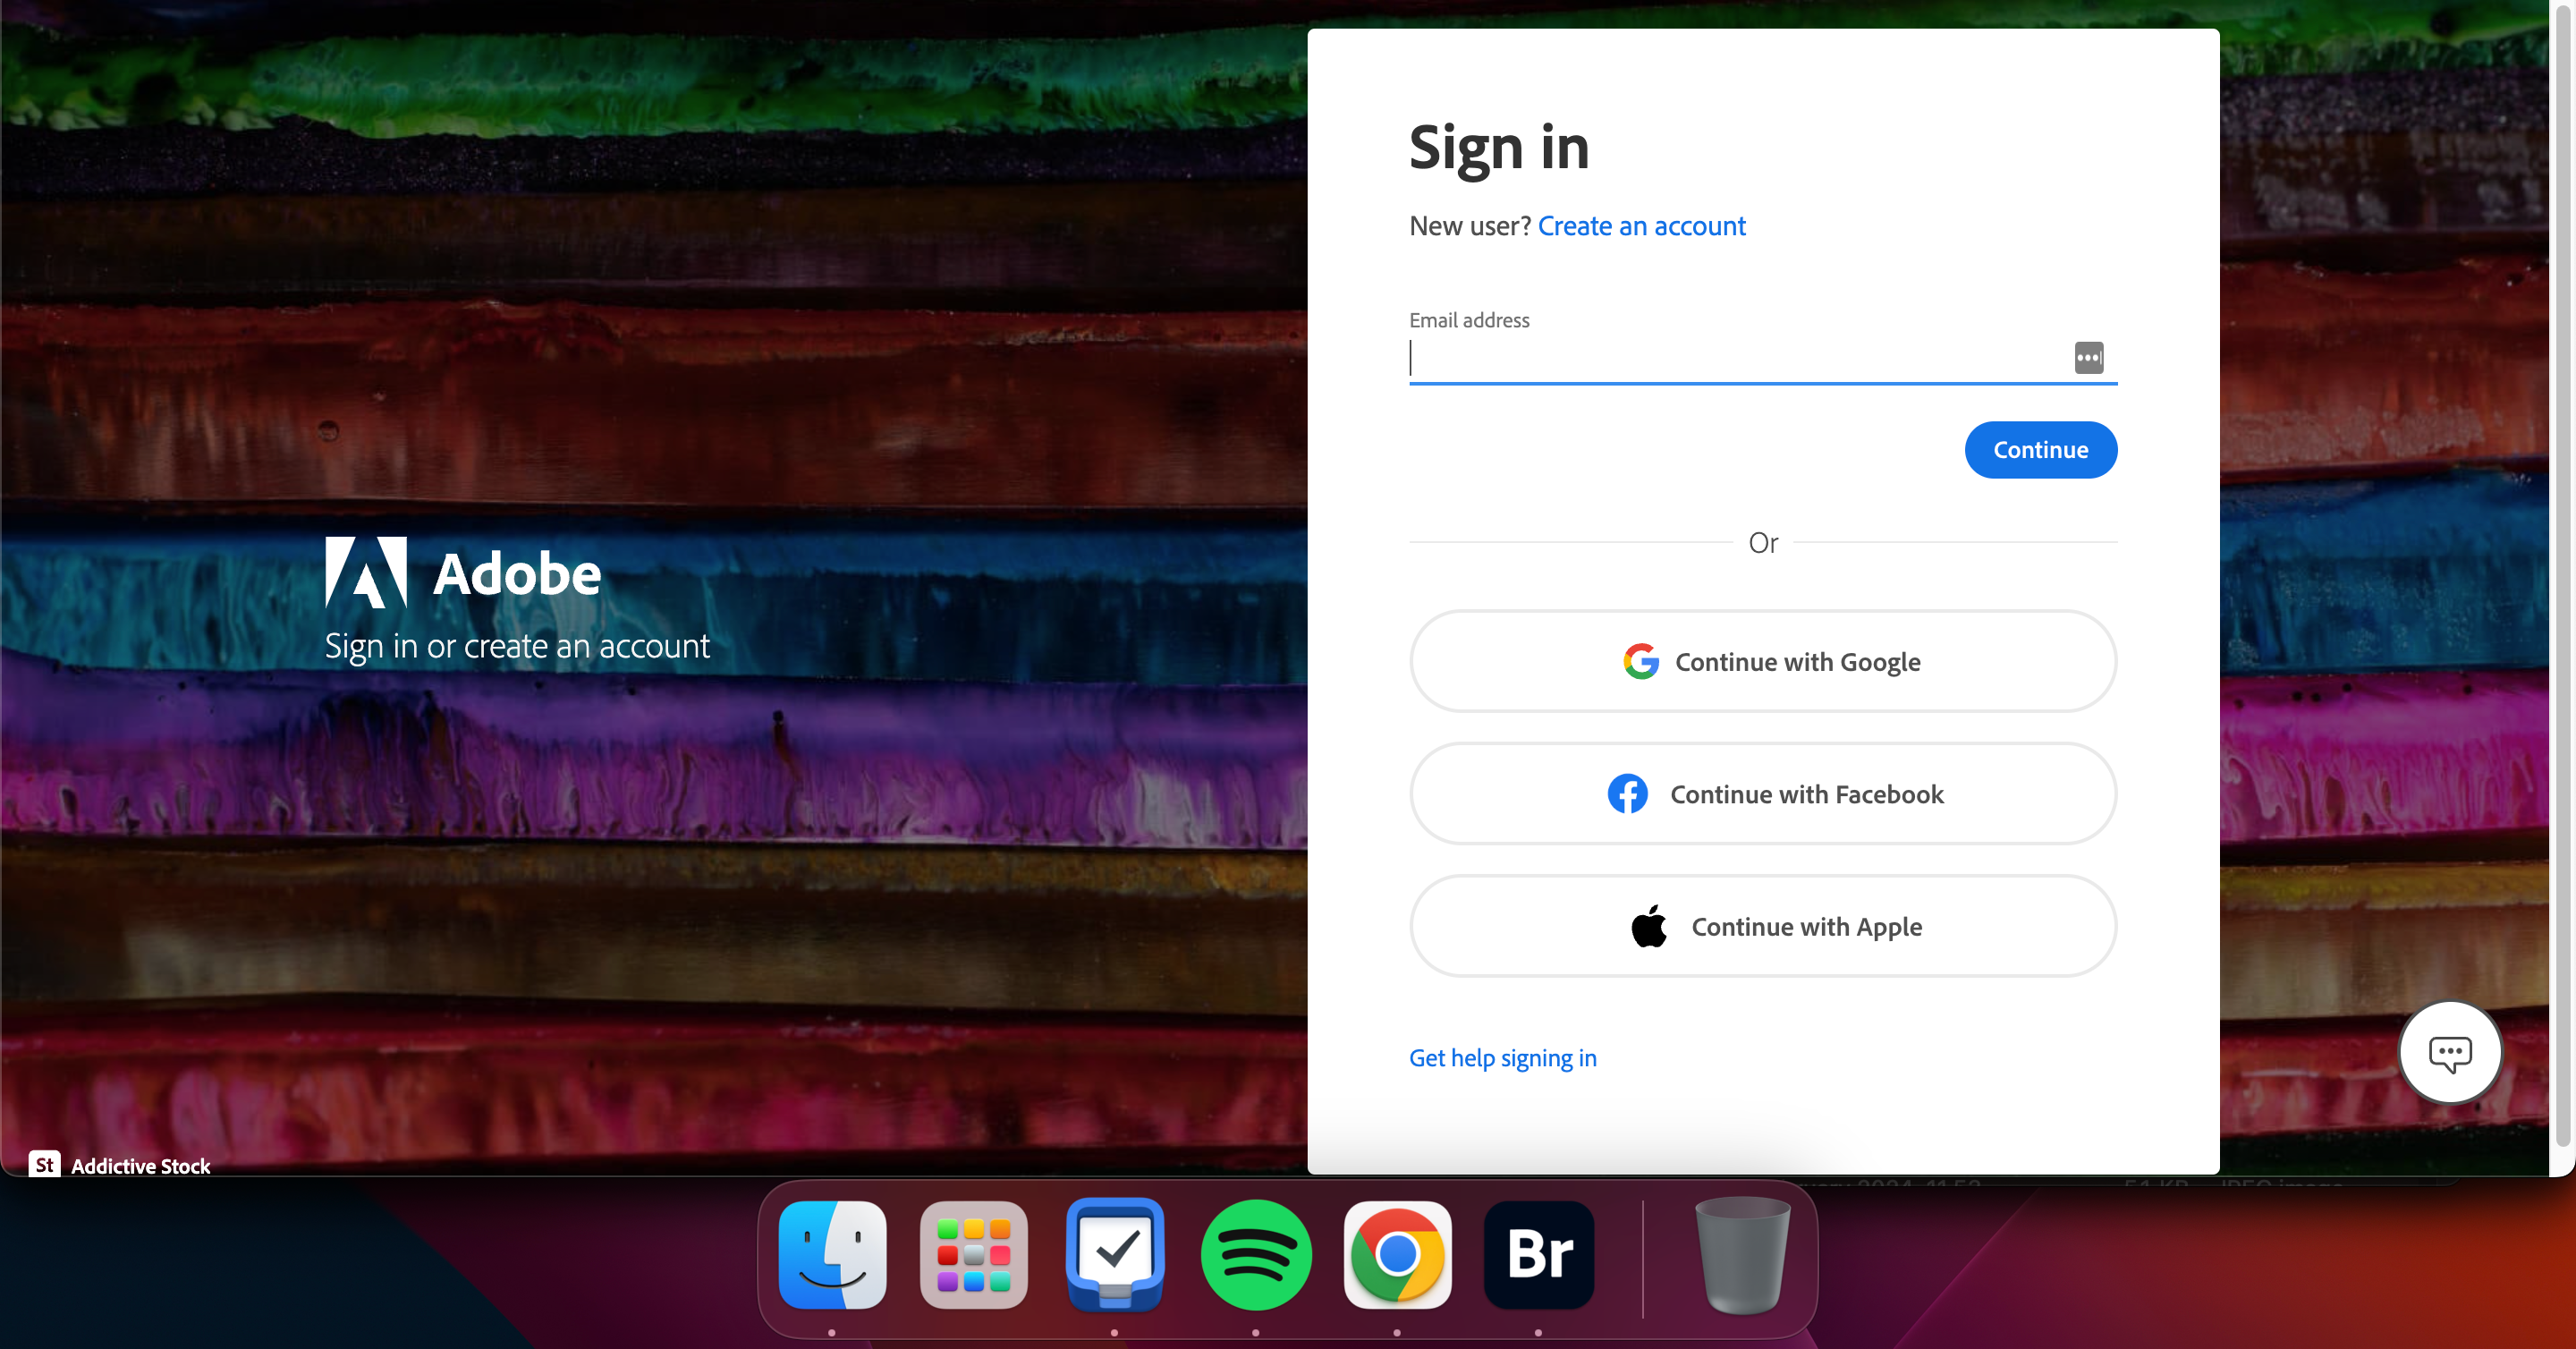
On the sign-in page, select Create an account and become an Adobe CC member.
-
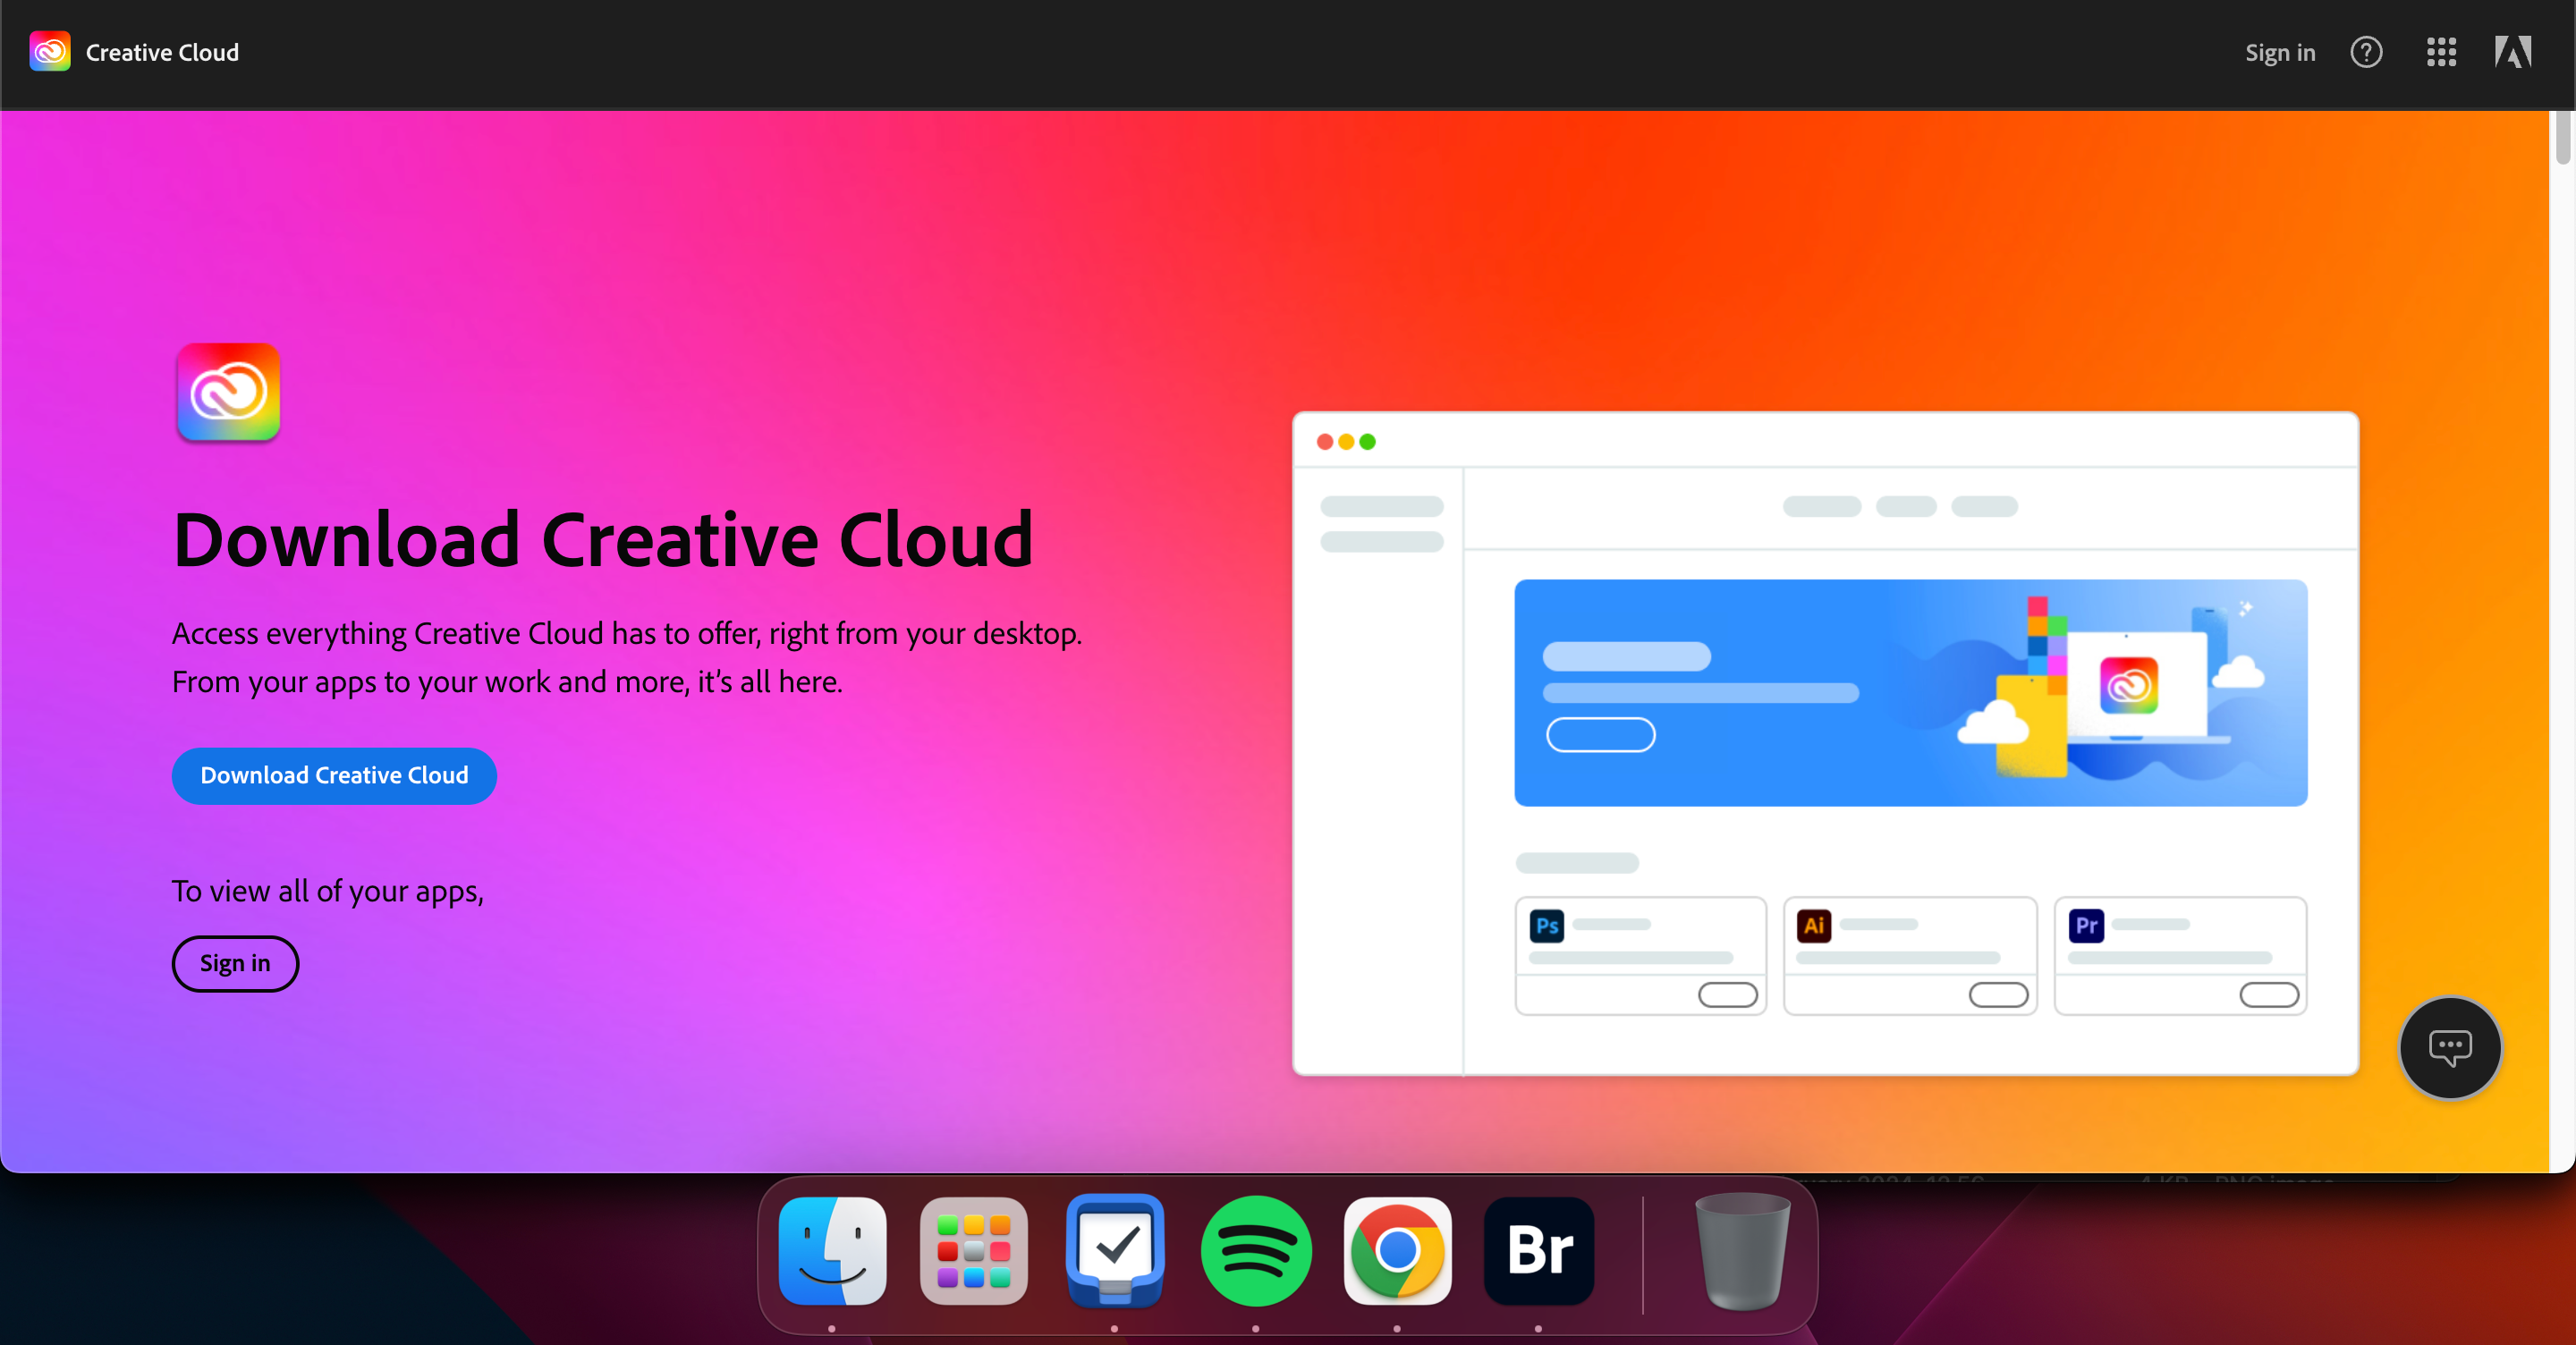
Go to the Adobe Creative Cloud download page and select Download Adobe Creative Cloud.
-
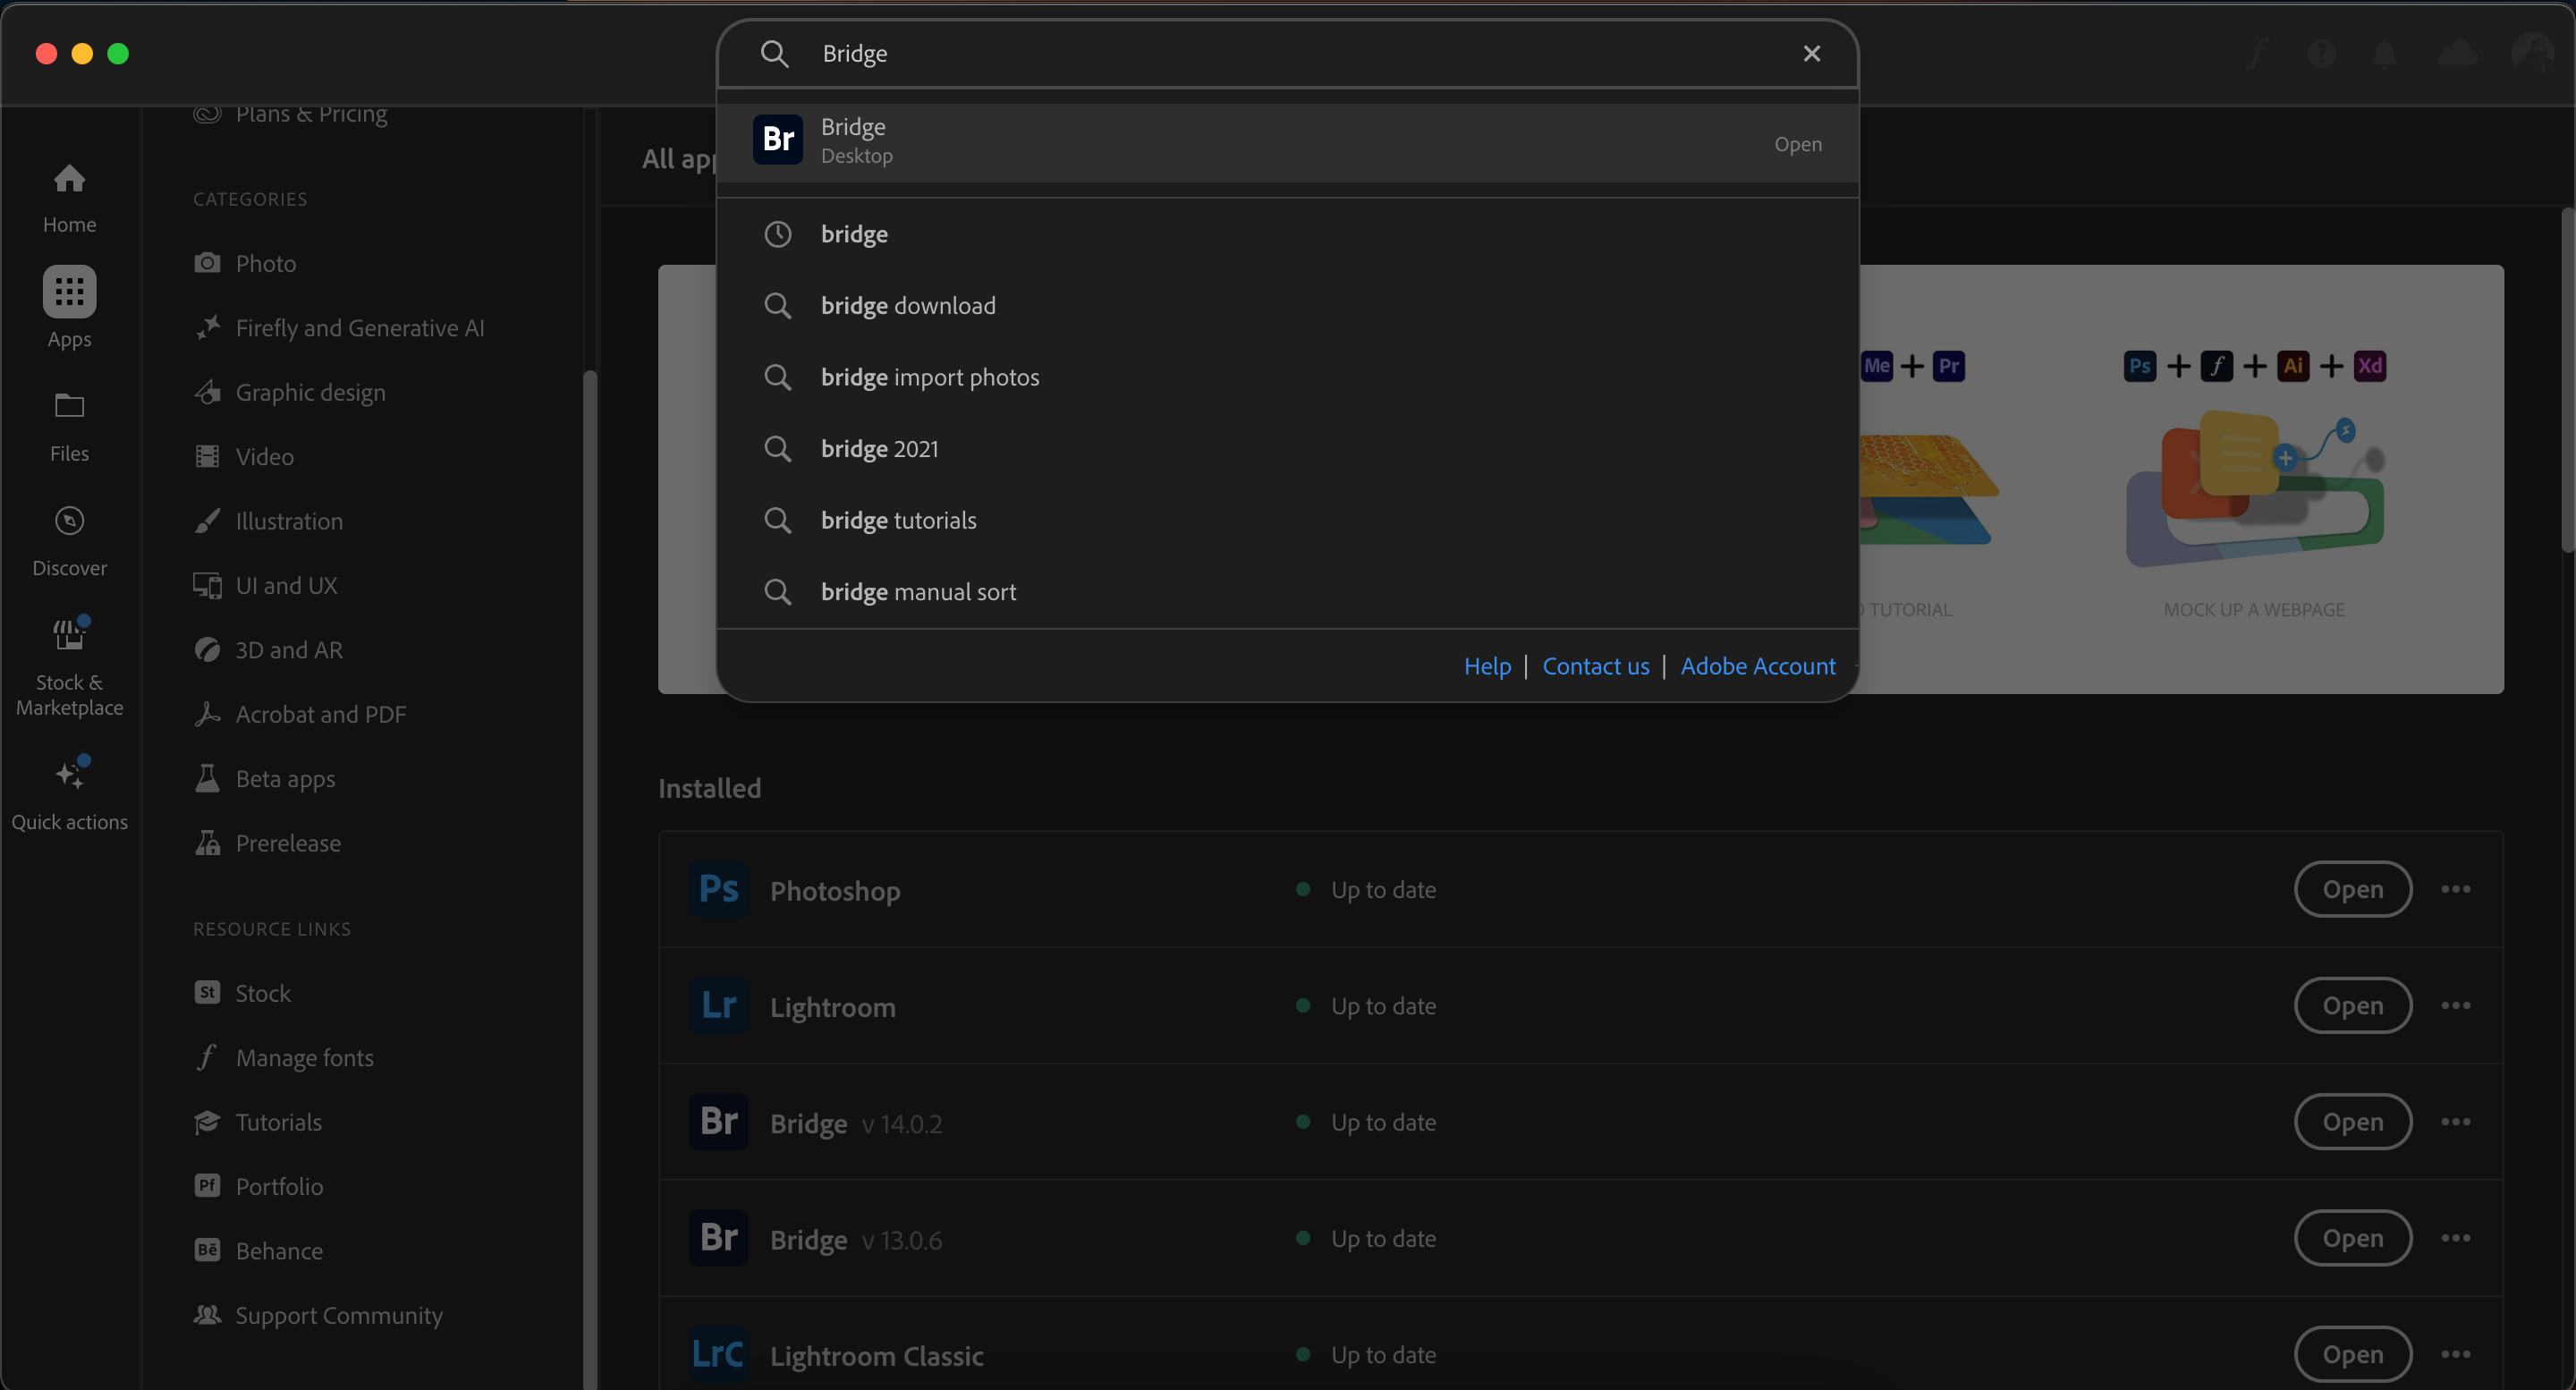
When you've downloaded Adobe CC, type Bridge in the search bar and download the app.


How to Use Adobe Bridge
Now that you know the basics, let's look at how to use Adobe Bridge in more detail.
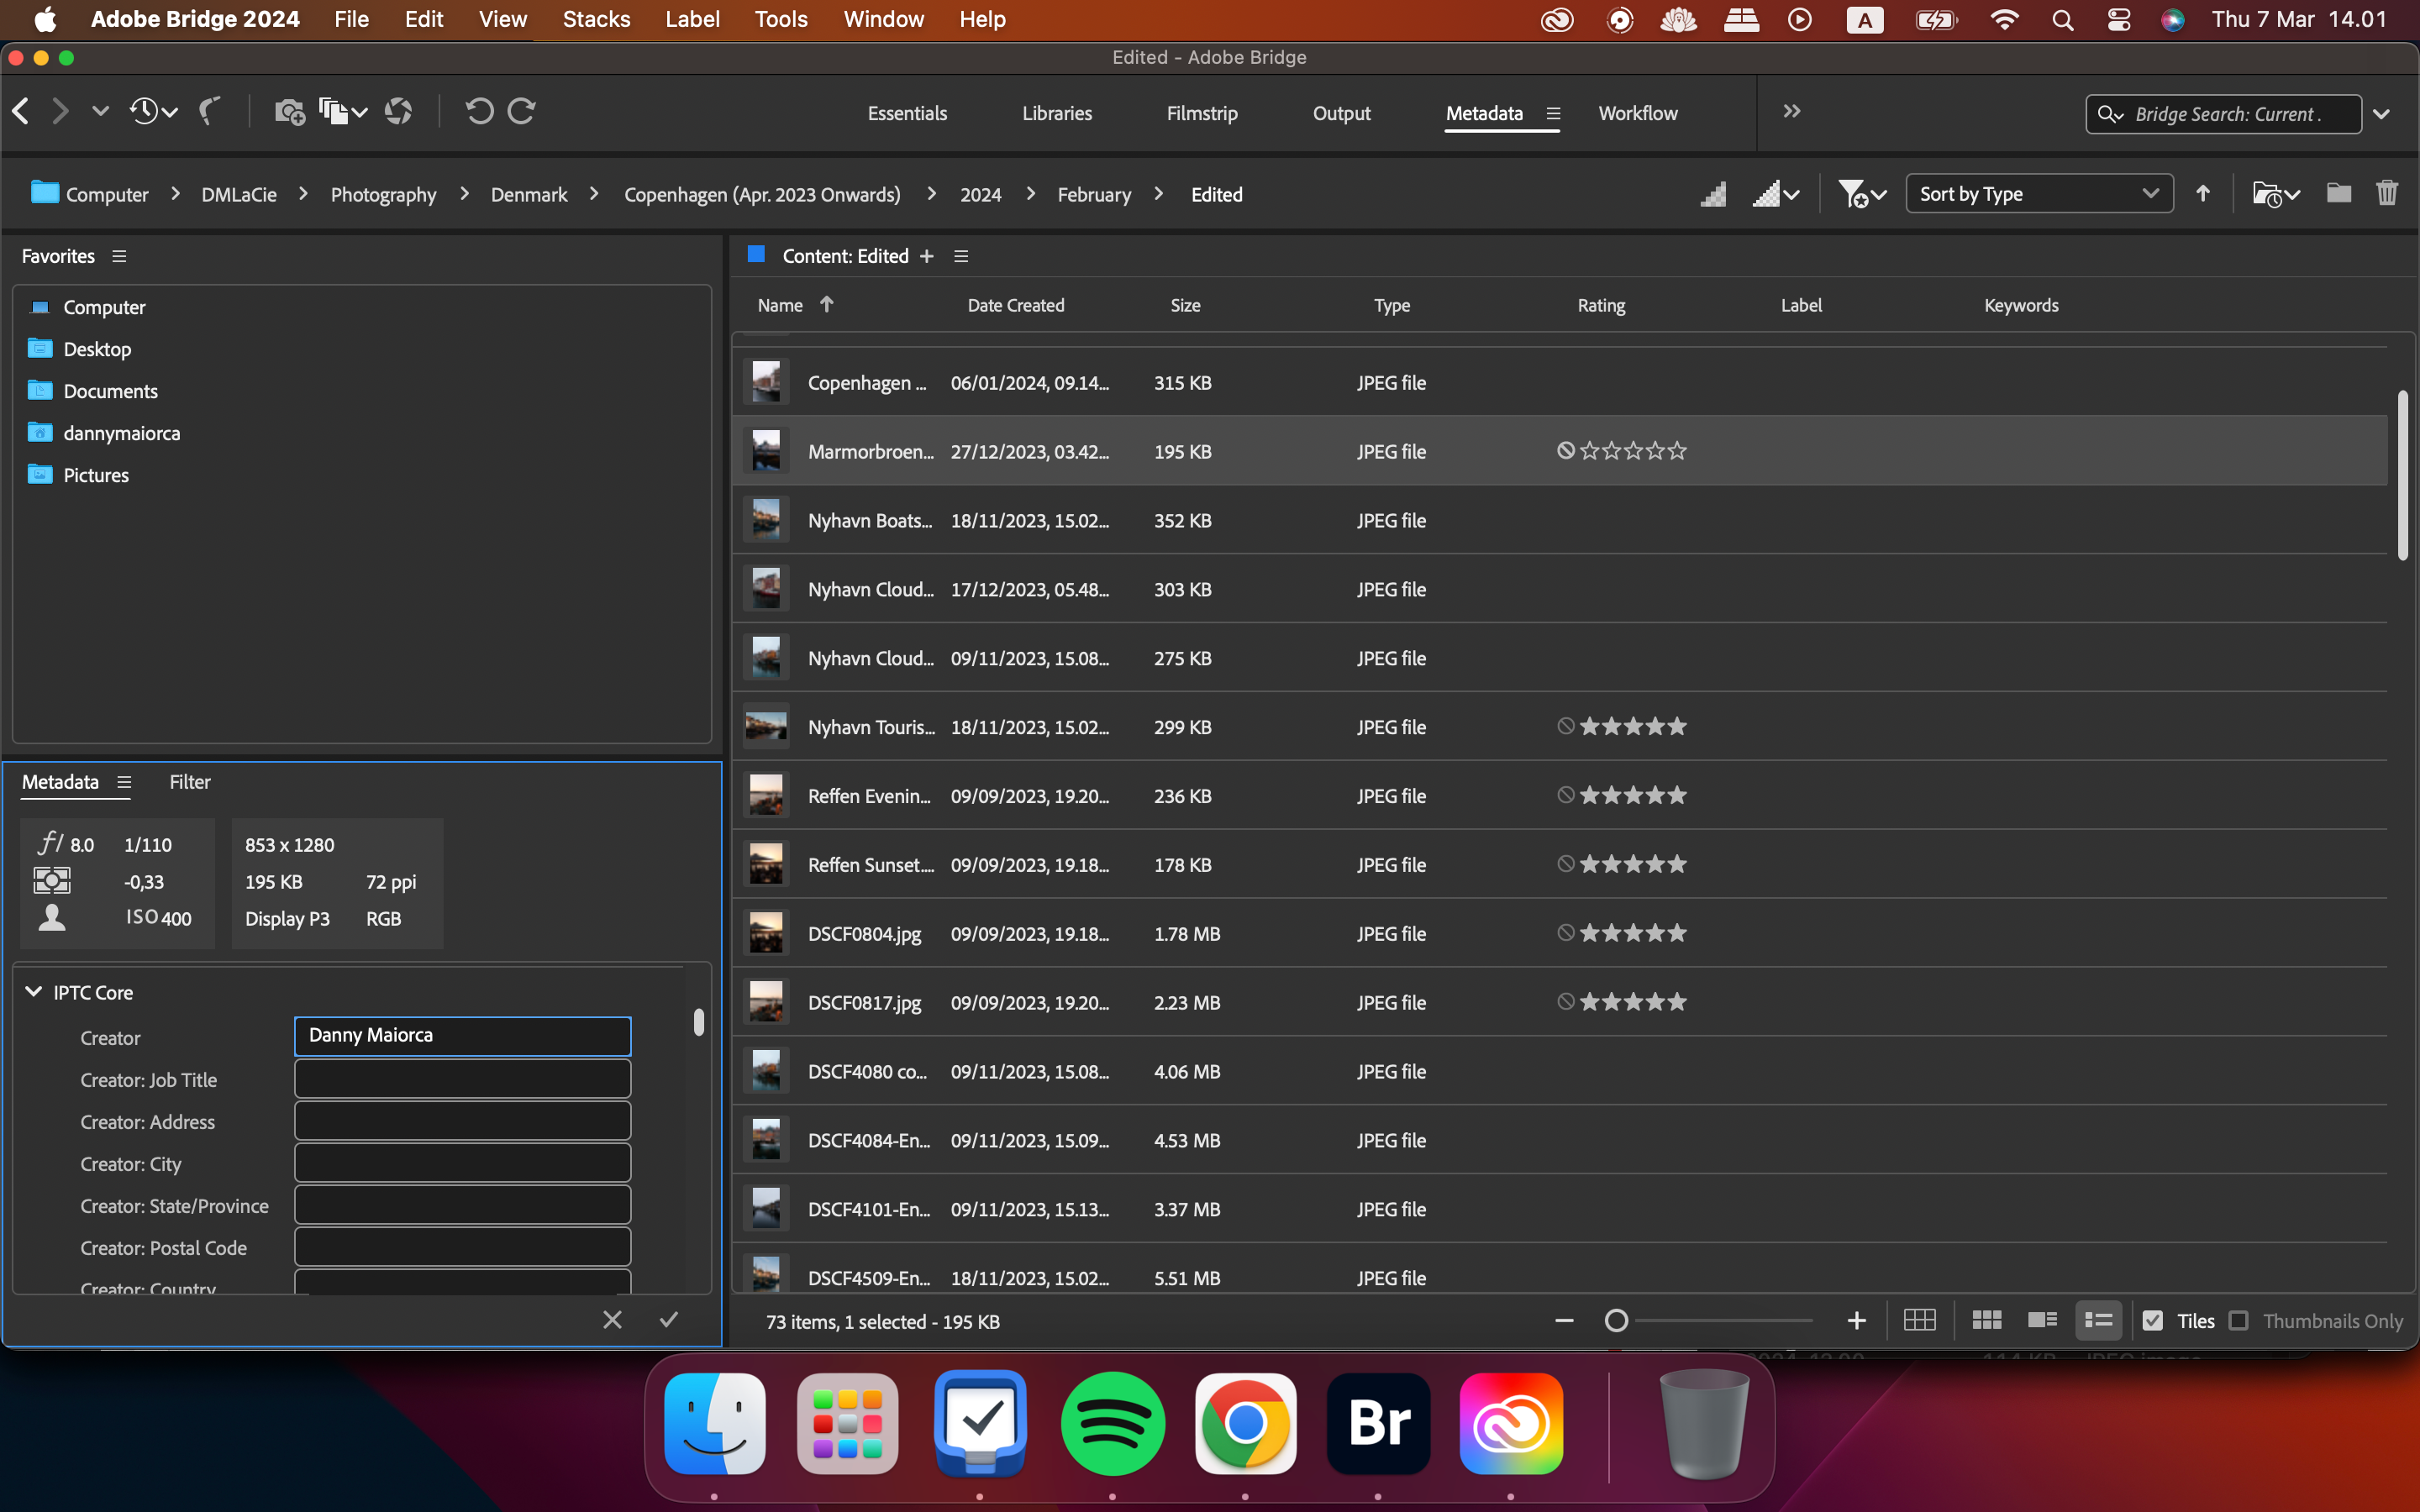
How to Use Metadata in Adobe Bridge
Edit the GPS coordinates, artist name, and and add keywords—plus much more—in Adobe Bridge's Metadata tab by following these steps.
-
Click on Metadata close to the top of the Adobe Bridge app.
-
Enter your metadata details in any text box. You can't edit a property if you don't see a text box.

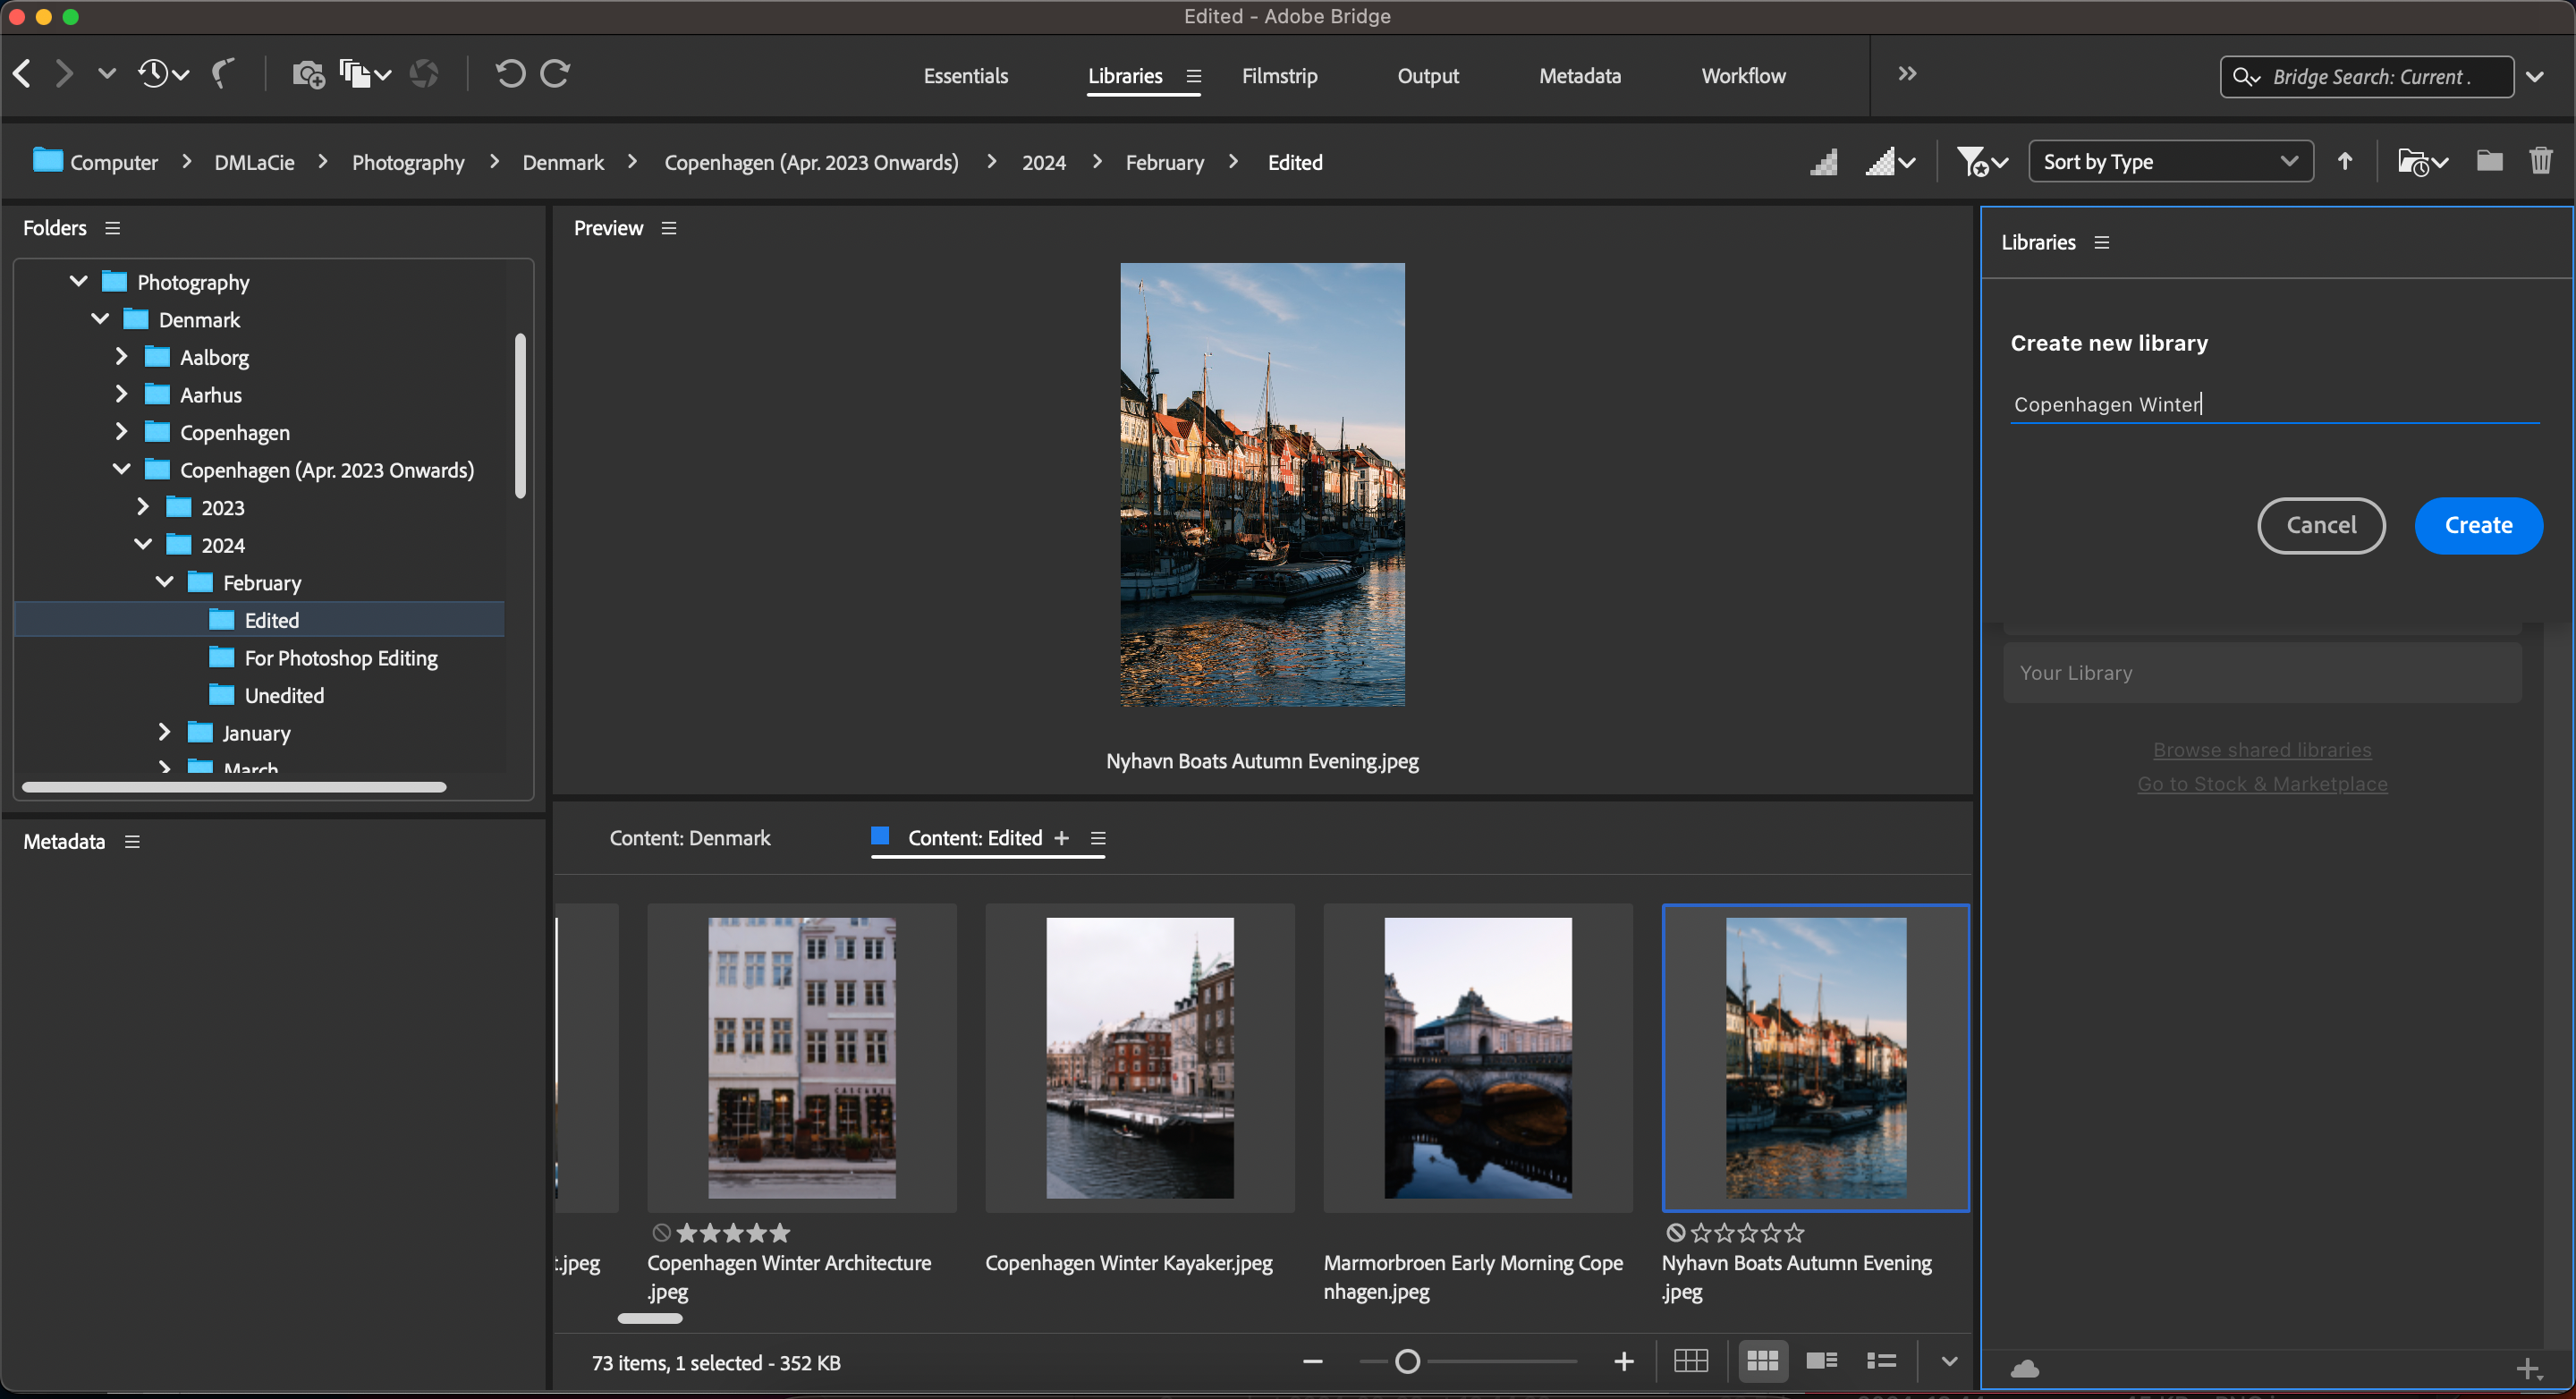
How to Create New Libraries in Adobe Bridge
Whether you want to create new libraries to keep yourself organized or you're collaborating with others, you can follow the instructions below to complete your desired outcome.
-
Go to Libraries > Create new library.
-
Give your library a name and select Create.
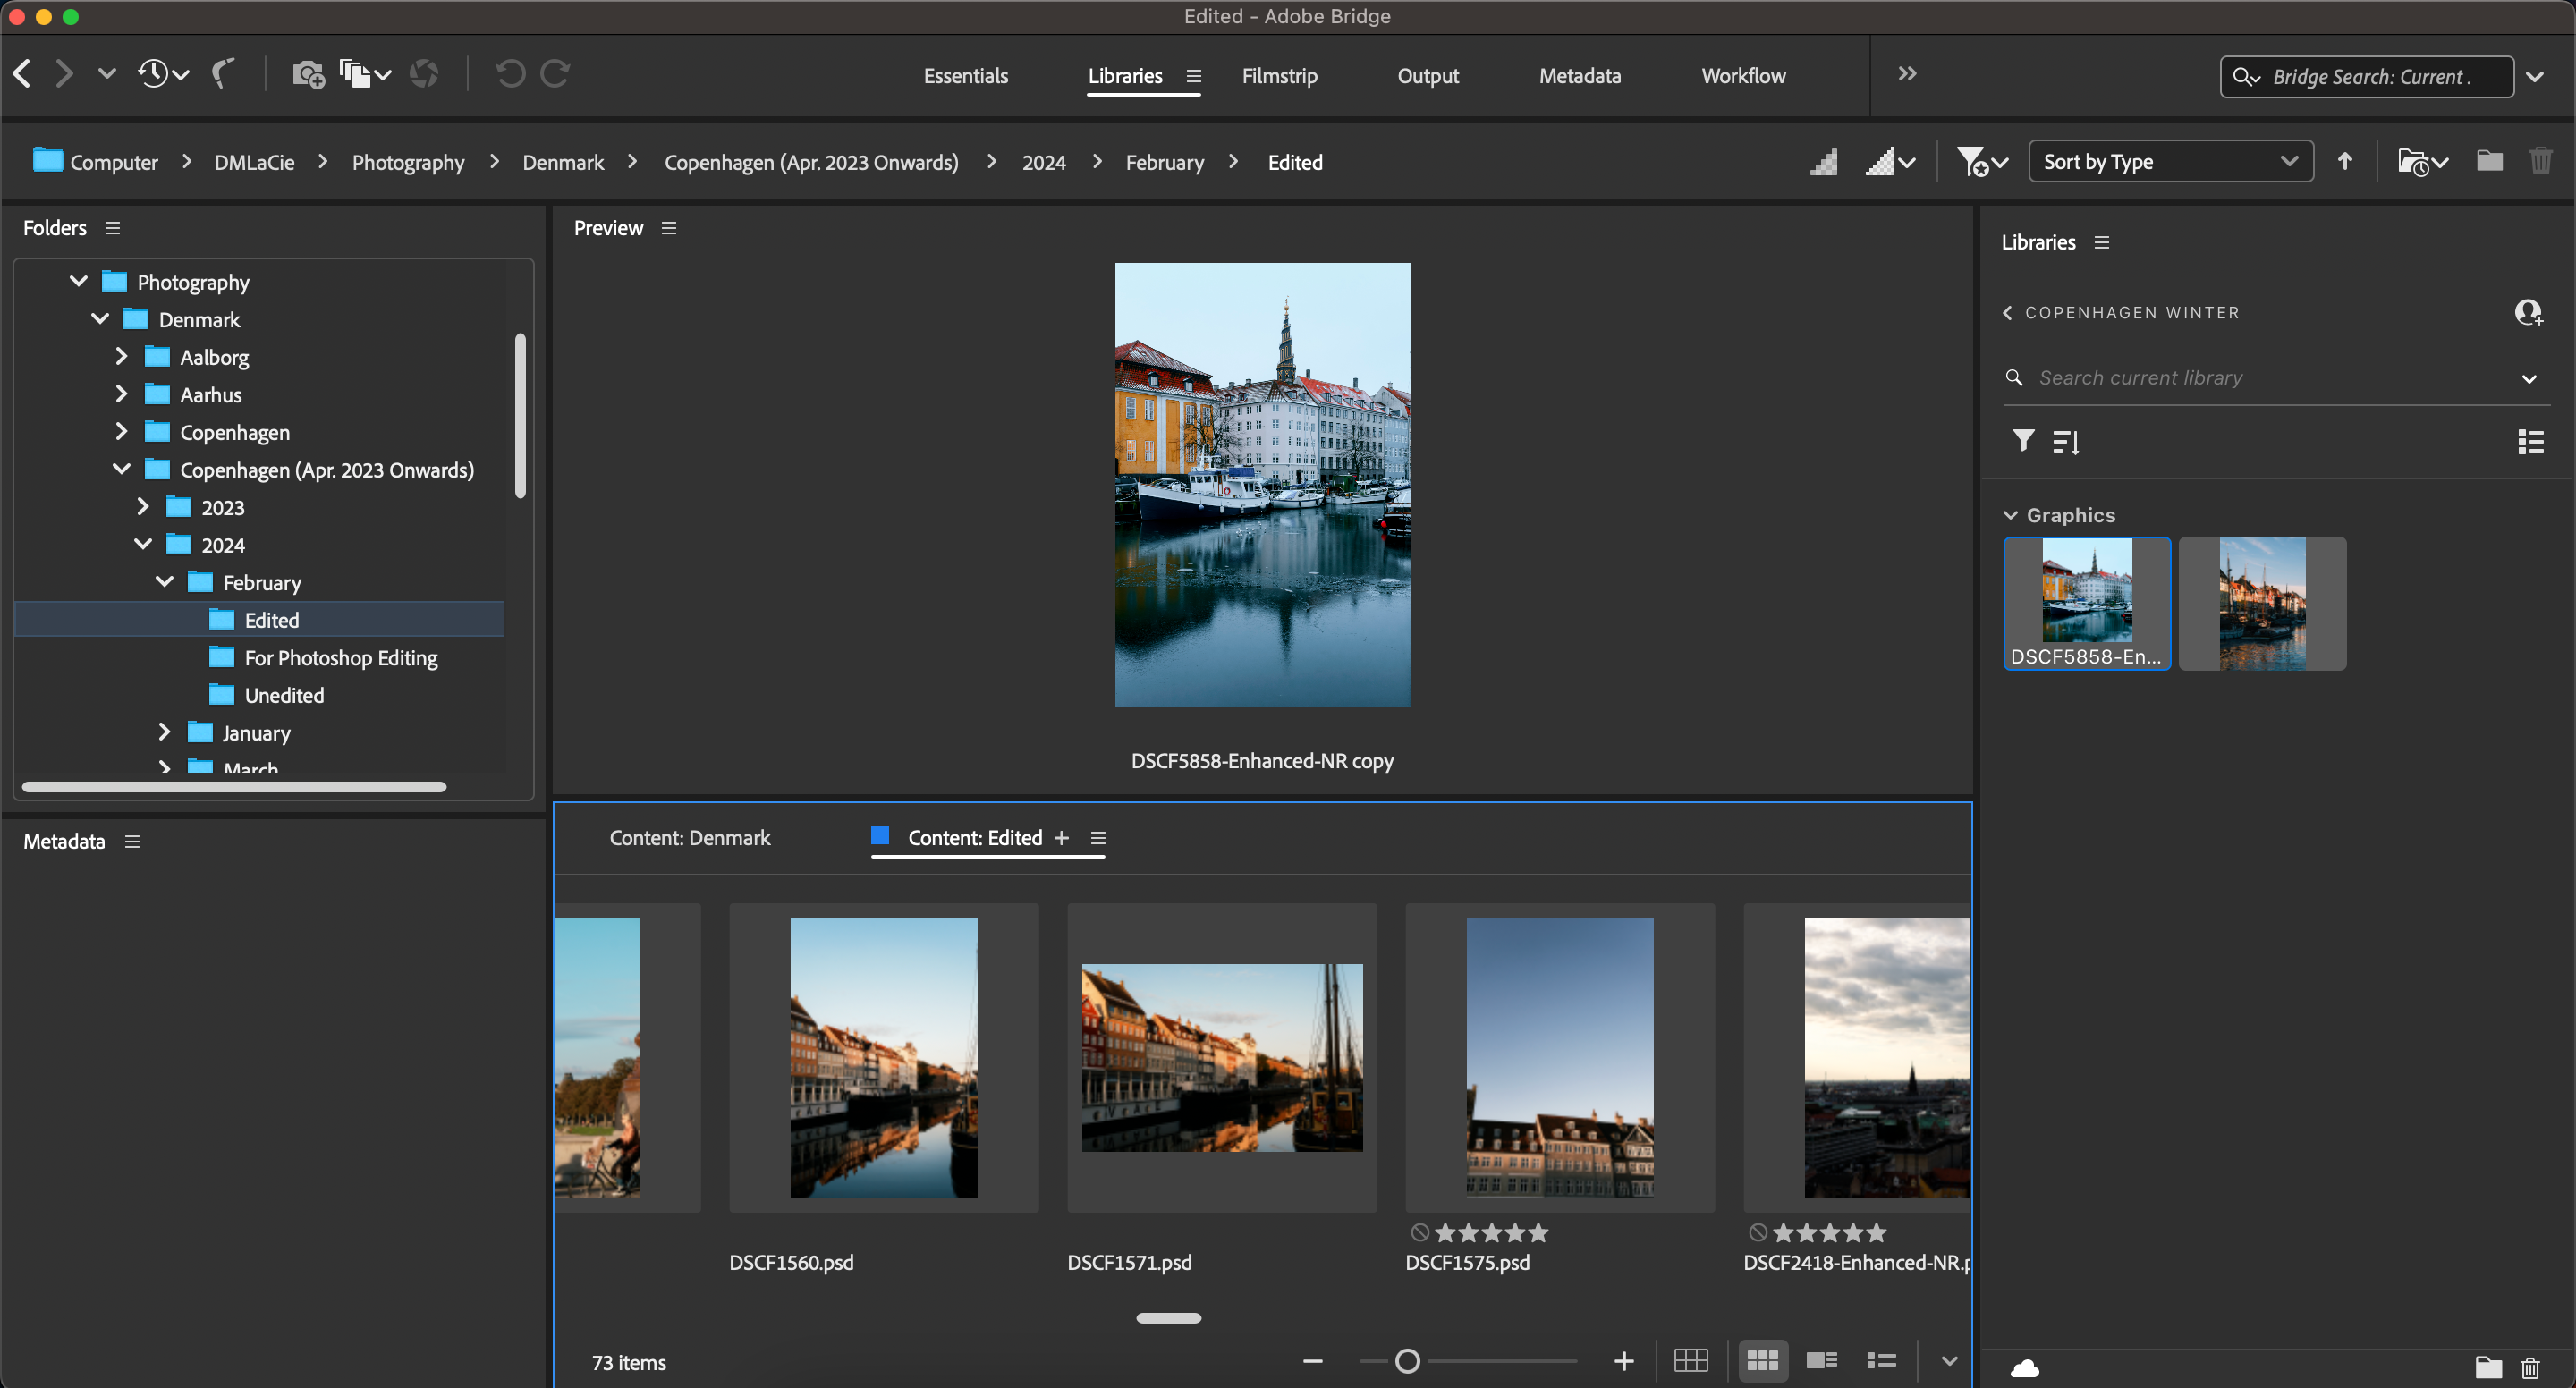
-
Drag and drop any files you'd like to add to your library. You can access your content at any time via the Libraries tab.


If you want to organize your photography workflow across multiple devices, consider checking out these must-use iPad apps for photographers.
How to Organize Your Files and Folders in Adobe Bridge
In addition to creating new libraries, you can organize your existing files and folders within the Adobe Bridge app. Doing so is very straightforward.
- Go to the Libraries tab.
-
Drag and drop any folders you want to add to different ones. Do the same with your files. ;
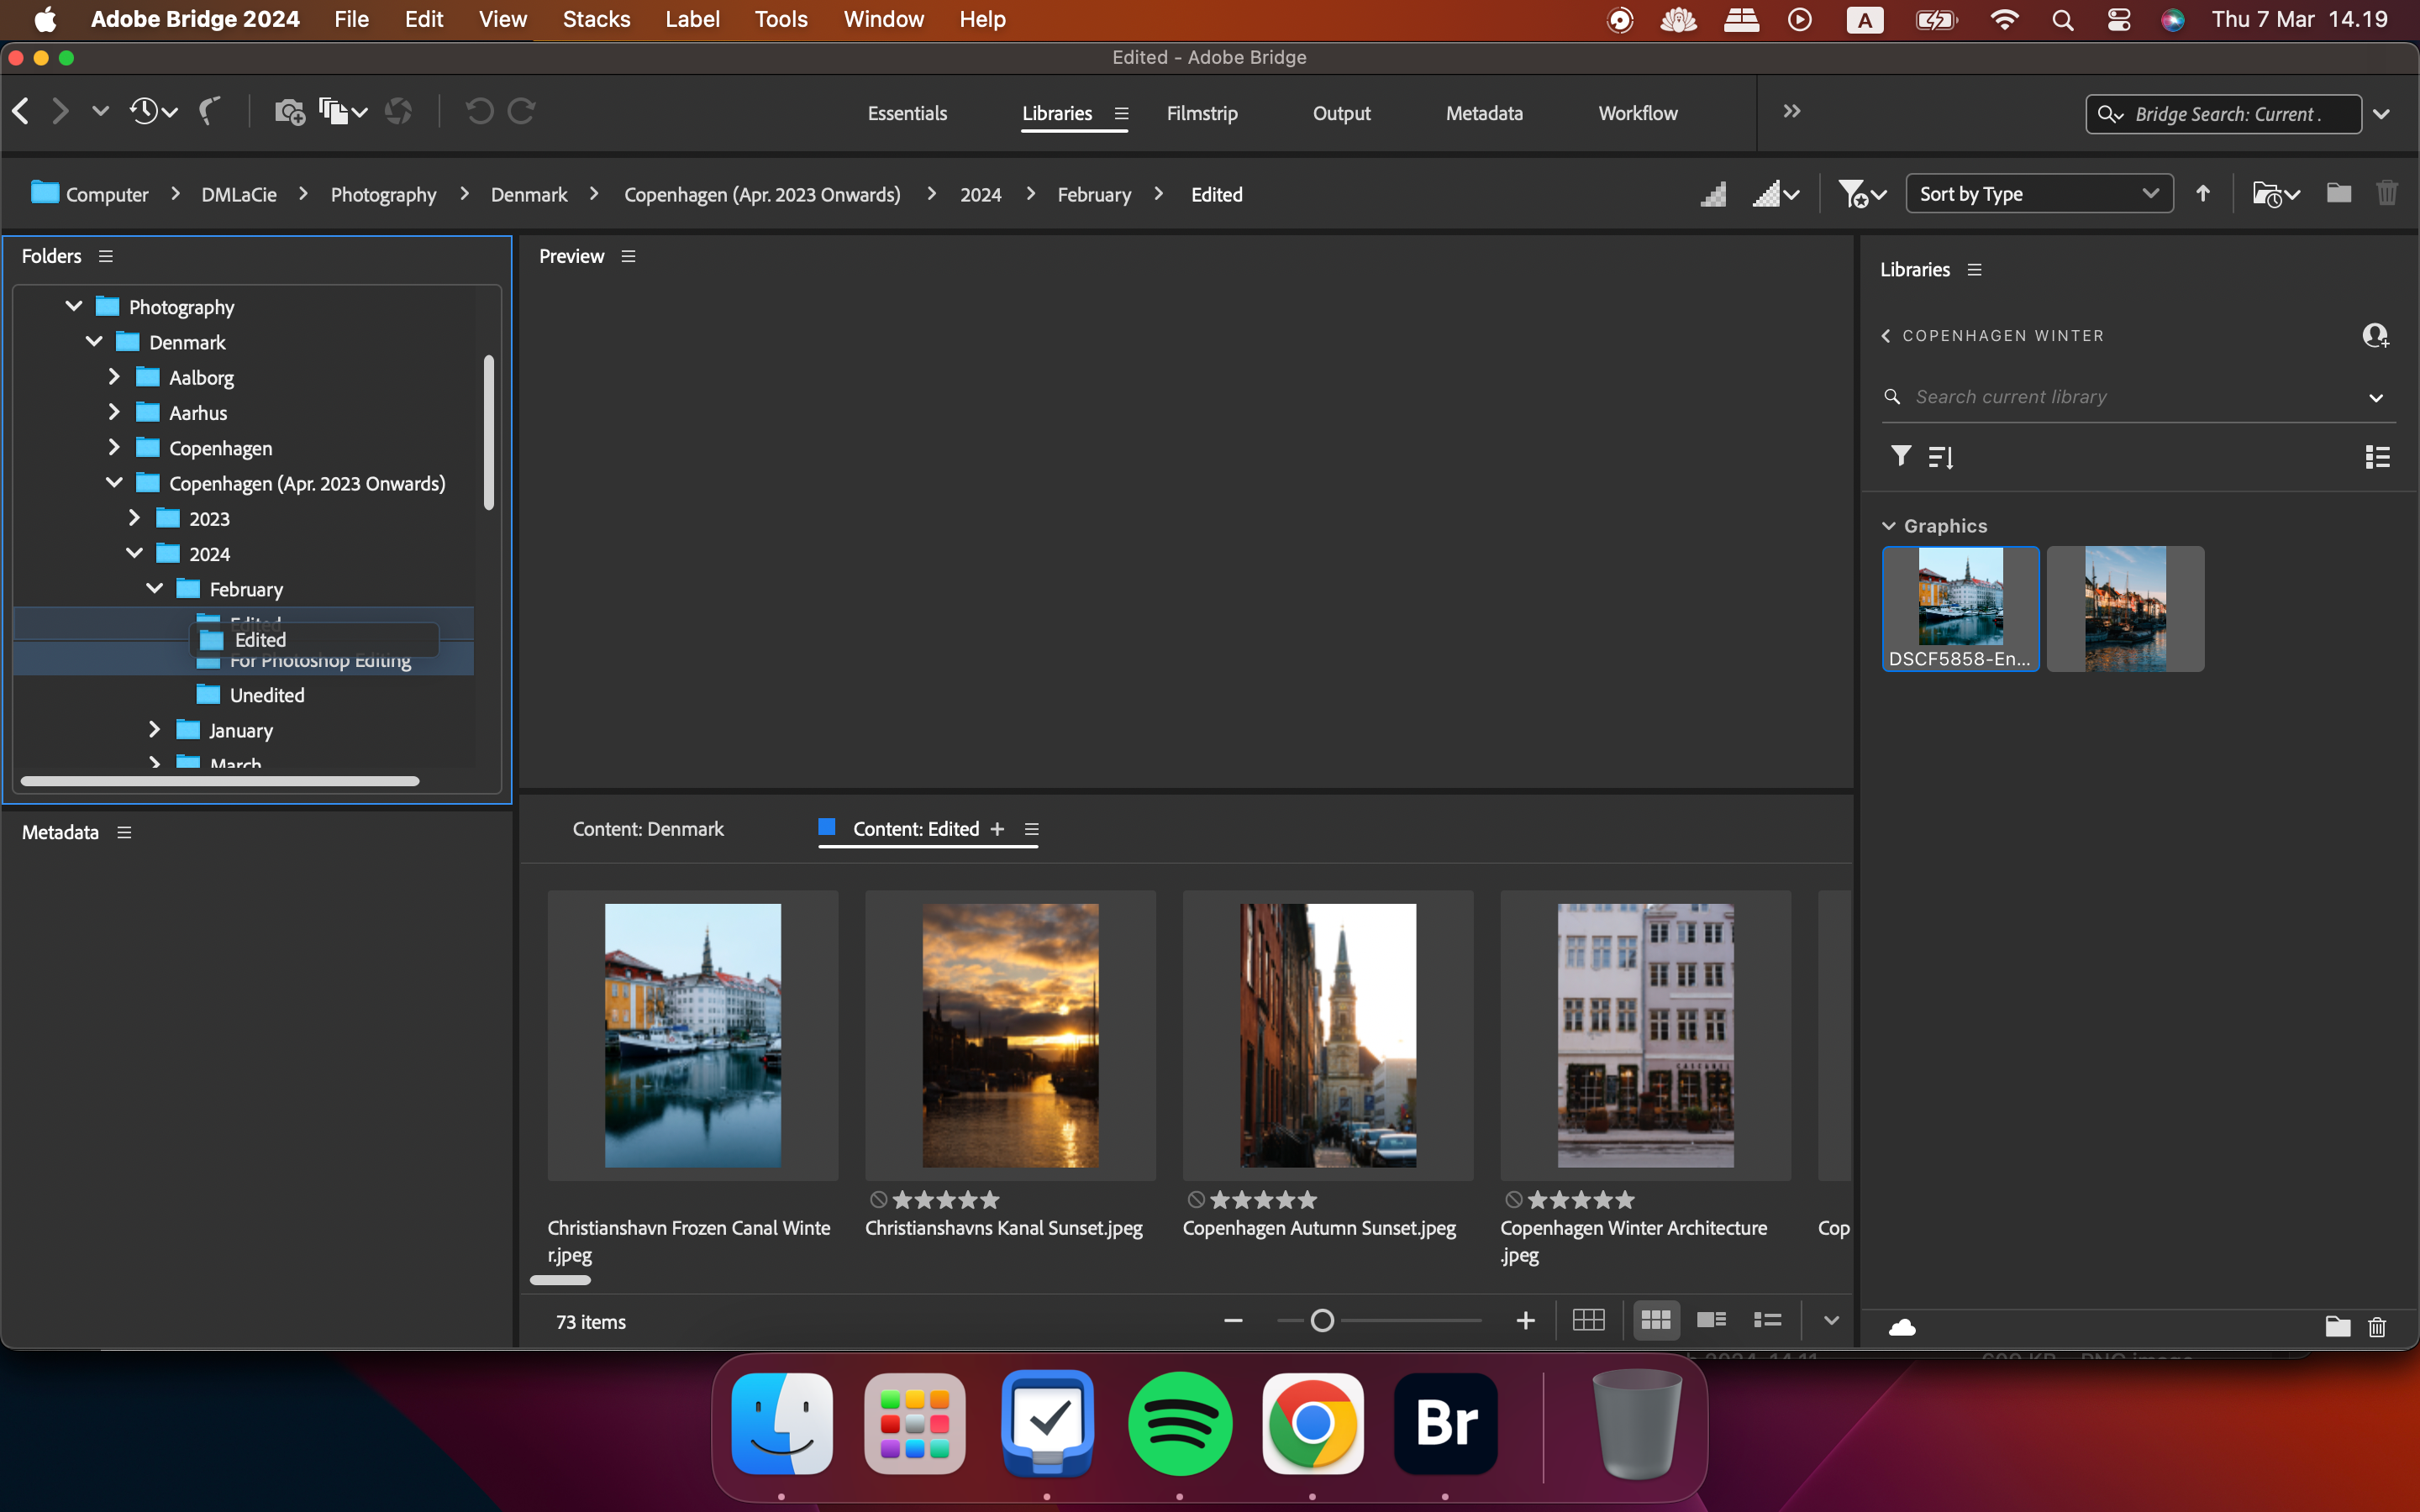

It's worth noting that if you drag and drop files within Adobe Bridge, you'll need to relocate the file sources for pictures already uploaded to Lightroom and other apps. After doing that, you can continue editing them as normal. Normally, you only need to source one file within the folder to rebuild everything else that was also in that folder.
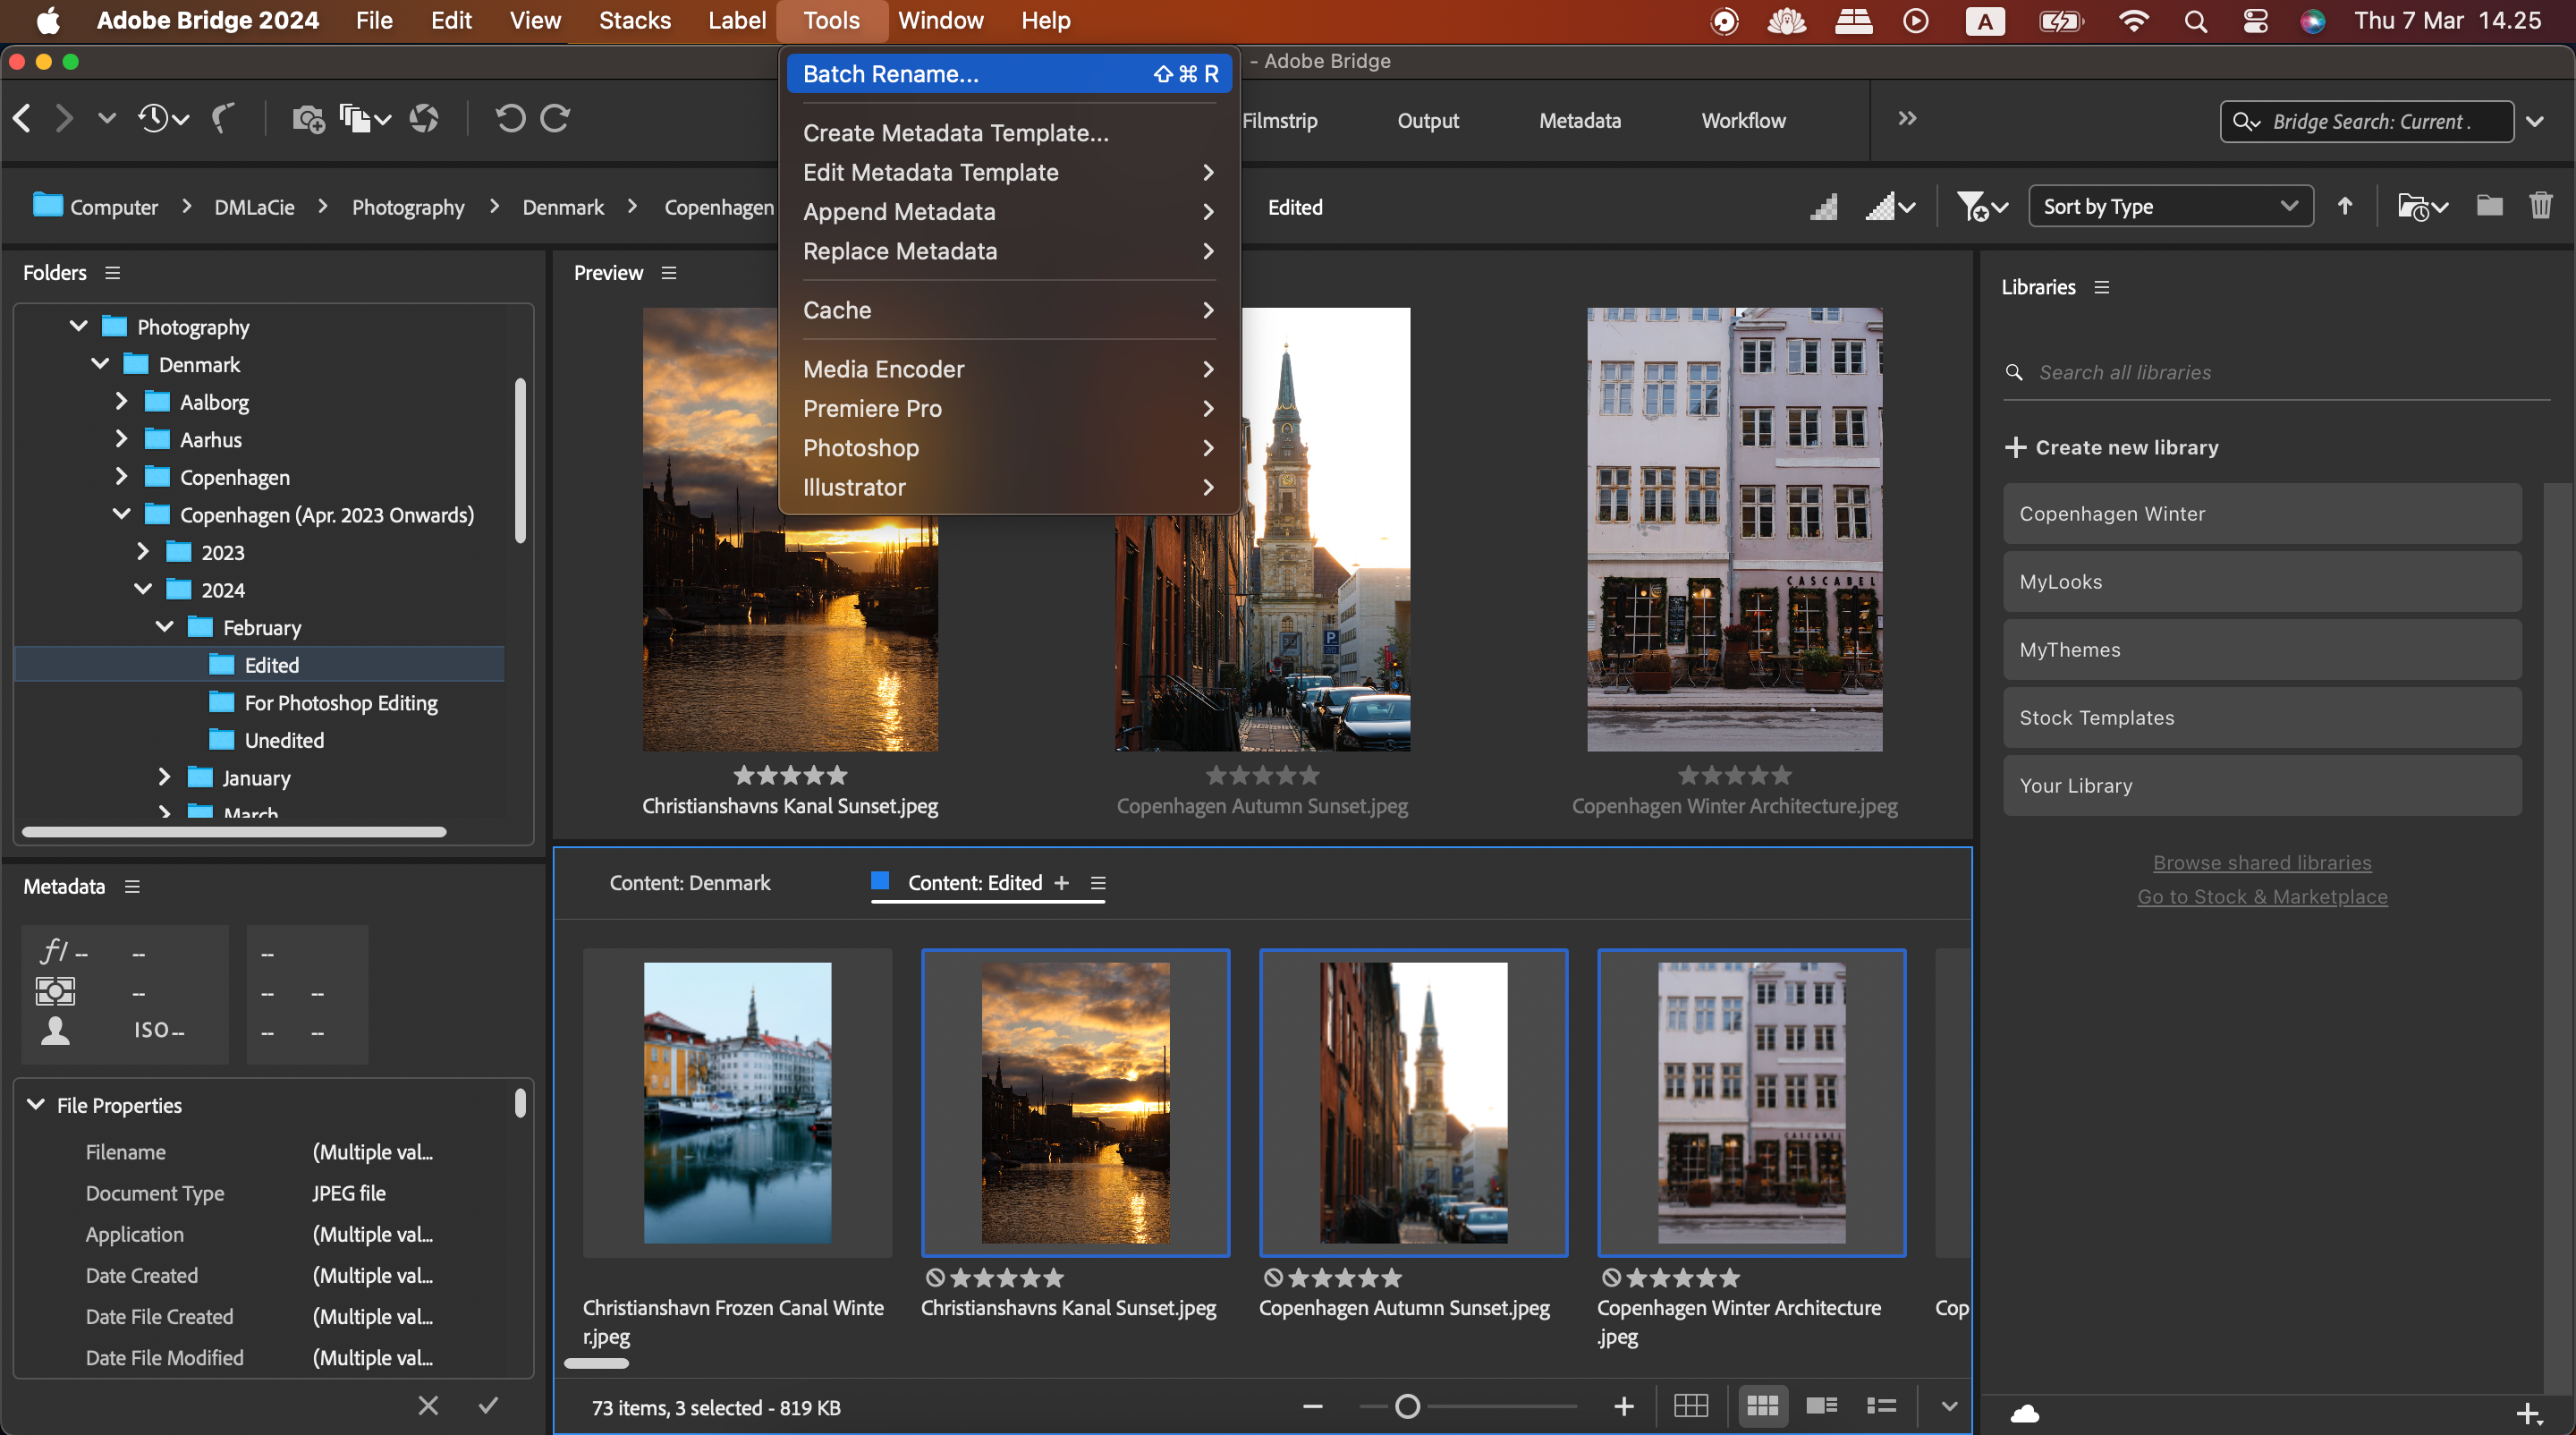
How to Batch Rename Files in Adobe Bridge
If you have many files that are very similar, you can easily batch-rename them within Adobe Bridge. Here's how to do that:
- Select the files you want to rename.
-
Go to Tools > Batch Rename.
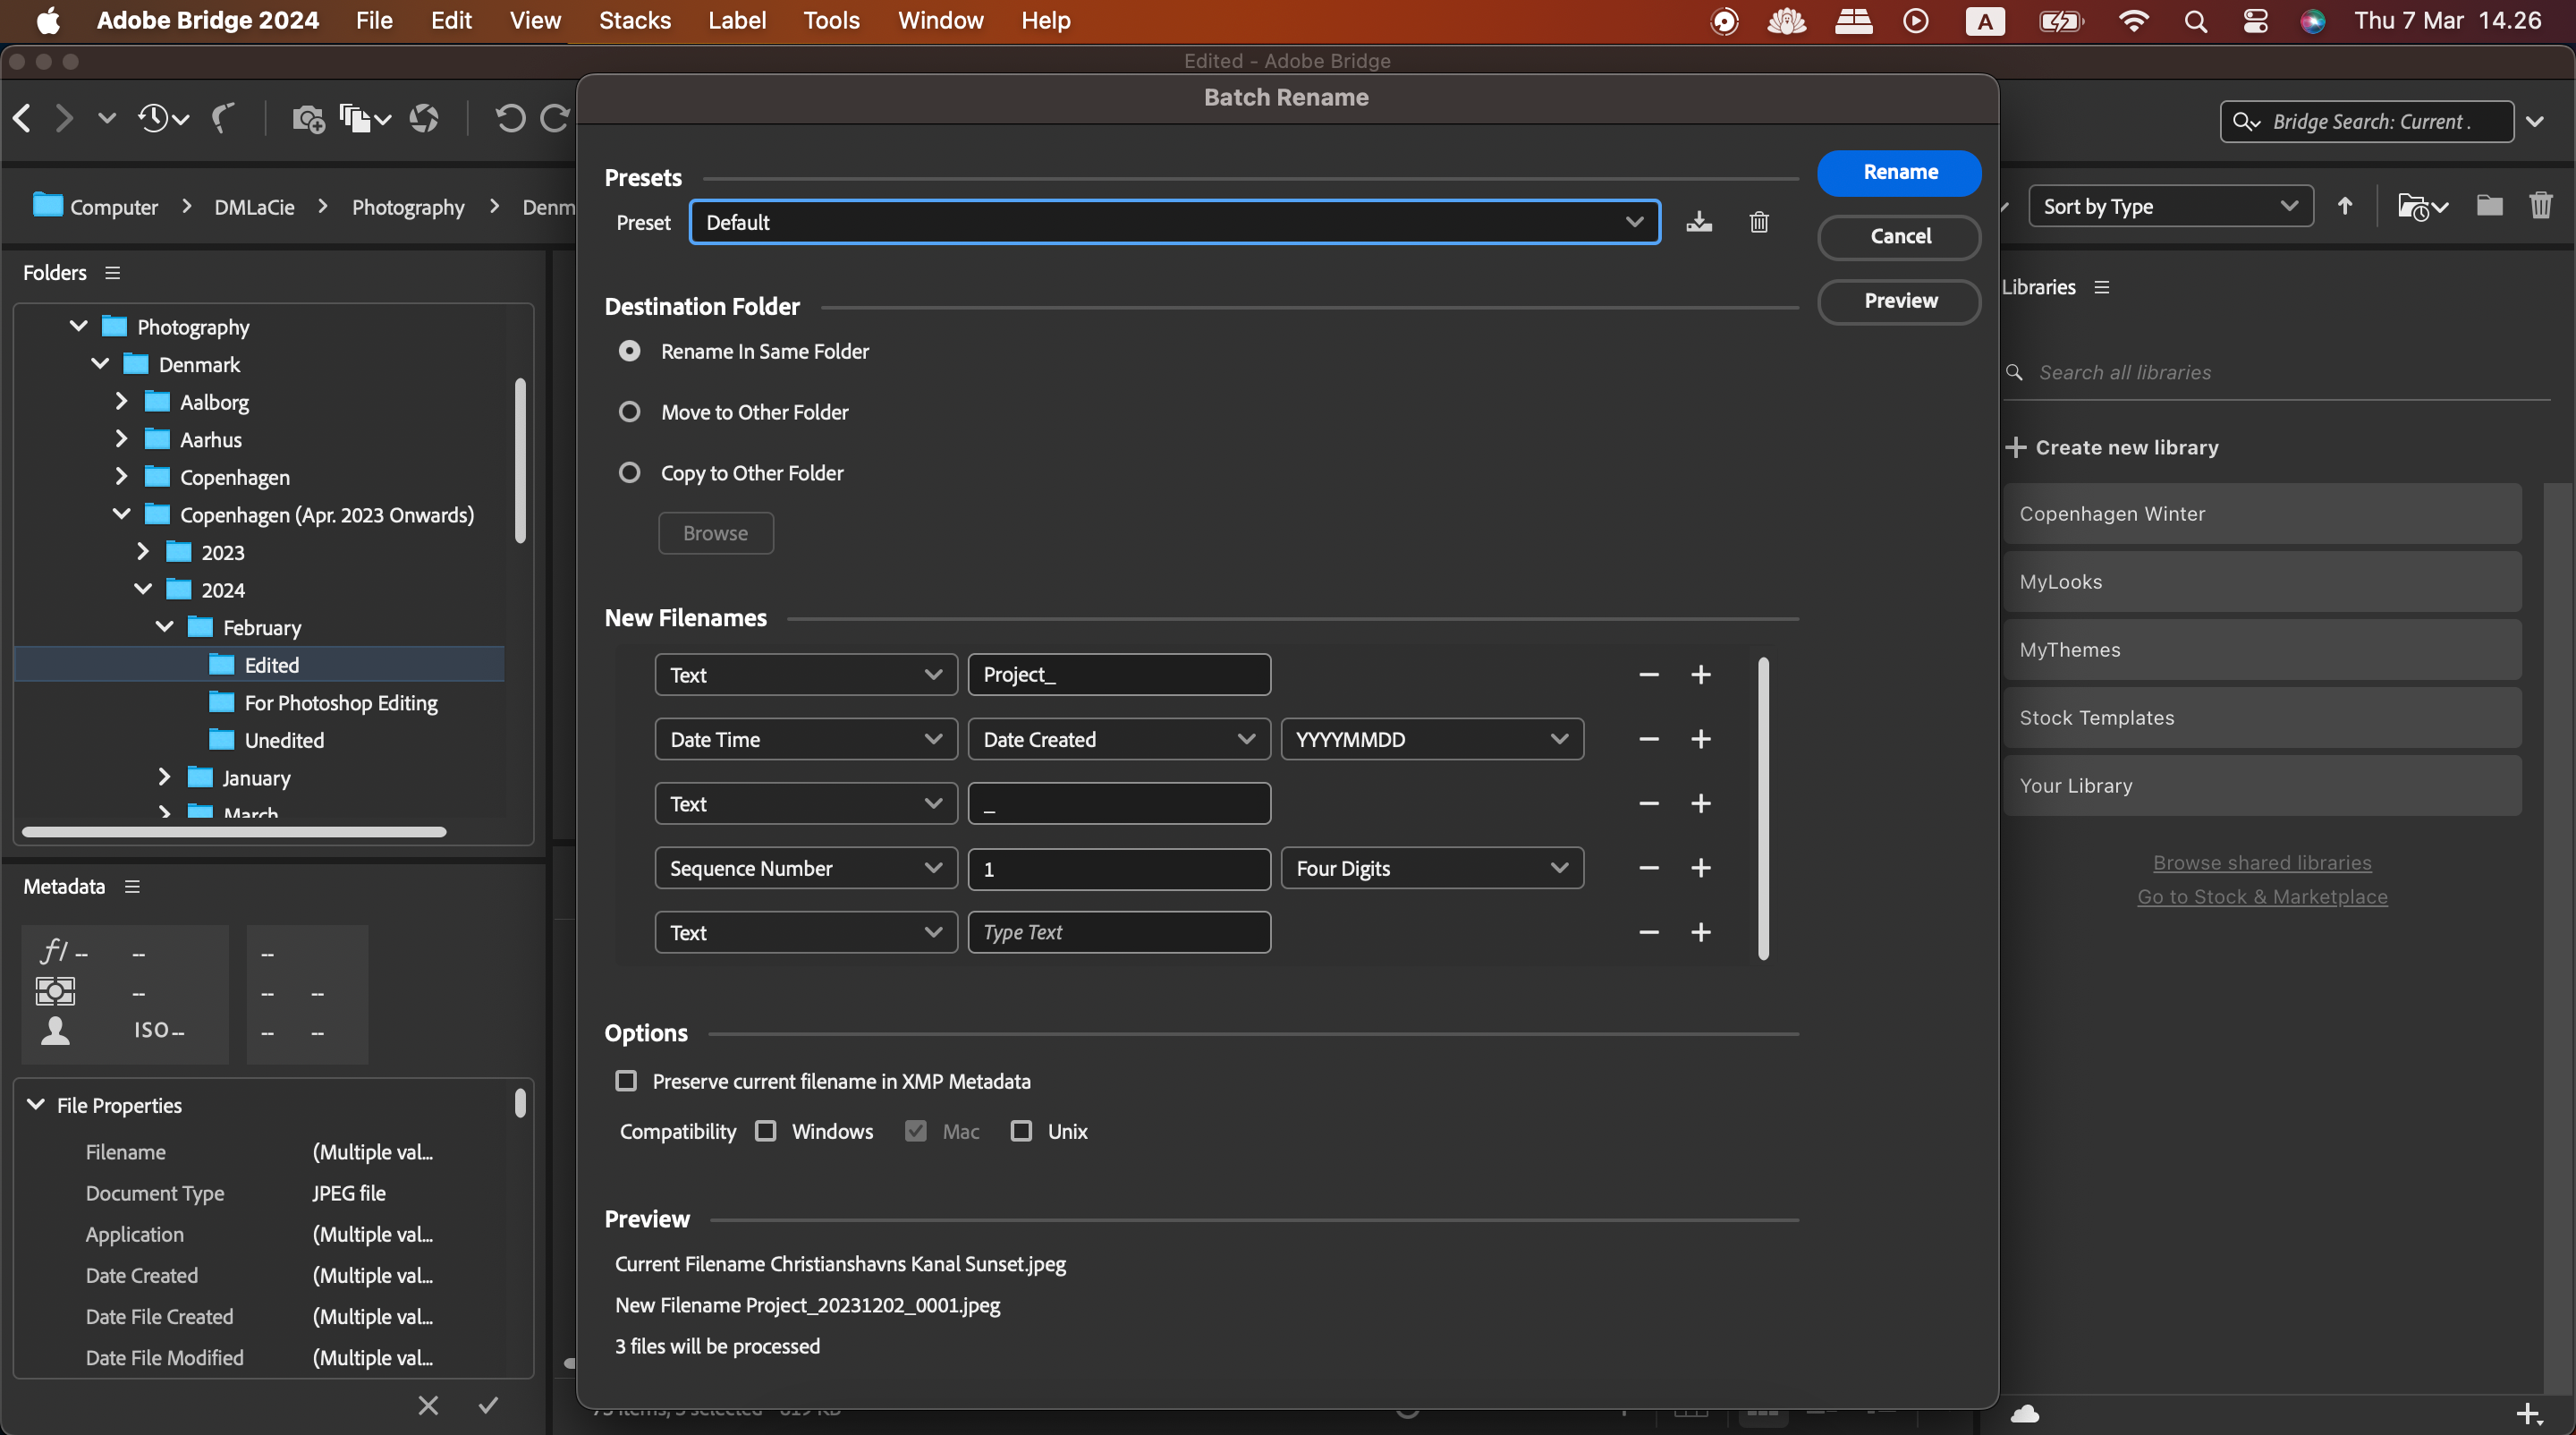
-
Change the writing next to the Text dropdown menus and customize anything else you wish. Then, press Rename.


How to Return to Your Editing Platform Via Adobe Bridge
While you can use Adobe Bridge without Photoshop or Lightroom (or any other editing app), you'll have a more rewarding experience if you incorporate it as part of your broader editing workflow. Simply tap the boomerang icon to return to your editing app.

How to Use the Workflows Feature in Adobe Bridge
Productivity often doesn't come easy to creatives, and having lots of projects at once can quickly become overwhelming. You can mitigate this stress by using the Workflows feature in Adobe Bridge. This tool lets you create presets from the following tasks:
- Batch Rename
- Change Format
- Apply Metadata
- Resize to
When you apply your presets to other files, you can move on with each task faster. Here's how to create a workflow in Adobe Bridge:
-
Go to Workflow > Create Workflow.
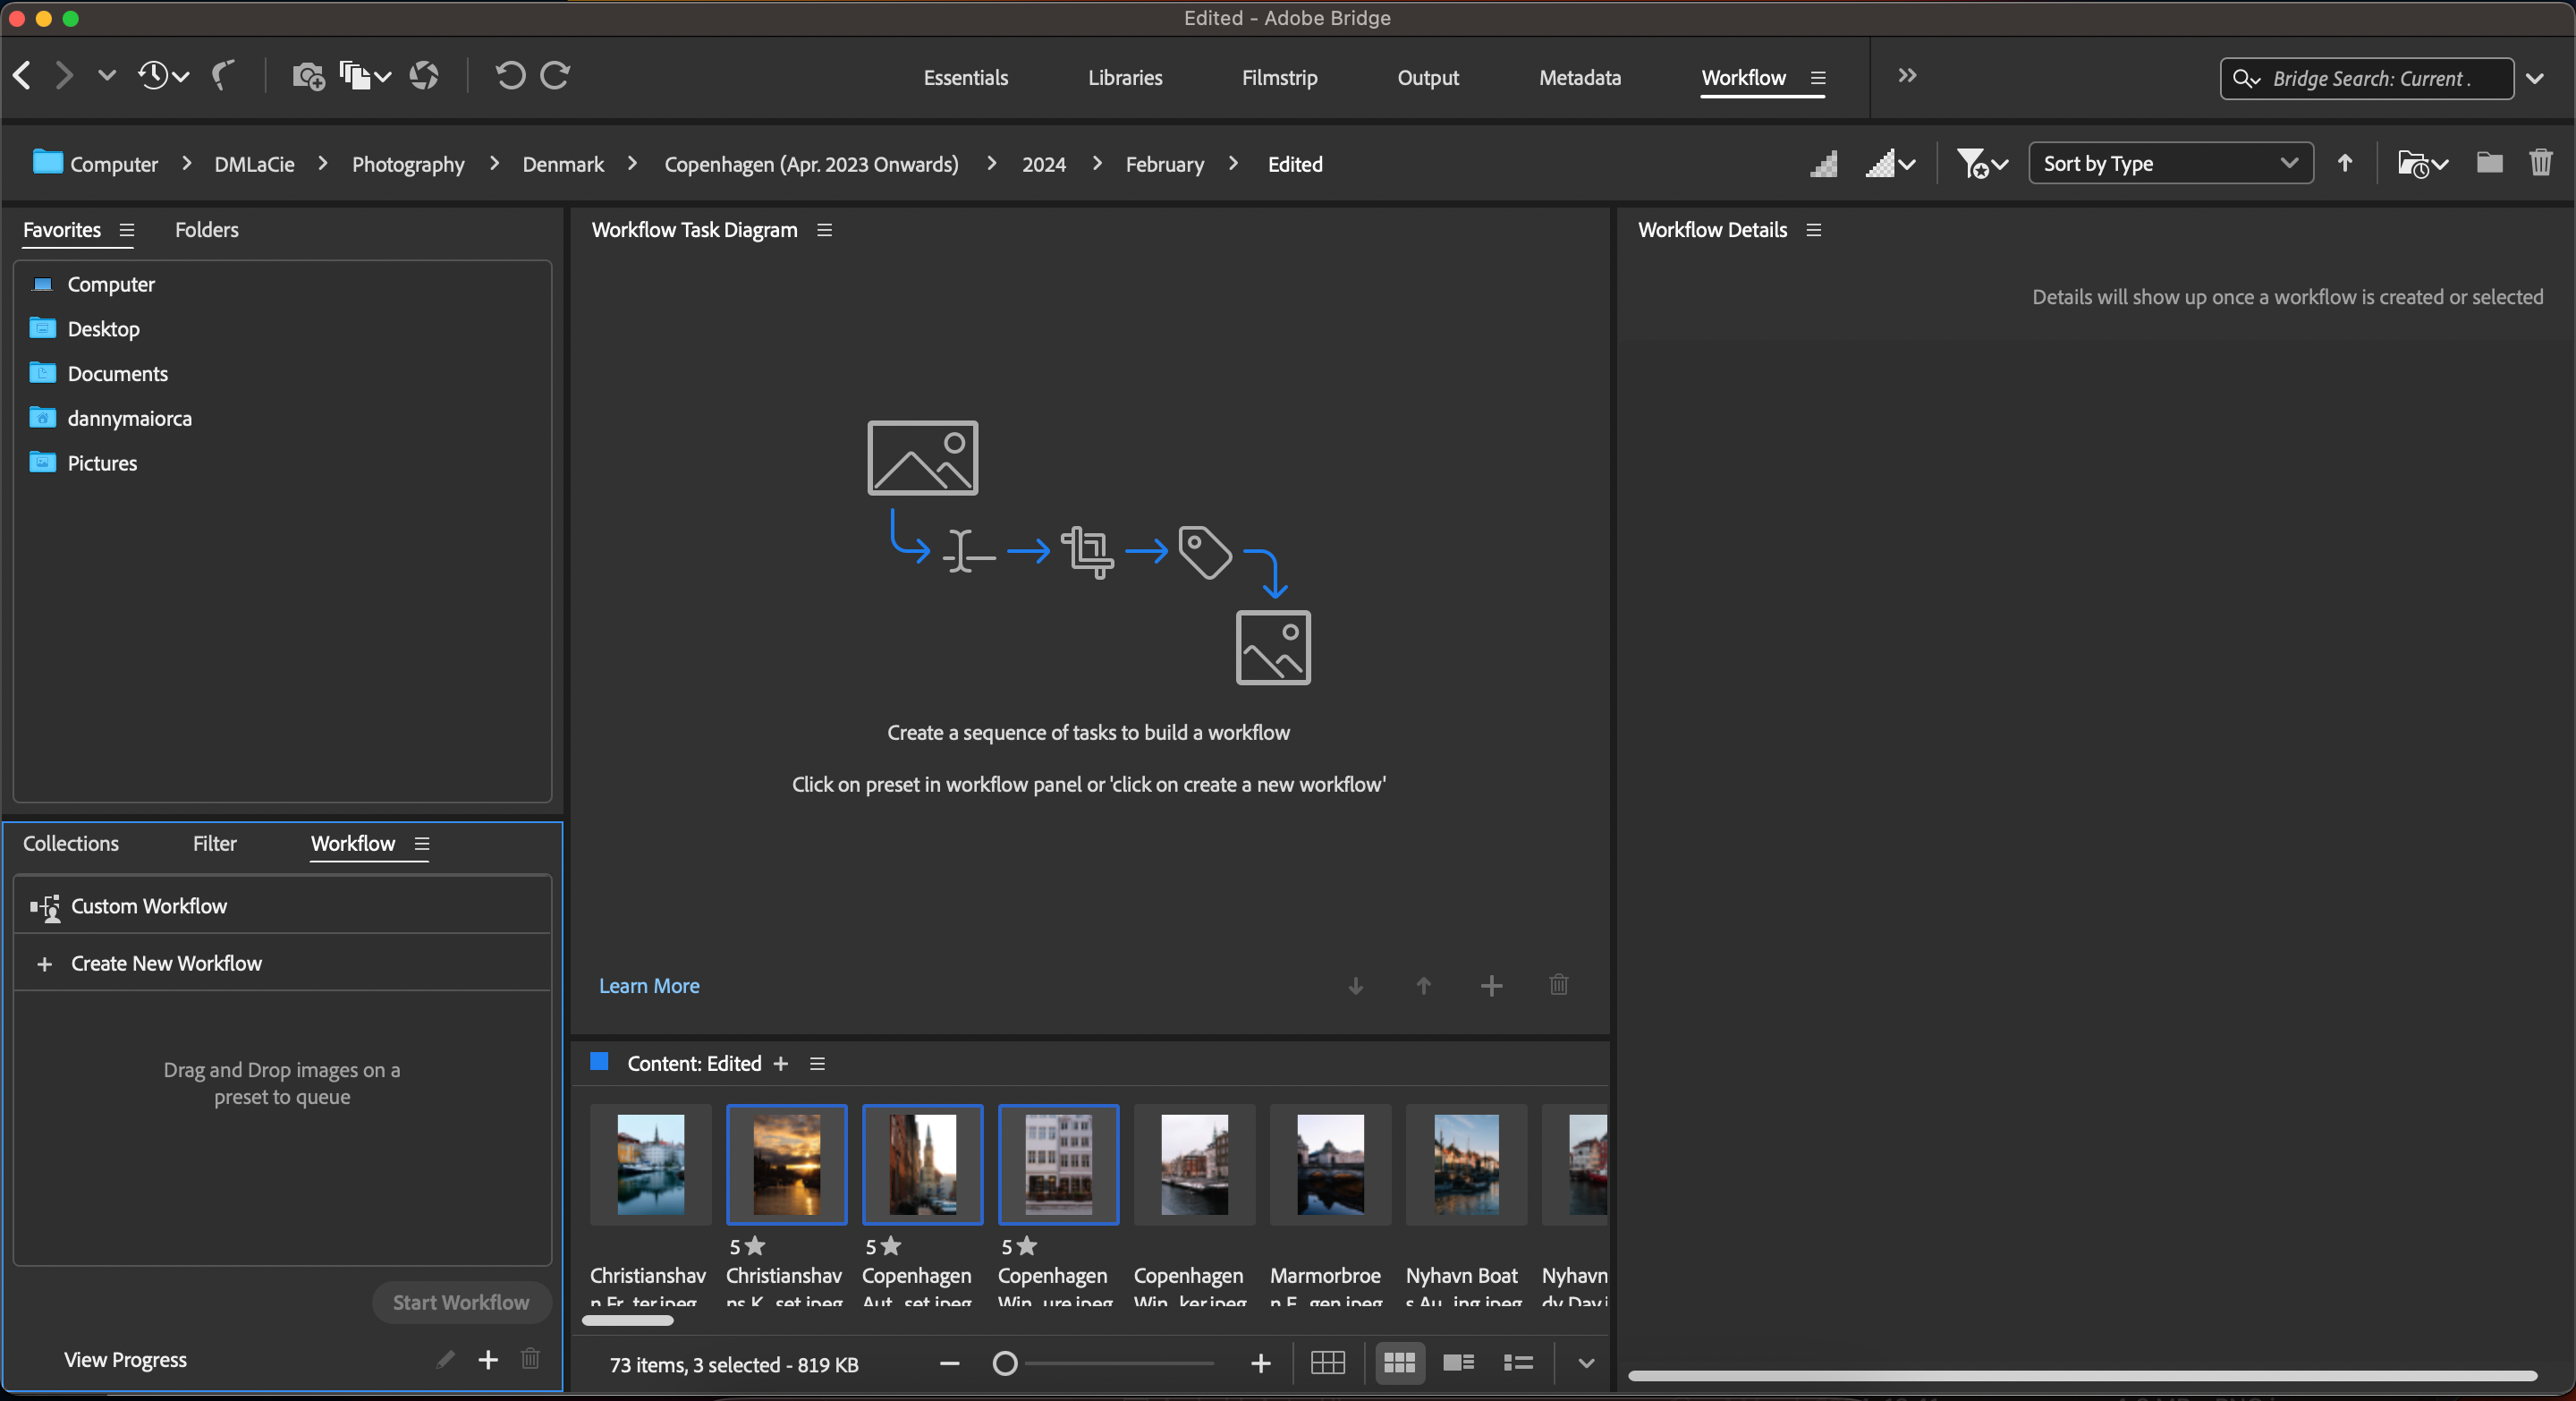
-
Choose the first task you'd like to add to your workflow.

- Add the other workflow tasks via the + icon. You don't need to add all of them, so don't worry about that. Name your preset and select Save when you're finished.
-
When you want to adjust a file in Adobe Bridge, drag and drop it into that workflow preset.


If you want to optimize your workflow further, check out these benefits of using an iPad as part of your creative workflow.
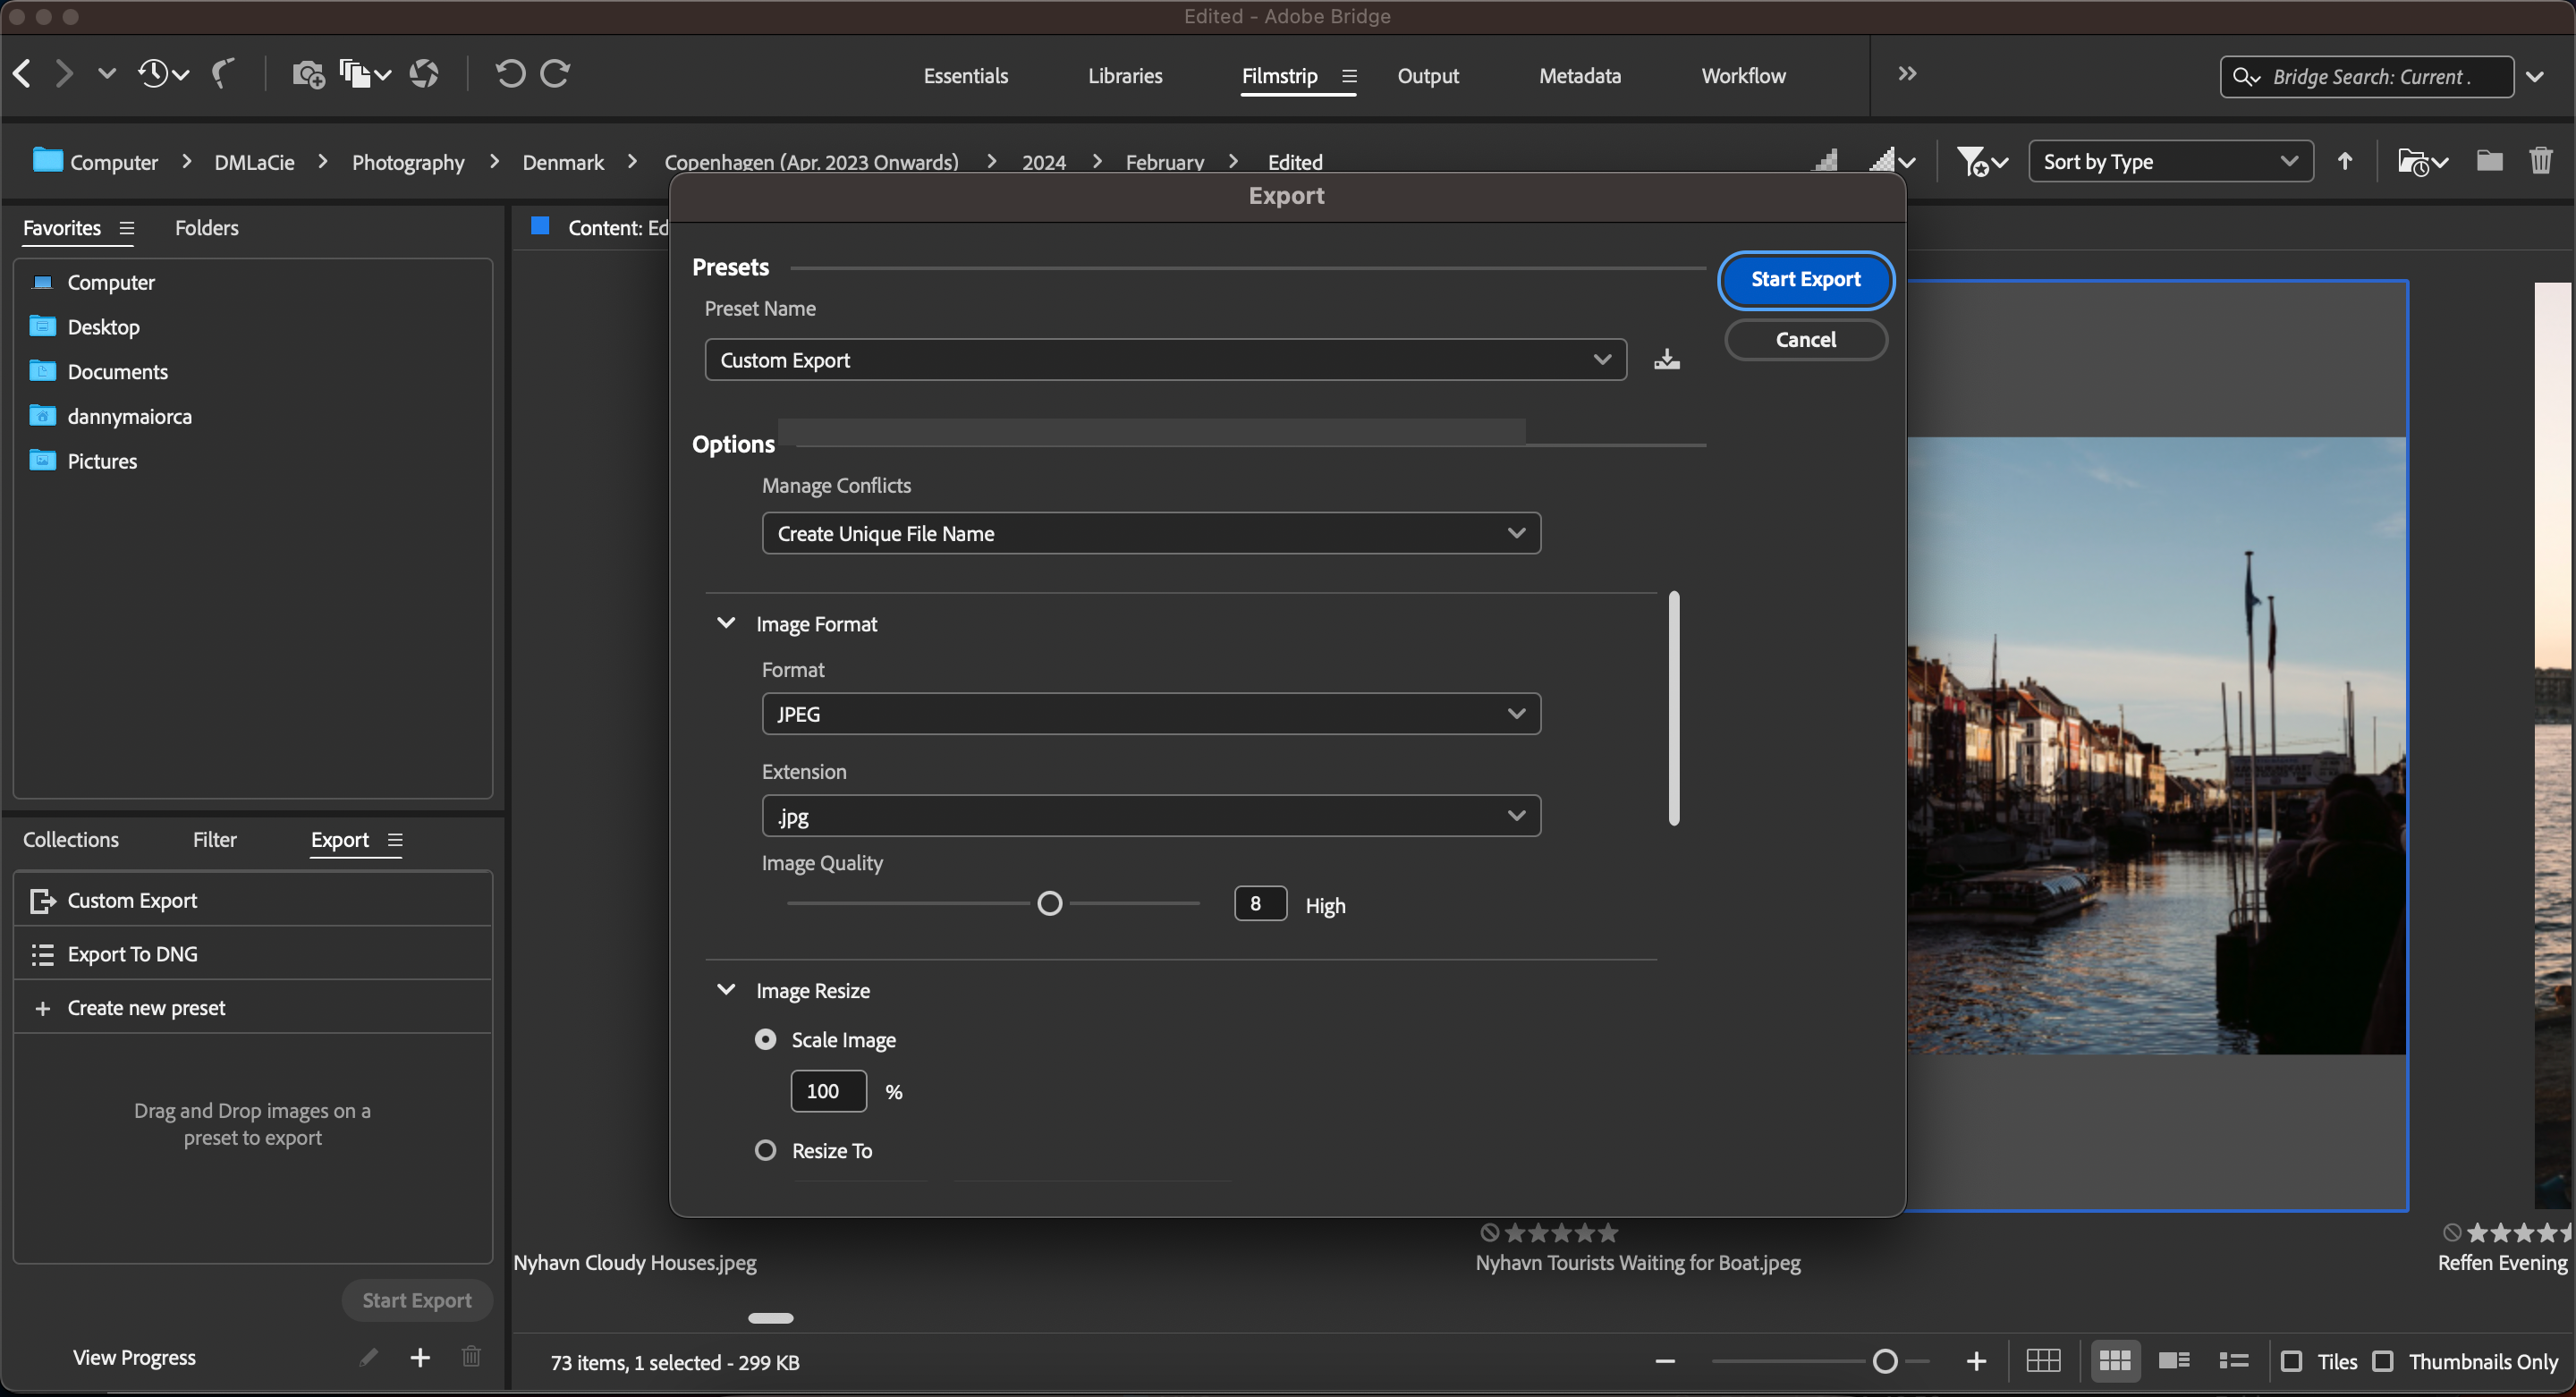
How to Export Content From Adobe Bridge
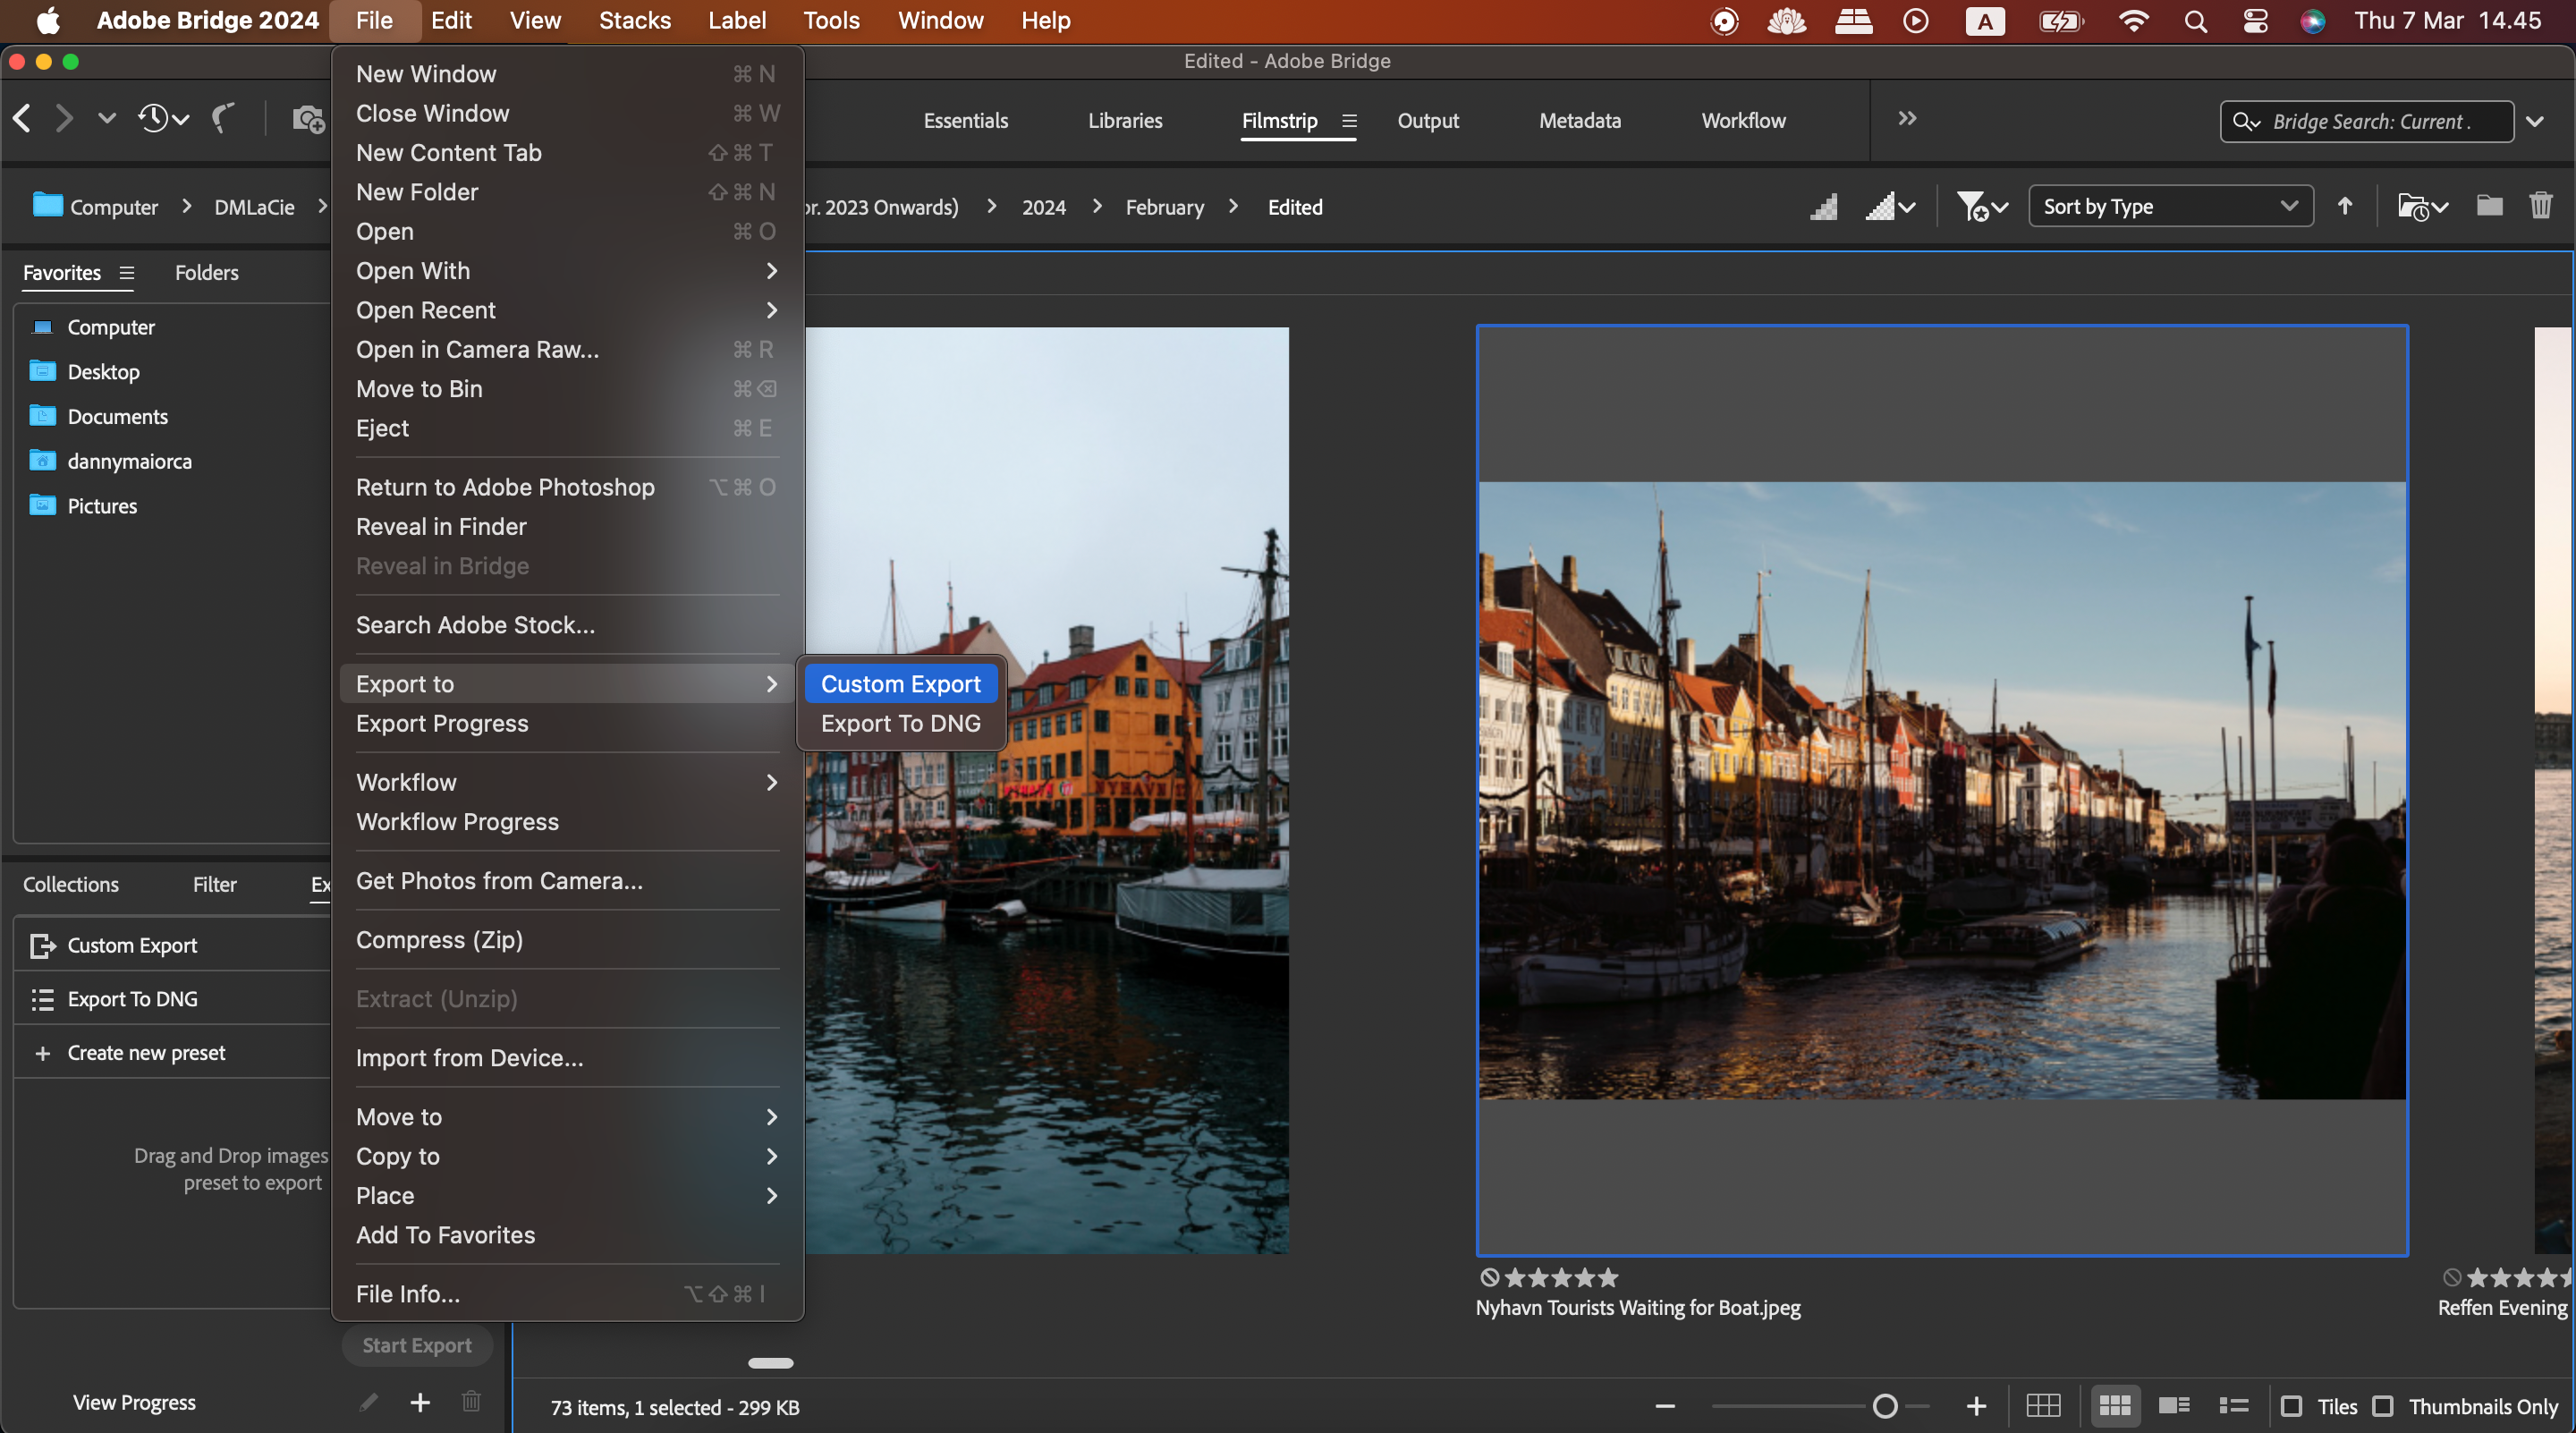
Adobe Bridge lets you export your files to different locations and in various formats. Here's how to use the tool:
-
Go to File > Export to > Custom Export.
-
Customize the export options however you want and pick where you'd like to save your file. Then, select Start Export.


Adobe Bridge takes some time to learn, but it's a great tool for organizing your creative workflow once you're familiar with it. Use the program to edit metadata, organize your files, and convert your content formats if needed. Since the app is free, why not download it and try everything for yourself?