Usually, updating Windows is a simple affair, and it goes through without any hiccups. However, sometimes you may encounter errors such as the 0x8007371b error with the message "ERROR_SXS_TRANSACTION_CLOSURE_INCOMPLETE." This primarily occurs when a Windows Update file is missing or corrupt.
While this may seem daunting, the issue can be easily resolved by referring to the fixes listed below.
1. Run the Windows Update Troubleshooter
The first step you should take when tackling update errors is to use the Windows Update Troubleshooter. It is quite effective, and will automatically fix most update issues, including a stuck Windows Update Assistant. Simply follow these steps to launch the Windows Update troubleshooter:
- Click on the Start button and then click on Settings.
- On the Settings dashboard, click on Update & Security.
- On the navigation bar on the left, click Troubleshoot.
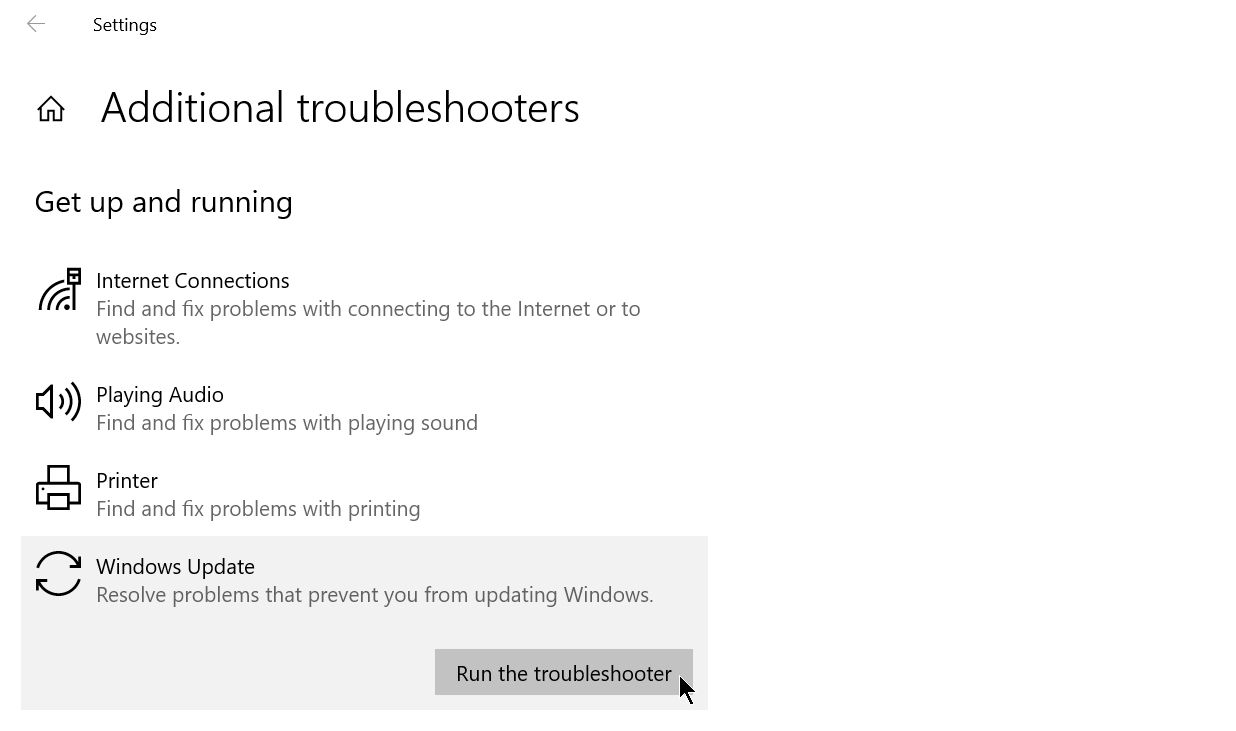
- Under Troubleshoot, click on Additional troubleshooters.
- Now, click on Windows Update > Run the troubleshooter
- The troubleshooter will automatically detect problems and fix them.
The troubleshooting process can take some time, so don't panic if it appears to be stuck. Additionally, sometimes the troubleshooter is unable to automatically resolve the error. Regardless, it will suggest some additional steps you can take, so be sure to follow them.
If you're still facing the issue, move on to the next steps.
2. Use the DISM and SFC Commands
Deployment Image Servicing and Management (DISM), and System File Checker (SFC) are both useful in-built Windows utilities. DISM repairs the Windows system image, while SFC checks the computer for any missing or corrupt system files. Both these utilities can be run using the Command Prompt.
Keep in mind to run the DISM command first, then the SFC command. This is because the DISM command fixes the Windows System Image, which in turn is used by SFC as a reference point to check for corrupt system files.
How to Run DISM Using the Command Prompt
- In the Start menu search bar, type cmd. From the search results, right-click on Command Prompt > Run as Administrator. Ensure you have the credentials for the admin account, or are logged in as one.
- In the Command Prompt console, type Dism /online /cleanup-image /ScanHealth and press Enter.
- After the command is fully executed, type Dism /online /cleanup-image /CheckHealth and hit Enter.
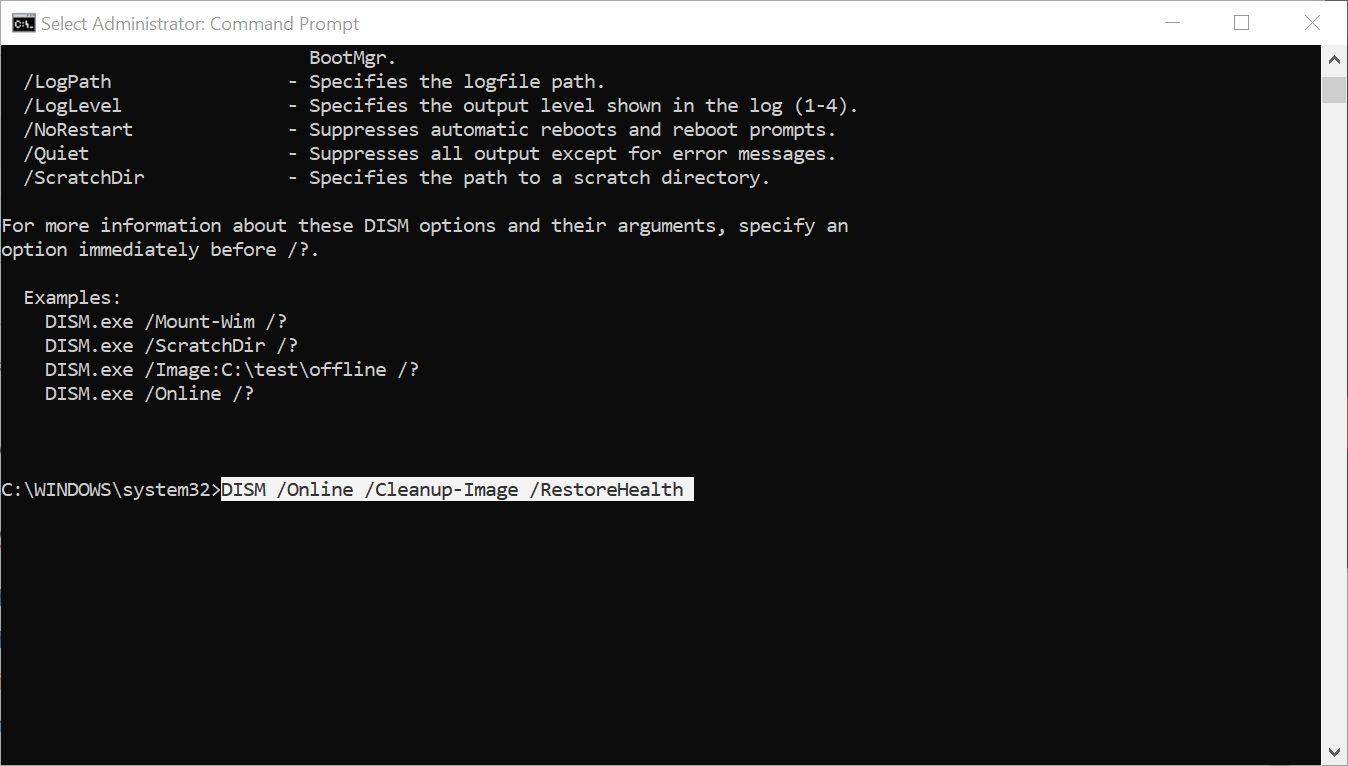
- Now, the final command; type Dism online /cleanup-image /RestoreHealth and press Enter again.
Again, the repair and servicing process can take a while to finish. Patience is key. After the process is over, it's time to move on to the SFC utility.
How to Run SFC Using the Command Prompt
- Similar to the section above, launch Command Prompt as administrator.
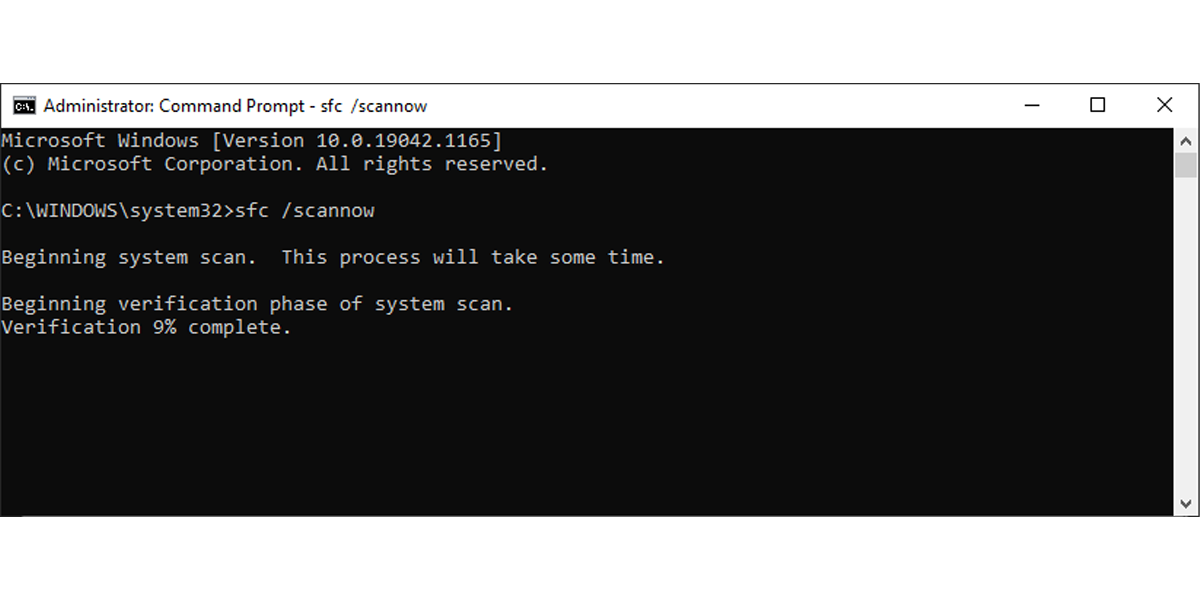
- In the console, type sfc /scannow and press Enter.
- Wait for the scan to finish. It may take a little time.
- After the scan is over, reboot your computer.
After running both these utilities, try updating Windows again. Most likely, the 0x8007371b error will be resolved. If not, try the other fixes listed below.
3. Clear the Windows Update Cache
The Windows Update cache folder stores some ancient temporary files that could be interfering with your update. Thus, it's recommended that you delete the contents of the folder. This can potentially resolve the Windows Update issue as well as free up disk space that can be better utilized.
- Press Win + R to launch the Run application.
- Type services.msc in the text box and hit Enter.
- In the Services menu, look for Windows Update.
- Right-click on Windows Update, and click Stop.
- Minimize the Services window.
- Now, press Win + E to open the File Explorer.
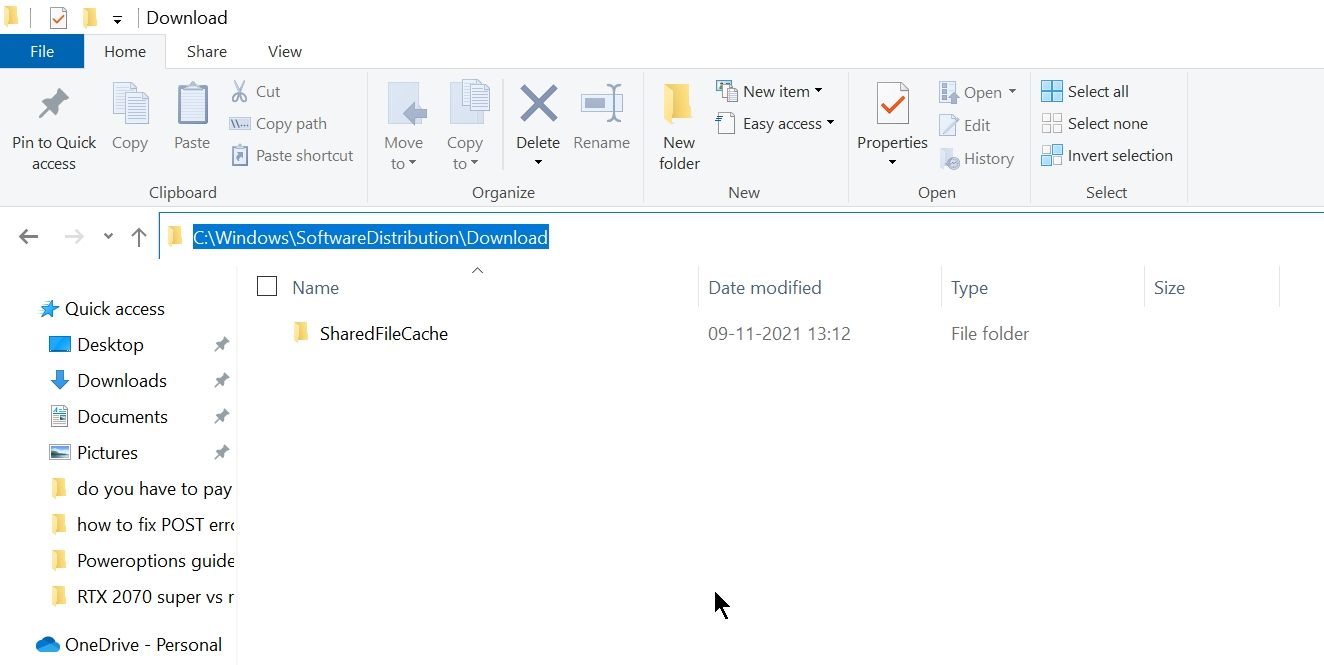
- In the address bar, type C:\Windows\SoftwareDistribution\Download and press Enter.
- Delete all the contents of this folder.
- Now, switch back to the Services window.
- Right-click on the Windows Update service and select Start.
- Close the Services window.
Reboot your computer after deleting the Windows Update cache. Although you may have to redownload some partially downloaded updates, this fix does have a high success rate in fixing the ERROR_SXS_TRANSACTION_CLOSURE_INCOMPLETE Windows Update error.
4. Reset the Windows Update Agent
Resetting the Windows Update Agent and its components is another potential fix for Windows Update-related errors. Since the 0x8007371b error is likely the result of a missing or damaged Windows Update file, resetting the components forces Windows to re-download all the files.
There are many ways to reset the Windows Update Agent, but the most effective method is to simply use the elevated Command Prompt.
- In the Start menu search bar, type cmd. From the search results, right-click Command Prompt > Run as Administrator.
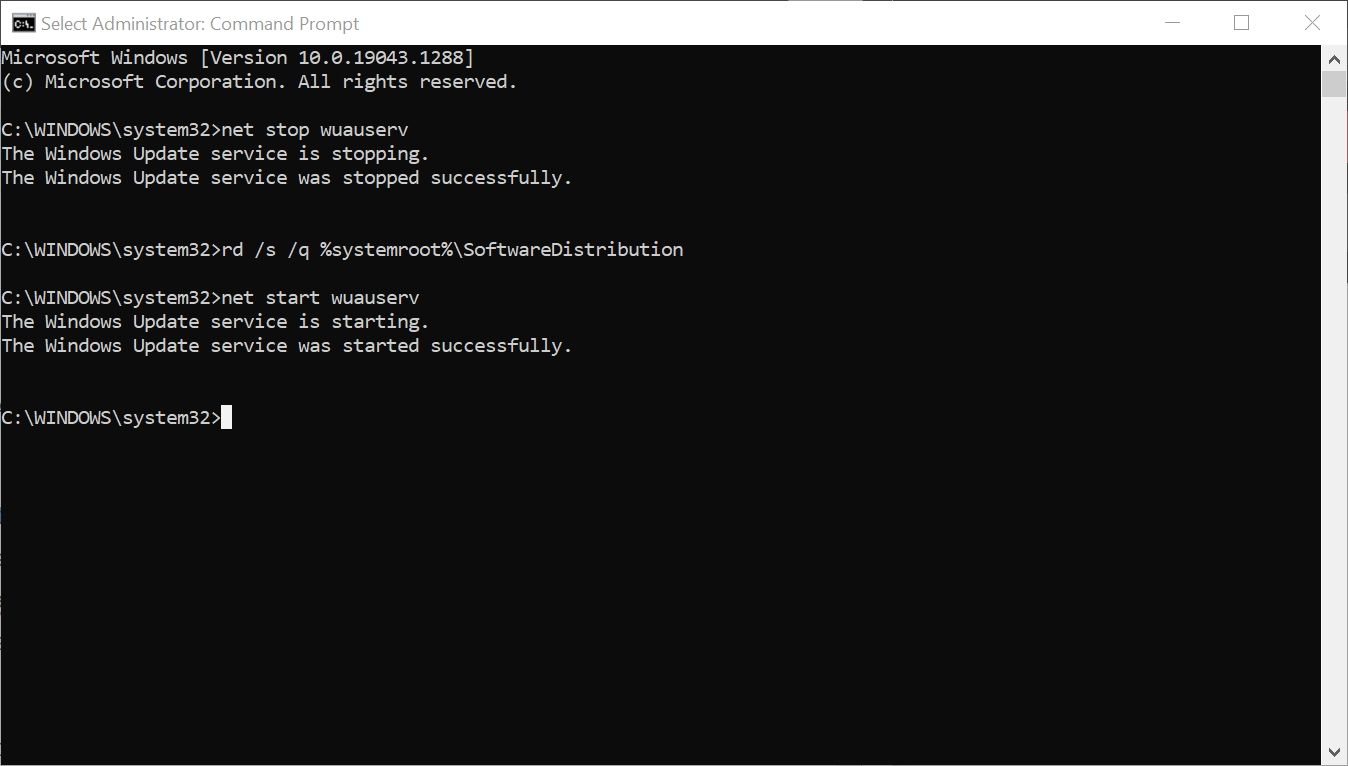
- In the CMD console, type net stop wuauserv and press Enter. This command stops the Windows Update service.
- After this, type rd /s /q %systemroot%\SoftwareDistribution in the console, and hit Enter.
- Lastly, to start the Windows Update service again, type net start wuauserv in the console. Press Enter.
- Close Command Prompt.
After following these steps, reboot your computer and check if the error still occurs.
5. Remove Third-Party Antivirus Software
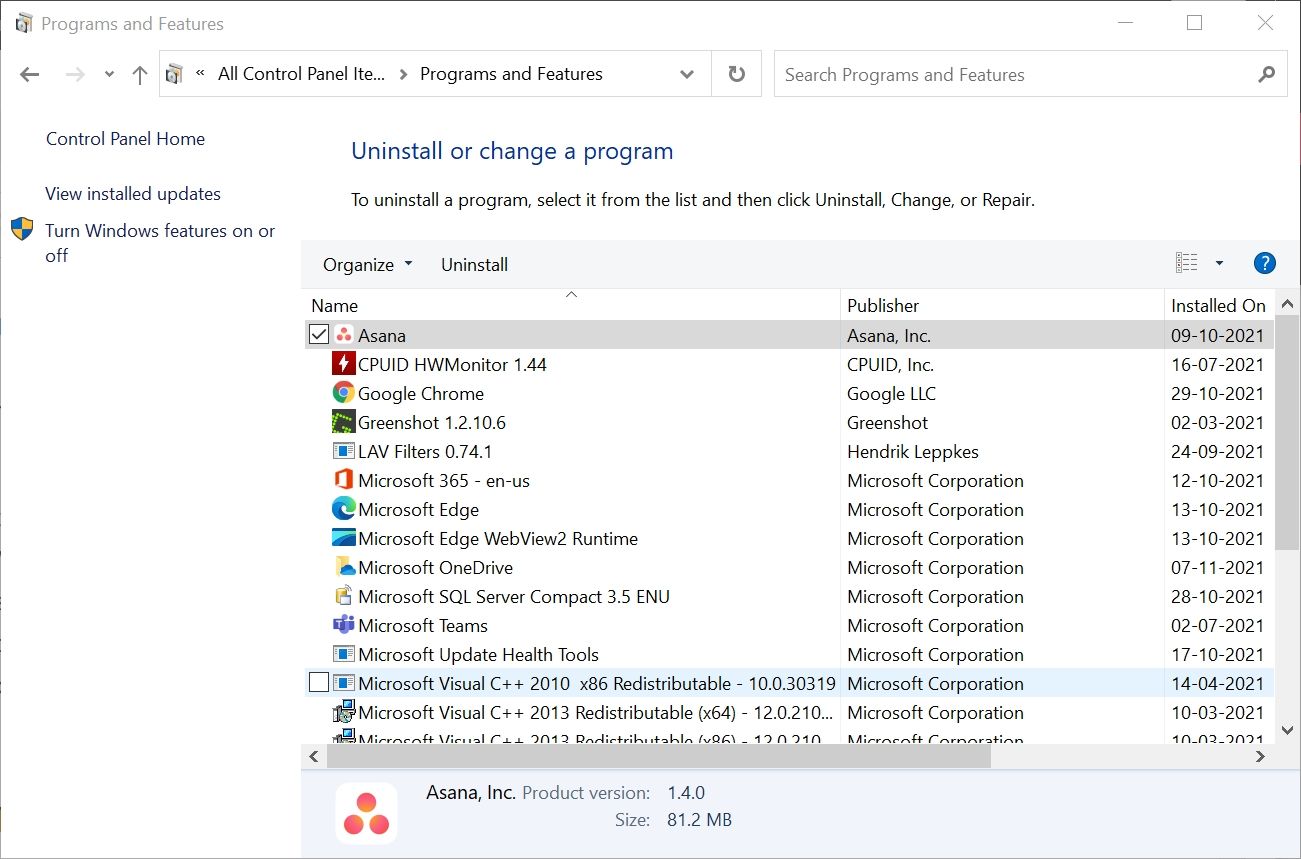
Third-party antivirus programs are notorious for interfering in many Windows functions. As such, the Windows Update process is no exception. If none of the steps above have resolved the issue, you should uninstall any third-party antivirus software installed on your PC. You can do this via the Programs and Features menu in the Control Panel.
- In the Start menu search bar, type Control Panel and open it from the search results.
- Look for the Programs and Features section, and click on it.
- In the new Window, right-click on the antivirus program and select Uninstall.
- Follow the steps in the uninstall wizard.
- Reboot your computer.
Windows Update Error 0x8007371b Resolved
One of the fixes listed below will surely resolve the Windows Update error you are facing. Usually, the reasons behind failed Windows updates can be multifold. However, there are still some common reasons that could result in messed-up Windows Updates. It's a good idea to be aware of them and avoid them going forward.

