
If your Windows 11 computer lags and runs slowly, you're probably straining it beyond its capabilities. Several factors contribute to this, including unnecessary background processes, automatic updates, non-essential third-party services, misconfigured notifications, and privacy settings.
Likewise, not deleting junk files or incorrectly configuring power plan preferences can also slow down your device. So, here are some tips to improve the performance of your PC and make your Windows 11 experience faster and more responsive.
1. Enable Storage Sense
The junk files in our system often get piled up because we forget to clean them. These files not only occupy disk space but also negatively impact system performance. Storage Sense, a feature in Windows 11, acknowledges the importance of removing this extra burden. Once enabled, it automatically wipes out all junk on a device, improving its performance.
If you suspect that having insufficient storage space could be degrading the performance of your device, turn on Storage Sense to boost your device's performance. If you're unfamiliar with this process, see our guide on using Storage Sense on Windows 11.
2. Set the Power Plan to Best Performance
Windows users can choose between two power plans: high performance and balanced. Although the balanced power plan can help lower power consumption (particularly on laptops), it limits the device's performance. Since the balanced power plan is often selected by default, you are likely using the same if you have not changed the power plan before.
Changing your device's power plan to high performance can significantly improve its performance. So, you should change the power plan from balanced to high-performance. Note that switching to this plan will increase your device's performance but will also increase its power consumption. So, expect that your laptop's battery will drain faster than usual.
3. Disable Some Third-Party Services
Third-party apps usually launch their services when you install them. These services help keep the app up-to-date and running smoothly. Even though they are helpful, they can overwhelm your system resources, especially if they accumulate over time. Disabling them can improve the performance of your system.
To turn off these services, follow these steps:
-
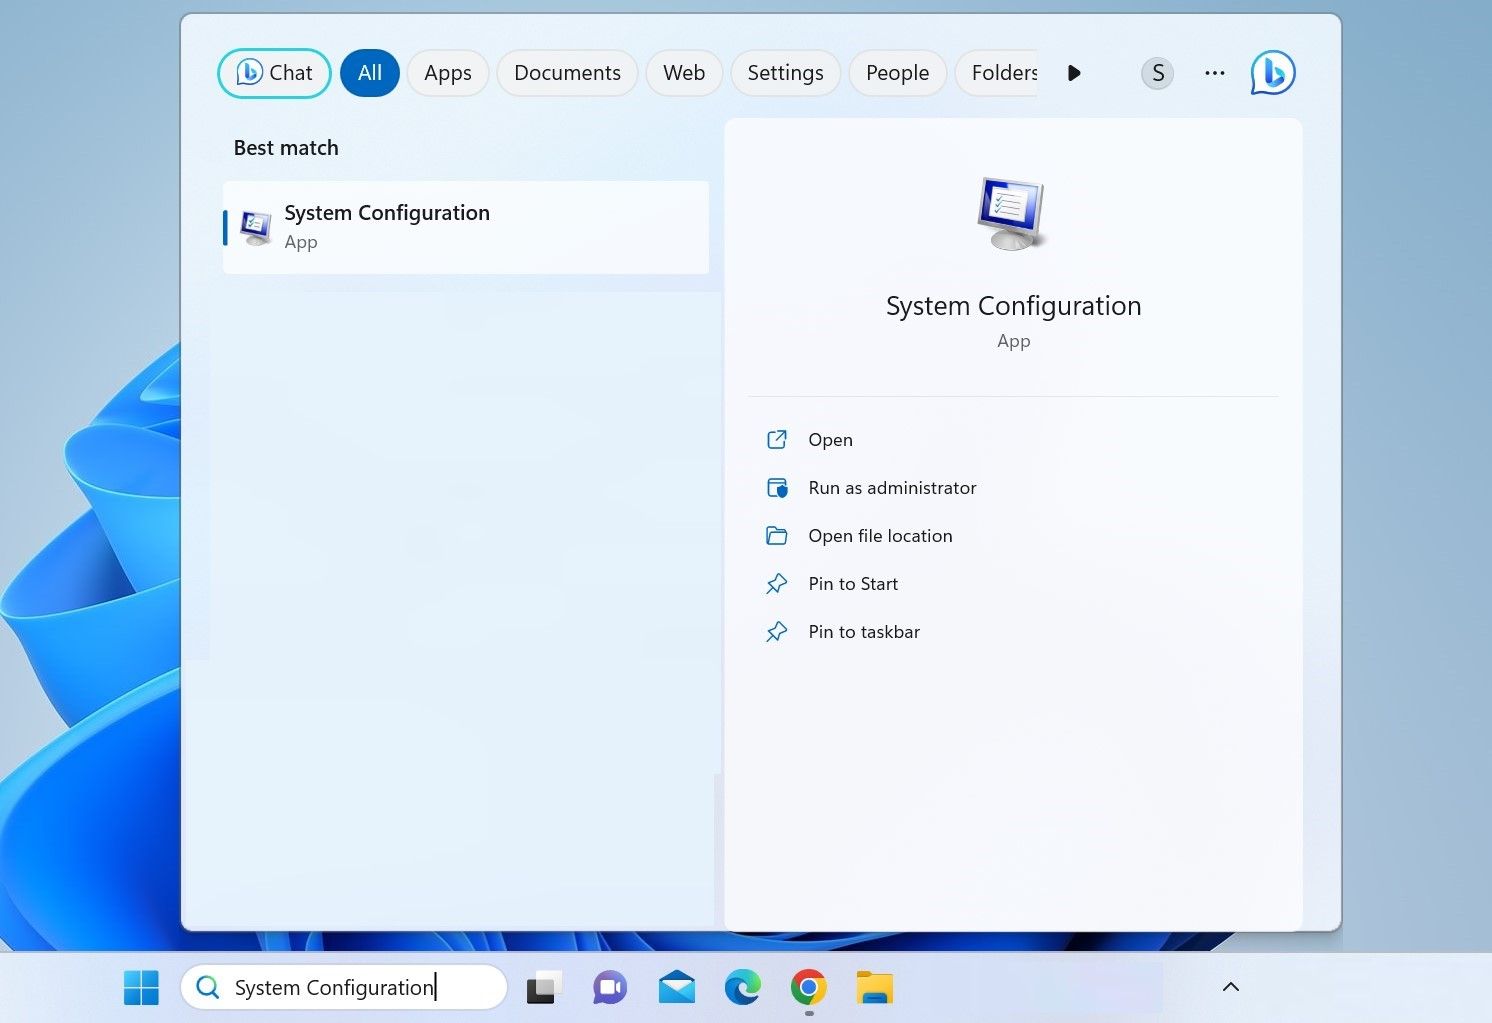
Type "System Configuration" into Windows Search and open the System Configuration window.
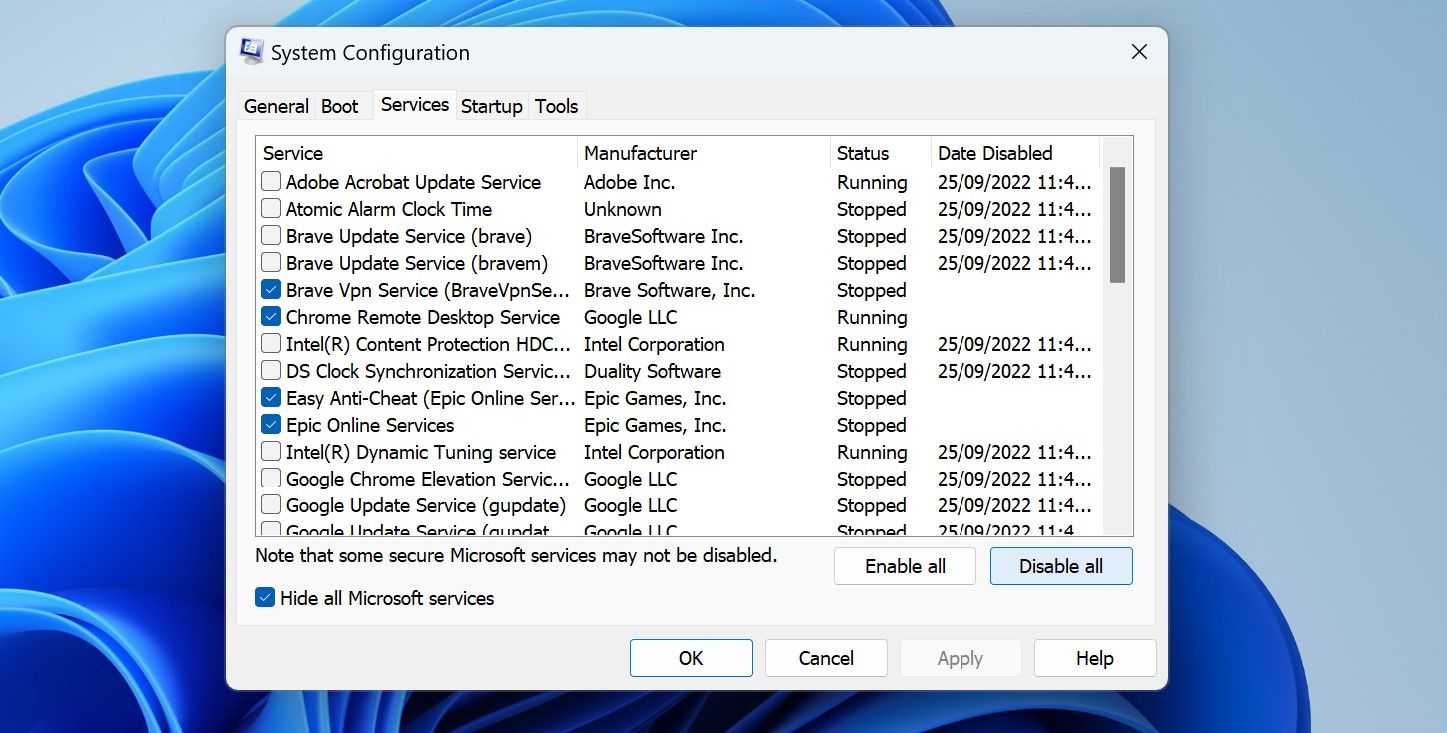
- Go to the Services tab and check the box beside Hide all Microsoft services.
- Check the boxes beside the services you don't use much from the remaining services.
-
Click Disable all > Apply > OK.


4. Disable Notifications
Windows sends notifications regularly to inform users of new app updates, unresolved issues with installed apps, improper syncing, etc. While such notifications are sometimes handy, they consume a ton of system resources. So, disabling these notifications for specific apps and services can make your device more efficient.
To turn off these notifications, follow the below steps:
-
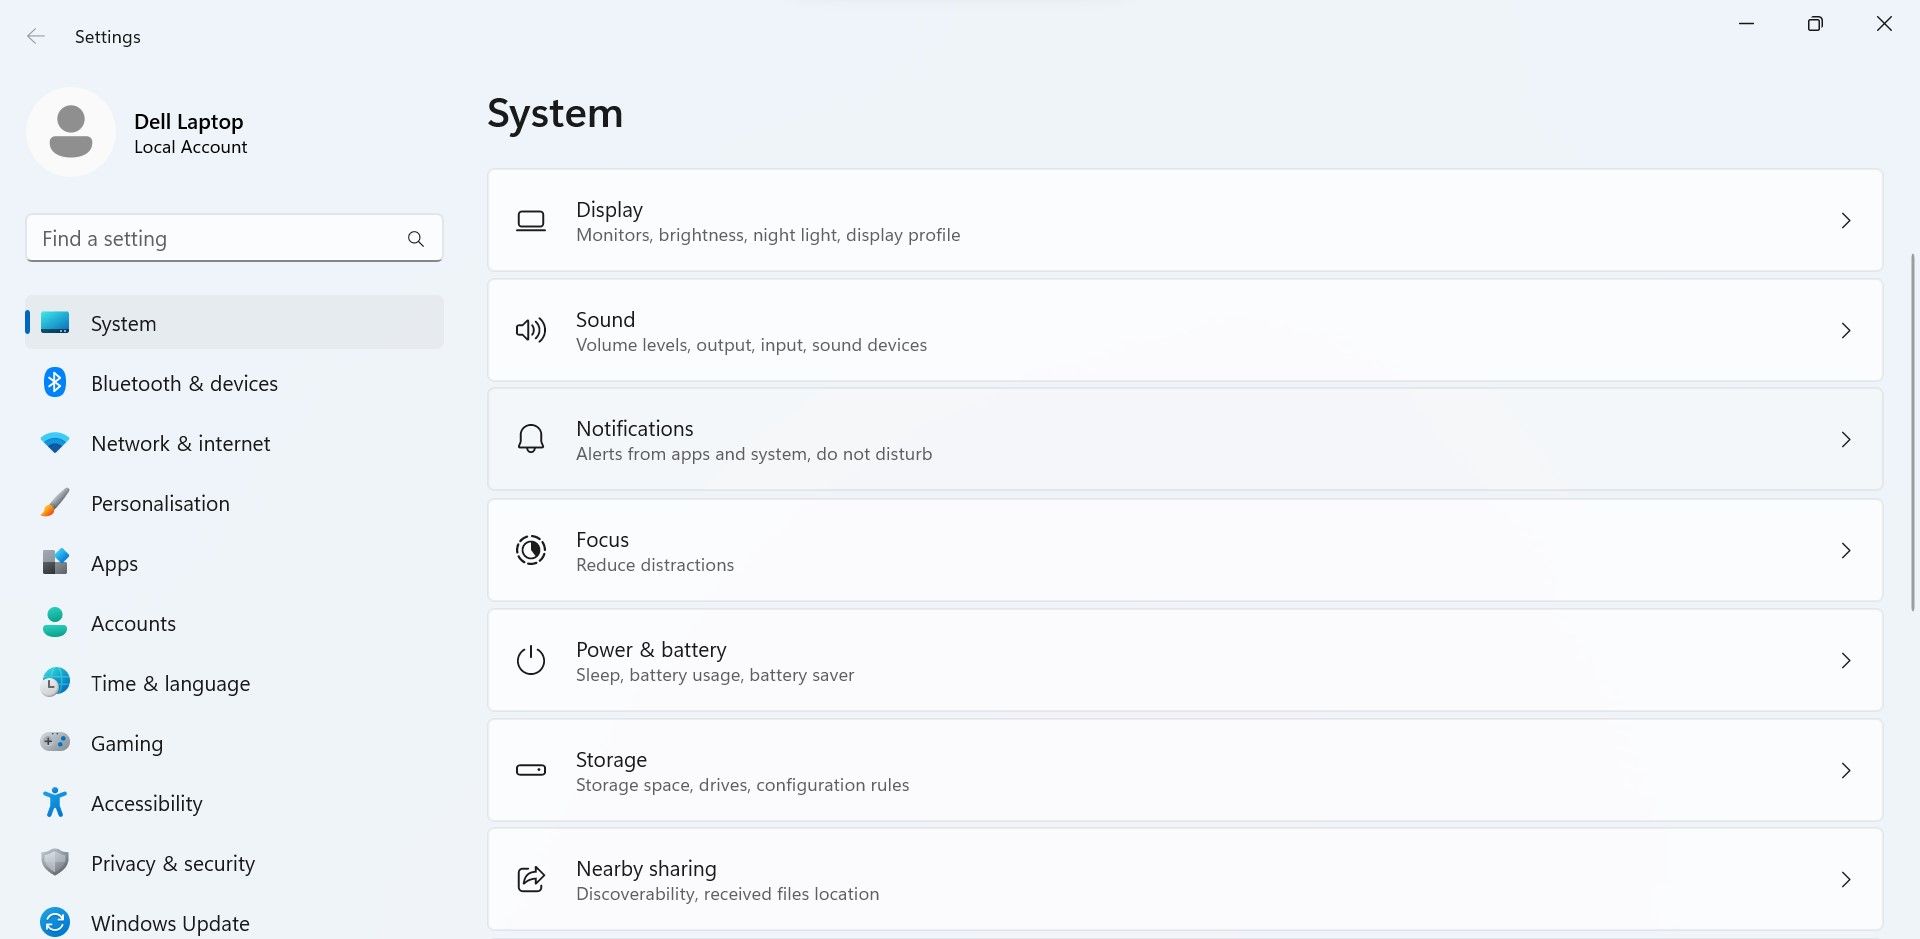
Open the Settings app, and navigate to System > Notifications.
-
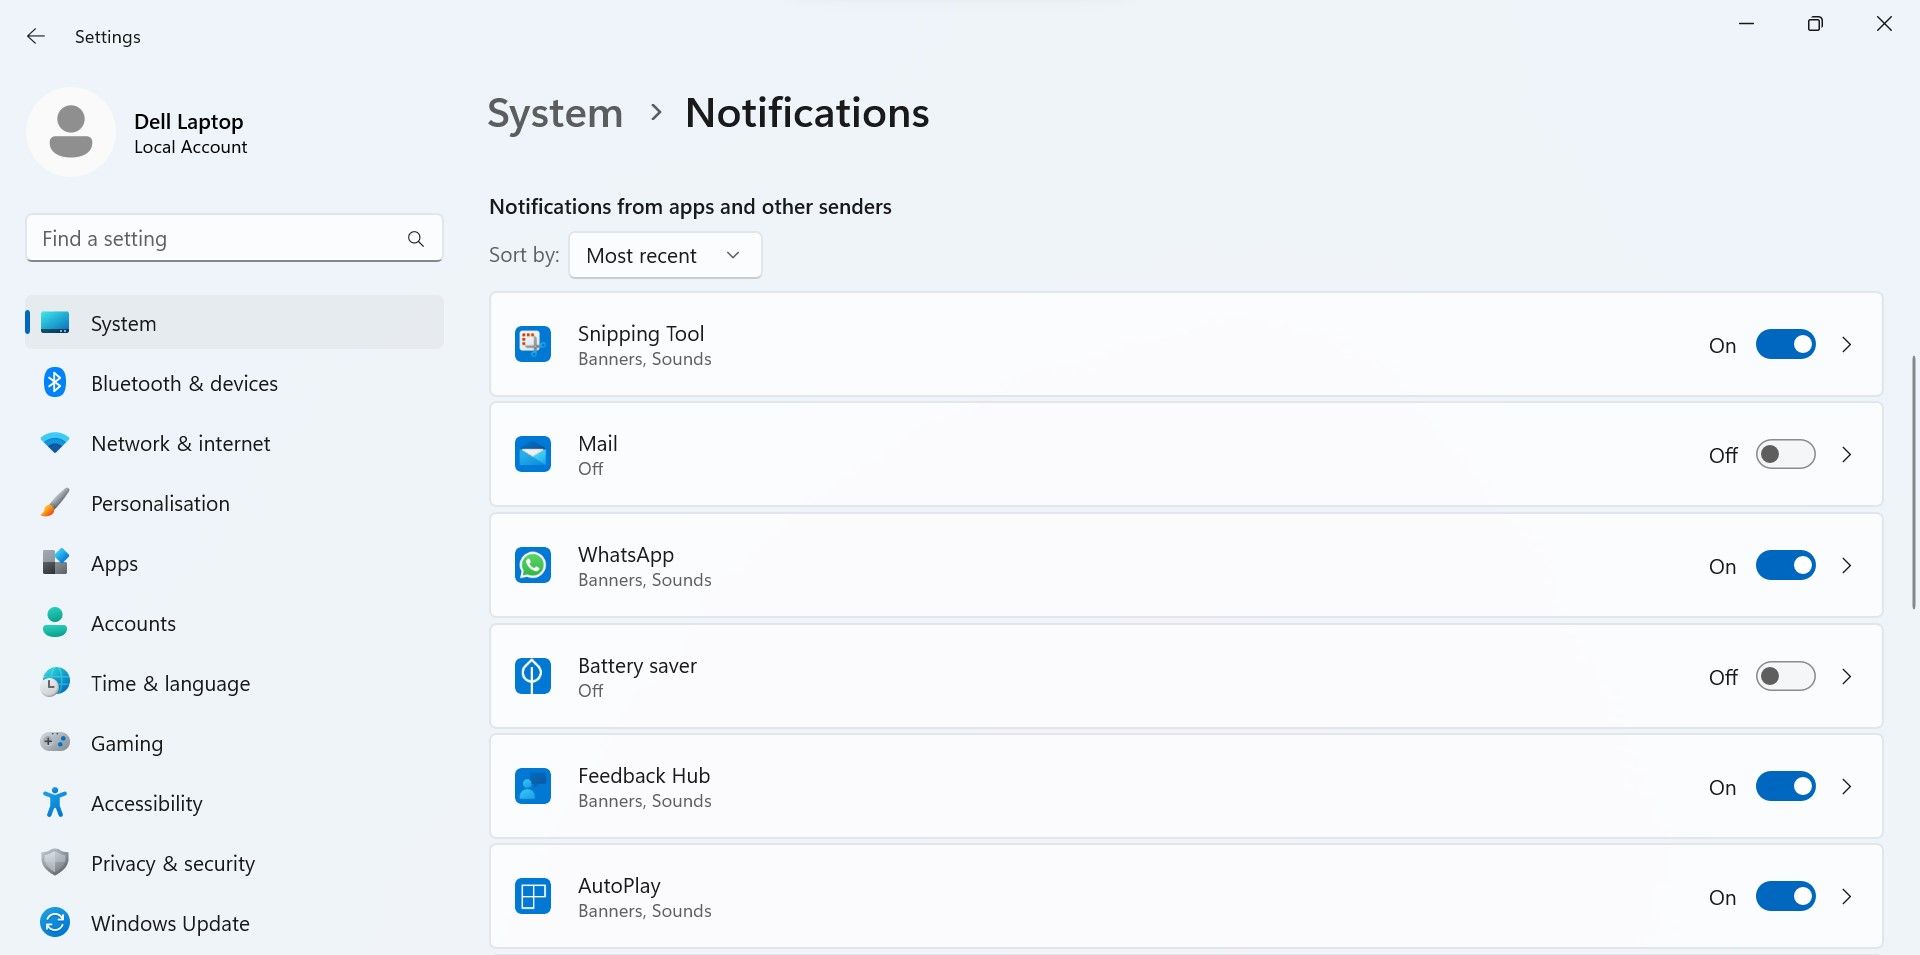
Disable the toggle next to Notifications to stop receiving all notifications.

-
Disable the toggle next to specific apps in the Notifications from apps and other senders section.


5. Disable Some Windows Permissions
Some Windows permissions don't add much value to improving user experience. Disabling them won't significantly affect how you interact with your device but can enhance your device's performance. Therefore, you should disable them. Here's how:
- Go to the Windows Settings app.
- Select the Privacy & security tab.
-
Go through all the settings under Windows permissions and disable the ones you think won't affect any Windows features you might need.


6. Don't Let Windows Updates Hamper Your Device's Performance
Letting Windows updates install as they become available helps your system perform more efficiently. However, if these updates download in the background or if you don't install them on time, they can affect system performance negatively. Considering that, you should smartly manage Windows updates.
One way to accomplish this is to pause the Windows updates during your active working hours and let them download and install automatically once your day ends. Doing so will save bandwidth from automatic updates, and the automatic installation won't disrupt your workflow, thereby increasing your operational efficiency.
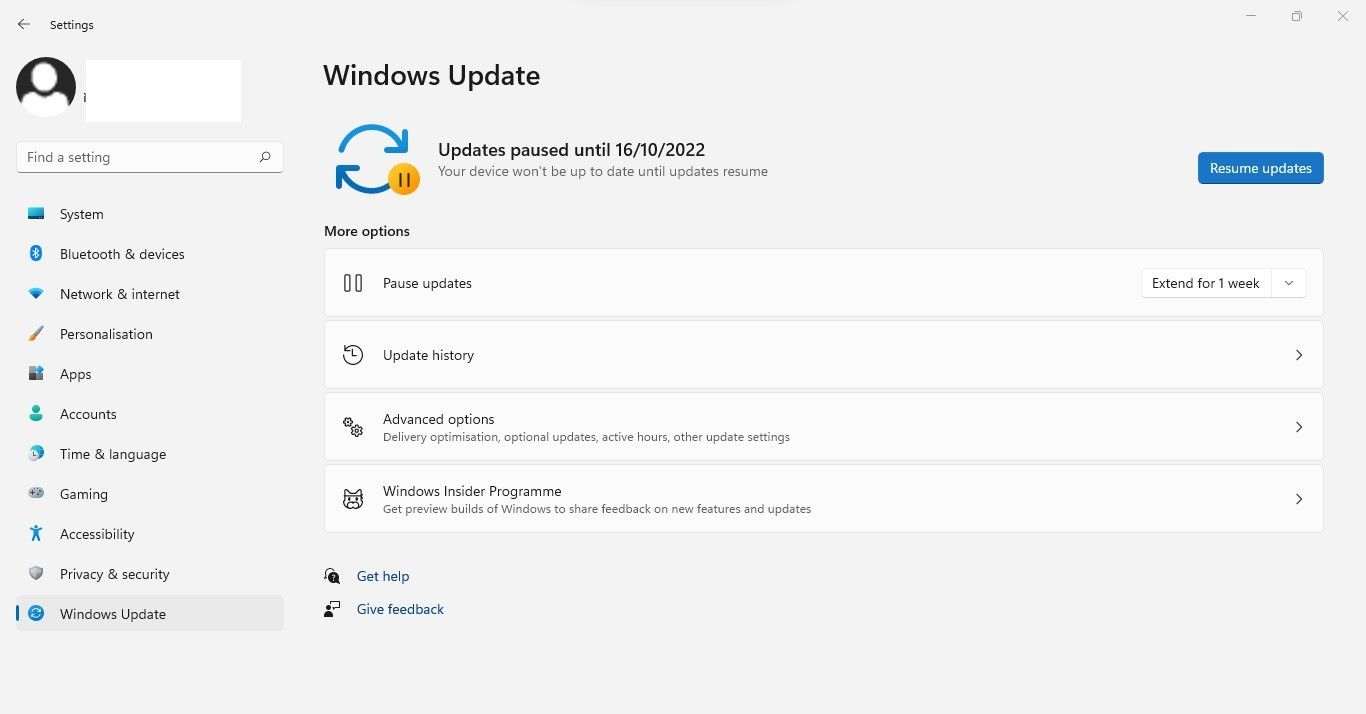
To pause updates, follow these steps:
- Open the Settings app.
- Navigate to the Windows Update tab.
-
Expand the dropdown next to Pause updates and select the desired timeframe.

Besides this, Windows updates are sometimes buggy and can slow down your computer's performance. If the symptoms started after this, you could fix Windows slowing down after an update in several ways.
7. Check Which Apps Burden Your CPU, Memory, and Storage
If you have made the above tweaks and they have failed to boost the performance of your device, some unnecessary processes might be overburdening it. So, you need to identify which processes are causing the most stress and which components they are straining. You can quickly check that in Task Manager.
Open the Task Manager and examine the resource consumption of all components, such as RAM, CPU, GPU, Disk, and Network. If any of these components has a resource usage percentage close to 100%, that suggests the component is under stress. So, you need to relieve your device of this burden.
To do that, click on the column header of that component in Task Manager to sort the processes consuming the most resources in descending order. Then, filter out the processes causing that component a great deal of stress and terminate them. To close a task, right-click on the task and click End task.

Some Other Ways to Improve Performance
Besides the above tips, removing unwanted programs, defragmenting storage drives, debloating your Windows operating system, and disabling visual effects are other ways to speed up your device. Our guide on speeding up Windows 11 includes more detailed instructions on how to make these tweaks.
So, try them out to boost your system's performance.
Speed Up Your Slow and Laggy Windows 11 PC
Nothing is worse than working on an extremely slow device that constantly lags. Hopefully, the above changes will improve the performance of your Windows 11 device, and continuous stutters and lags will become things of the past.
If you do not see any improvement in performance after making the above tweaks, you may have low-end components installed on your device. Therefore, you'll need to upgrade your device to improve its performance.