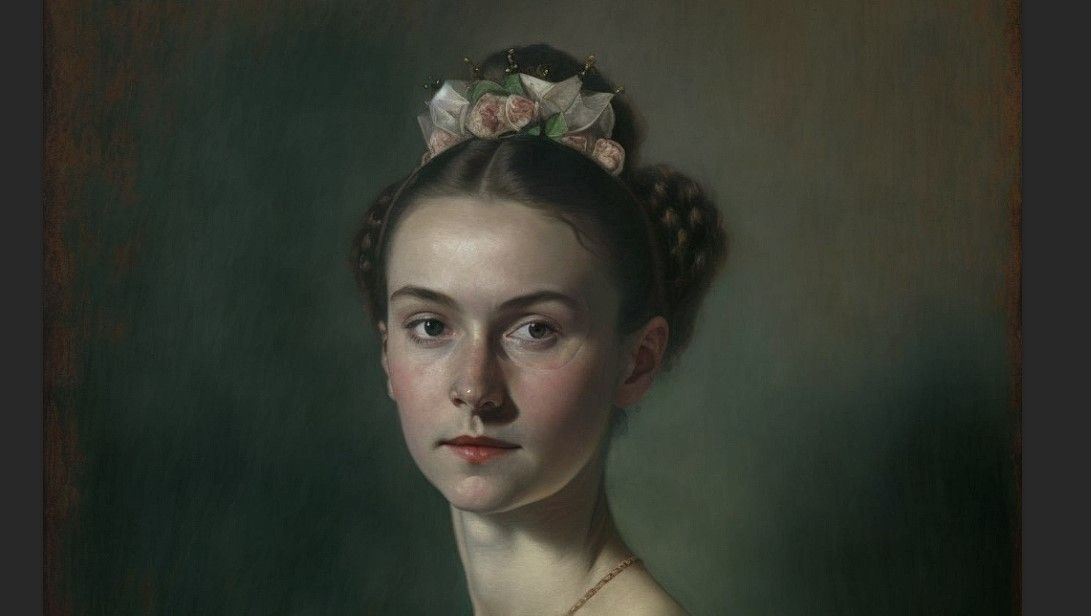
Creatives can produce beautiful images using text-prompt-based AI programs like Midjourney. The problem is that not every image is perfect when you inspect the details close up. Photoshop to the rescue!
In this tutorial, we'll explore some common issues with Midjourney artwork and five ways to fix them in Photoshop.
Common Problems With Midjourney Images
Artificial intelligence, for all its praise and hype, has yet to conquer some of the most fundamental drawing skills. Skills that beginner artists probably would have mastered by now had they started drawing when Midjourney first came online. It's everything else that Midjourney "gets right" in a few short moments that's truly amazing.
But let's talk about a few nagging issues, that as of this writing, have yet to be solved for many prompts produced in Midjourney, Version 4.
- Details of the face, especially the eyes and teeth.
- Strange artifacts that don't belong, seemingly placed at random.
- Too many fingers and unnatural hand positions, especially when holding items.
- Extra partial limbs.
- Botched feet and toes.
- Some pictures have what appears to be an artist's signature at the bottom.
- Unnatural body positions, especially when people are involved in an activity.
Passionate Midjourney users could add more to the list. But the good news is that with a little help from Photoshop, many of these issues can be corrected.
Before we jump in, we show you how to use Midjourney to create AI art if you're new to the program.
1. Make Selections With the Lasso Tool
To replace flawed pixels in your Midjourney artwork, you'll want to use Photoshop to make a selection from one of your upscaled Midjourney Variations. The selection tool you use will depend on the subject.
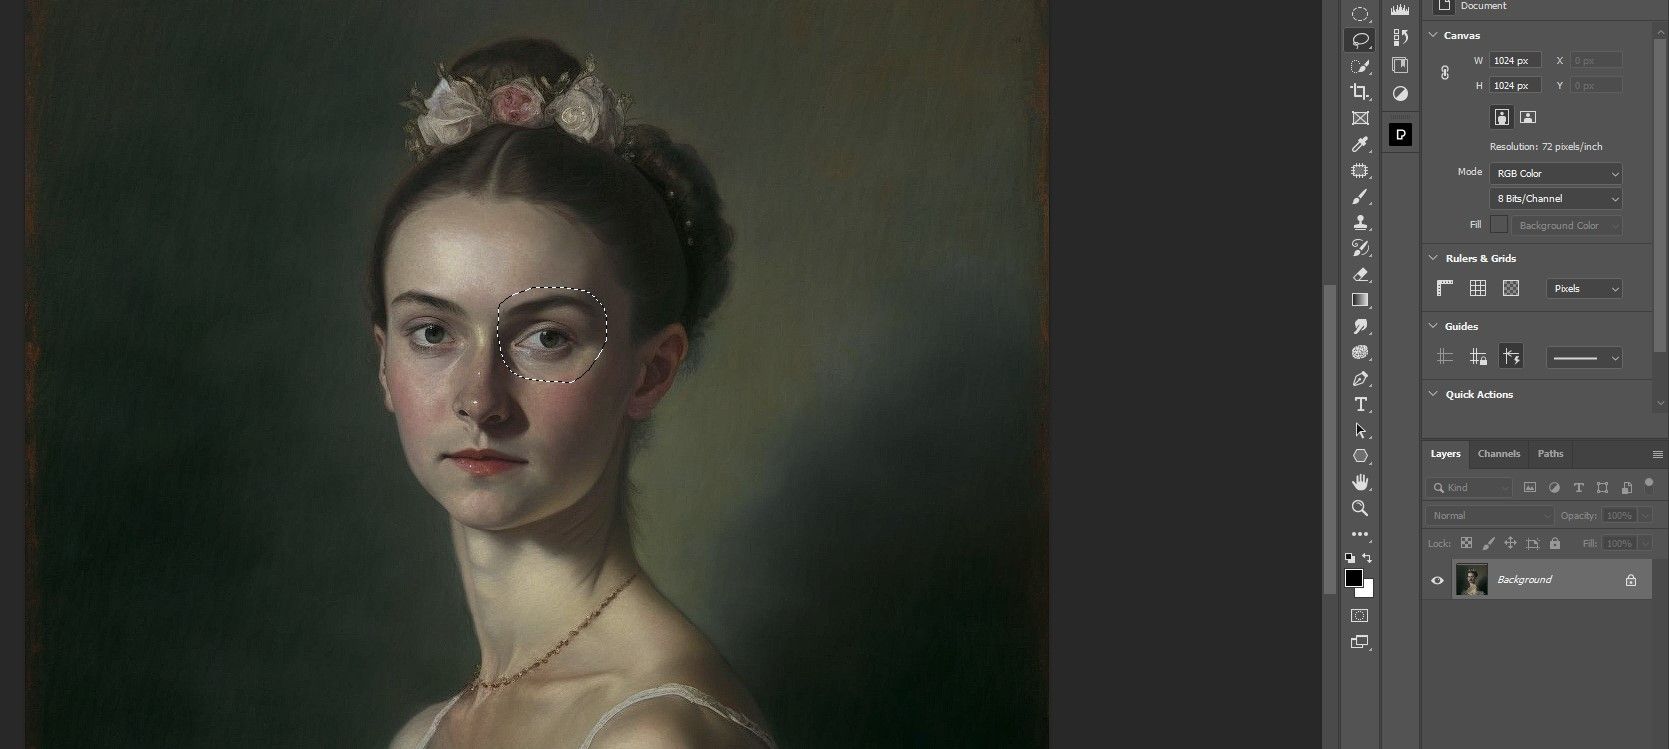
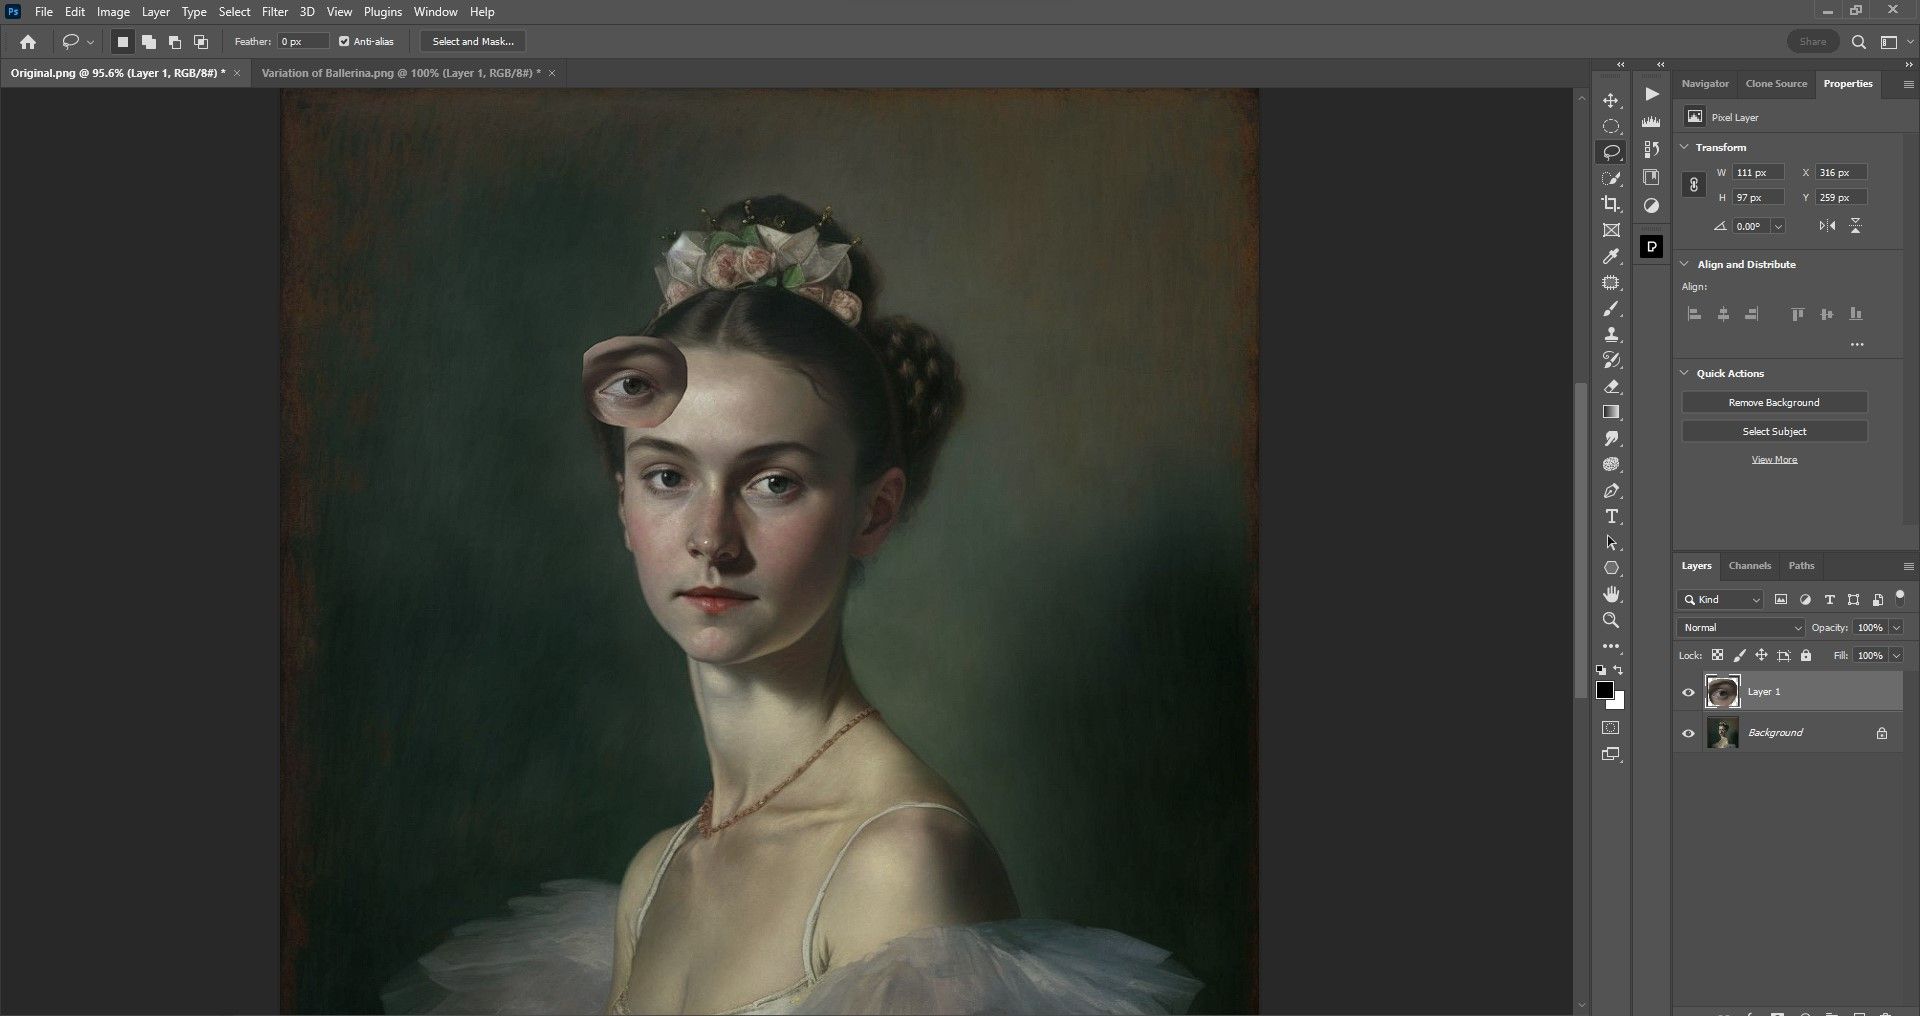
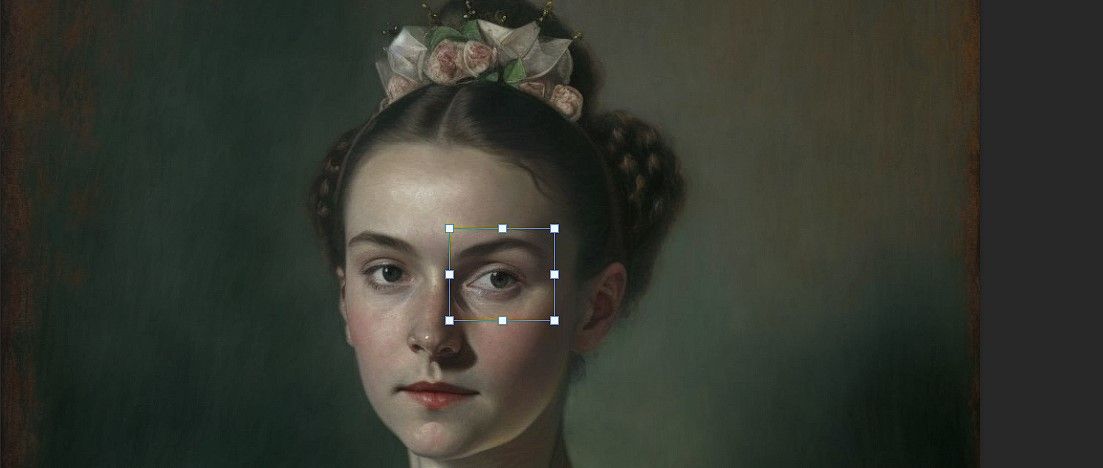
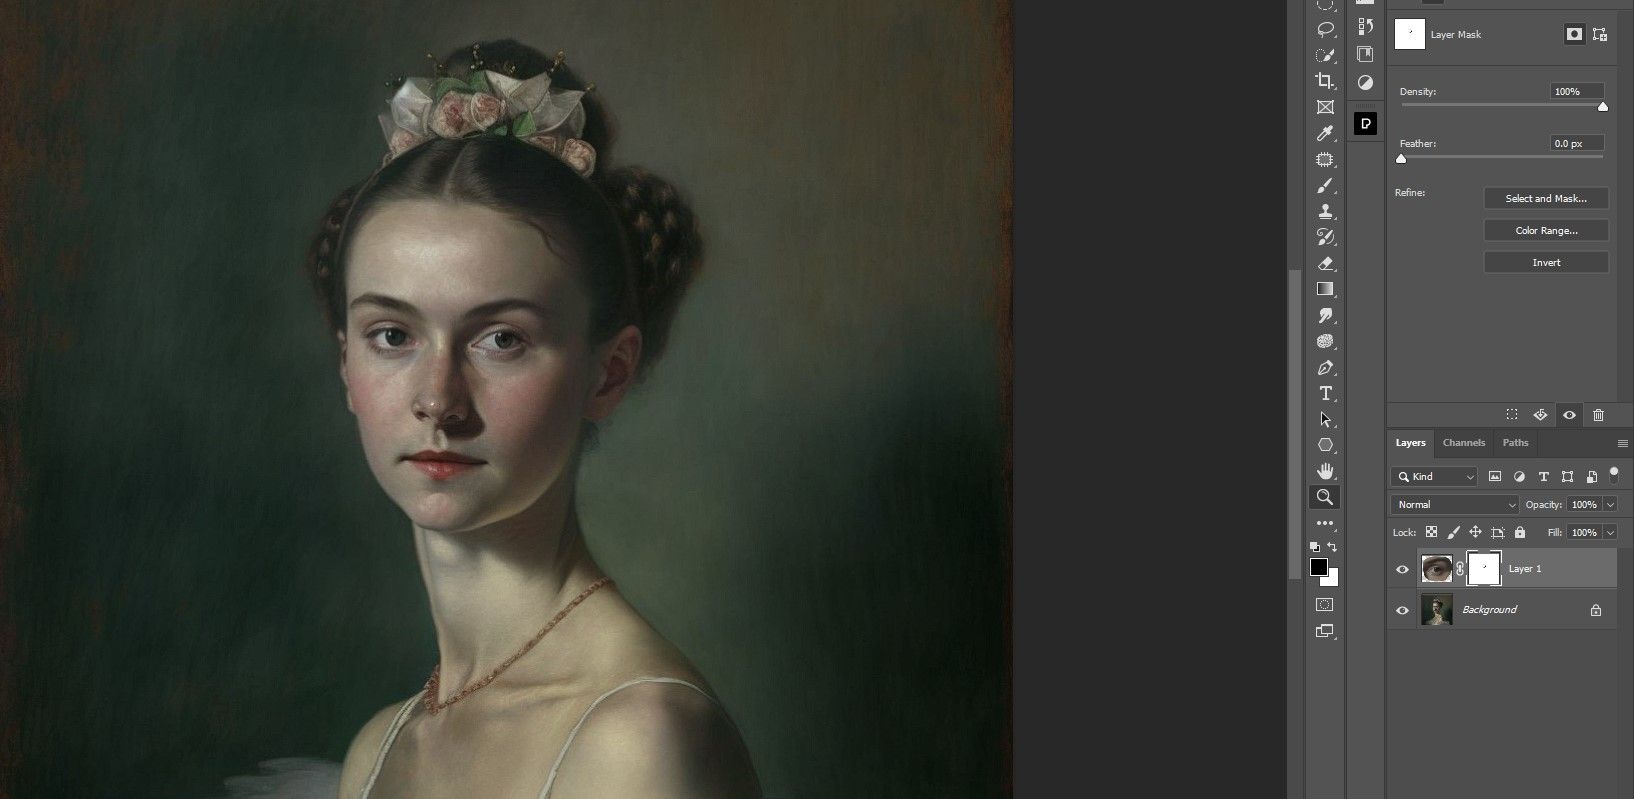
For the example of replacing an eye, we'll use the Lasso tool to circle the eye.
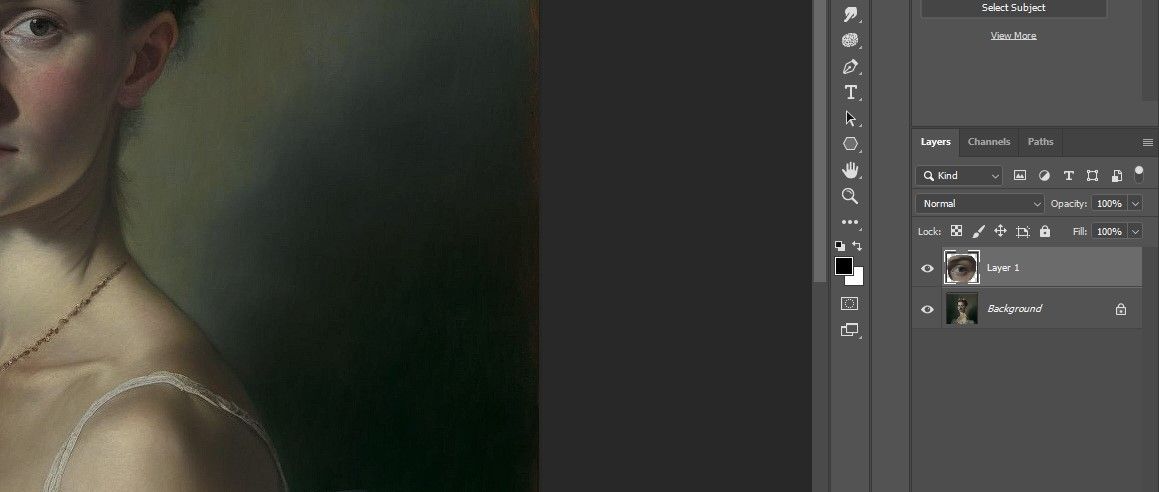
It's okay to circle more pixels than what you need, they can always be masked out. Press Ctrl + J to copy the selection to a new layer.
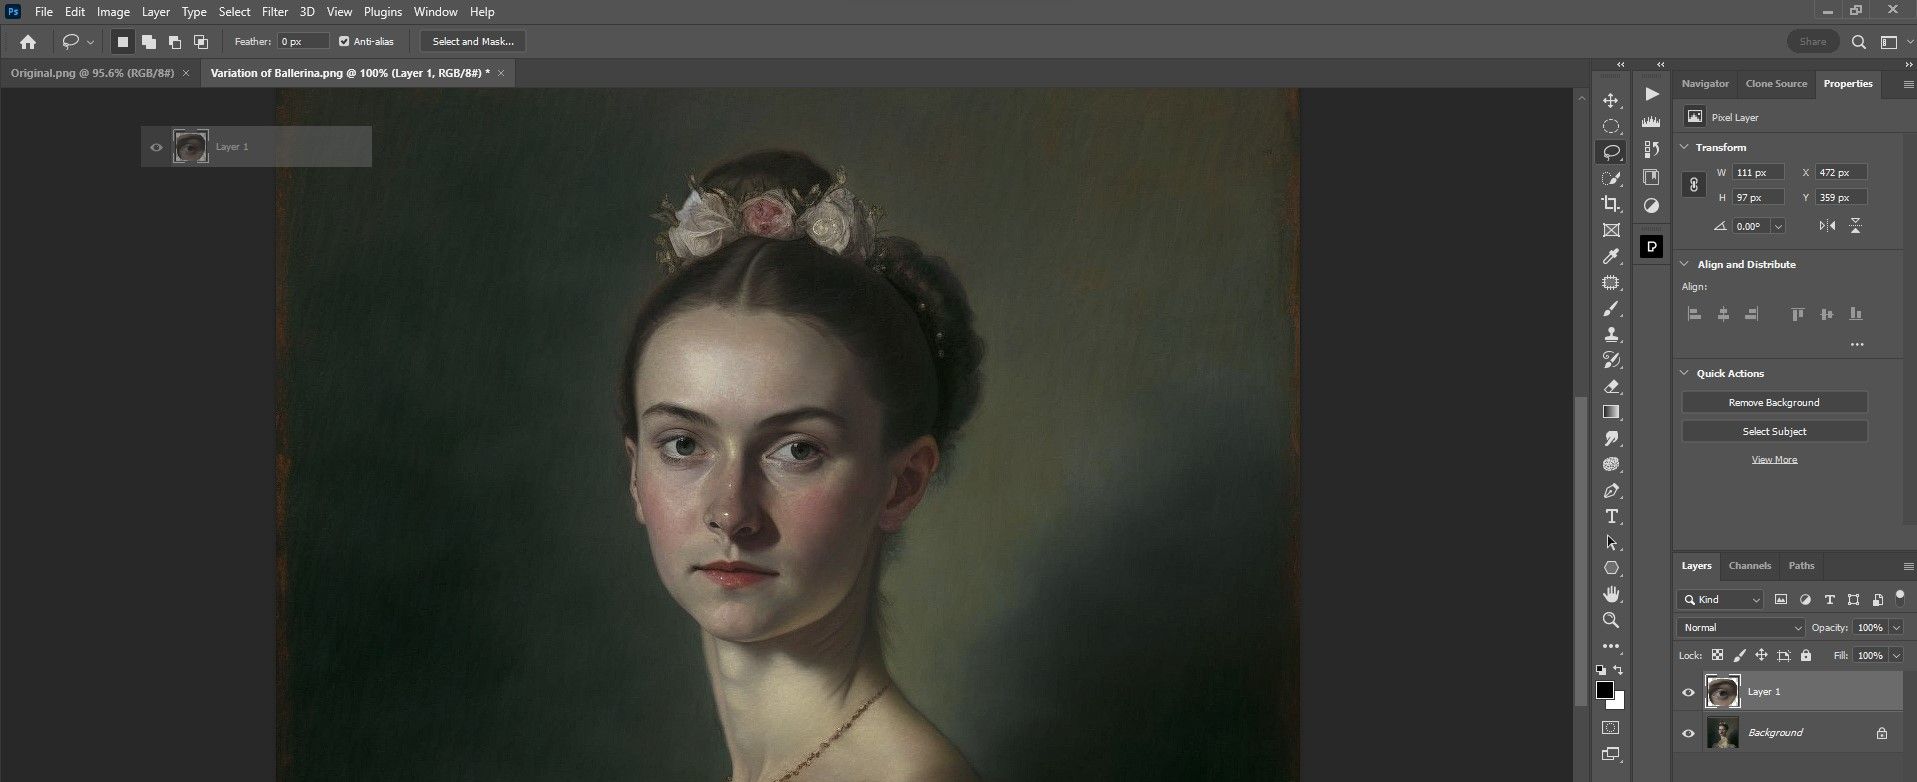
Click on the new layer and drag it over to the original Midjourney file.
We now have a new eye in the original file to work with.
Keep in mind that there are other Photoshop tools to make selections. We walk you through how to use the Subject Select tool if you have more pixels to work with.
2. Cover Bad Pixels With the Transform Tool
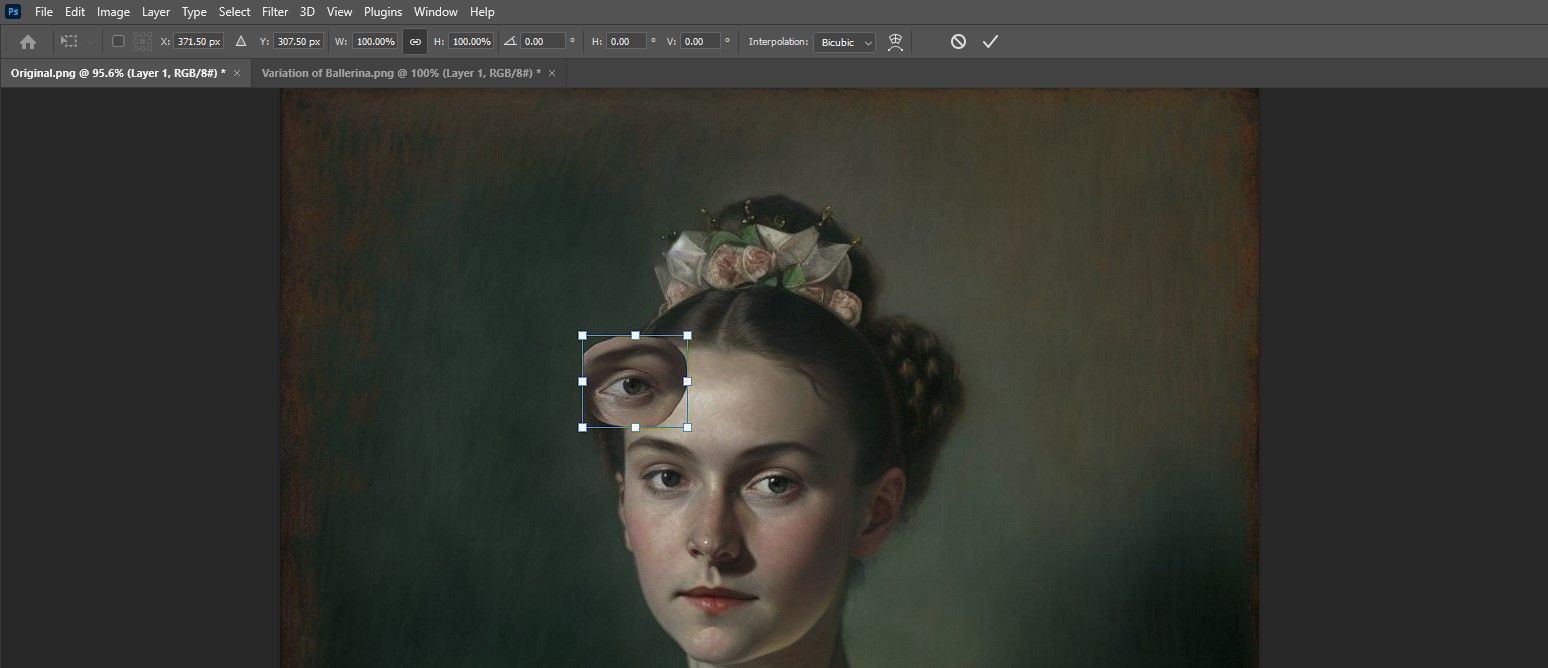
The Transform tool in Photoshop will be your friend when it comes to replacing bad pixels in Midjourney art. Once you have imported the new pixels on a fresh layer, all you have to do is press Ctrl + T to activate the Transform tool.
Next, we dragged the new eye and placed it over the subject's right eye.
Using the handles, we resized the eye for a better fit and then clicked OK.
The new eye looks pretty good. We just have to mask out the unwanted pixels to clean it up.
3. Clean Up the Selection With the Brush Tool
Next, we'll use the Brush tool to mask out the unwanted pixels in the new layer. We show you how to use the Brush tool in Photoshop if you're still new to the program.
To prep for this step, we need to create a layer mask, choose a Soft Round brush, and set the Foreground color to black. Then simply paint out the unwanted pixels.
We just covered three basic tools; the Lasso tool, the Transform tool, and the Brush tool. All three were used for a single purpose, to import pixels from a Variation to be used in the original Midjourney image. This same technique can be applied for other replacements as well, such as limbs, fingers, and toes.
4. Fix Midjourney Pixels With the Clone Stamp Tool
The Clone Stamp tool is great for fixing pixel clusters that need to be blended with their surrounding area.
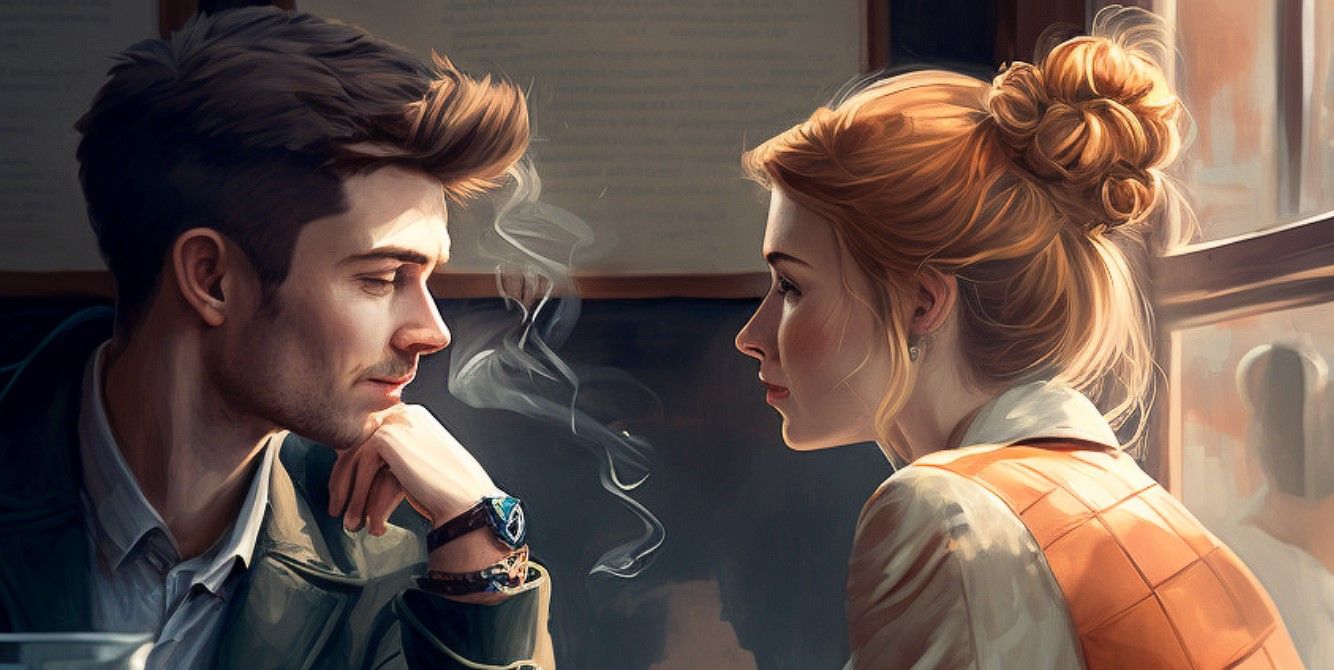
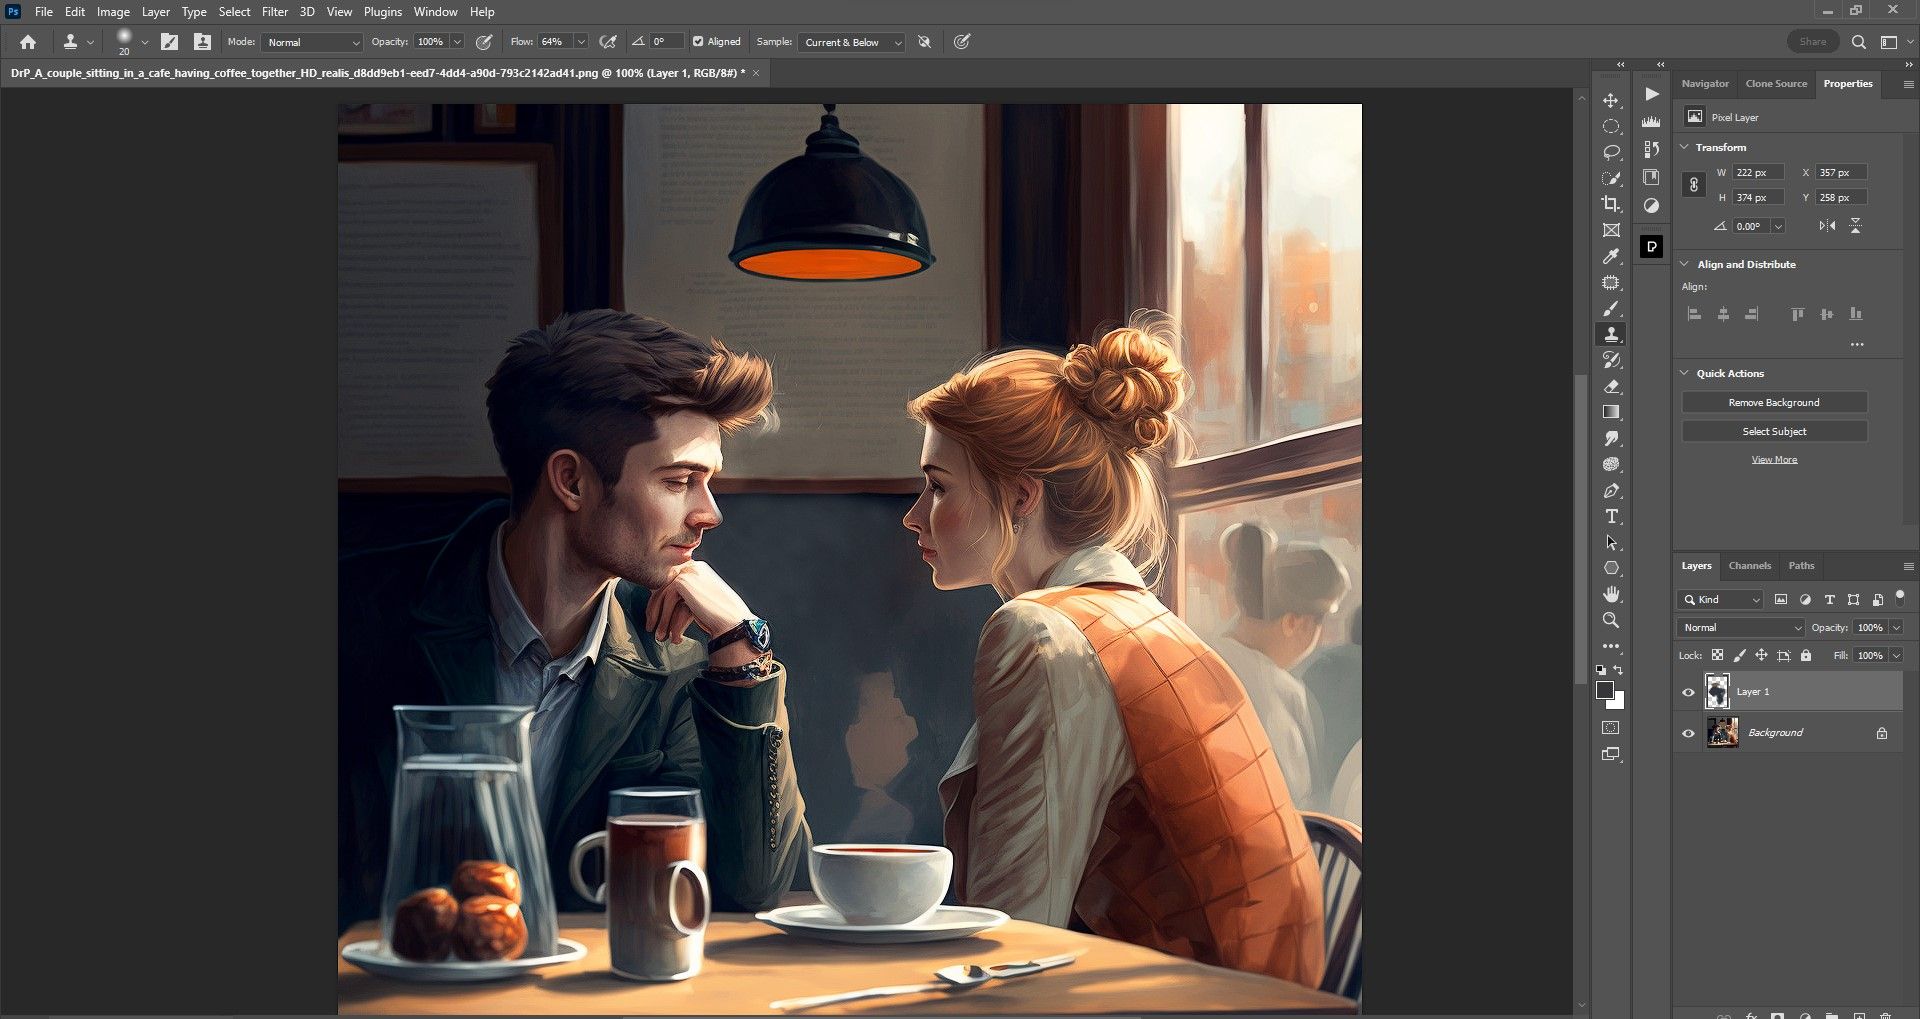
In the following image, there's rising steam next to the man's face that looks more like cigarette smoke compared to the abstract patch of steam beneath it. Let's remove this troubled area using the Clone Stamp tool.
First, we'll create a blank layer so that we can work non-destructively. Then press S for the Clone Stamp tool and start removing the smoke. See our detailed guide on how to use the Clone Stamp tool in Photoshop if you need a refresher.
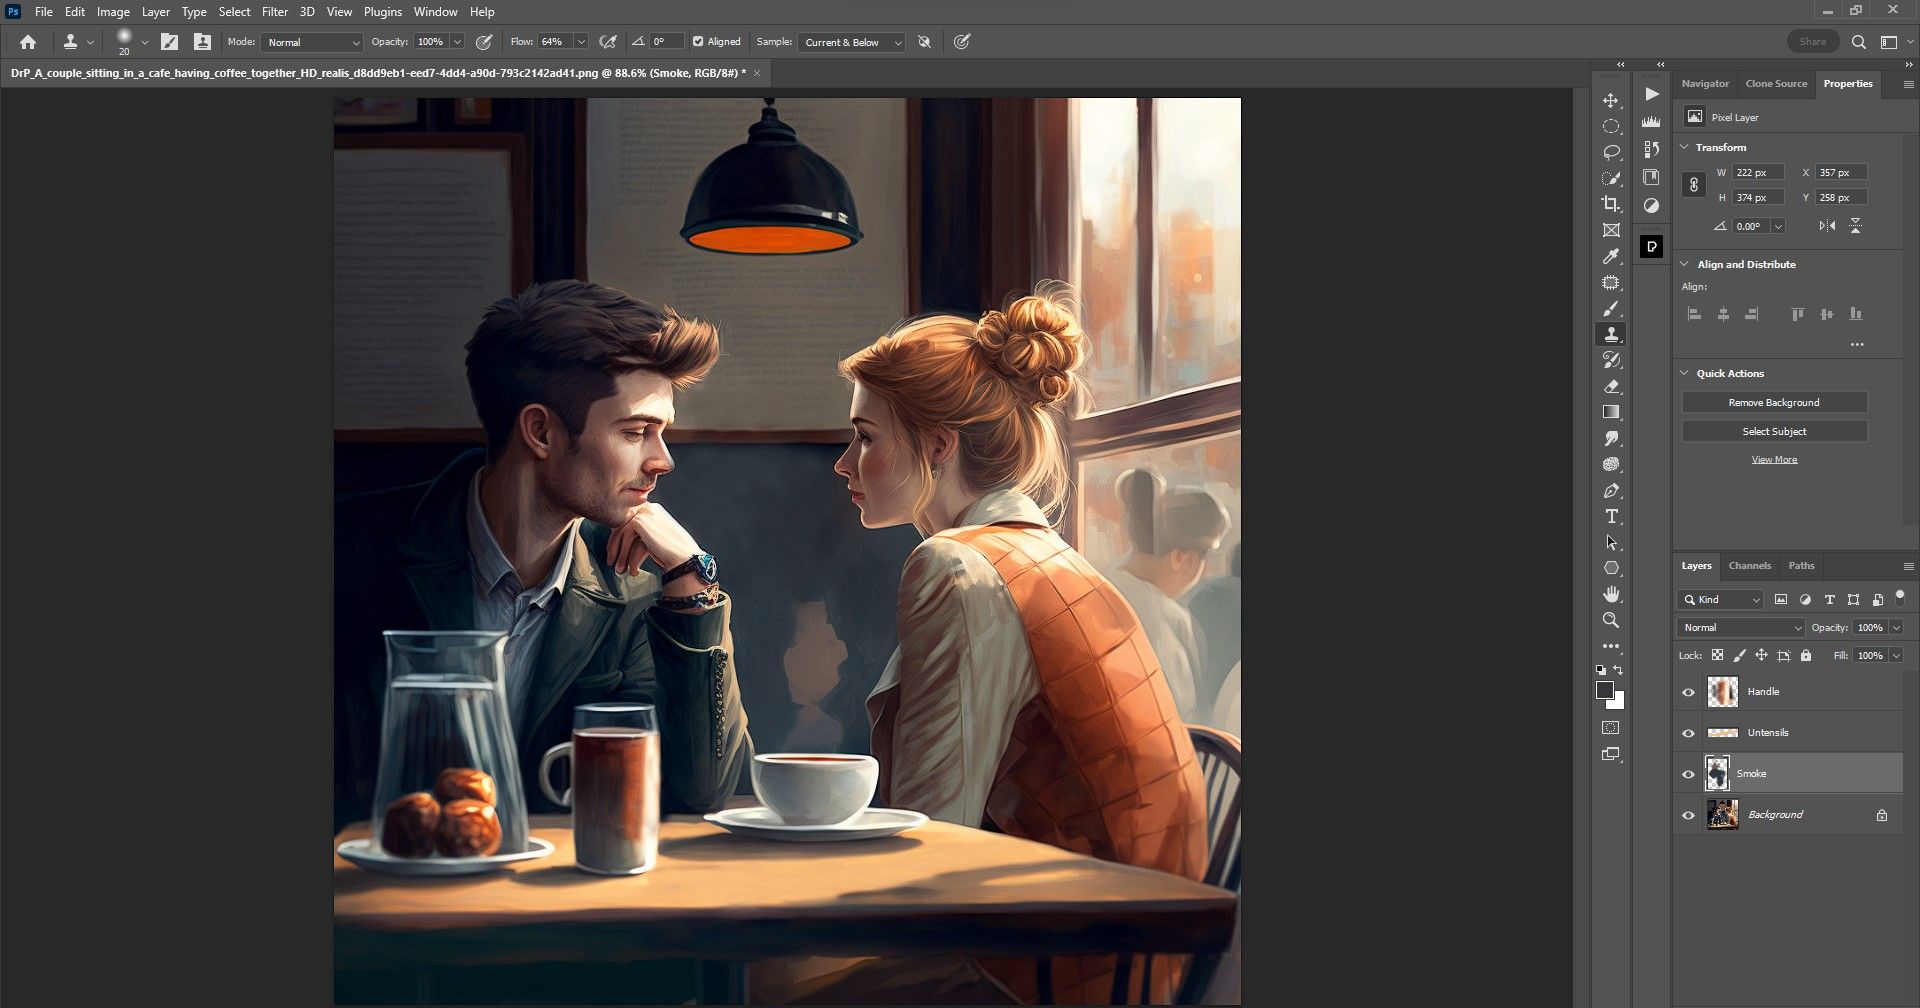
With the smoke removed, we can fix a few other things like the extra handle on the mug and the odd-looking utensils. Create a blank layer for every area you work on for ultimate control.
This Midjourney artwork is now looking a lot better thanks to the Clone Stamp tool.
You can also use the Healing Brush, the Spot Healing Brush, and the Patch tool to perform the same task, depending on the scene.
5. Composite New Elements Into Midjourney Art With Neural Filters
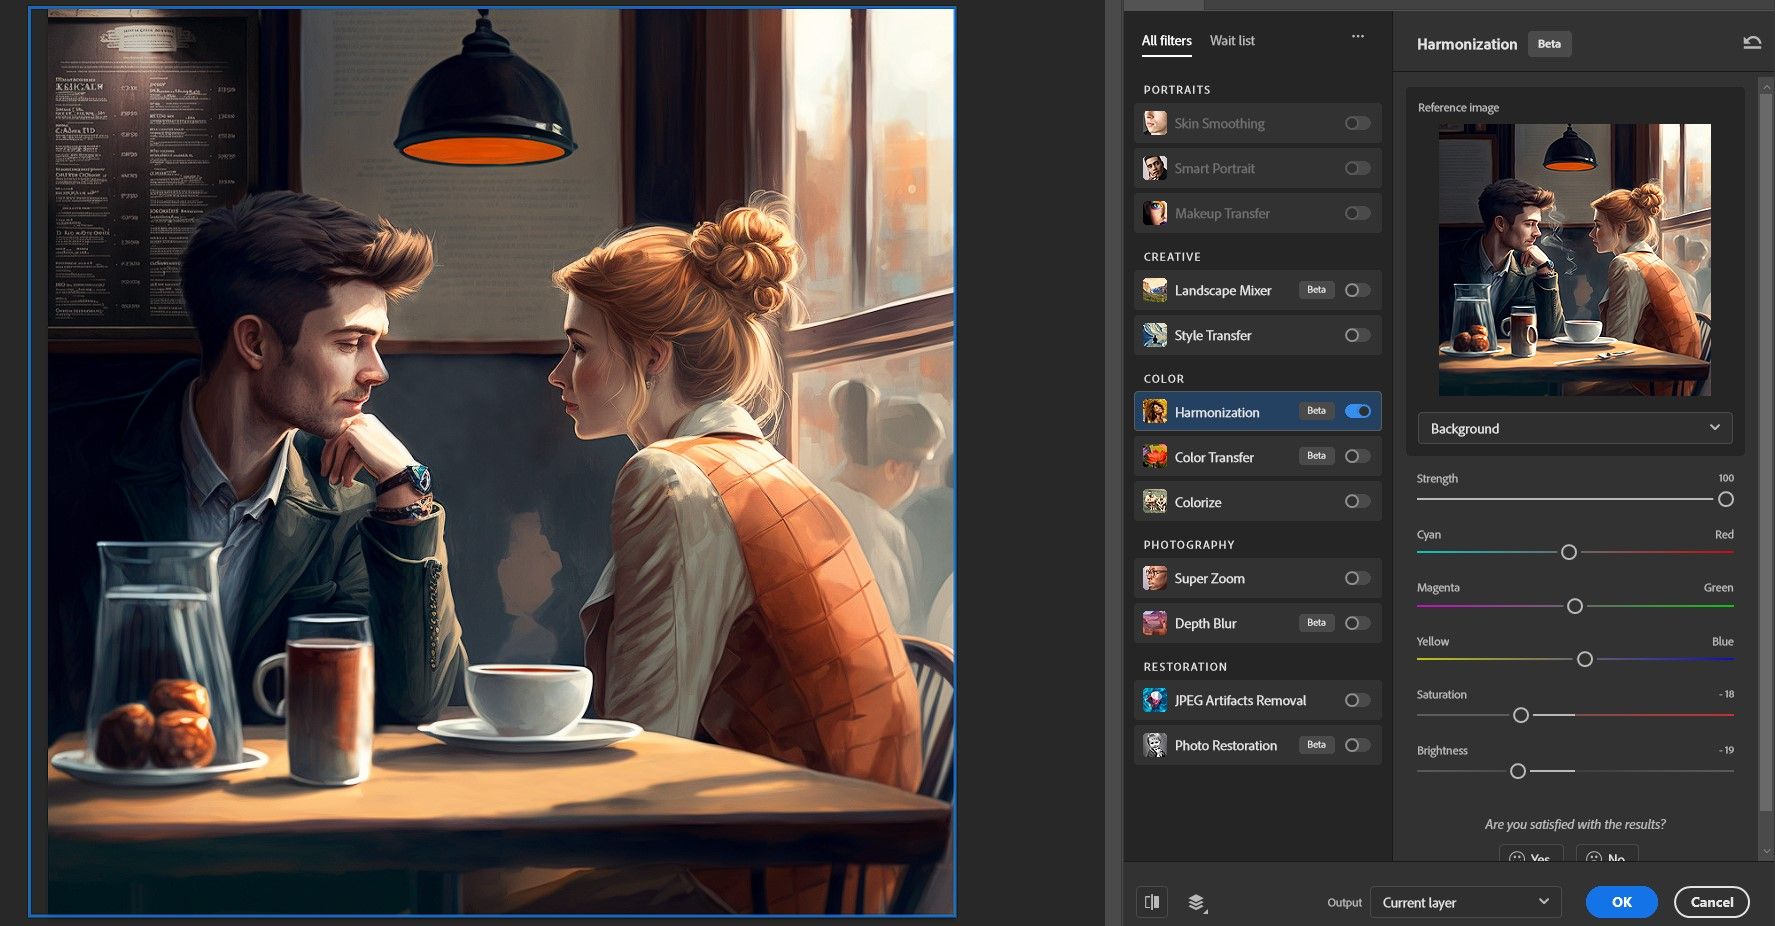
Photoshop has a set of Neural Filters that can greatly enhance your Midjourney artwork. We'll focus on the Harmonization tool since it's great for making composites.
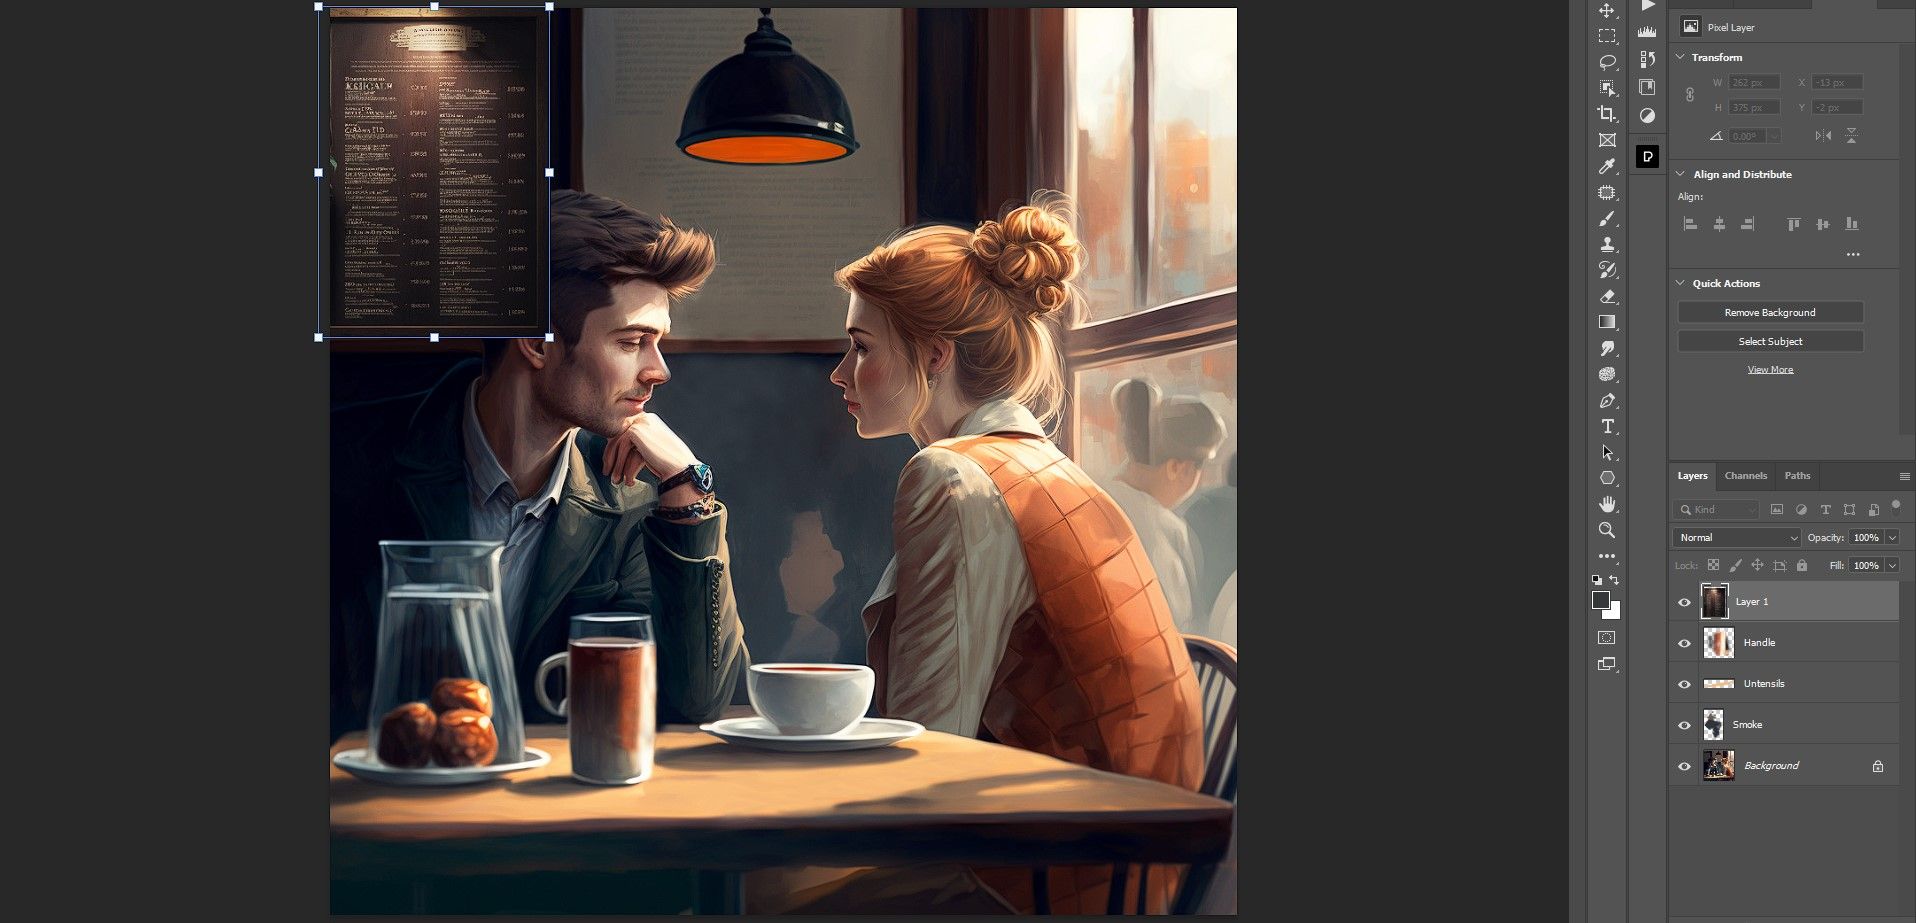
For this example, we want to add a cafe menu to the wall behind the man.
We'll import the menu into our Midjourney file and use the first three tools to mask it properly; Lasso, Transform, and Brush.
The new menu looks pretty good. But we can improve on it by using the Harmonization tool to colorize it and adjust the exposure levels in accordance with the original image.
Now, the menu blends in much better with the original image. We maxed out the Strength slider and darkened and de-saturated the image slightly so that it doesn't stand out too much.
Photoshop Can Fix Almost Any Problem in Your Midjourney Art
We've shown you five handy tools and methods for enhancing your Midjourney artwork. Of course, Photoshop has many more tools and features to help fix your art. But this should be a good starting point for fixing the most common issues in your Midjourney art, and you don't have to worry about discarding it due to flaws.

