Control Panel is a handy hub that allows you to change the entire system's settings. From controlling user accounts to adjusting settings for your input and output devices, it serves as the control room for your computer.
There are rare instances when you may be unable to access the Control Panel. Either it won't open, closes immediately after startup, or doesn't allow you to make any changes to it. If something isn't working right in your system's control room, we will look at seven fixes that can help you with this.
1. Disable Windows Error Reporting Service
Whenever one of your programs crashes in Windows, a pop-up appears asking you to report the problem to Microsoft. That's what Windows Error Reporting Service (WER) is all about. It handles all your errors and reports them to Microsoft so they can fix frequently reported issues in the new updates.
If you are a die-hard Windows fan and love to report bugs and issues, it is handy to have on hand. However, it can also interfere with the functionality of your operating system. One of the ways is interfering directly with your Control Panel. If you are experiencing difficulties with Control, you might want to put this service on hold. To do so, follow these steps:
- Open the Run command by pressing Win + R.
- Click OK after typing "msconfig."
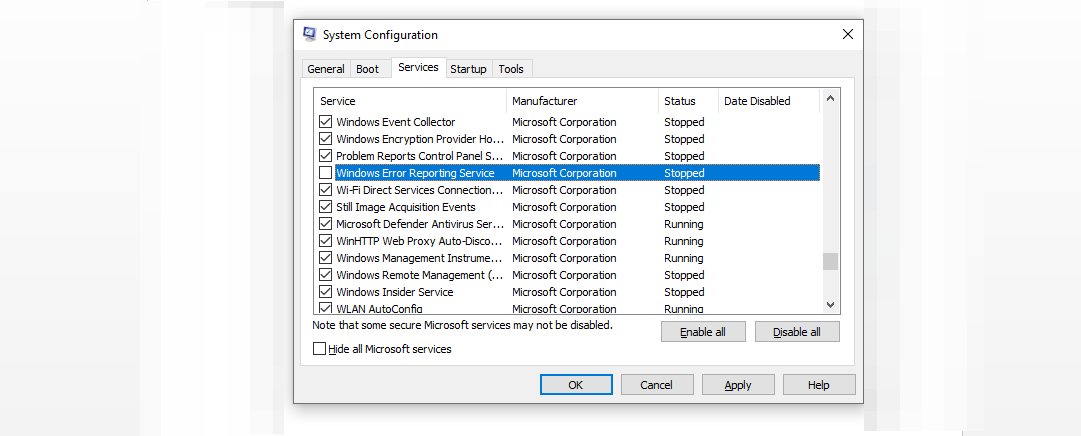
- Go to the Services tab in the system configuration settings.
- Uncheck the box for Windows Error Reporting Service.
-
Click on Apply and then hit Ok.

Restart the control panel after disabling the error reporting service to verify that it is working. If this fix does not help, you can enable the error reporting service again since it is pretty helpful at times.
2. Clear Windows Temp Files Folder
Windows stores temporary files to streamline the processing of your apps and software. Most applications tend to remove temporary files after every session, but a hundred others do not.
Over time, they can pose a severe threat to the performance of your system if not manually cleared. Therefore, removing these temp files may help your control panel work again.
You can access and delete these temporary files by following these steps:
- Type Win + R to open the Run command.
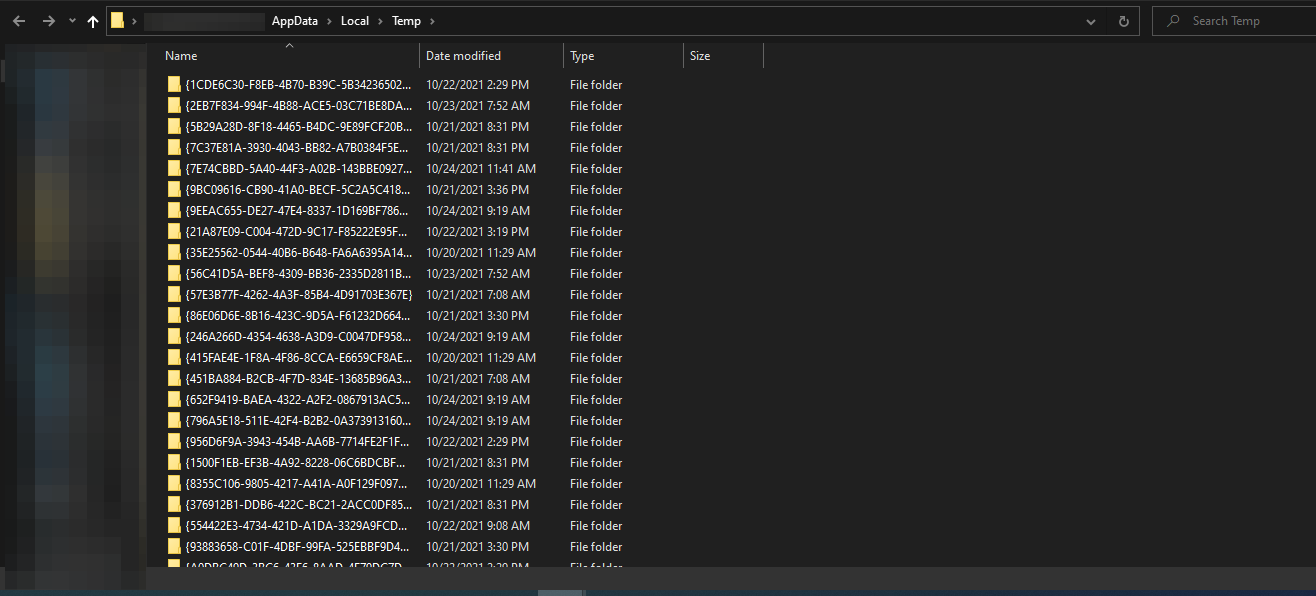
- Type "%temp%" and hit OK.
-
Delete all files in the temp folder.

If this fix resolves the issue, make it a habit to delete these files every three days. It won't take long for them to accumulate.
You can also use Storage Sense, a handy Windows tool, to automatically delete all temporary files on your system and data in your recycle bin. Here's how you can enable it:
- Go to Windows Settings and navigate to System Settings.
- Go to Storage settings on the left sidebar.
-
Turn on the toggle for Storage Sense.
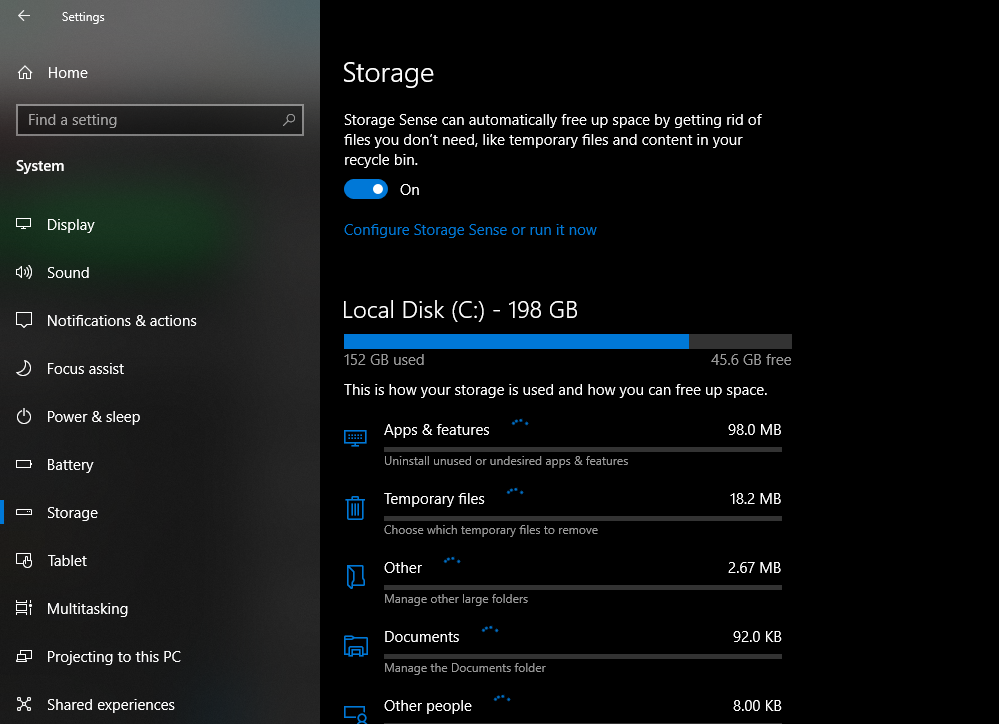

By clicking on Configure Storage Sense or run it now you can further customize what storage sense can do for you.
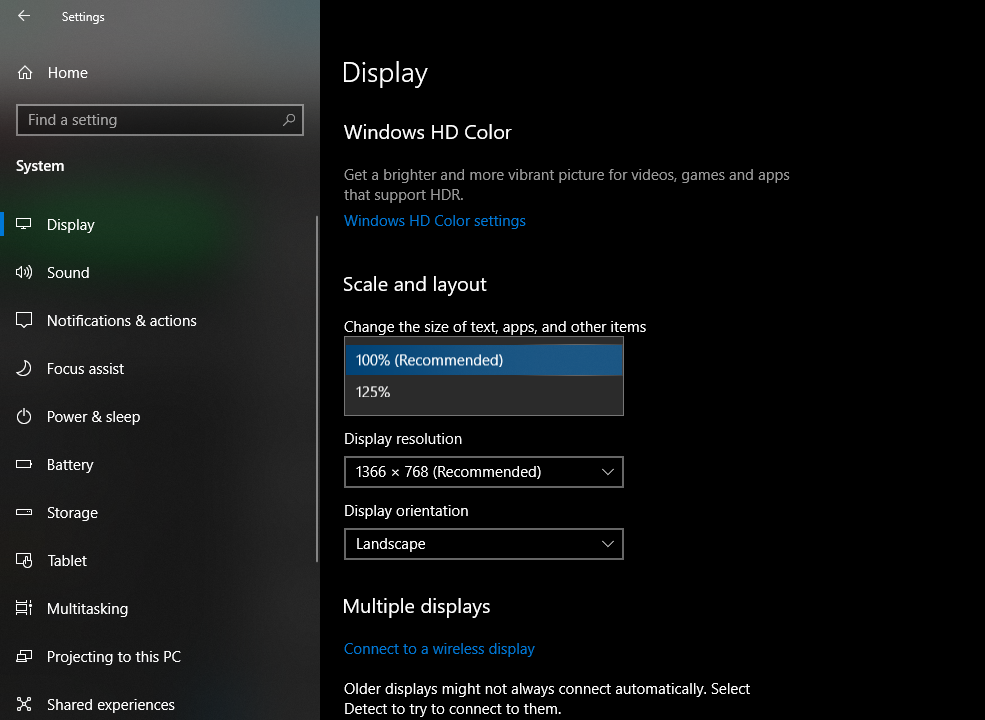
3. Change Display Scaling
Using the display scaling system, users can adjust the size of all onscreen navigational elements, making it easier to navigate through Windows. Although it may seem strange at first, setting the display scaling to a value greater than 100% can also cause the Control Panel to behave strangely.
This is more likely to happen if you have recently tweaked the display settings and then started experiencing problems afterward. Make sure the display scaling is set to 100%, as recommended by Windows. Here's how to do it:
- Go to the Windows Settings app.
- Navigate to System settings.
- In the left-sidebar, open Display.
-
In Scale and layout options, set the Change the size of text, apps, and other items to 100% (Recommended).

If this fix fails to work its magic, clean your Startup programs list.
4. Clean Up Your Startup Program List
Start-up programs are those that run automatically when the system boots up. Programs are added to the start-up procedure in two ways: you either manually tell them to do so, or the program automatically adds itself to the list. Either way, they consume resources and interfere with system functionality as they continue to run in the background.
A malicious program in this list may be blocking you from accessing the Control Panel. It is therefore essential to eliminate this possibility.
You can open the task manager and remove notorious apps from the startup programs list by left-clicking the taskbar and clicking on Task Manager. You can find a list of all startup programs in the startup tab of the task manager. Disable the programs that seem unnecessary or harmful.

Do not disable the necessary system programs to avoid adding to your troubles. Continue with the following fix if the problem persists.
5. Boot Up the System in Safe Mode
Windows 10's Safe Mode can further help narrow down the problem's root cause. It launches your system with minimal files and drivers. As all third-party apps aren't loaded in safe mode, this eliminates any chance of software glitches interfering with your operating system.
6. Change to a Different Administrator Account
If nothing seems to work, try logging on using a different administrator account. It's rare, but a few wrong settings can have a significant impact on how Windows performs. You'll confirm that it's your account settings blocking access to the control panel if you change the administrator account.
If your account is found to be the culprit, you will have no choice but to reset it.
7. Scan Your Computer for Malware
As a last resort, you can eliminate the possibility that any malware is hampering your computer's processing and preventing you from seeing your control panel. A third-party antivirus program can be used for this task, but Windows Defender will do the job if you do not have one.
To run a scan, navigate to Windows settings and go to Update and Security settings. From the left-sidebar, choose Windows Security. Choose Virus and threat protection from the options available in Protection areas. When you click the Quick scan button, Windows Defender will perform a scan for your computer.

At the end of the scanning process, you'll see how many files have been scanned and how many threats are lurking in your system. After that, you can take action to remove them. Also, you can run more in-depth scans through the Scan option, where you can run a custom scan, a full scan of your computer, or an offline scan.
Once the threat has been removed, restart your computer to see if the control panel opens this time or behaves the same way.
Get Your Control Panel Up and Running
Hopefully, one of these fixes will get you access to your control panel again. When all else fails to resolve the issues, you can reset your computer, which is the least favorable troubleshooting method.
If you don't want everyone on your computer to have access to Windows Control Panel and Settings, you can easily disable everyone's access to them.