It's easy to complain about gas prices, especially as soaring inflation makes everything expensive. Although gas prices have dipped from their peak in early 2022, it remains a considerable expense for many. Filling your tires to spec and cleaning your MAF sensor increases efficiency but doesn't eliminate the need for petrol.
Many have opted for electric vehicles—from eScooters to Teslas—to reduce fuel expenses. And among these energy-efficient transportation methods, electric bikes are one of the most viable options for most commuters. Even so, they still tend to be expensive. So, to help you save even further, here are two ways to build a DIY eBike yourself.
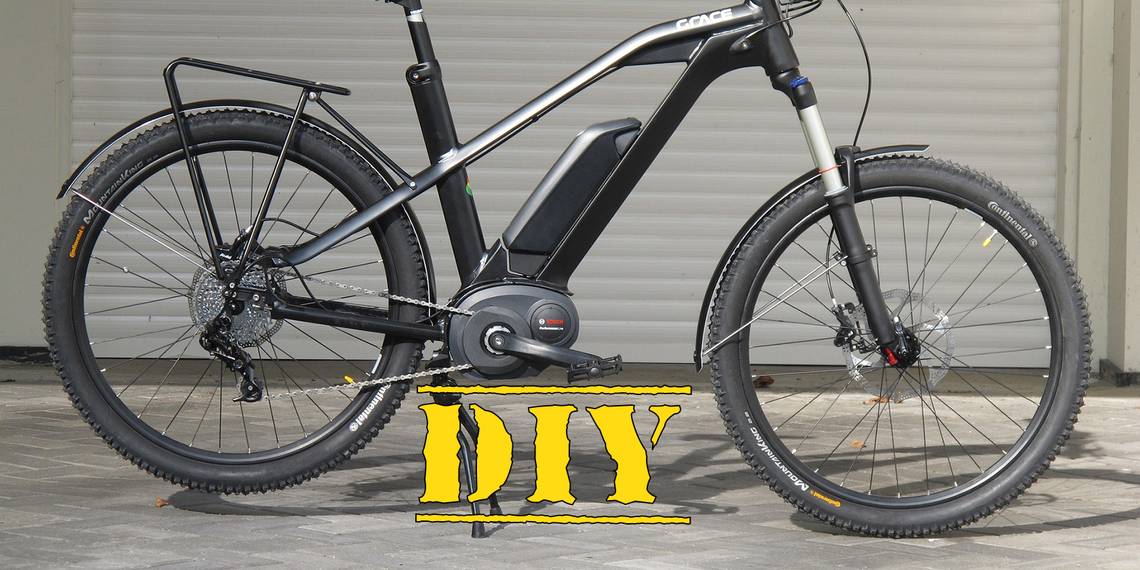
Build an eBike From Scratch

Building an eBike is like playing with Legos; you can build whatever you please. You can tailor the perfect bike with the availability of many different parts—like varying fork setups to different frames.
So, here's what you need to start building an electric bike from scratch:
1. The Frame
You can opt for two frame styles: with or without rear suspension and one without. Frames without rear suspension, also known as hardtails, are more affordable than full-suspension bikes. However, full-suspension bikes' front and rear dampening make for a more comfortable ride.
Nevertheless, the most optimal frame style will still depend on the terrain you plan to ride on.
2. The Forks
The front fork is the part that holds on to your bike's front wheel, and, similar to bike frames, you have solid or dampened options. Again, the optimal choice will depend significantly on your preference and the surface you'll frequently ride your bike on. A bike's ride will vary between asphalt and loose gravel; how it reacts will depend on your suspension setup.
That's why you should conduct your own research and read up on an eBike's features before choosing if you're on the market for one.
3. Electric Motor
Customizability doesn't end at the structural components of your bike; it also extends to the electric components on the bike. Different power kits are available online, and you can choose between hub drive or mid-drive motors.
Mid-drive kits mount to your bike's crank—where the pedals are attached and how you traditionally drive a bicycle. However, mid-drive motors are more expensive and complex. Since it uses the factory drivetrain, you must learn how to shift at optimal points. Like in manual transmission cars, operating a longer gear at a lower RPM can cause the motor to bog.
Alternatively, hub drive kits are single-speed systems and do not require any shifting. However, its simple operation also means you have less control over its performance.
Speaking of performance, if you need speed in your daily commute, you should consider getting one of the fastest electric bikes available on the market instead.
4. Braking Systems and Other Miscellaneous Bike Components

Now that an electric motor powers your bike, you should also consider how to stop it. Most bike brakes are cable-driven—cheap to manufacture and simple to install and maintain. However, its stopping performance is noticeably poor, especially when biking at higher speeds.
This is where you should consider hydraulic brakes. These use brake fluid to multiply your clamping force, allowing you to stop at shorter distances.
Aside from braking systems, you also need other miscellaneous hardware and components to build your custom kit fully. While building things is fun for some people, it's usually more work than most people want. So instead of building something from scratch, why not convert a bike you already own instead? Doing so can save you much time and effort. Here's how you can do it:
Convert Your Current Bike Into Electric

If you don't want to deal with the complication of building a bike from scratch, you can get conversion kits online that'll let you add an electric motor to a bike you already own. Since your bike is already assembled, all that is left is to add some power.
Similar to the previous building process, there are two available motor options—hub drive and mid-drive. Hub drive contains the motor(s) in the wheel(s), whereas mid-drive kits utilize your existing drivetrain.
The most significant differences between the two options are cost, rideability, and aesthetics. Mid-drive kits are more expensive, though they offer a clean look. It allows you to shift gears using the derailleur on your bike to accommodate different speeds. Having access to multiple gears ensures instant torque at any given speed, making them suitable for high-performance biking.
Although hub motors perform just as well as mid-drive kits for daily use, they generally cost less. However, they seem to clunk up the bike. These single-speed units do not require shifting, making them friendly to new riders. If you're focused on energy efficiency, this isn't a large concern, but you might have to look elsewhere if style and performance are a priority.

Adding a hub motor to a bike is relatively easy as most of the complicated electrical work has already been completed. Here's how to add one to your bike:
- Place your bike in a serviceable position using a bike or wheel stand.
- Remove the front or back wheel (depending on the kit you bought) using an appropriately-sized wrench. You may have to hold the other side of the axle with another wrench to prevent it from spinning freely.
- If you plan to reuse your tire and tube, deflate and remove them from your old tire.
- Install your tire and tube to your new motorized wheel. Don't forget to install your existing freewheel to the motorized hub if it doesn't come with one.
- Mount the electronic speed controller on your bike's handlebars. Be sure to mount them where you can comfortably access them while riding your bike.
- Route the wires from the hub motor to the speed controller accordingly. Use cable ties to secure them to your bike frame, and ensure that they don't rub with any moving parts or obstruct your movement.
- Connect the wires to the speed controller.
With that, your bike is now officially electric! Note that it's necessary to charge the battery before operating your eBike. Batteries typically get discharged during shipping, and you should top them up before use to optimize their health.
Going Electric Is Easier Than You Think
Many people want to go green; however, they may find electric bikes too expensive. But with the readily-available conversion kits, you can now build an energy-efficient personal vehicle or max out all your bike's parts for maximum performance and an insane ride. But regardless of your preference, prioritizing your safety with the appropriate gear is imperative as you travel at higher speeds.
Now that you know how to build or convert your bike, you only need a kit, some tools, and a free weekend. With those, you can get an electric bike before your next work week starts.