Virtualization is an easy way to try out multiple operating systems without having to go through the hassle of installing and uninstalling them. Modern virtualization software like VMware offers many advanced features that make virtual machine management much easier.
One such feature is the ability to take a Virtual Machine (VM) snapshot. Let's learn how to take a VM snapshot in VMware Workstation Player for free.
What Is a Virtual Machine Snapshot?
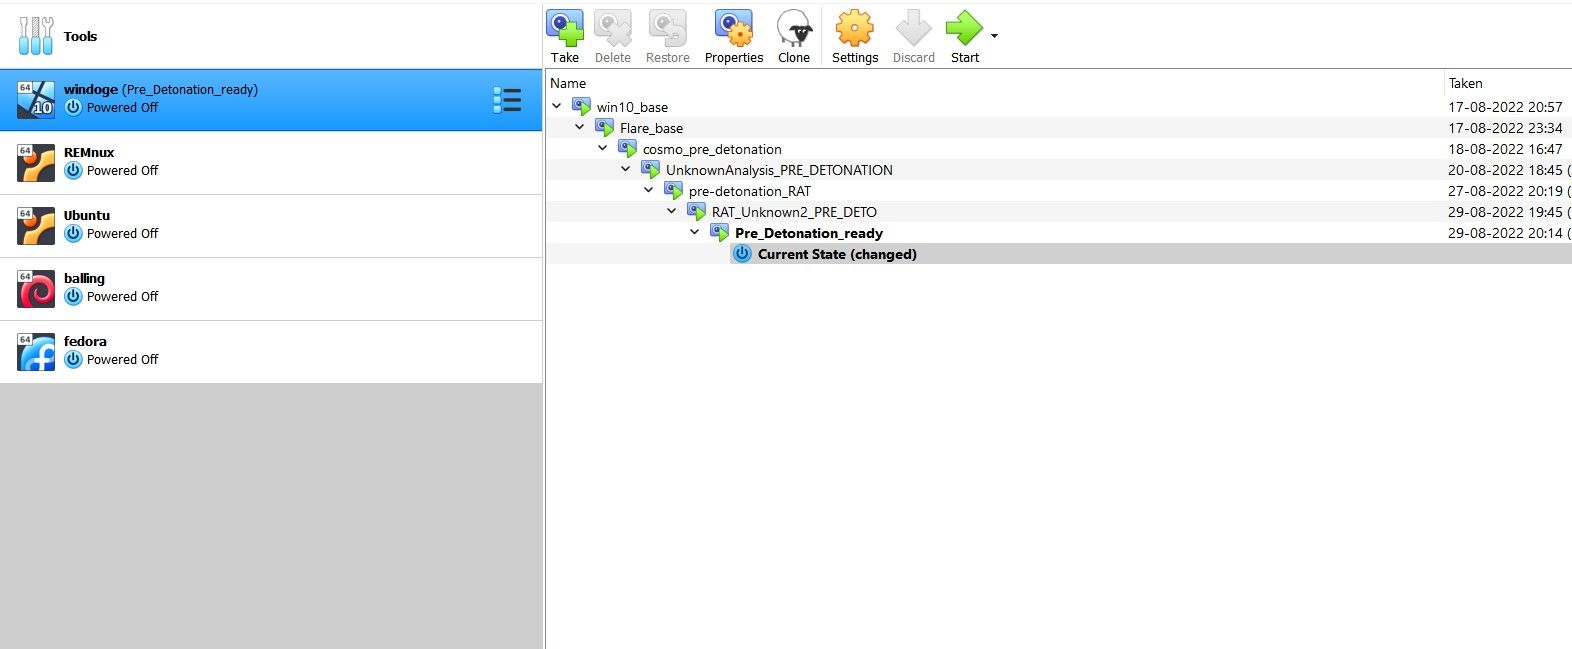
A VM snapshot is a preserved state of a virtual machine. When you take a snapshot, the virtualization software saves the state of the VM and all the data in it. This is especially useful when analyzing malware or experimenting with a virtual machine. If your VM breaks, you can restore it to a healthy state at any point by simply restoring its snapshot from an earlier date.
While users with paid subscriptions can enjoy this feature in VMware, those using the free version are blocked from taking snapshots. However, there is an easy workaround to take snapshots. It takes time and management, but it works just as well!
How to Take a Snapshot in VMware Workstation Player for Free
When you take a snapshot, it essentially backups up the data and state of the machine. We are going to do just that, but manually. There are two steps to this process. First, taking a backup, and second, adding it as a separate virtual machine in VMware Workstation Player.
1. Backup All the VM Files
First, you must copy and paste all the VM files into a backup folder. Here are the steps:
- As a preliminary step, shut down your VM and close the VMware workstation player. Additionally, check for and end all instances of VMware with the Task Manager on Windows or Activity Monitor on Mac.
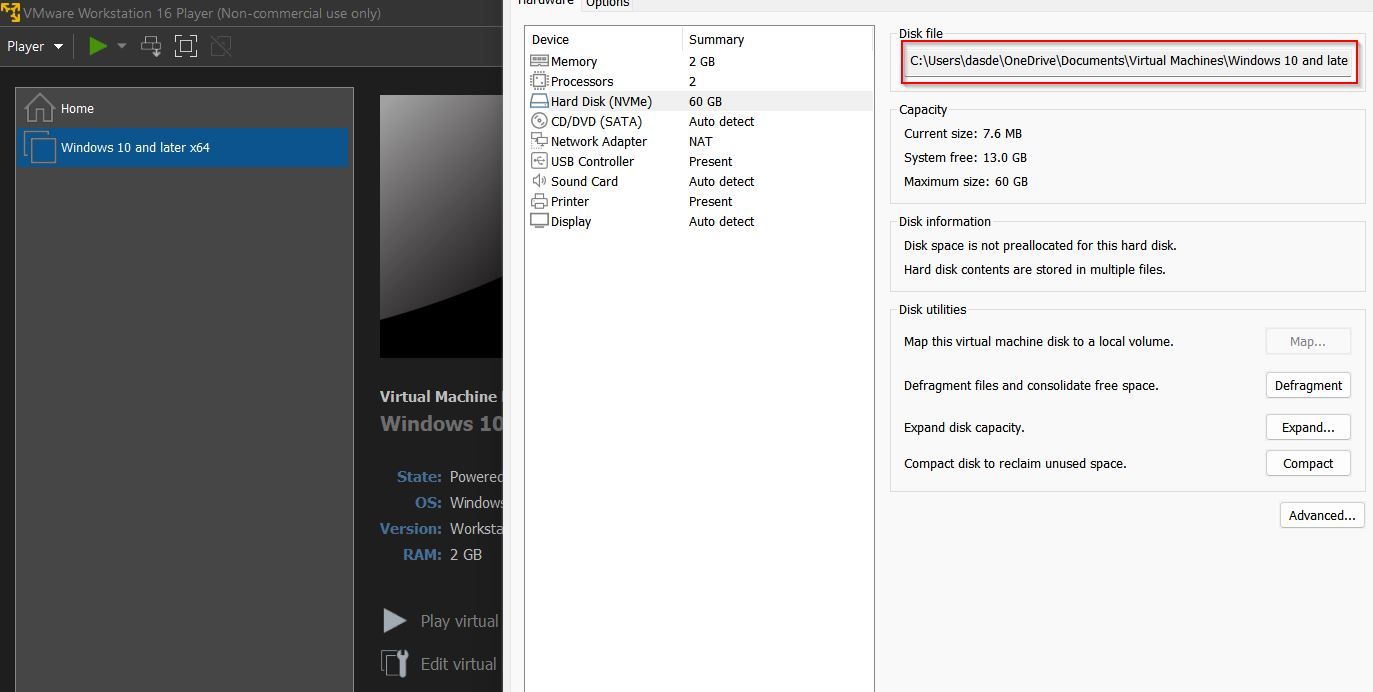
- Right-click on the VM and open Settings > Hard Disk to find the path where all its data is stored.
- Head over to the location in file explorer.
- Hit Ctrl + A on your keyboard to select all the items and copy them with Ctrl + C.
- Now, Make a new directory anywhere on your disk and name it conveniently: "Vm_snapshot"
- Paste all the items you copied inside the directory with Ctrl + V.
2. Add the Backup as a New VM in VMware Workstation Player
Now that you have prepared a backup, i.e., an identical copy of your VM, it's time to load it up onto VMware to use it as a snapshot. Here's how you can add the VM to VMware Workstation Player:
- Fire up a new instance of VMware Workstation Player.
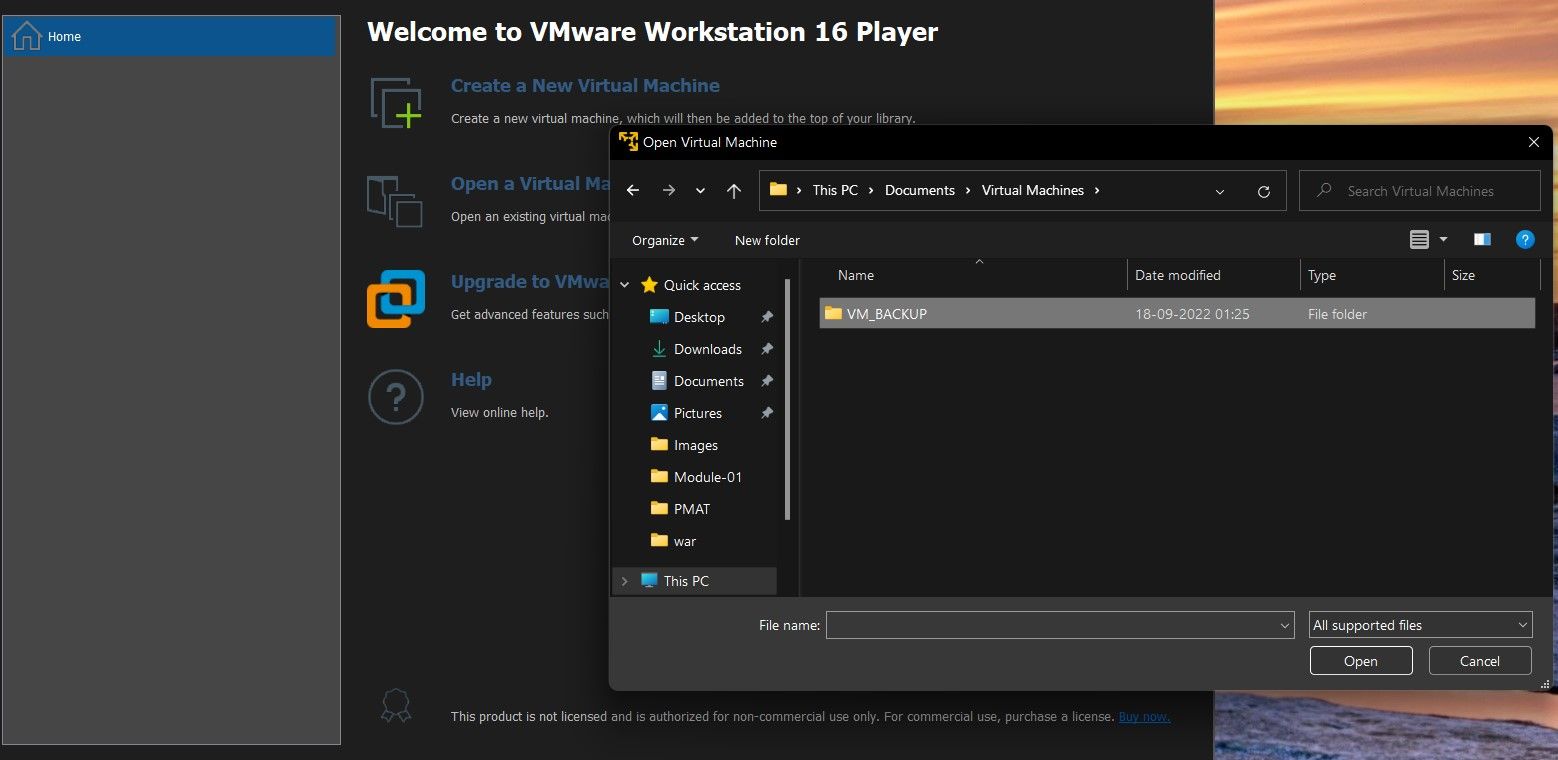
- Click on Player > File > Open and navigate to the location of the VM backup.
- Confirm the settings and add the VM to VMware Workstation Player.
- Run it as you would with a regular image. It should boot up just fine, and you should find it in the state of how you closed the original VM.
That's all you need to do to manually store a snapshot of a VM in VMware Workstation Player for free. Repeat the process each time you need to take a snapshot.
Choose the Right Virtualization Software for You
While there are several options to get started with virtualization, VMware and VirtualBox are the market leaders for all the right reasons. However, depending on your budget and, more importantly, the nature of your work, one of these two might be the better option. If you're unsure which one to settle with, check out this guide, where their pros and cons have been exhaustively analyzed.


