The vast majority of cryptocurrency users store their funds on exchanges such as Coinbase or Binance. However, this approach comes with numerous downsides—including high fees, risk of theft, fraud, and security breaches.
While many cryptocurrency proponents advocate for self-custody of your tokens, they stop short of simplifying the process for the average user.
To that end, let’s now take a look at how you can use an inexpensive Raspberry Pi to securely store and manage your crypto portfolio.
Everything You Need to Know About Cryptocurrency Wallets
Even if you are careful about your digital identity, there is no telling whether or not an exchange is sufficiently secure and liquid. For evidence of this fact, take a look at QuadrigaCX—Canada’s largest crypto exchange that was forced to declare bankruptcy in 2019 after its founder suddenly passed away. Over $190 million belonging to 115,000 customers was never recovered or refunded.
That is why anyone with a significant amount of cryptocurrency is usually encouraged to take custody of their own funds. This can be achieved with the help of software applications or dedicated hardware devices that connect to your computer via USB.
Software-based wallets, however, can also fall victim to hacks and theft if the security of your phone or computer is compromised. To counter that, dedicated hardware wallets offer even better security since they’re designed around cryptocurrencies to begin with, and serve no other function.
Issues With Hardware Wallets
While hardware wallets are almost universally touted as the most secure solution, there are a few caveats that may hinder their viability for you.
For one, they can be extremely difficult to obtain in some parts of the world. If you can’t find a local reseller, importing one may be your only option. Shipping costs and times—along with import taxes—can quickly triple the cost of obtaining these devices.
Popular hardware wallet models also tend to be a bigger target for hackers. Since every device runs the same firmware and is configured similarly, a single vulnerability could lead to widespread losses. While no hardware wallet has been exploited to date, it is a potential threat that you should be aware of.
If the physical separation and security of a hardware-based wallet sounds appealing, but you cannot or do not want to buy a mass-market device, we have you covered. The following sections shall guide you through setting up your own hardware wallet with a Raspberry Pi to safeguard your crypto wealth.
Raspberry Pi: A ‘Cold Storage’ for Your Cryptocurrencies
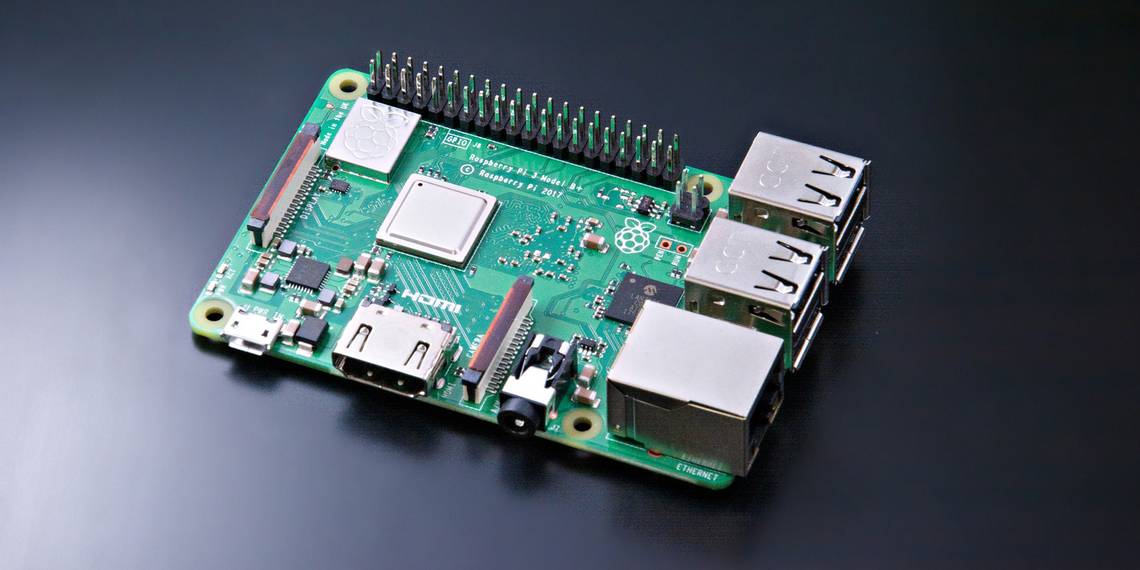
While any modern computer could be turned into a cryptocurrency wallet, it would be rather expensive—and not to mention wasteful—to dedicate a full laptop or desktop to this task. Our recommendation would be to use a Raspberry Pi—a tiny, inexpensive computer. We’ve already covered several other uses for the Raspberry Pi.
If you don’t have one lying around already, the good news is that a Raspberry Pi will only set you back $35. In fact, this entire guide can even be followed on a Raspberry Pi Zero W—which retails for a mere $10.
The Pi is so tiny and cheap that it even manages to outprice some of the more popular hardware wallets sold by the likes of Ledger and Trezor. However, it’s worth mentioning that these devices are usually ready to use out of the box and receive regular firmware updates. Your Pi, meanwhile, will require some tinkering before it’s ready to send and receive crypto.
Gather the Hardware
We don’t need much to set up a Raspberry Pi-based wallet. For this project, you’ll need:
- A Raspberry Pi 4 or Pi Zero W
- A USB-C power supply, as recommended by the Raspberry Pi Foundation
- 16GB MicroSD card for the Operating System
- A keyboard, mouse, and screen to interact with the system
- Optional: case for the Pi
As well as the following software downloads:
- The latest build of Raspberry Pi OS
- balenaEtcher
To get started, install an operating system on the SD card. Simply use balenaEtcher to flash a copy of the Raspberry Pi OS onto the microSD card.
Setting Up Your Pi Wallet
Once the Pi has booted, you’ll be guided through a short configuration process. Simply input your region, time zone, and Wi-Fi settings. Once a connection has been established, you will also be prompted to update the software already installed on the Pi.

The Raspberry Pi is designed first and foremost as a general computing platform for educational use. Therefore, it’s no surprise that the OS doesn’t ship with any cryptocurrency-related software.
The good news is that installing the wallet software takes only a few minutes. For this guide, we will be installing Electrum—an open source wallet application for Bitcoin.
To get started, open the Pi’s web browser and navigate to https://electrum.org/.
Next, click on the Download link to the top right corner of the page. This should bring you to a list of downloads for the latest version of Electrum. Since the list of download options do not include the Raspberry Pi, you’ll need to compile your own copy of Electrum. Instructions for this process are available under the title “Installation from Python sources”.
On the Pi, open a Terminal window—it’s the fourth icon in the top left corner of the screen. Then, enter the following command, which will fetch all of the dependencies required to run the wallet:
sudo apt install python3-pyqt5 libsecp256k1-0 python3-cryptography.

Next, download the latest version of Electrum:
wget https://download.electrum.org/4.0.9/Electrum-4.0.9.tar.gz
Caution: Since the wallet software is regularly updated, we highly recommend copying the above command from the Electrum website instead.

To decompress and extract the wallet software, enter:
tar -xvf Electrum-4.0.9.tar.gz
Finally, open the Electrum user interface:
python3 Electrum-4.0.9/run_electrum
You’ll then be asked to either create a new Bitcoin wallet or restore an existing one. Since this is your first time using the software, proceed with the Standard wallet option.

The next few steps relate to creating and saving your wallet’s seed. In cryptocurrency wallet terminology, a seed is a list of words (usually 12) that can be used to recover your wallet. This way, even if the Pi is lost or corrupted, you can still control your cryptocurrency holdings.
Caution: You should be extra careful while handling your 12 seed words. Electrum’s recommendations to write them down and not store them electronically (like in your email) is sound advice. If you hold a significant amount of money, consider storing your seed in a secure location such as a safety deposit box.
Remember, if you lose access to both your copy of Electrum and seed words, there is no way to recover your Bitcoin. It will become permanently out of reach.

Never post a copy of your seed online.
Once you’ve verified your seed with Electrum, you’re done! You now have a fully functional wallet on a Raspberry Pi. You can now send or receive Bitcoin from this user interface whenever you want.

Safeguarding Your Crypto From Attacks and Theft
Disconnecting your Pi from the internet when you’re done sending and receiving Bitcoin is one of the simplest ways to secure your crypto. By doing so, your wallet will not be remotely accessible or even visible to malicious individuals on the internet. This approach to separating your wallet from other electronic devices is often referred to as ‘cold storage’ in the crypto community.
Furthermore, we recommend reading Electrum’s documentation to learn about two-factor authentication and other important security features built into the wallet software.
Once you have your Raspberry Pi properly secured, consider taking a look at a few other crypto projects you can run on similar hardware.