Being an operating system that's highly customizable and relies heavily on CLI interactions, Linux is susceptible to system failures caused by incorrect commands or system operations. So if you use Linux on your main computer, you may frequently encounter problems.
Fortunately, there are system restoration tools that create snapshots of your files and settings, which you can restore on your system to put it back to its previous functioning point in case any of your operations renders it unusable.
Timeshift is one such tool for Linux. And in this guide, we'll walk you through the instructions to use it on your Linux machine.
What Is Timeshift?
Timeshift is a system restore tool for Linux. You can think of it as the System Restore functionality on Windows or the Time Machine app on macOS.
Timeshift works by creating a snapshot of your system using either rsync or btrfs mode, depending on your Linux distro. To do this, what Timeshift essentially does is create a restore point for your system at a time when everything's running smoothly. This backup includes all the system files and settings—and no user files or documents.
That way, when you accidentally mess up something on your system while configuring or customizing it, you can restore it back to this restore point and revert all your changes.
Timeshift Features
The following is a list of all the notable features of Timeshift:
- Minimal setup
- Support for CLI and GUI modes
- Support for btrfs
- Support for rsync snapshots
- Multiple backup level options (hourly, daily, weekly, monthly, and boot)
- Cross-distro restore
How to Install Timeshift on Linux
Timeshift comes pre-installed on some Linux distros, whereas you need to install it manually on others.
1. On Ubuntu and Its Derivatives
If you're using Ubuntu and its derivatives like Linux Mint, elementary OS, etc., you very likely already have Timeshift pre-installed on it. And so, you can start using it right away.
However, in case it isn't there, you can install Timeshift on Ubuntu by running these commands in the terminal:
        sudo add-apt-repository -y ppa:teejee2008/timeshift
sudo apt-get update
sudo apt-get install timeshift
Alternatively, you can go into the Software Manager on your distro and install Timeshift from there.
2. On Fedora, CentOS, and RHEL
Timeshift only supports BTRFS snapshots in Fedora. To get it, use:
sudo dnf install timeshift
3. On Arch Linux and Manjaro
Lastly, on Arch Linux, Manjaro, and the like, you can install Timeshift with:
yay -S timeshift
Timeshift Initial Run and Setup
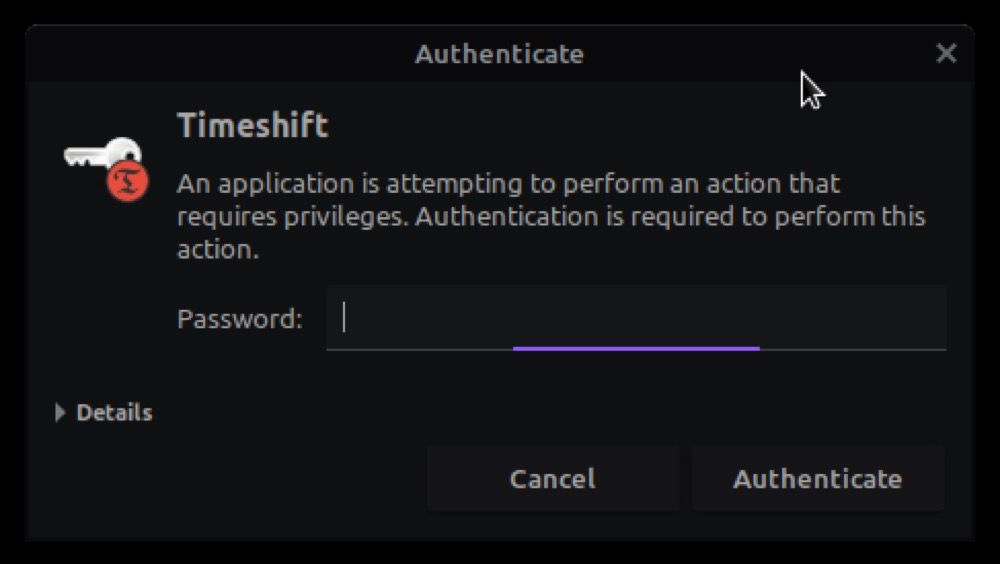
Once you've installed Timeshift, open the Applications menu, search for Timeshift, and launch it. It will ask you to enter your user password for authentication. Enter it and hit Authenticate.
Now, if this is your first time running Timeshift on your machine, you'll be welcomed with the Setup Wizard. Here, you need to set preferences for a few different Timeshift settings.
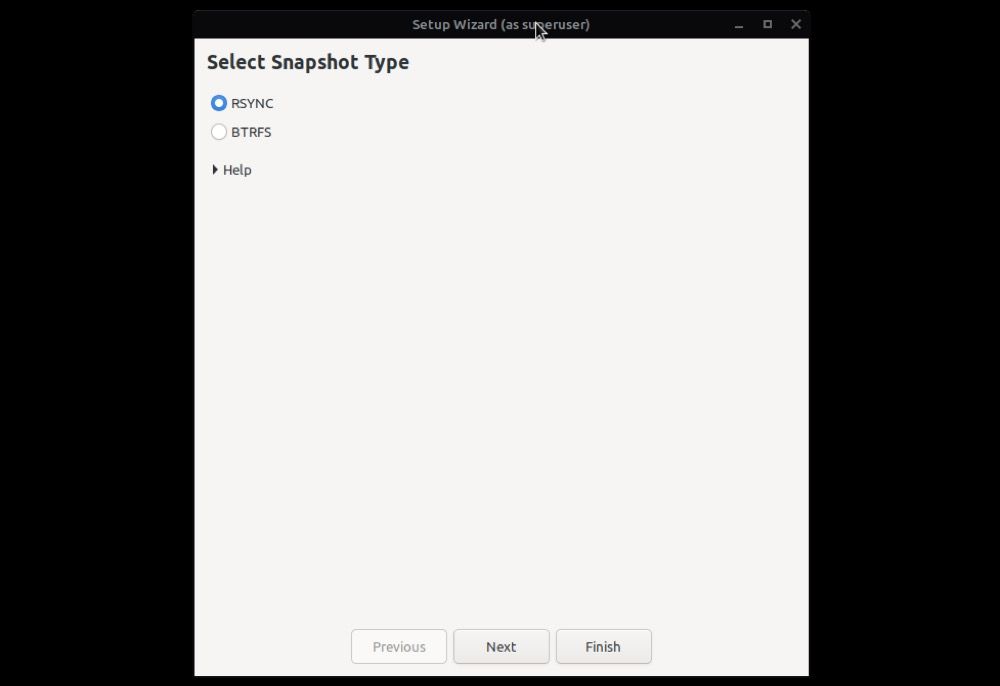
First up, you will have to select a snapshot type between Rsync and Btrfs.
For the uninitiated, the Rsync option creates snapshots using rsync and hard links. Basically, Rsync snapshots contain only those files and directories that have been changed or modified—the rest of the (unchanged) files aren't backed up in the snapshot. Hence, it takes up less disk space. On the other hand, the Btrfs mode is ideal for users using one of the Linux distros that use the btrfs file system.
Once you've selected a type, hit Next.
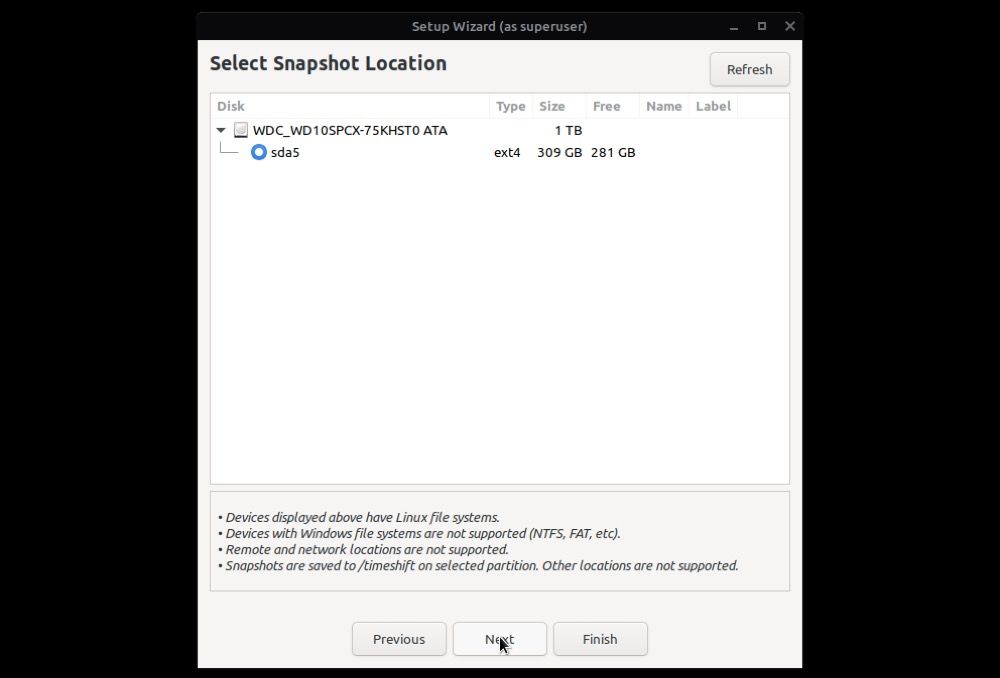
Wait for a few seconds while Timeshift estimates your system size. As soon as it finishes, pick a location on your system where you'd like to save the Timeshift snapshots.
We recommend you do this on an external thumb drive or an external HDD/SSD, as doing so can save you in situations where you can't boot into your system. Click Next to continue.
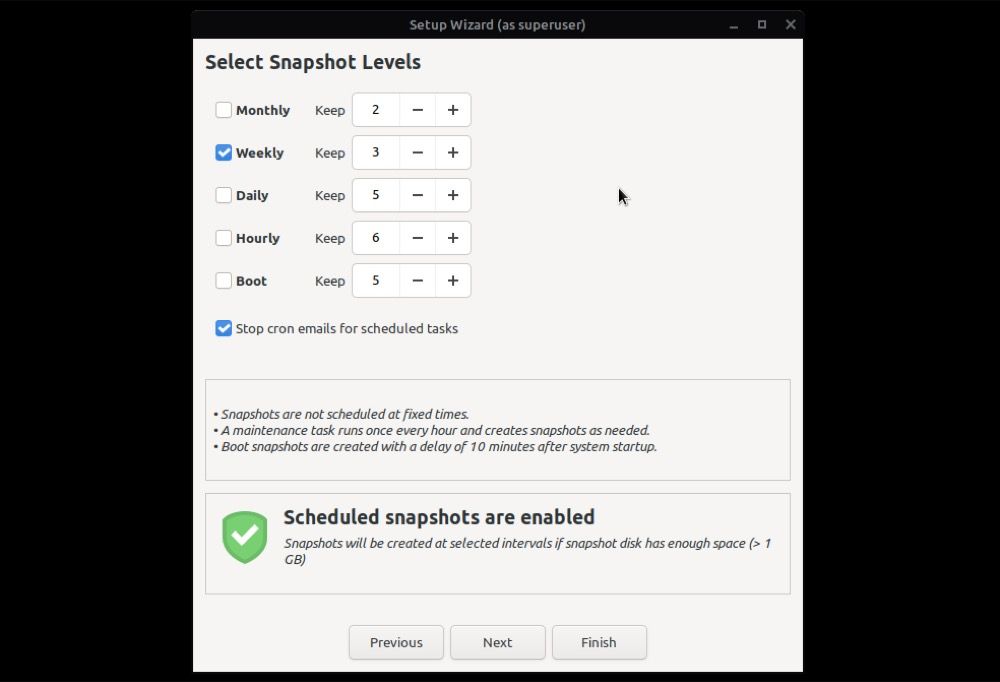
Depending on how often you modify your system elements, the next step is to choose a snapshot frequency. This will automatically back up all your system files and settings at your set interval without your intervention.
Check off the checkbox next to a level under Select Snapshot Levels and hit Next.
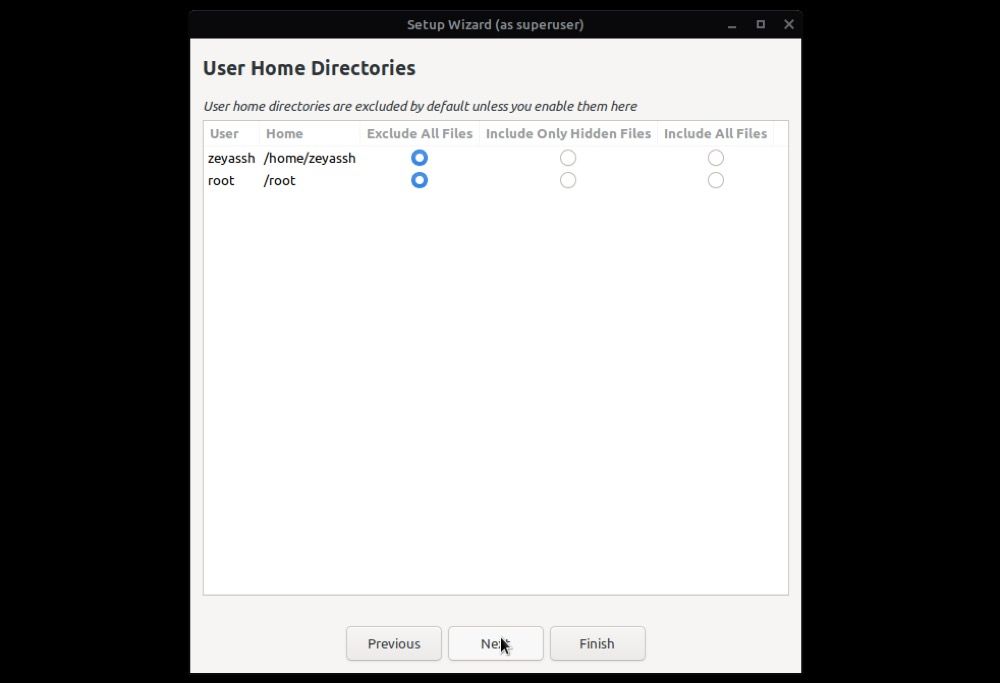
Finally, Timeshift asks you if you'd like to back up your home folder to the snapshot as well. Choose an option here accordingly and click Next.
Click Finish to complete the setup.
How to Use Timeshift on Linux
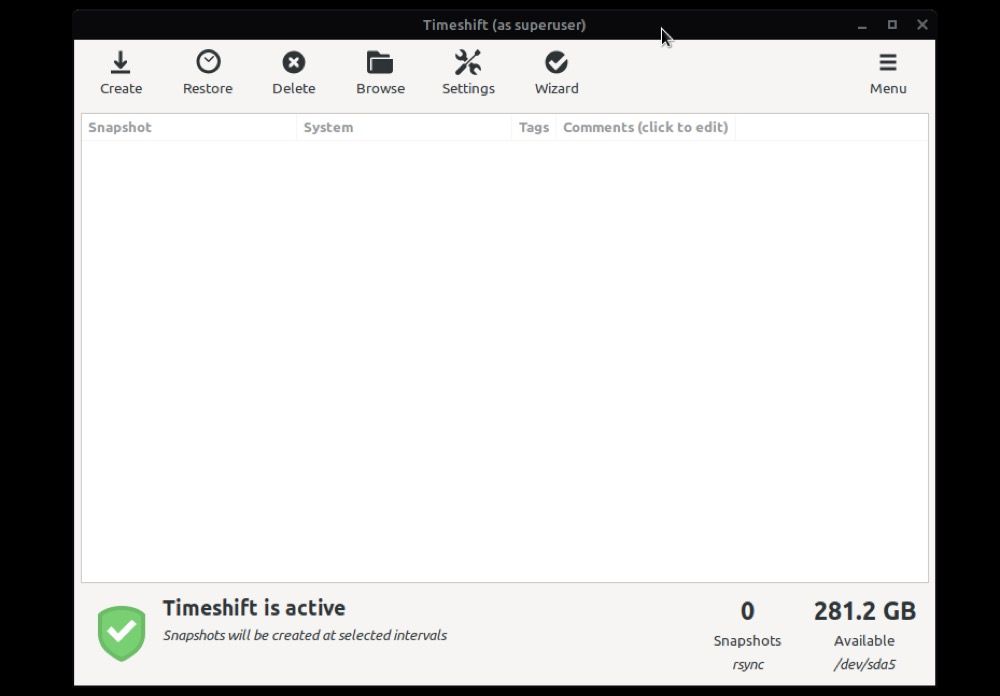
After you've successfully set up Timeshift on your machine, you'll be taken to the main window.
You can perform all Timeshift operations in this window, as shown in the sections below:
1. Create a Snapshot Using Timeshift
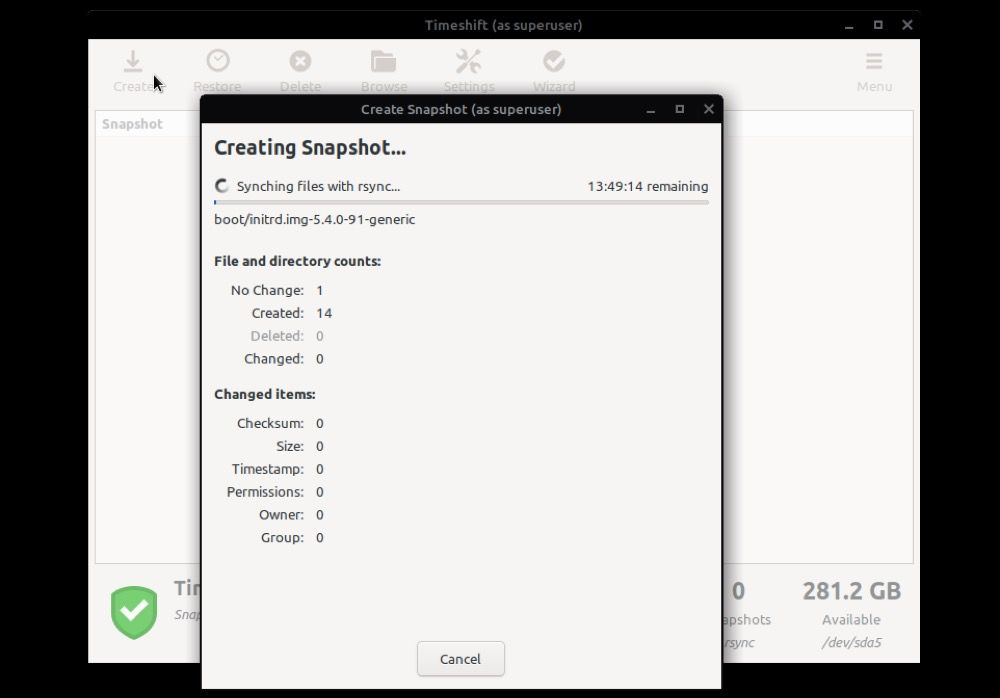
Hit the Create button on the Timeshift main window, and Timeshift will start creating a snapshot using your set preferences.
Sit back and let the process complete.
Since this is your first snapshot, it can take up a significant amount of time compared to the snapshots you'll take subsequently. After the snapshot is ready, it will appear in the main window.
2. Restore a Snapshot
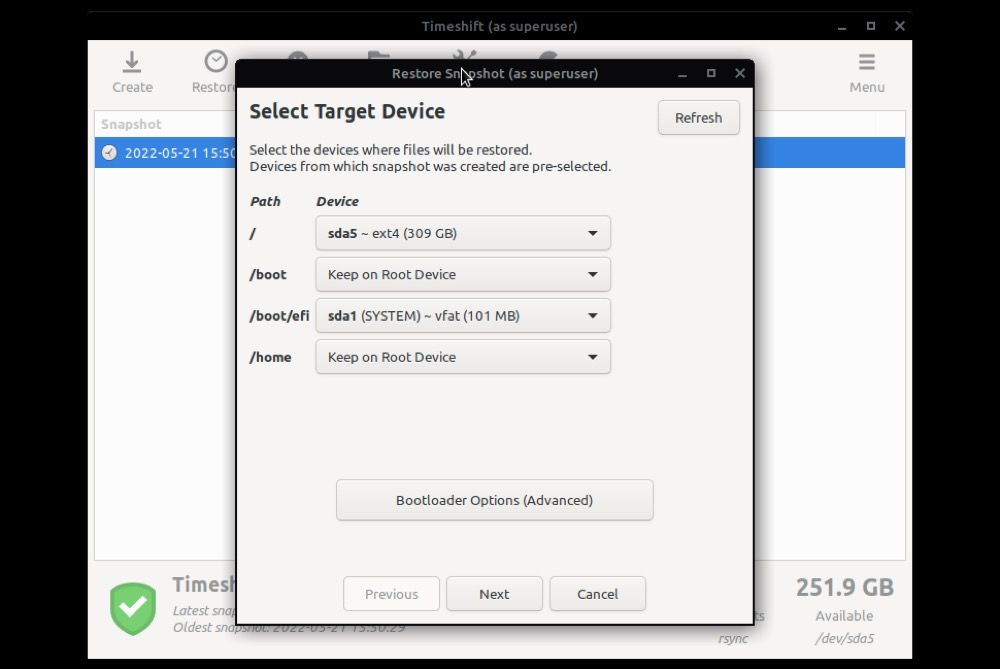
You can restore a snapshot in two situations: when your system is working and when you can't boot into your system. In the case of the former, hit the Restore button on the Timeshift main window, and it will open a window where you need to select the snapshot you want to restore.
In addition, it will also ask you to select the target partition where the snapshot needs to be restored. Select it and hit Next.
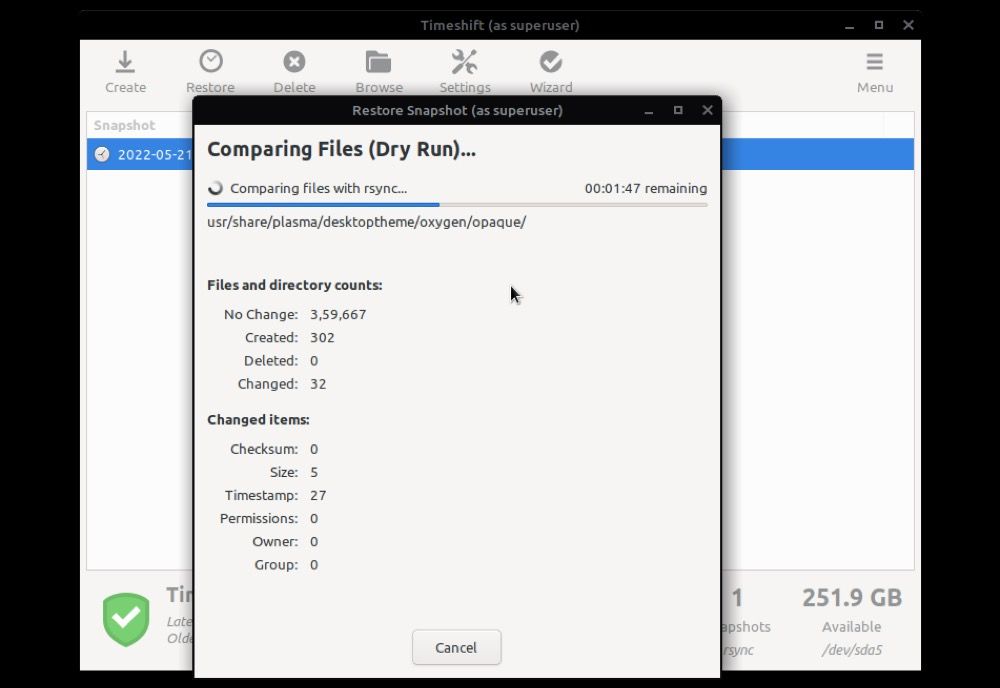
Now, Timeshift will perform a "dry run", i.e., compare the current system state with that in the snapshot. Depending on your snapshot size, this, too, can take time.
Once it's complete, you'll see a list of all files and directories that need to be restored and deleted. Go through this list to verify the changes and that no important file or setting is getting modified in the process.
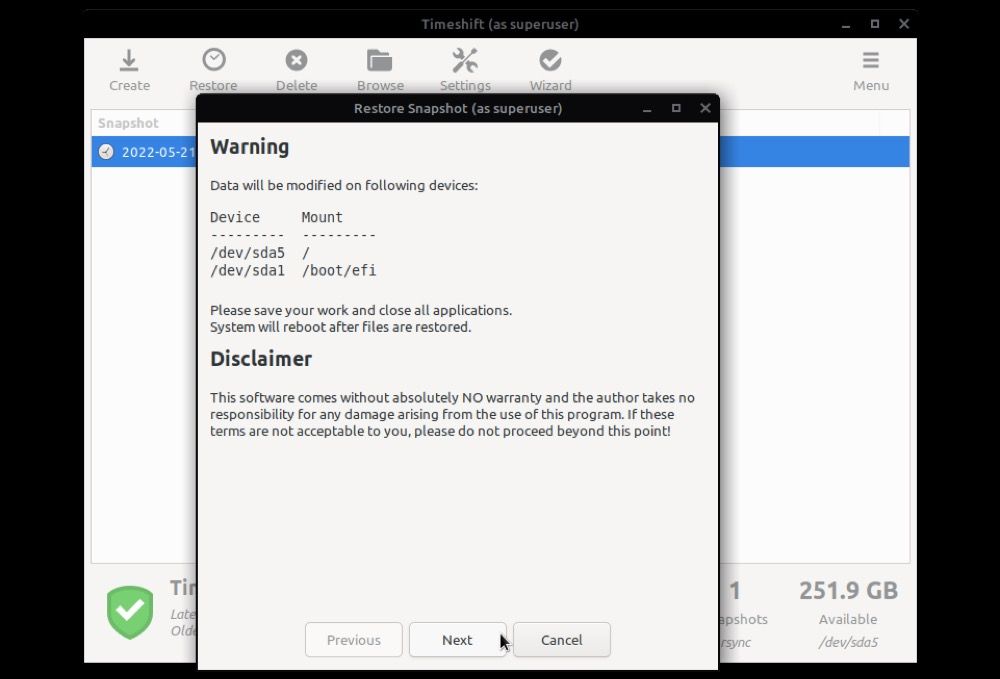
After you're satisfied with the changes, hit Next to confirm. Again, click on Next in the following warning screen to confirm snapshot restoration.
Wait for a while, and Timeshift will restore your snapshot.
In case you aren't able to boot into your system, you can try booting into it using a live USB stick and then use Timeshift to restore it to its previous working state and fix any broken or misconfigured system component, setting, or file.
3. Delete a Snapshot
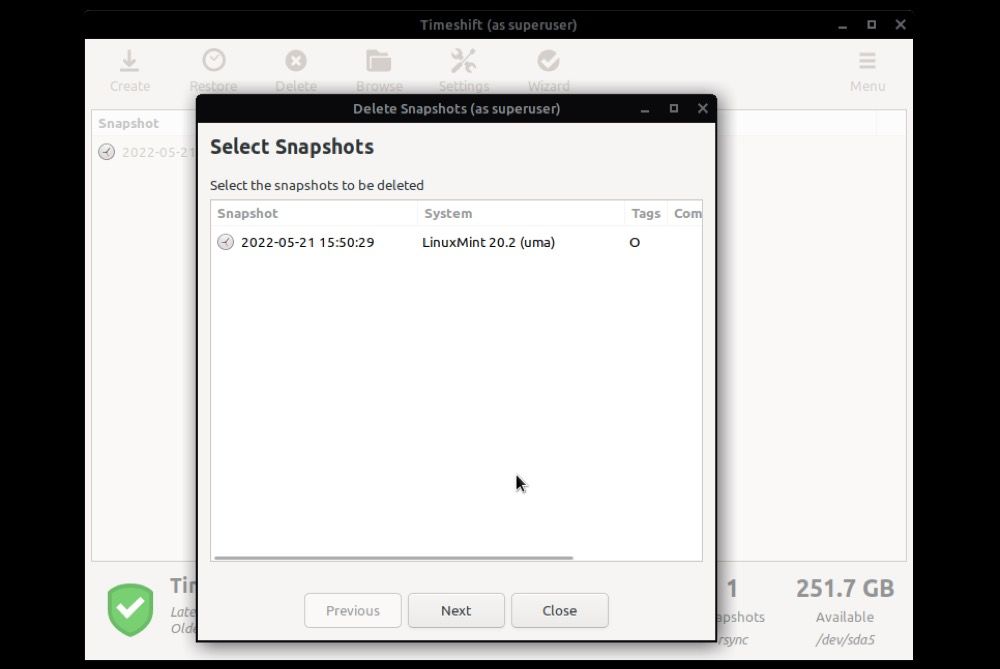
If you happen to store a lot of media and software on your local machine and, for some reason, you're also saving snapshots on the same disk, then you might want to delete your older snapshots at some point to free up the disk space.
To do this, hit the Delete tab on the Timeshift main window. Then, select the snapshot you want to delete and press the Delete button.
No More Linux System Failures With Timeshift
A system restore utility is a must-have app on your Linux machine, especially if you like customizing your system and need to tinker around with its various system files and configurations quite often.
As such, ensuring that the tool takes proper snapshots automatically is also essential. We hope this guide helps you get started with Timeshift. So you can use it to set up automatic snapshots, such that when you need to restore your system, you can do it fairly easily.
Similarly, another great Linux system backup and restore utility is dd, which takes a complete backup of your system, including everything from system settings to all your documents, files, and even apps.


