
System Restore is a Windows feature that helps you undo the changes causing issues after a bad Windows update, Windows Registry modifications, and buggy driver installation.
Windows creates a restore point automatically when you install a new program, driver, or Windows update. You can also create restore points manually before making changes to your system, like modifying the Windows Registry, etc. Here's how to use system restore on Windows to undo recent changes to your system without deleting your personal files.
Configure System Protection to Use System Restore
System restore is disabled by default on newer Windows computers. So, you'll need to configure and enable system restore before you can use restore points.
You can configure and create restore points on Windows from system protection. If you have multiple storage drives and want to create restore points for them, you'll need to enable system protection for the storage drives separately.
Another important aspect of restore points is storage space allocation. Windows, by default, allocates 20% of storage drive space to save restore points. However, you can increase or decrease the space allocation depending on how many restore points you want to save at a time.
How to Use System Restore on Windows
You can use system restore to undo unwanted changes by reverting your computer to a previous point in time. System restore does not affect your personal files. However, any recently installed program and driver after the restore point was created will be uninstalled.
To perform a system restore on Windows:
- Press the Win key and type system restore.
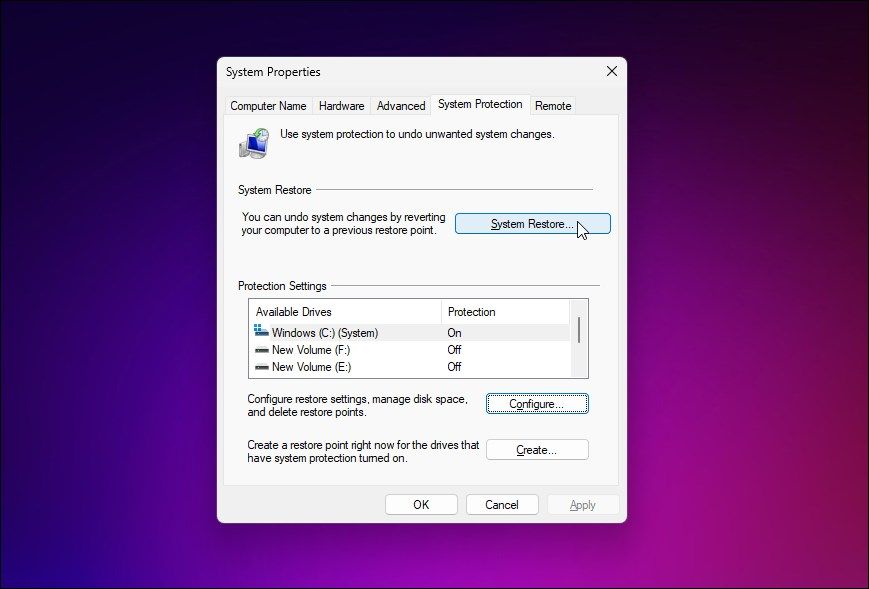
- Click on Create a restore point to open the System Properties dialog.
- Open the System Protection.
-
Next, click on System Restore.
- Alternatively, press Win + R to open Run, type rstrui.exe, and click OK to open System Restore.
- Click Next.
-
Now you need to select a restore point to perform a system restore. Depending on how you have configured System Restore, you may see multiple restore points or just one.
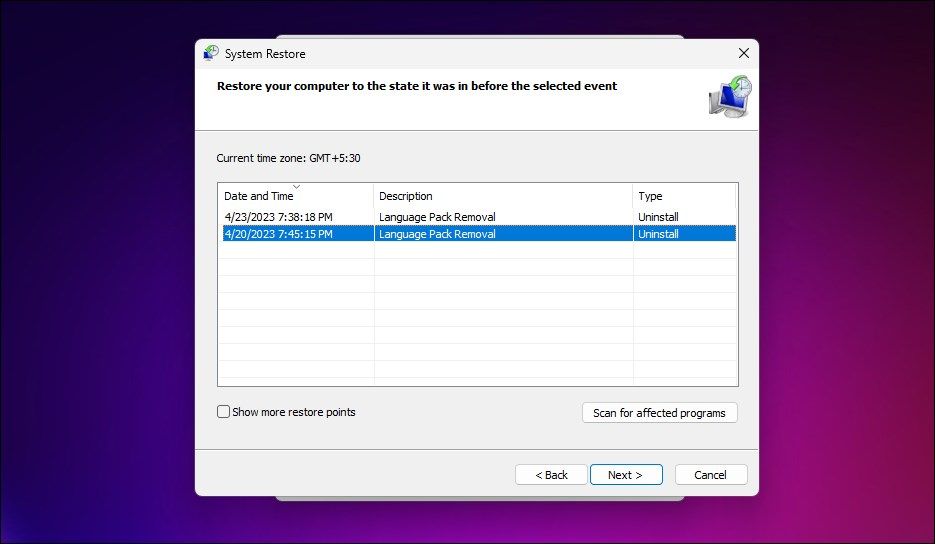
- By default, you'll only see the most recent restore points. Click Show more restore points to view all the available restore points.
-
Select a restore point and click on Scan for affected programs to view the programs and drivers that will be uninstalled and reinstalled if you proceed with the selected restore point. Click Close.
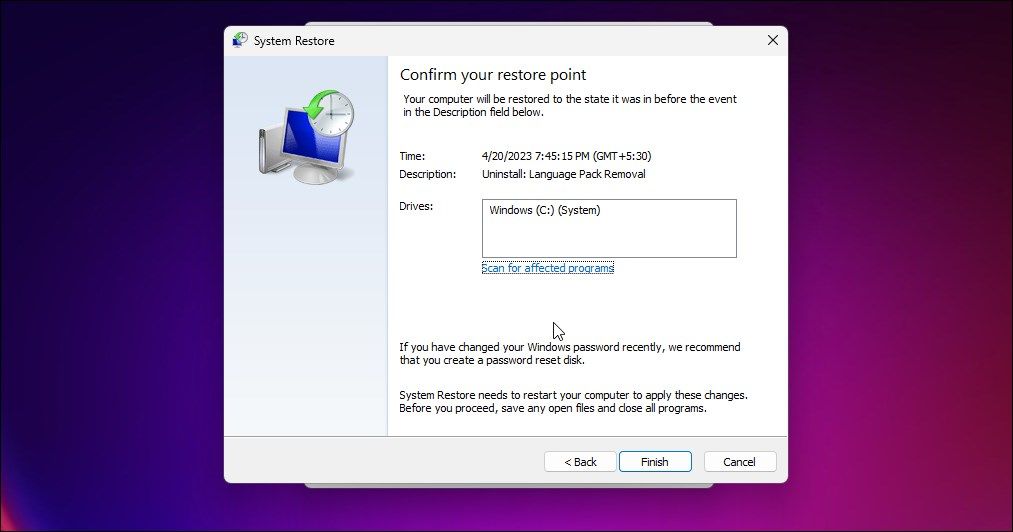
- Make sure the correct restore point is selected and click Next.
- In the confirmation dialog, read the description. Make sure to save any open files and close other open programs.
- Click Finish to initiate the restore process. Your computer will restart to apply the changes. So, wait for the computer to restart. If the restore is successful, you'll see a success message.


Some Handy Tips for System Restore
If System Restore fails, you can retry with the same or a different restore point. If the issue persists, run it from safe mode and check for other issues preventing system restore from working on Windows.
Note that Windows automatically deletes older restore points to make space for new restore points. So, the number of restore points depends on the maximum space allocated for system protection.
Alternatively, you can also manually delete restore points on Windows to recover some storage space on your computer. If you don't want to create restore points anymore, you can disable system restore in system protection settings. However, doing so will also wipe out all of your existing restore points.
Use Restore Points to Undo Critical System Changes on Windows
System restore is an excellent Windows system recovery solution to undo unintended changes caused due to Windows updates, driver or program installation, and user modifications.
After the system restoration is complete, you may find a few partially removed programs with their shortcuts and other files intact. You'll need to remove them from Control Panel or the Settings app to remove them completely.