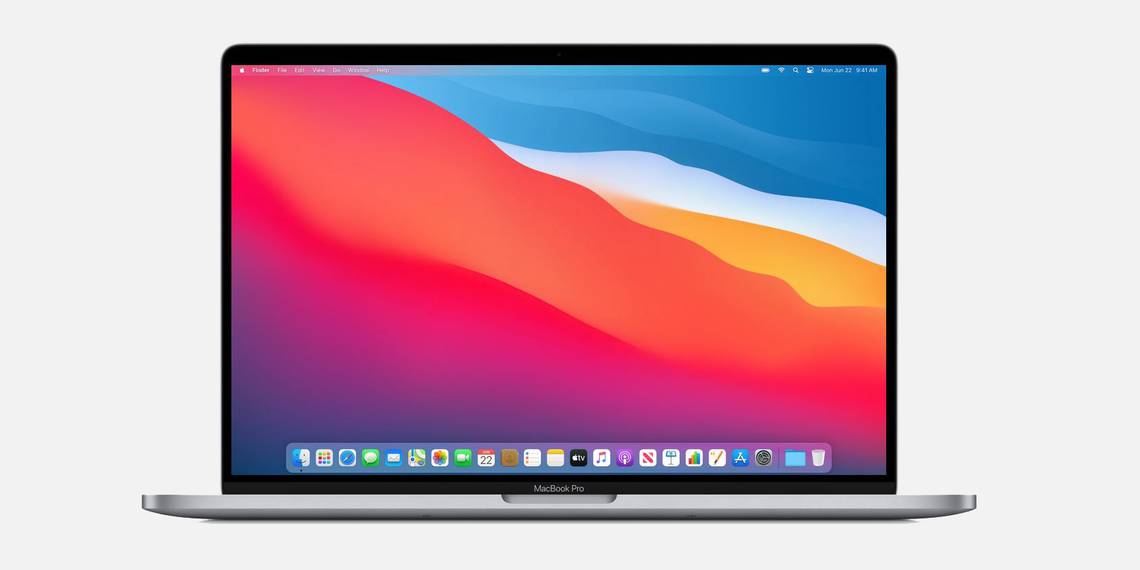
Roughly once a year, Apple releases a new version of macOS. The last major update brought us macOS version 11, better known as Big Sur. This is a major step forward in terms of the user interface, with a new rounded look to windows and more color throughout.
If your Mac is still running on macOS Catalina or an older version of Apple's operating system and you want to upgrade to the newest version, read on to find out whether your Macintosh is ready for it and how to do it.
How to Know That Your Mac Is Compatible With Big Sur
Not every Mac can be upgraded to the newest macOS version. If your computer is not compatible with macOS Big Sur, you can keep using it with the current macOS version. The only other option if you want Big Sur is to buy a newer Mac.
Here’s a list of the Mac models that can handle Big Sur:
- Mac mini (2014 and newer)
- MacBook (2015 and newer)
- MacBook Air (2013 and newer)
- MacBook Pro (late 2013 and newer)
- Mac Pro (2013 and newer)
- iMac (2014 and newer)
- iMac Pro (2017 and newer)
If you’re unsure which Mac model you have, use the top-screen menu to find that out. Click on the Apple icon on the top left-hand corner and head to About This Mac. In the new window, you’ll see the exact model of your Mac, its year, and the version of the operating system that you are currently running.

What Should You Do Before Upgrading to macOS Big Sur
It’s best not to upgrade to the newest macOS operating system right away. Here are some things that you should consider before doing this to ensure a smooth and trouble-free transition:
- Clean out the gunk. You may have gathered plenty of unnecessary files on your Mac that you’ve already forgotten about. It is best to delete those files before moving to the next step.
- Run Disk Utility’s First Aid tool. This tool’s main job is to check disks for errors. Simply launch the Disk Utility app, click First Aid, and set back your Mac for a couple of minutes to let the app check for any errors and fix them.
- Back up your Mac. There’s no harm in being safe and backing up your files before getting the update. The easiest way to do this is by using Time Machine and an external hard drive. If anything goes not as planned during the update, you’ll have a chance to restore everything from the external drive.

What Can Go Wrong During the Update
Absolutely anything can happen when upgrading to the new Mac operation system. One of the most common errors that may occur is when the installation process stops halfway through. Usually, the main reason for this is a poor internet connection. Therefore, you want to make sure you have a stable internet connection before you start.
If your update does freeze, you should restart your Mac in Safe Mode—turn it off, wait at least 10 seconds, turn your device on while holding the Shift key and try to install the upgrade once again.
If you have an older Mac model, your screen may freeze after the installation process. You can fix this issue also by restarting the device in Safe Mode.
How to Upgrade macOS to Big Sur
Usually, you will be notified immediately after the release of the new Mac operating system. If you see such a popup window, simply click on Install Now, and your device will take care of everything else.
If you don’t want to wait for that popup window, you can check for an available update by yourself. To do this, head to System Preferences > Software Update and click Upgrade Now.

Another way to start the installation process is to go to the official Big Sur page and download it from there.
It may take some time to download the upgrade since the macOS Big Sur is slightly over 12 GB. As soon as it is downloaded, your Mac will automatically launch the installer. You’ll need to follow the instructions and after it is installed, go through some screens such as signing into the iCloud account.
You should be aware that overall it takes about 30 minutes or even more to complete the upgrade, so make sure that you have the time for it.
How to Clean Install macOS Big Sur
Even if you intend to erase everything from your Mac and install the new operating system on a clean device, it is still best to have a backup version of your data.
Here’s how to start with a clean slate with your Mac and Big Sur:
Download macOS Big Sur either from the official website or the App Store. When the download is finished, instead of clicking Continue, close the window and head to Finder.
Check if the Install macOS Big Sur app is in the Applications folder. Then connect a USB drive with at least 12 GB of space and open Disk Utility. Click on the USB drive and then Erase. Name the drive anything you like–Untitled, for example–and format it as macOS Journaled.

Then head to the Terminal app and copy-paste the following command, replacing Untitled with the name of your drive:
sudo /Applications/Install\ macOS\ Big\ Sur.app/Contents/Resources/createinstallmedia --volume /Volumes/Untitled
Press Return on the keyboard. Your device will ask you to enter the administrator password. After you do this, press Return again. Then hit Y when asked and Return once again. The Terminal will let you know when everything is ready.
Quit Terminal and turn off your Mac while holding Command + R. Head to Disk Utility and erase the main startup drive. Connect your bootable USB drive and go back to the Disk Utility and click Install macOS.
Enjoy the Features that macOS Big Sur Brings
With the Big Sur operating system, you’ll get a complete makeover of your screen’s design. Some of the specific tweaks include a floating Dock, curvature of window corners, renewed control center, widgets, and many more. Upgrade to the newest macOS to check it out for yourself.