Ableton recently released Live 11.1, an incremental but important upgrade to its multi-function Digital Audio Workstation (DAW). The most significant new feature is native Apple M1 silicon support, but several other features and upgrades will benefit every Live user.
Unusually, the 11.1 upgrade is not an automatic upgrade you can perform through the Live software GUI. Here's how you can get the latest version and every option for installing it.
Before You Start
While Ableton Live 11.1 is stable, it's always a bit of a hassle to upgrade to the latest software release. Luckily, you can install multiple versions of Live on one computer without conflicts. If you want to upgrade but retain an older version of Live, you can follow the instructions provided by Ableton.
How to Download the Ableton Live 11.1 Update
The Live 11.1 update must be carried out manually, even if you have Automatic Updates selected in the Preferences menu.
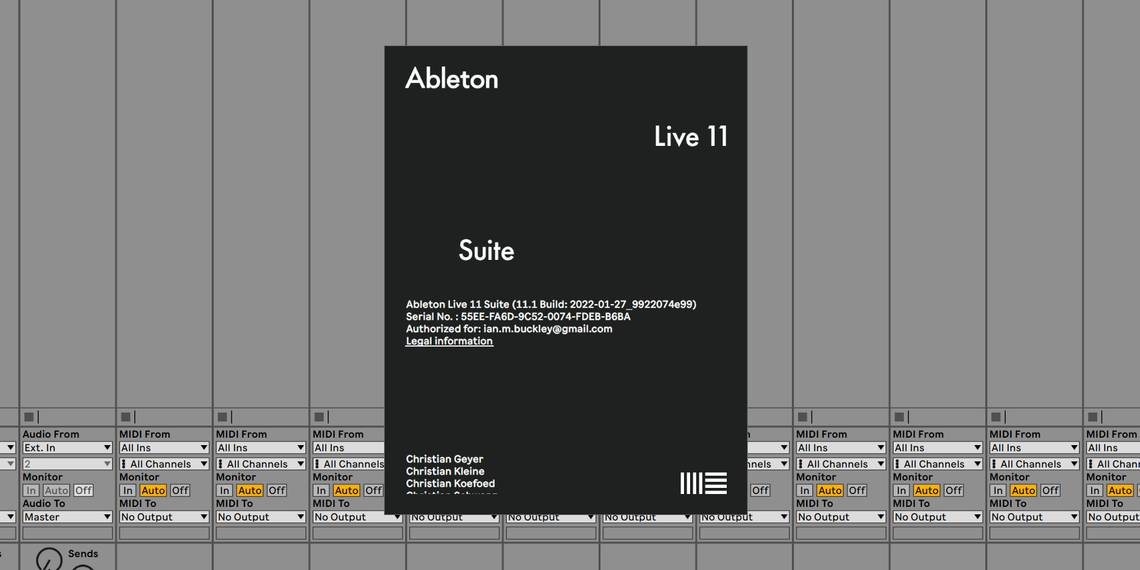
To get the installer, log in to the Ableton website. You'll land on the Licenses & Packs section of your account. The drop-down menus show versions of Live you own and options for upgrades. Make sure the Version number reads 11.1, and use the drop-down to download the latest version for Windows, macOS Universal, or macOS Intel-only.

If you are a Mac user and aren't sure what to pick, you probably want the macOS Universal build. An exception is computers running macOS 10.13 High Sierra, which requires Intel-only. Check About This Mac in the Apple menu if you're uncertain about your macOS version.
Once you've selected the correct build, click Download.
How to Install the Ableton Live 11.1 Update on Windows
Once you've got the download, the next steps depend on your operating system. On Windows, extract the zip file and open the newly created folder.

Next, open Ableton Live 11 Suite Installer.exe and follow the installation steps. You'll need to select Yes when the Windows User Account Control menu comes up asking "Do you want to allow the following program to make changes to this computer?".
After the user agreement, you need to decide if you want to do a straight upgrade or install 11.1 separately. To overwrite your current Live install, click Replace. If you want to install Live 11.1 as a separate version to your current install, select Install Other. Once you've selected your option, click Install.

How to Install the Ableton Live 11.1 Update on Mac
For macOS users, the installation process is simpler. To install the new update alongside your current installation, rename Live in your Applications folder first. Download the .dmg file and double-click it to open the installer window. Drag the file onto your Applications folder.
-0-41-screenshot.png?q=50&fit=crop&w=1500&dpr=1.5)
That's it! If you're an M1 user, it's time to enjoy native support for your hardware. If not, there are still plenty of great features in the 11.1 update.
Get the Ableton Live Update for Some Cool New Features
Live 11.1 might seem like a marginal upgrade if you don't have a new Mac, but there's a lot to love here.
While there are free mac DAWs out there and a good handful for Windows too, there's a reason why so many Ableton Live users have been committed to the software for so many years. The new navigation keyboard shortcuts are intuitive, and if you're already a shortcut lover, they'll make your experience even better.