
Shared folders make it really quick to share files or folders on a go. You just need to set up network sharing on your computer, and you're good to go.
However, sometimes you may encounter problems while accessing a shared folder. For example, you may face a permissions issue or see an indefinite waiting time after clicking on a shared folder.
If you're experiencing such sharing issues, don't give up. Keep reading to learn about several fixes you can try to get your shared folder up and running again.
1. Check Your Internet Connection
The first thing you should do is make sure your internet connection is working properly. If your internet connection is too slow, you might not be able to open the shared folder.
To check your internet connection, you can visit a website to test your internet speed or try to access other websites or online services. If you can't connect to the internet, you'll need to troubleshoot your internet connection before you can consider other possible solutions.
Note that shared folders only work on a network, which means all the computers must be connected via the same local area network (LAN), such as Wi-Fi or an Ethernet cable. If you're connected to a different network, shared folders will not work.
If all your devices are on the same network, check if your Wi-Fi router is functioning properly or experiencing issues.
2. Ask the Owner to Change the Permissions
While setting up a shared folder, Windows allows you to set custom permissions, such as allowing or denying full control, read and write permissions, etc.
If you're unable to access a shared folder that someone else owns, it's possible that you may not have permission to access the folder. So, ask the owner to modify the permissions for the folder and grant you read/write access.
If you're the owner, follow these steps to change the permissions of a shared folder on Windows:
- Press Win + E to open Windows File Explorer.
-
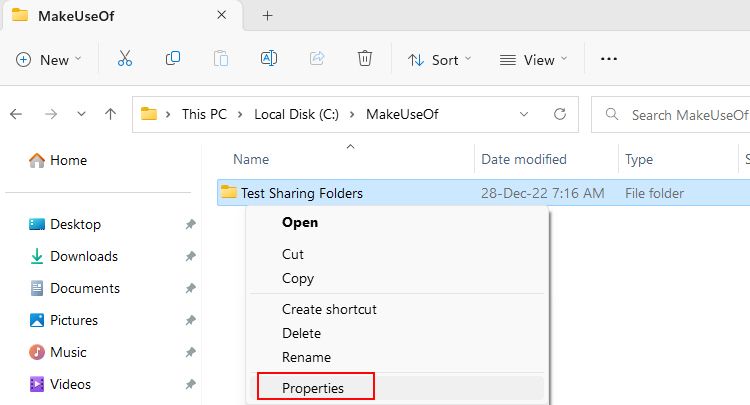
Right-click on the shared folder or drive that you're trying to share and click Properties on the context menu.
-
In the Properties window, click on Sharing > Advanced Sharing.
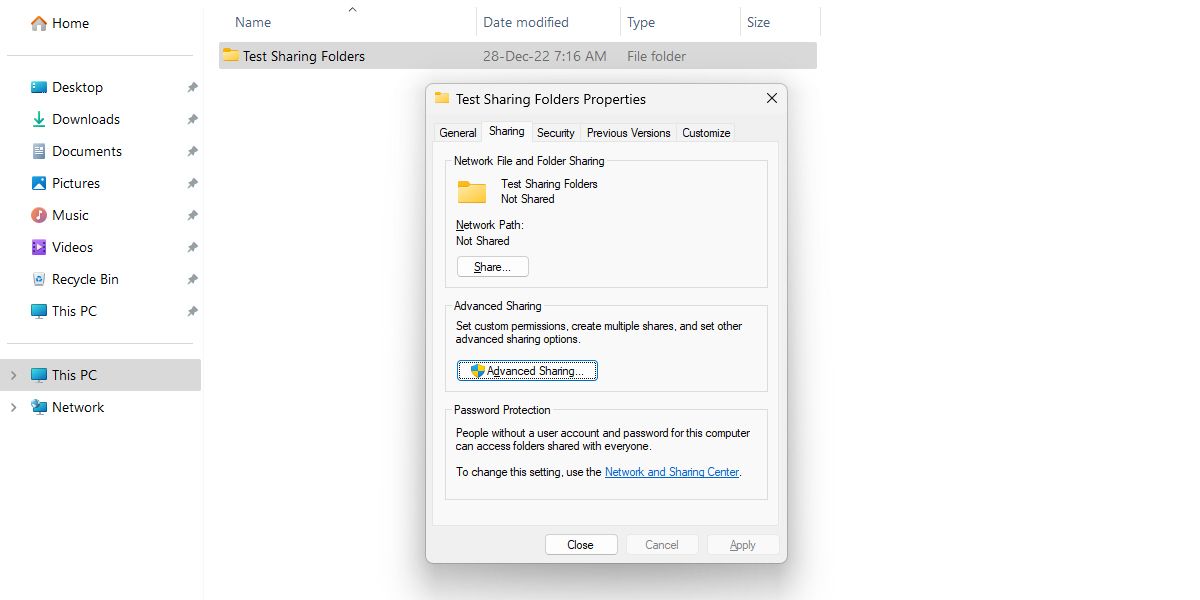
- Click Permissions to edit all the sharing permissions. If you have not allowed Everyone to access the files, make sure to click Add... and add the user manually.
- Edit the permissions as needed, and then click OK to apply the changes.


By giving your friend or teammate the right access permissions, they should now be able to easily access the files. However, if the problem persists, move on to some advanced troubleshooting steps.
3. Restart the Networking Services
Another possibility for shared folder-related errors is a misconfigured networking service on your computer.
Networking services manage all the network connections and communication on your computer. You can try restarting the networking services to regain access to the shared folder.
Follow this step-by-step guide to restart the networking services:
-
Press Win + Q and type Services. Alternatively, there are many other ways to open the Services app on Windows.
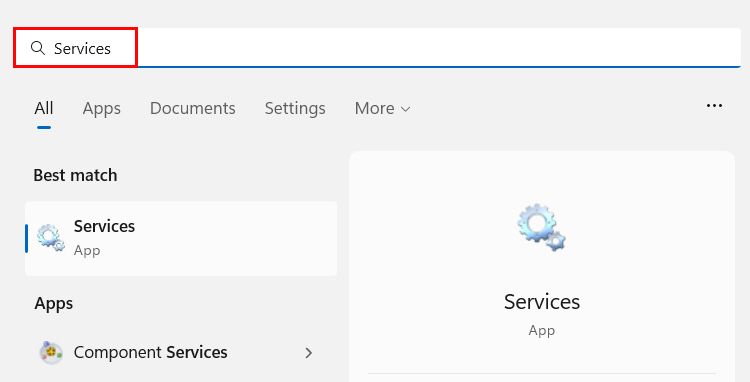
- Choose Open to launch the Services app.
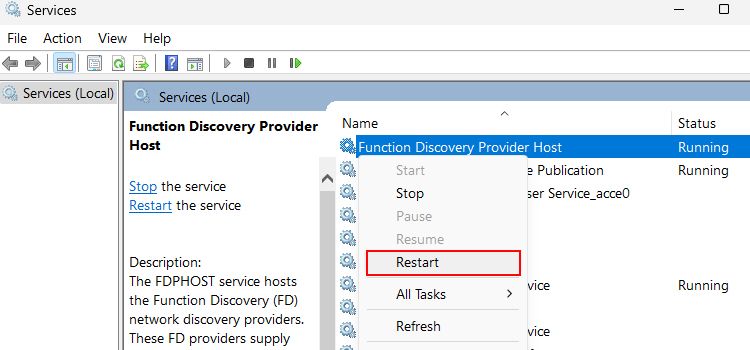
- Find the Function Discovery Provider Host service and right-click on it.
-
Select Restart from the context menu that appears.
- Repeat the same procedure (right-click and select Restart) with the following services, one by one: Network Connections SSDP Discovery TCP/IP NetBIOS Helper UPnP Device Host


These services are responsible for various networking functions on Windows. Restarting them can help resolve issues that may be causing problems with accessing shared folders.
4. Turn on Network Discovery in Windows Settings
Network discovery on Windows allows other devices on the connected network to discover your computer. If you have disabled this option by mistake, you will not be able to access any shared folders hosted on another computer.
To turn on Network discovery, follow these steps:
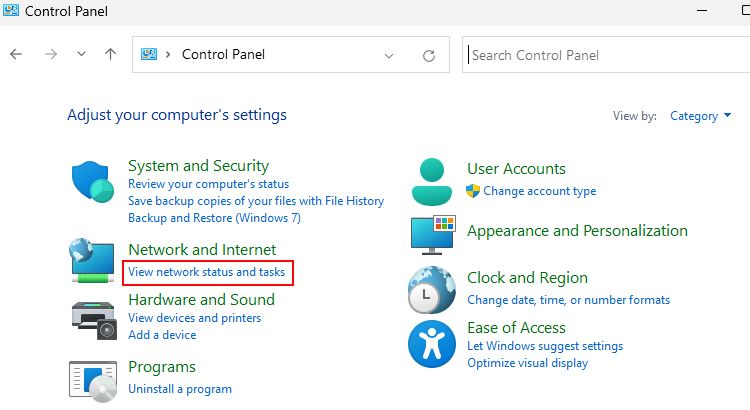
- Type Control Panel in the Windows search bar and select the best match.
-
Click View network status and tasks.
- On the left-hand pane, click Change advanced sharing settings.
-
Under Private networks, turn On the Network discovery option.
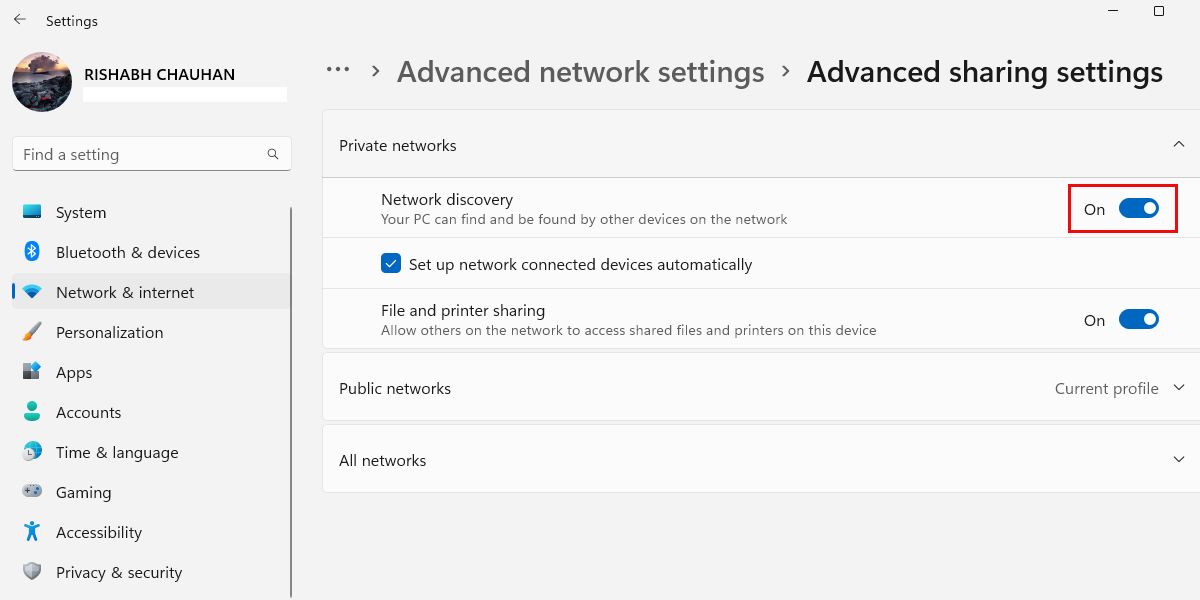
- Turn On the File and printer sharing option as well.


If you want to disable login abilities for accessing the shared folder, toggle Password protected sharing to Off.
Once you change these settings, you should have no trouble getting access to shared folders.
5. Check the Windows Firewall Settings
If you're still unable to access the shared folder, you may need to check your firewall settings. Understand a firewall as a wall between your computer and the internet or other networks that helps prevent unauthorized access to your system.
Sometimes, a firewall may block access to the shared folder. For example, if the firewall is set to block all incoming traffic, it will prevent other computers on the network or the internet from accessing your shared folders.
Here's how you can fix all the firewall issues on your computer:
- Open the Windows start menu and type Firewall & network protection.
- Select the best match and press Enter.
-
Click Public network.
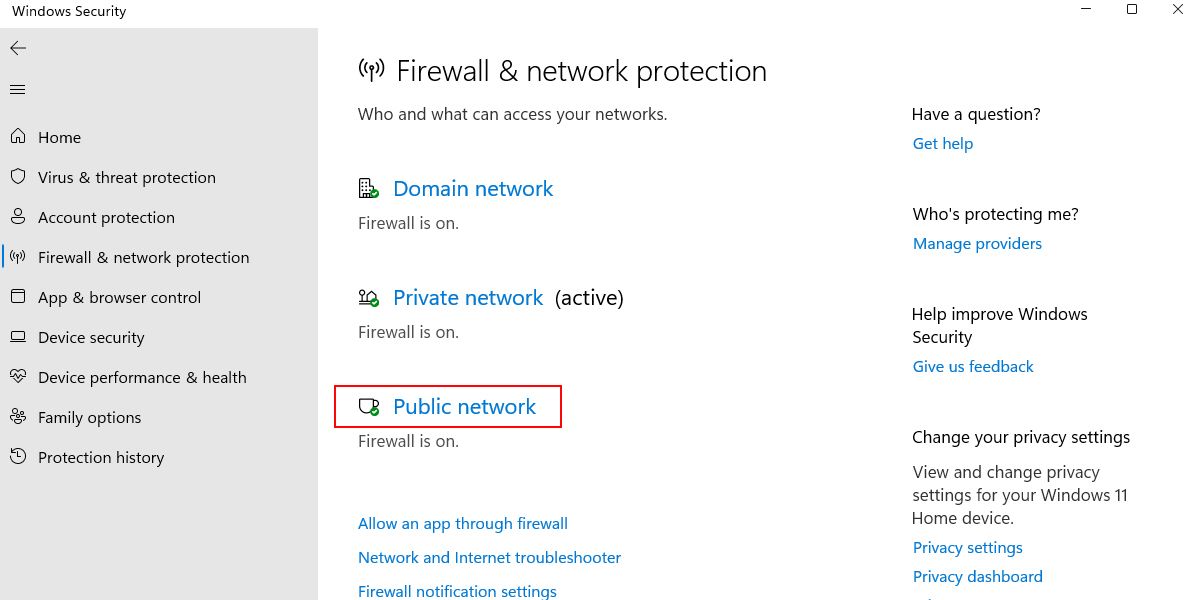
- Uncheck or disable the option saying Block all incoming connections.
- Perform the same step with Domain network and Private network as well.
- Restart your PC to make sure the firewall is not blocking any Internet connections now.

This will allow all incoming connections, or, in other words, solve your sharing folder issue on Windows.
6. Reset the Network Settings
If none of the above solutions work, you may need to reset your network settings. Resetting the network settings will restore all the network-related settings to their factory defaults, which should allow you to connect to your network again.
Before moving forward, we recommend creating a restore point on Windows to stay on the safe side. A restore point will help you revert any changes made to your computer.
Here's how to reset the network settings on Windows:
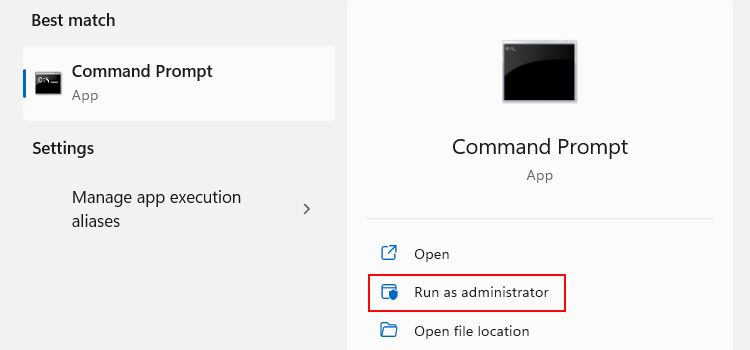
- Open the Windows search bar by pressing Win + Q and typing Command Prompt.
-
Select the best match, and from the right-side menu, click Run as administrator.
-
In the Command Prompt window, type the netsh int ip reset command without the double quotes.

- Press Enter to execute the command. This will reset your network settings.


This command is helpful in solving many common networking issues, such as when your computer fails to connect to a network or when the internet connection is not stable. So, the next time you face a network-related error, you now have a handy command for troubleshooting.
Troubleshooting Shared Folders on Windows
Hopefully, you have fixed the shared folder access problems by now. If not, it's possible there is a deeper issue with your network or the configuration of your server. In such cases, it's best to seek help from a technical support professional.