Having to do presentations during virtual meetings or classes can get tiring. Not to mention that presenting the same information repeatedly to different audiences can lead to "Zoom fatigue."
Furthermore, this repetitive action isn't a particularly smart use of your time. One solution to this is to simply record your presentation—and then have a question and answer section afterward. You can even send the recording to the concerned, let them consume it at their own time, and then set a meeting for discussion.
But how do you record your presentation?
Tools You Need to Record Your Presentation
If you're going to present—whether live or recorded—you would need a decent webcam and microphone combo. Most laptops have this built-in, but if you're using a desktop computer (or your device doesn't have these) and don't want to purchase new gadgets, you can use your smartphone instead.
Once you have these tools handy, you can use the following methods to record your presentation.
1. Record Your Presentation Using Microsoft Powerpoint
Despite being a paid application, Microsoft Powerpoint is still one of the most commonly used software for making presentations. As long as you're running version 2010 or above, you would have the record functionality available.
On the Ribbon, select Slide Show > Record Slide Show. You also have the option to select where you want to start recording your presentation by choosing either Record from Current Slide or Record from Beginning in the dropdown menu.
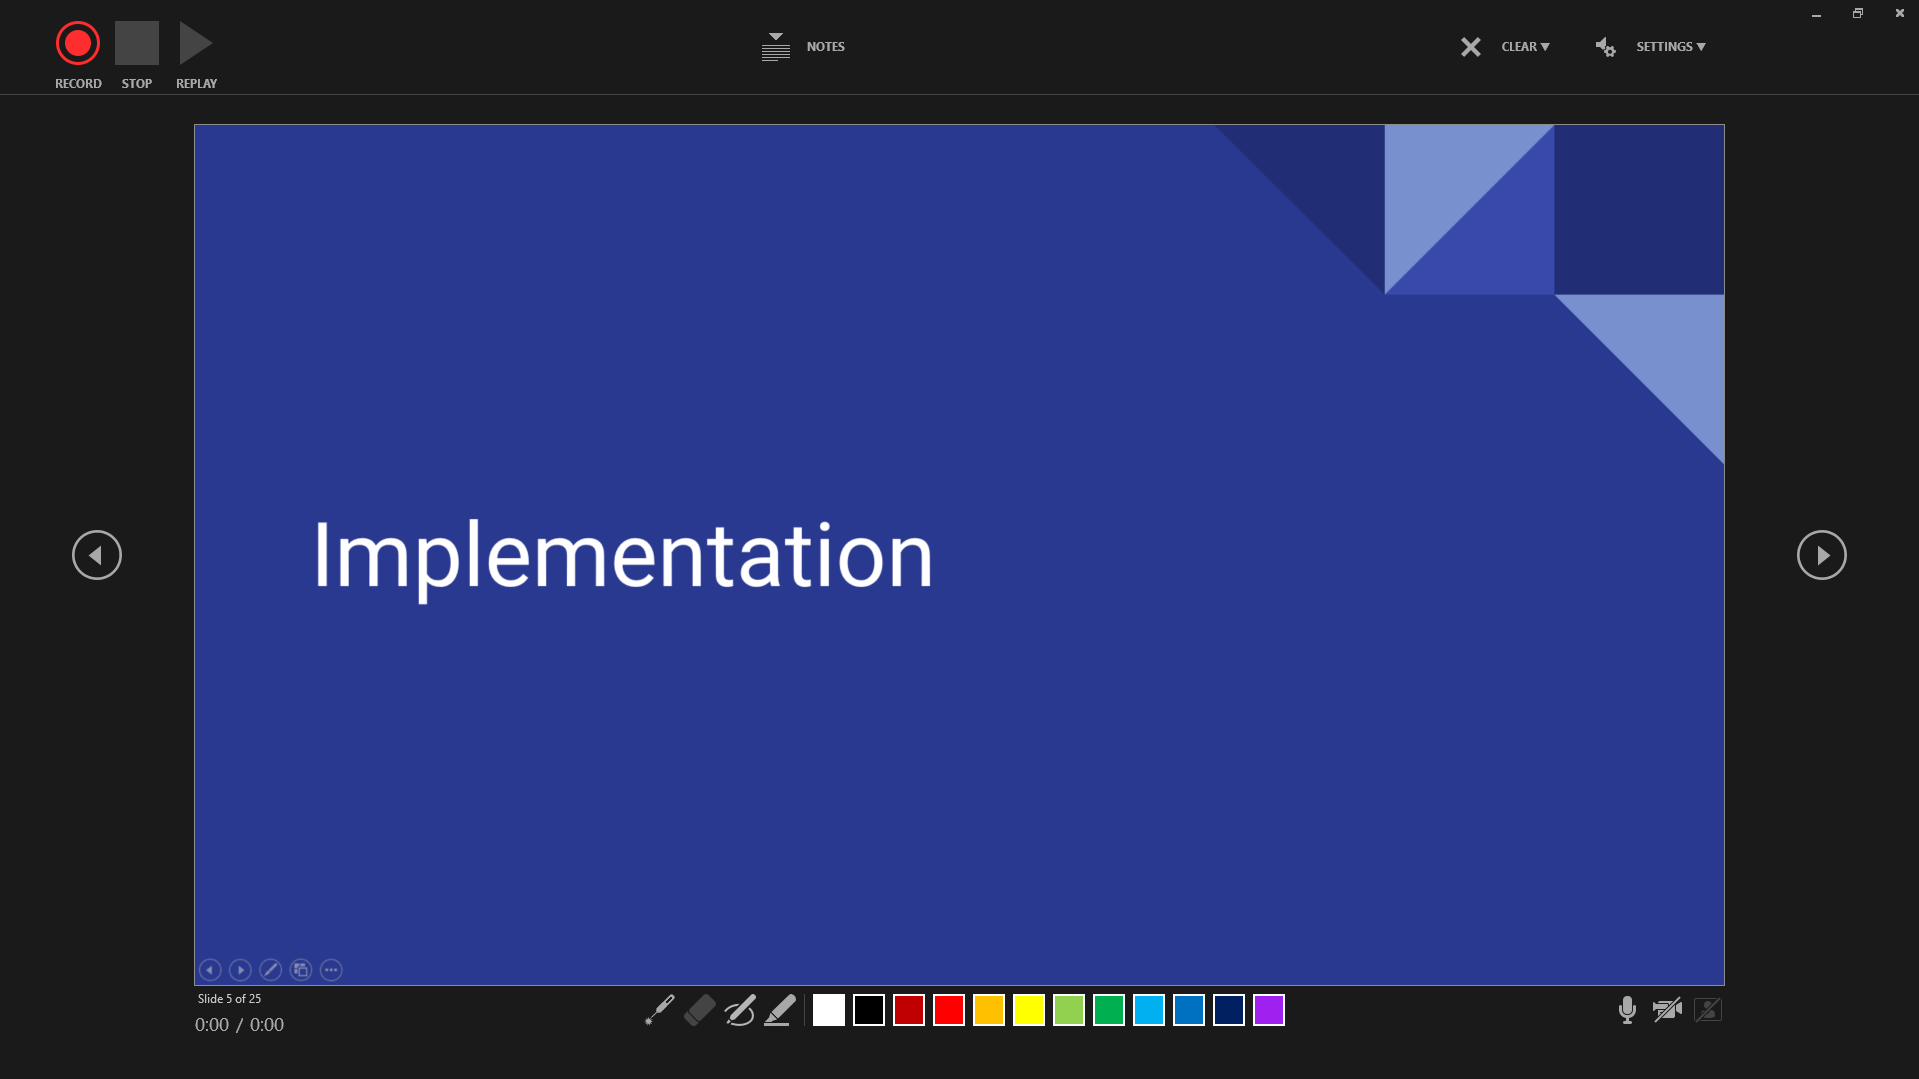
When you press this button, you will be transferred to the recording view, as seen below:
Here, you can see the Record, Stop, and Replay buttons at the top row. Choosing the Notes button will show a semi-transparent overlay of slide notes, if any. The Clear menu lets you remove recordings from the current slide or all slides, while the Settings menu lets you choose which camera and microphone you want to use.
The bottom row shows the Laser Pointer, Eraser, Pen, and Highlighter, plus color options for the latter two features. You can also find the Mute, Camera, and Camera Preview switch here.
The camera view will appear on the lower right corner of the screen as soon as you activate it. Just hit the record button, and you're now recording your screen, your voice, and your camera. Once done, go to File, then select either Save or Export.
And there you have it, your first recorded presentation!
2. Create and Record Your Presentation on Canva
Canva is a pretty nifty tool for everything visually creative—and this is especially true for presentations. The only downside to using this free tool is that you need to have an active internet connection.
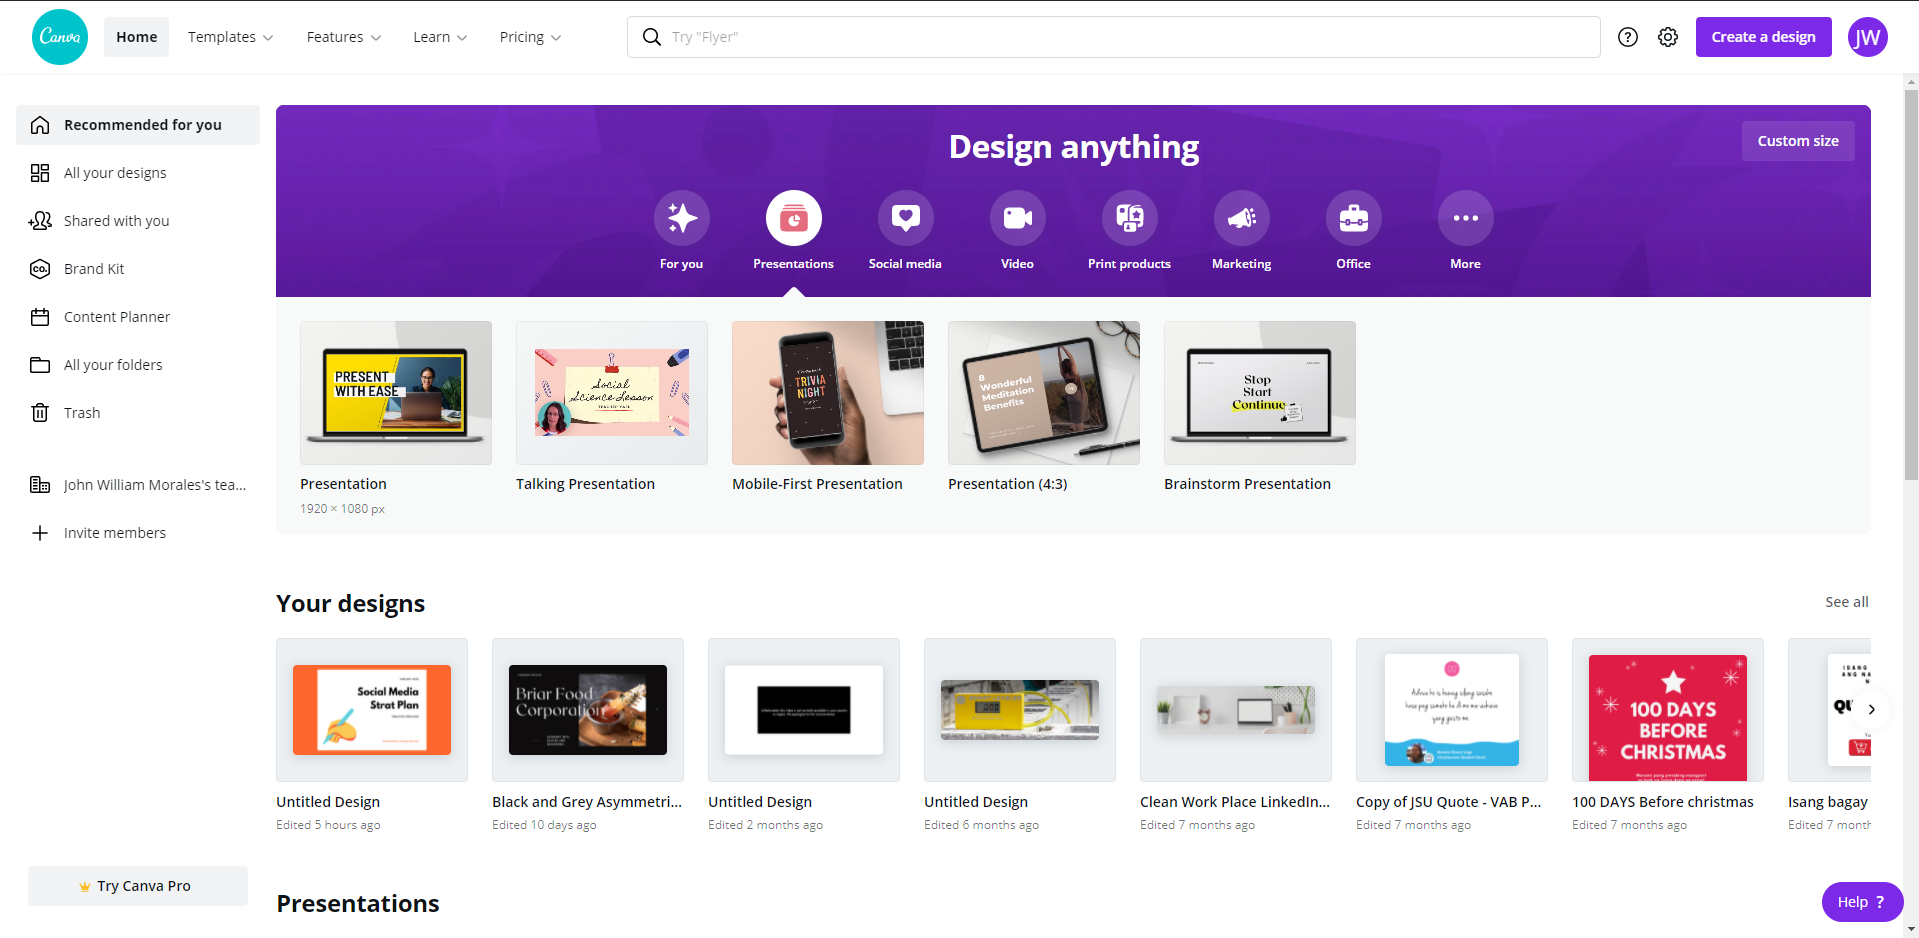
To get started with your presentation, create an account and log in. Once inside the main menu, you can either type "Presentation" in the Search Bar or choose from the available templates.
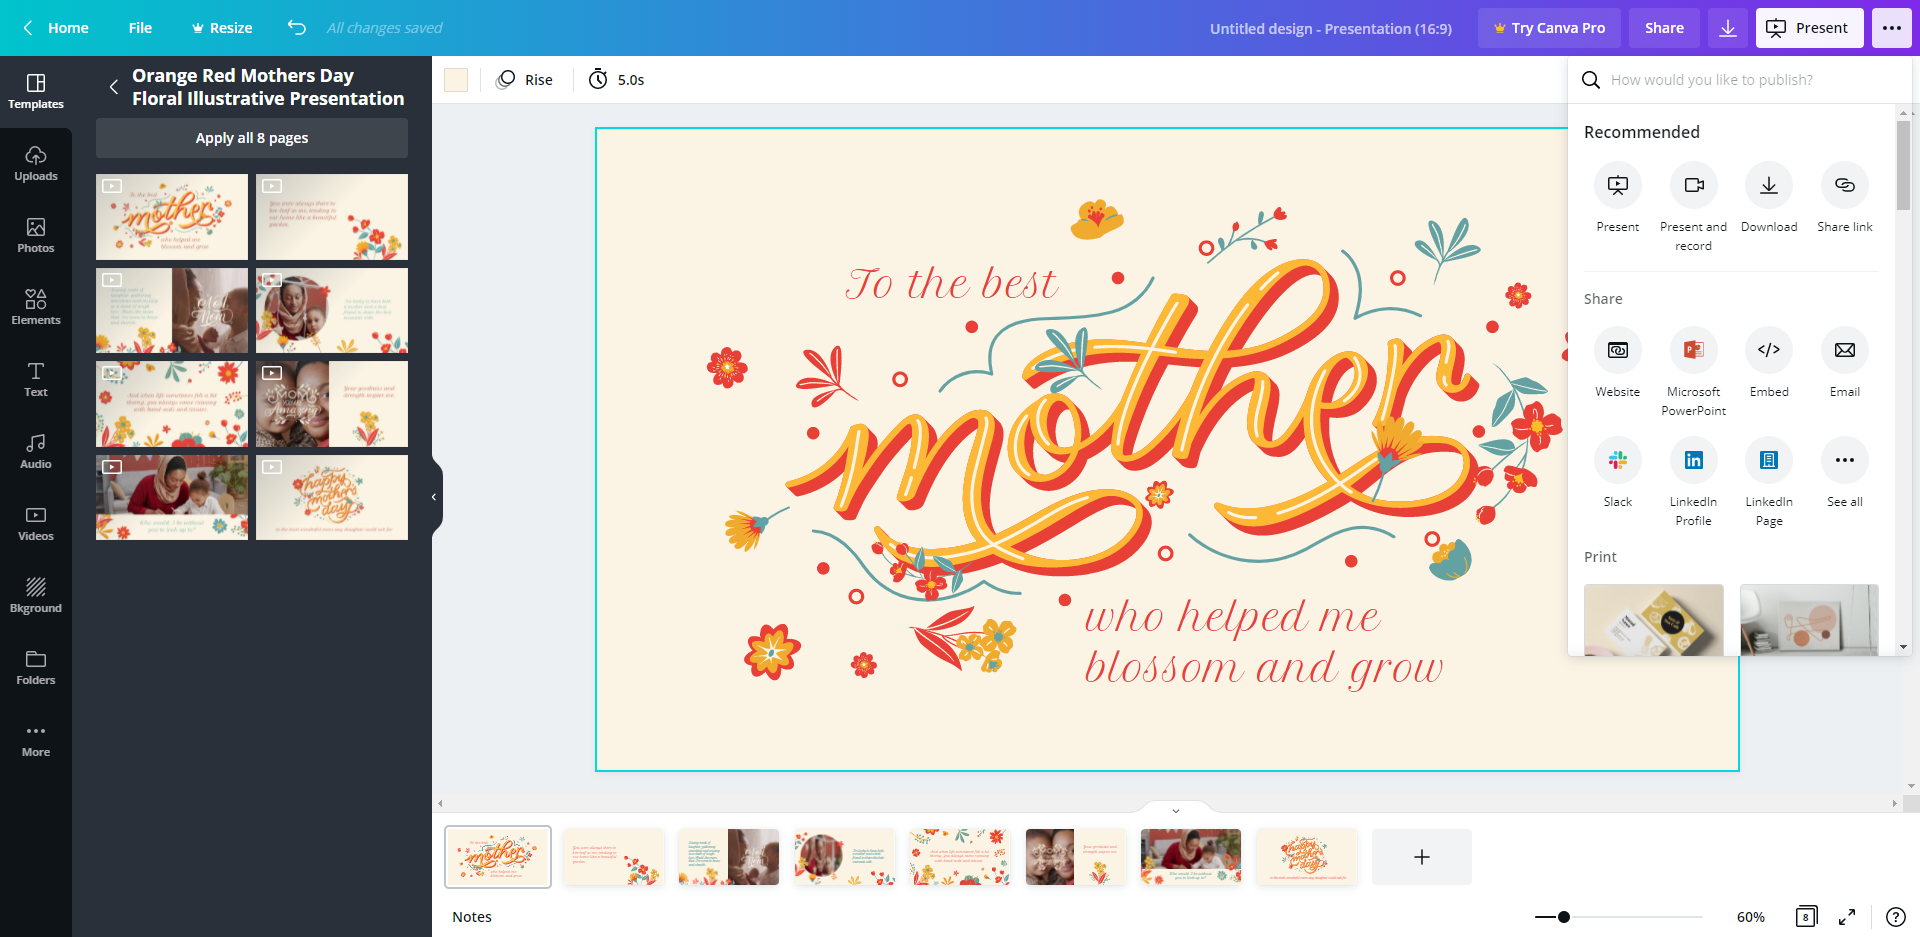
Once you have chosen your preferred template, you'll be transferred to the edit view, where you can start creating your presentation. When you're done and ready to record, click on the upper right menu and choose Present and record. Select Go to recording studio from the menu that appears.
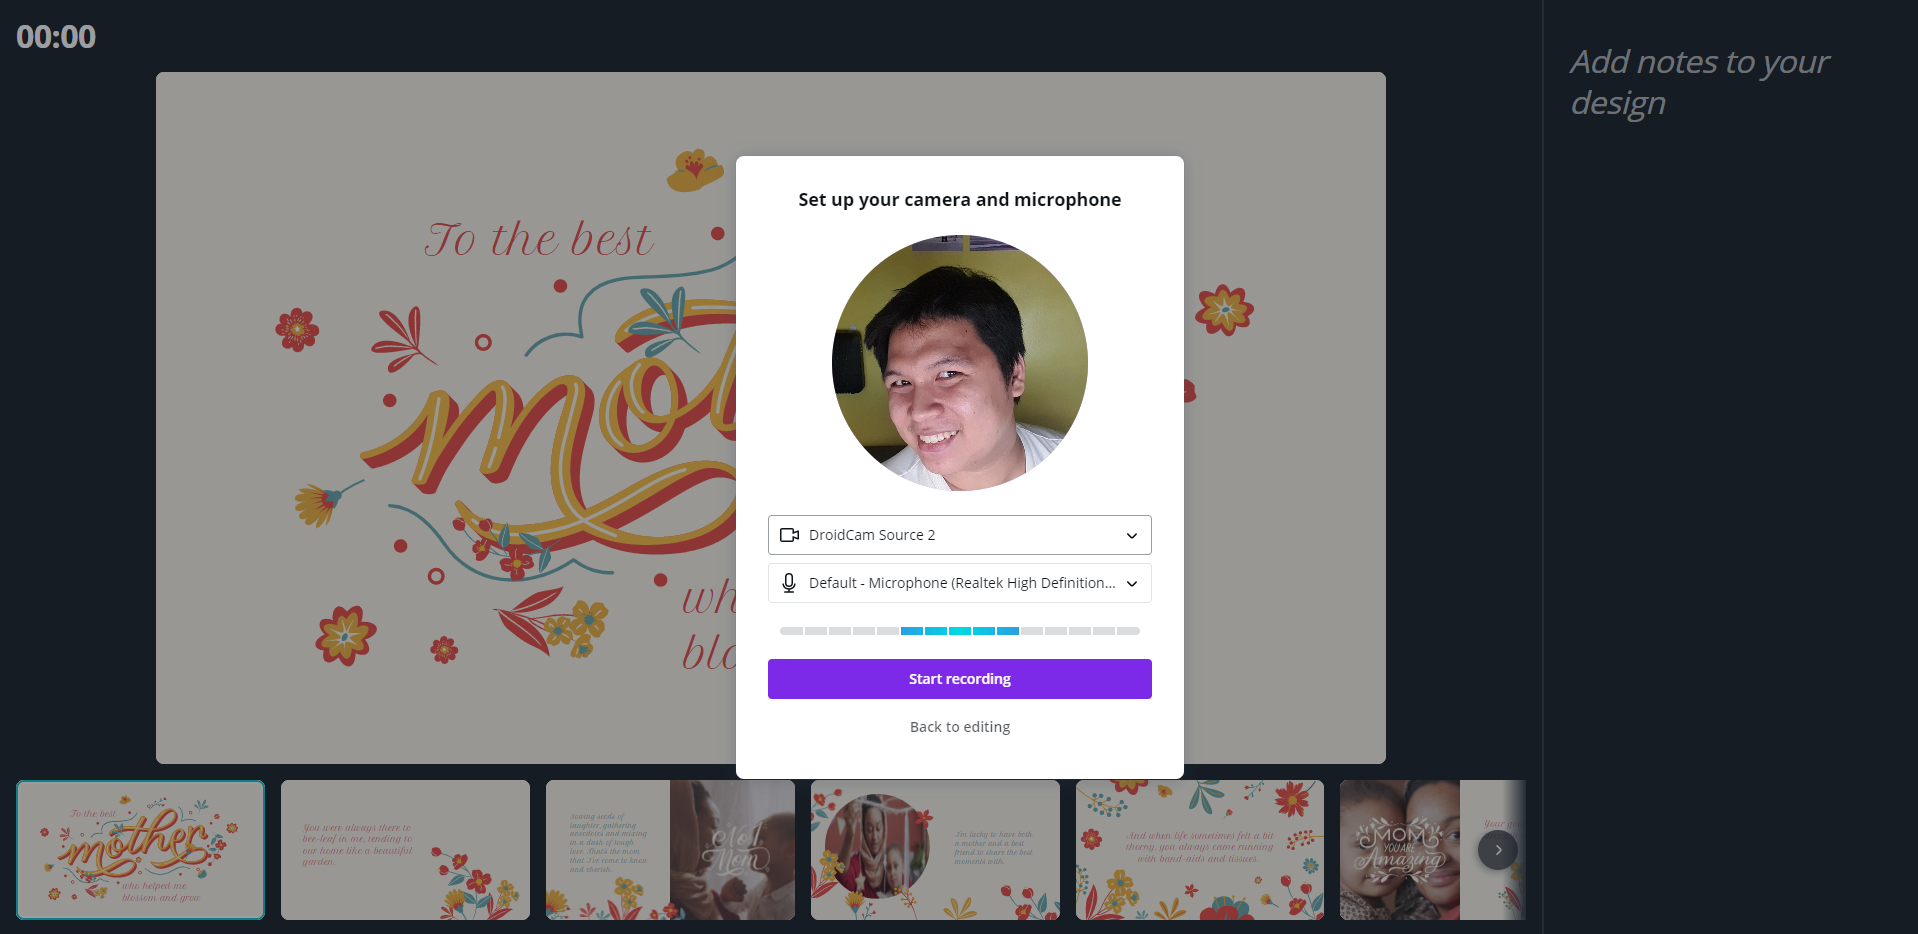
If you're recording for the first time, don't forget to allow Canva access to your webcam and microphone. You should see small windows with a preview of yourself and a blue bar indicating sound levels once Canva is ready. And when you're prepared to record, click on Start Recording, and you're good to go!
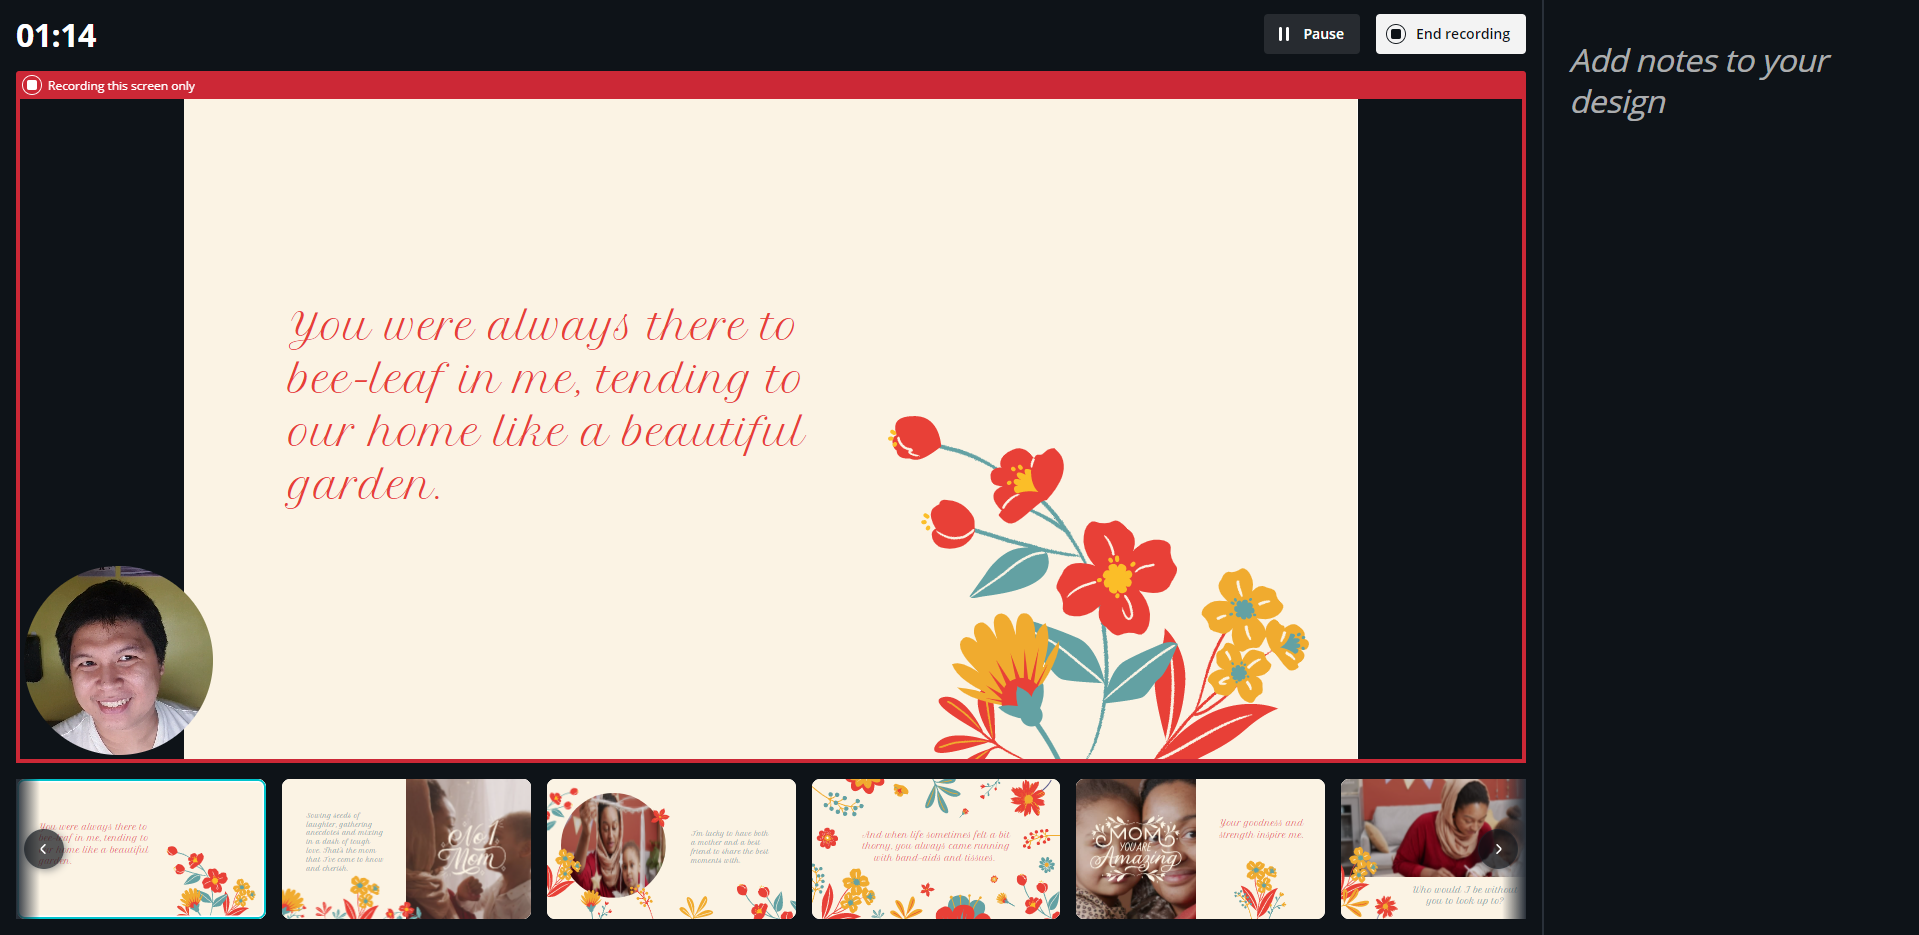
Once recording has begun, you'll be given a recording view where you will see the time elapsed, the Pause and End recording buttons, plus any notes you have for the slide. You will also see the slide sequence below, with the current slide near the middle.
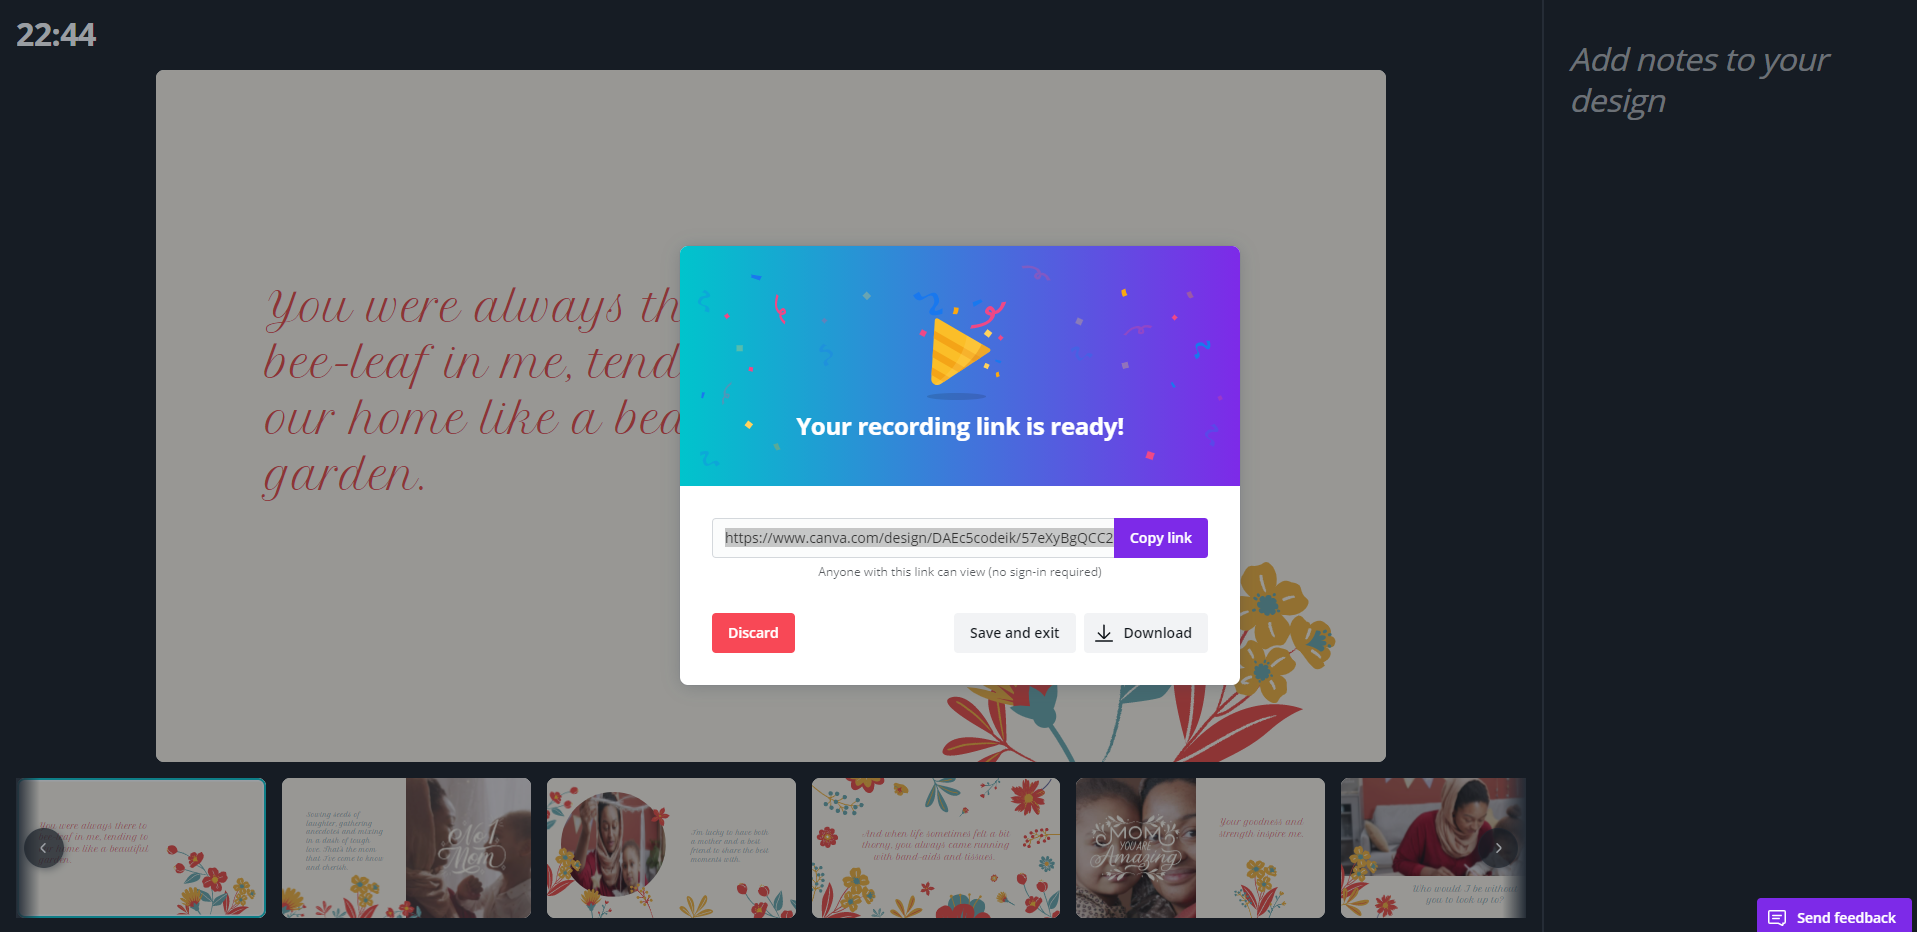
Once you've completed your recording, click on End recording and Canva will automatically process and upload your presentation. As soon as it's available, you will get a window saying your recording link is ready.
Use the Copy link option to send it to your recipients. Select the Download option if you want to have a copy of your video on your computer. You can just Save and exit if you're going to decide later what to do with your presentation. Finally, if you're not happy with the recording, you can choose Discard to delete it.
3. Use Loom to Record Your Google Slides Presentation
Unfortunately, as of the time of writing, Google Slides does not offer a presentation recording function. To do this, you need to use third-party apps like Loom.
You can use Loom for recording your screen in general, not just your presentation. However, the free plan is limited to five-minute recordings only. If you want to record longer presentations, you will have to purchase a subscription.
If it's your first time, create an account on Loom and then download the desktop app you need to record your screen. Once installed, look for the Loom icon in your taskbar service tray, click on it, and then log into your account.
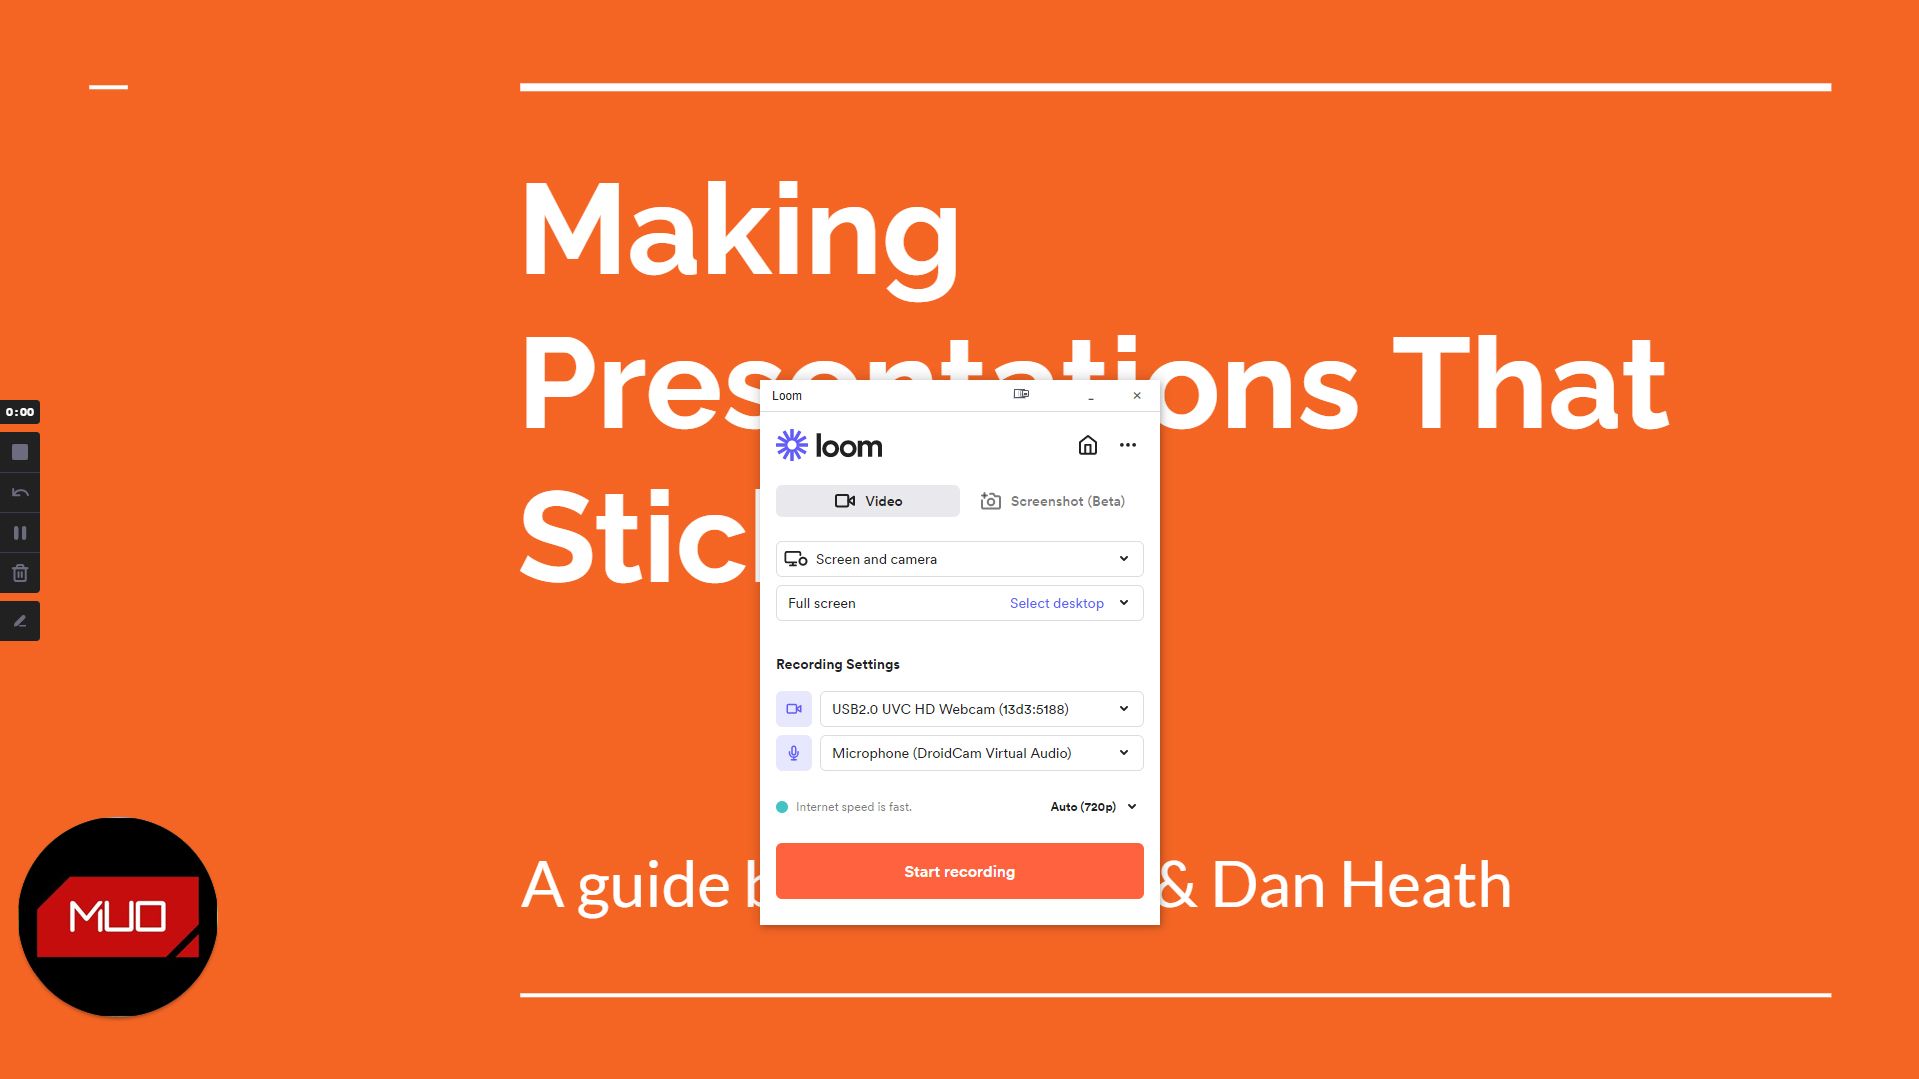
Once logged in, you can record both your Screen and camera, your Screen only, or your Cam only. You also have the choice to record your Full screen, a specific Window (Select app), or a Custom size (Select area) on your screen.
You can also choose which camera and microphone you want to use if you have multiple sources. Be sure to have your presentation ready in the background when launching the Loom app. Once you have made your choices, start recording and you're all set!
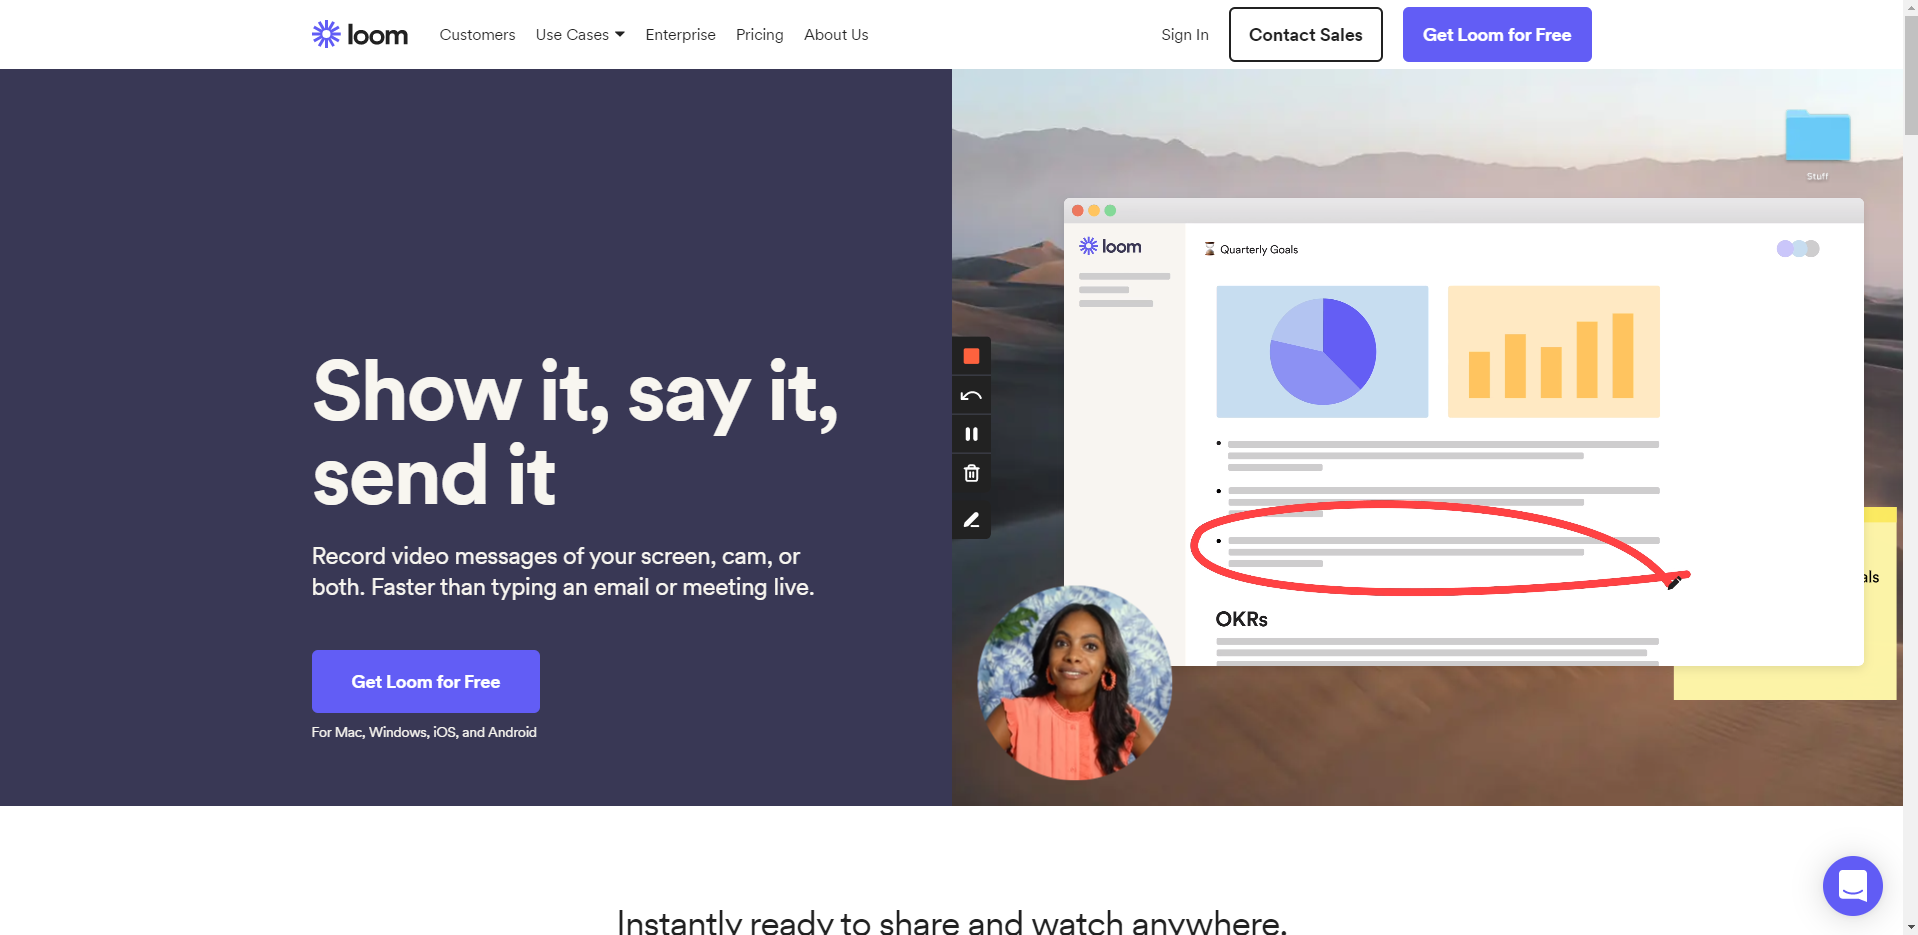
If you look at the right side of the screen, there's a small control panel where you can choose to Stop, Restart, Pause, or Cancel the recording. You also have access to the Draw tool to annotate on your screen.
As soon as you're finished, click on the Stop button and it will process and upload your recording to the Loom server. Once done, a new browser window will appear with your video on it.
You can see how many views your video has garnered, plus a Share and a Copy video link button for easy sharing.
Recording Presentations Is Easier and Better
Instead of repeating yourself over and over, why not just record your presentations and send it out to your audience? That way, they can watch at their own time, repeat any sections that need clarification, and list down questions that weren't answered. You also get more free time to do other tasks related to your presentation for your audience.
So whether you already have the software, are planning to invest in paid options, or opting for the free solution, there an available slideshow recording option for you. All you have to do is choose.

