3D printing is one of the most exciting hobbies around. Once you get bored of using other people's models for your prints, though, you'll want to look for ways to create your own designs.
3D modeling can feel like a daunting process when you first get started, with the software options you have available being complex and overwhelming. Using items from the real world as the basis for your design can be a great way to get adjusted to tools like this. And this is exactly what this article is all about.
Using the software Blender, we will be creating a 3D model of a Red Bull can's basic shape to give you an idea of how you can transform something from the real world into something digital. Of course, this is all without the help of a costly 3D scanner.
Stage 1: Taking Photos

Before getting into your 3D modeling software, you will need to take some photos of the object you will be making. Our simple Red Bull can only needed one photo to get the general shape. Complex objects may require photos from each side, though, and this is worth considering at this stage in the process.
This is much easier if you turn on the leveling feature on your smartphones camera. Being able to take photos that are perfectly level will ensure that the following stages work smoothly.
Stage 2: Taking Measurements

Next, it will be time to take some measurements from the object you will be turning into a model. We only needed to get a handful of measurements from our Red Bull can, but you may need more if you're working with a complex object. Our measurements came out as follows.
- Width: 53mm
- Height: 135mm
- Rim Depth: 5mm
- Rim Thickness: 2mm
Digital calipers will be the best tool for this job. You could also use a tape measure or the guide along the edges of a cutting mat, though this is likely to be less accurate than calipers. Measuring the size of holes and other small pieces can be difficult, but you may be able to find plans for the part you are recreating if you look online.
Stage 3: Getting Started in Blender

We will be using Blender to recreate our object in the digital realm. This software is free and relatively easy to use, especially for a task like this. You can download and install Blender in a matter of minutes from the website.
Once into Blender, create a new General file and delete the camera, light, and cube that populate the space. With nothing selected, go into the Scene Properties panel on the right of the screen. From here, you can open the Units submenu and change Length to Millimeters.
Stage 4: Building Your Object in Blender

This stage will be different depending on the object you have decided to recreate. The steps below will work for some objects, but you may need to explore additional Blender model-making skills to create things with more complexity.
It often makes sense to start with a basic object when you are beginning a project in Blender. Getting the closest shape to your end result will be the best way to go, and this was quite convenient for us: we just needed a cylinder. Go to Add > Mesh and choose a shape from the menu to add.

Next, we need to change the size of our object to reflect the size of the end result. This can be trickier with complex shapes, as you will need to take the future changes you will be making into account. For us, we made our object the same width and a little bit shorter than our original can. Open the Item Transform menu (next to your collection list) and alter the dimensions in the box.

Now it's time to get the photograph that you took earlier out. We need to add a background that we can use to essentially trace out our 3D model. Use the View > Viewpoint tool and choose Front, Back, Left, or Right to look directly down the X or Y axis. Then go to Add > Image > Background and select the image you will be using from your files. The background will be placed where the camera is pointing.

It's likely that you will need to resize your background to make sure that it gives you the correct dimensions. This is most easily done with the Scale tool. Press Shift + Space, then S to gain access to this tool, or select it from the left of the screen.

At this stage, you should be ready to start shaping your 3D model. To achieve the look we wanted, we started by extruding small amounts at the top and bottom of our model, scaling the new pieces to match the profile of our can.

Select the Mode dropdown menu, choose Edit Mode, toggle Face Select, and select the face you would like to extrude. Pick the Extrude Region tool and use the + symbol to drag out a new section. Use the Scale tool to change the shape of the new piece.

We also used a Boolean modifier on our object to create the indent at the top of our can. First, we created a new cylinder that was 49mm wide, taking off 4mm to create our rim. We then used Edit Mode to extrude the bottom face of the cylinder, followed by shrinking it to 45mm and pushing it back up into the cylinder to create a sharp edge.

Using the Boolean modifier is nice and easy. Select the object that will be changing, followed by adding a Boolean Modifier from the Modifier Properties menu. Select Difference and use the dropper tool or submenu to select the other object. Set Solver to Fast. Use Ctrl + A to apply the modifier.

It's likely that you will need to spend quite some time working to make your first perfect recreation. This time can be well worth it, though, as it will give you the chance to learn valuable Blender skills that can be hard to get from elsewhere.
Stage 5: Preparing for Printing (Optional)

Finally, as the last part of this process, it will be time to prepare your model for 3D printing, if that's what you want to do with it. Start by going to File > Export > STL and export your file to a convenient location. Next, open your slicer softwar and import the STL you have just made.
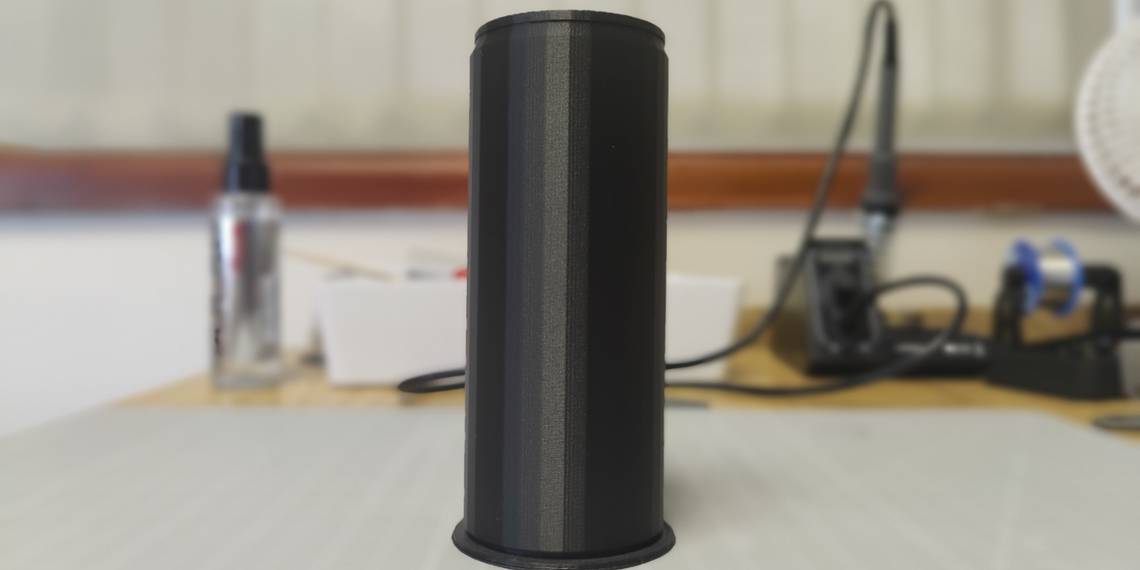
You will now need to determine the best print settings for your object. Unfortunately, there is no easy answer to this, and you may need to experiment a little to get the very best results. We used PLA for our print, but you can use whatever material you like.
Making 3D Models Without a 3D Scanner
3D scanners are expensive pieces of equipment. Most people can't afford to add this to their workshop when they are treating 3D printing as a hobby, and this means that you may need to take a more manual approach to create your 3D models.
This article should give you a good idea of how to get started with this, but you are going to need to do some further research and practice to make the best of it. Learning software like Blender can be a challenge, but it is well worth the effort.