Gradients are a great way to enhance your images and make your visuals stand out. Canva comes with a plethora of design templates and features to make your designs attractive. Using the platform, you can easily add a solid transparent gradient or one that fades to transparency. Here’s how to do it.
Getting Started With Canva
Getting started with Canva is easy. Even if you’re not a professional graphic designer, you can adapt to the user interface pretty quickly and get a lot out of the program. To begin, you can sign up or log in using your Google, Facebook, or Apple account. Then, choose Create a Design with the dimensions you need.
Applying a Solid Transparent Gradient
A solid transparent gradient is an overlay of two solid colors. Here’s how you can apply it to your design.
1. Add an Image to Your Design
You can upload your own image to Canva or select one of the many images available from Photos. Most of them are included in the Canva Pro subscription, however, you can still choose something for free.
Once you’re done selecting your photo, tap on it to include it in your design. Then, right-click on your image and select Set Image as Background.
2. Find and Apply the Gradient
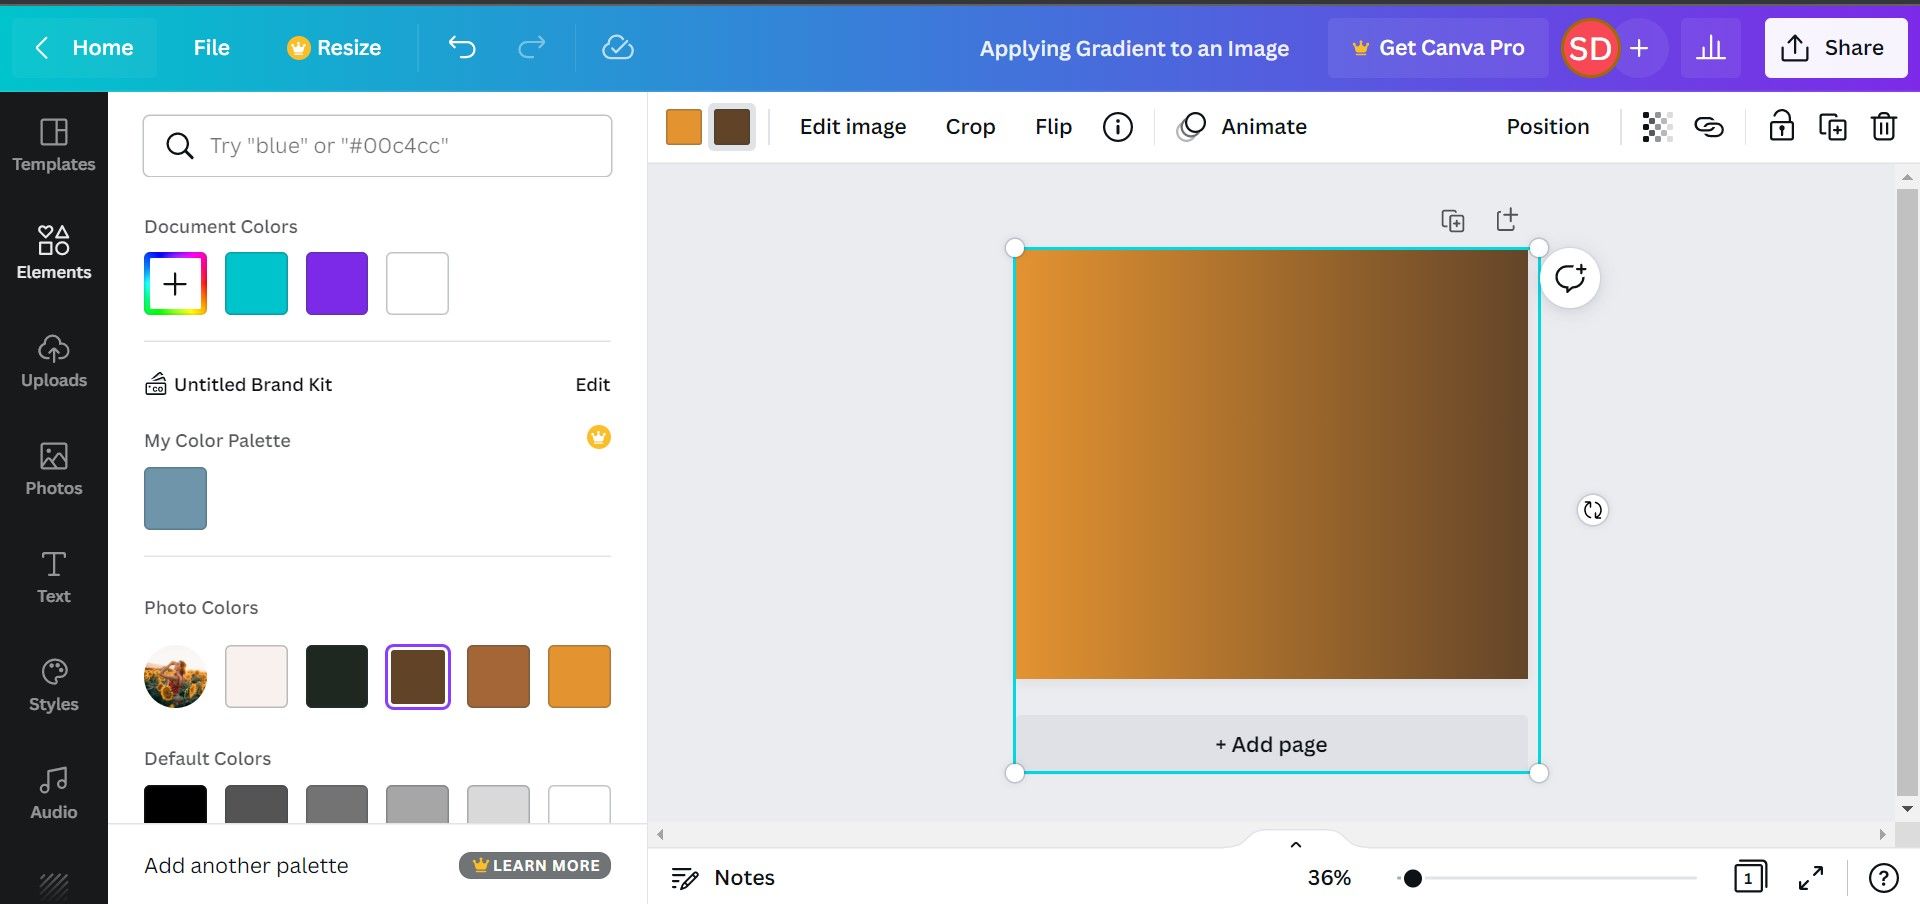
Search "gradients" in Elements on the left-side panel. Then, tap on the square-shaped gradient to apply it to your design. Finally, drag the gradient to fully cover your design.
3. Customize the Gradient Colors
You can customize the colors of the gradient according to your image theme. To do so, tap on the gradient and select the Colors icon to choose the colors you wish to apply. You can go with the Document Colors to add the best-suited colors for your gradient.
4. Adjust the Transparency
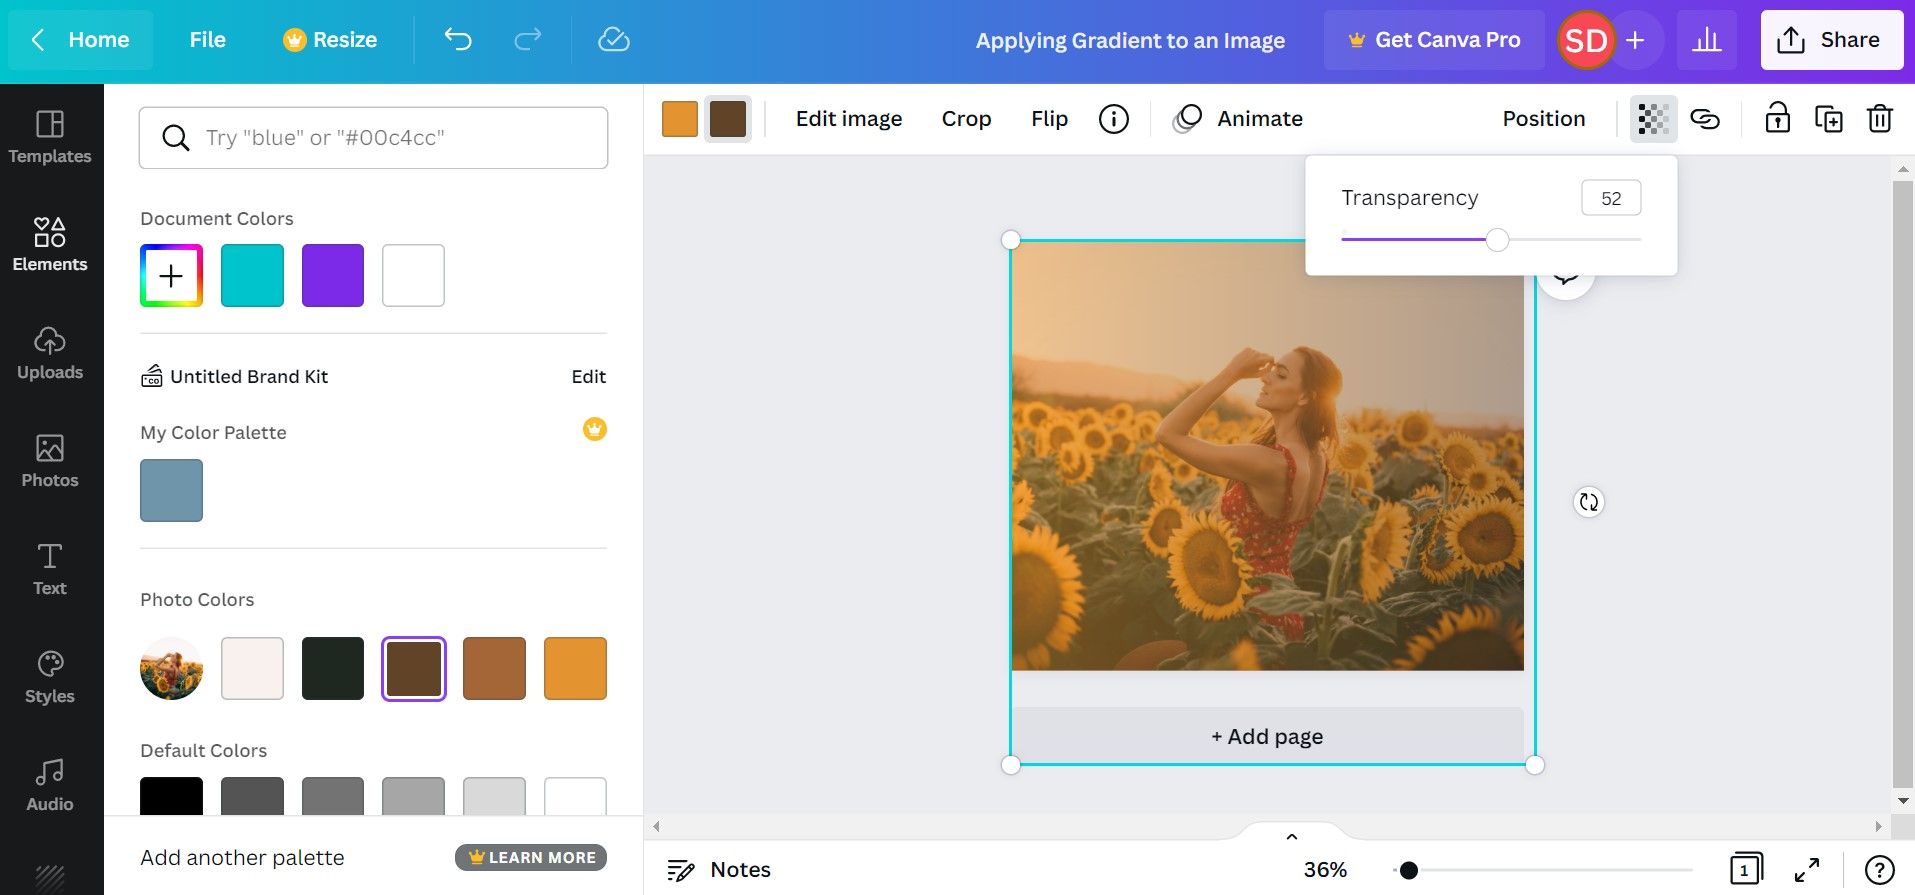
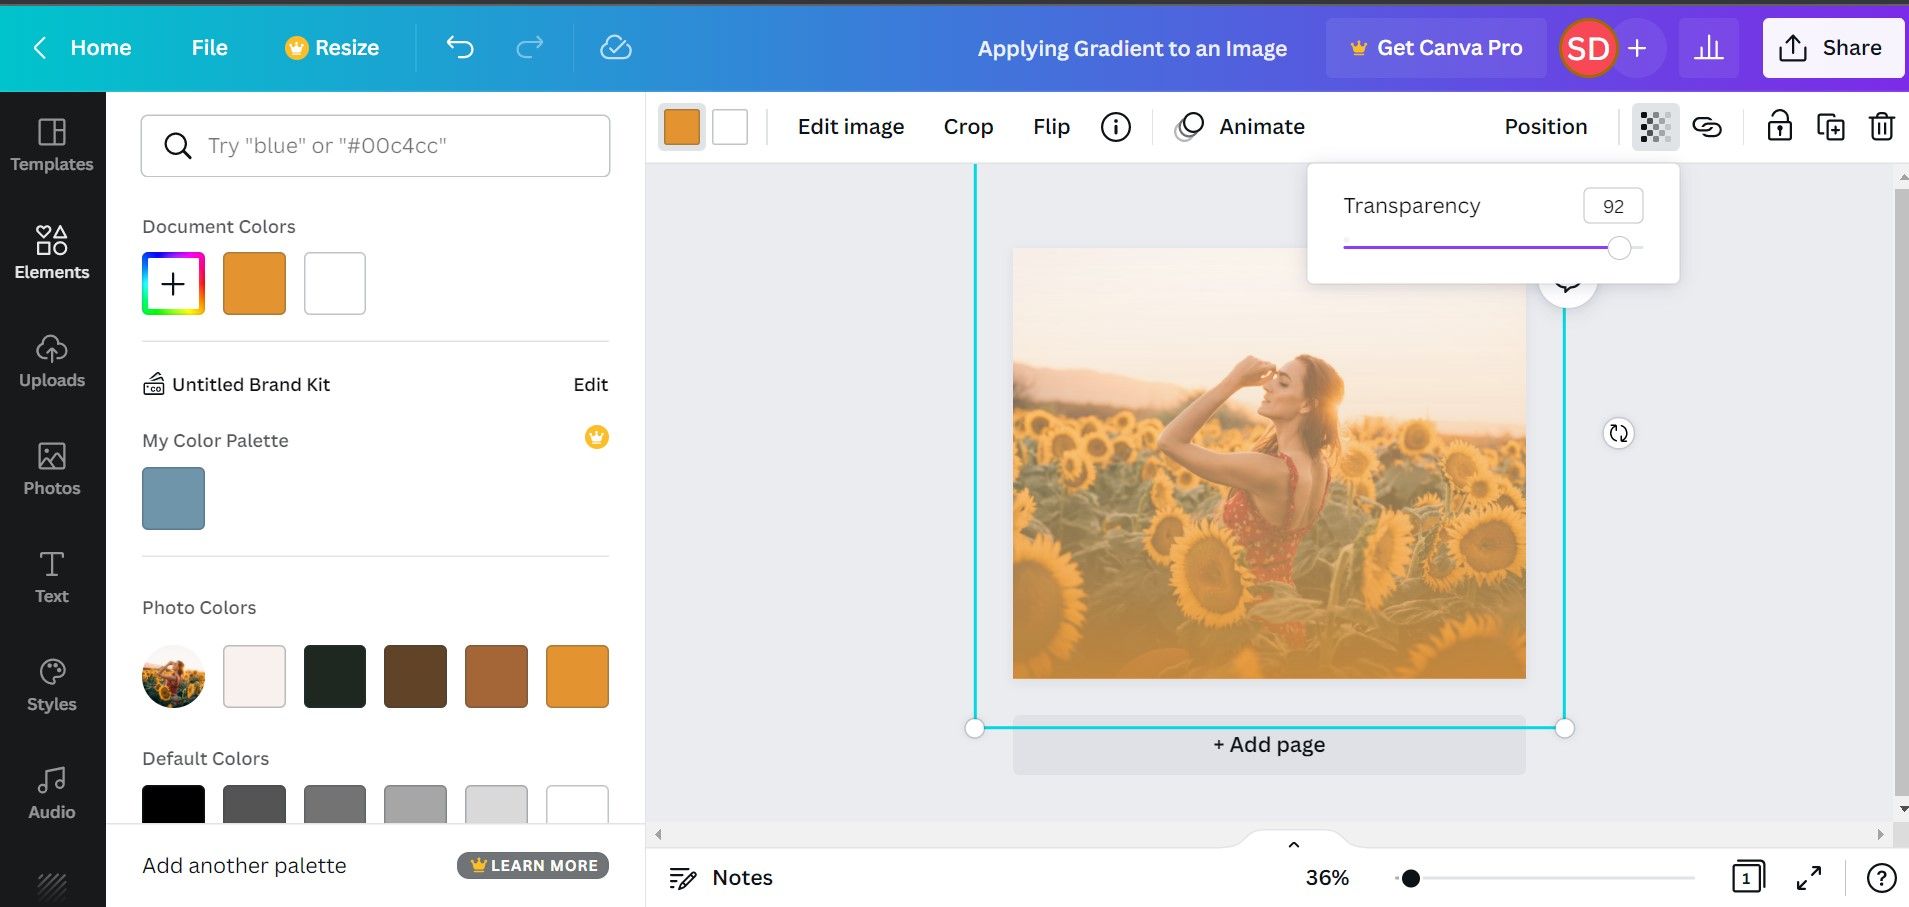
The last step is to adjust the transparency of the gradient. Increasing or decreasing the transparency of your gradient to the right amount can make a huge difference to your image.
Tap on the checkerboard icon in the toolbar above the editor. Then, drag the slider to adjust it to the right value. You can also enter the exact value of the opacity you need in the field next to the slider.
Applying a Fade-to-Transparent Gradient
You can also apply a fade-to-transparent gradient for a stunning effect. Here’s how to do it.
1. Find and Apply the Fade-to-Transparent Gradient
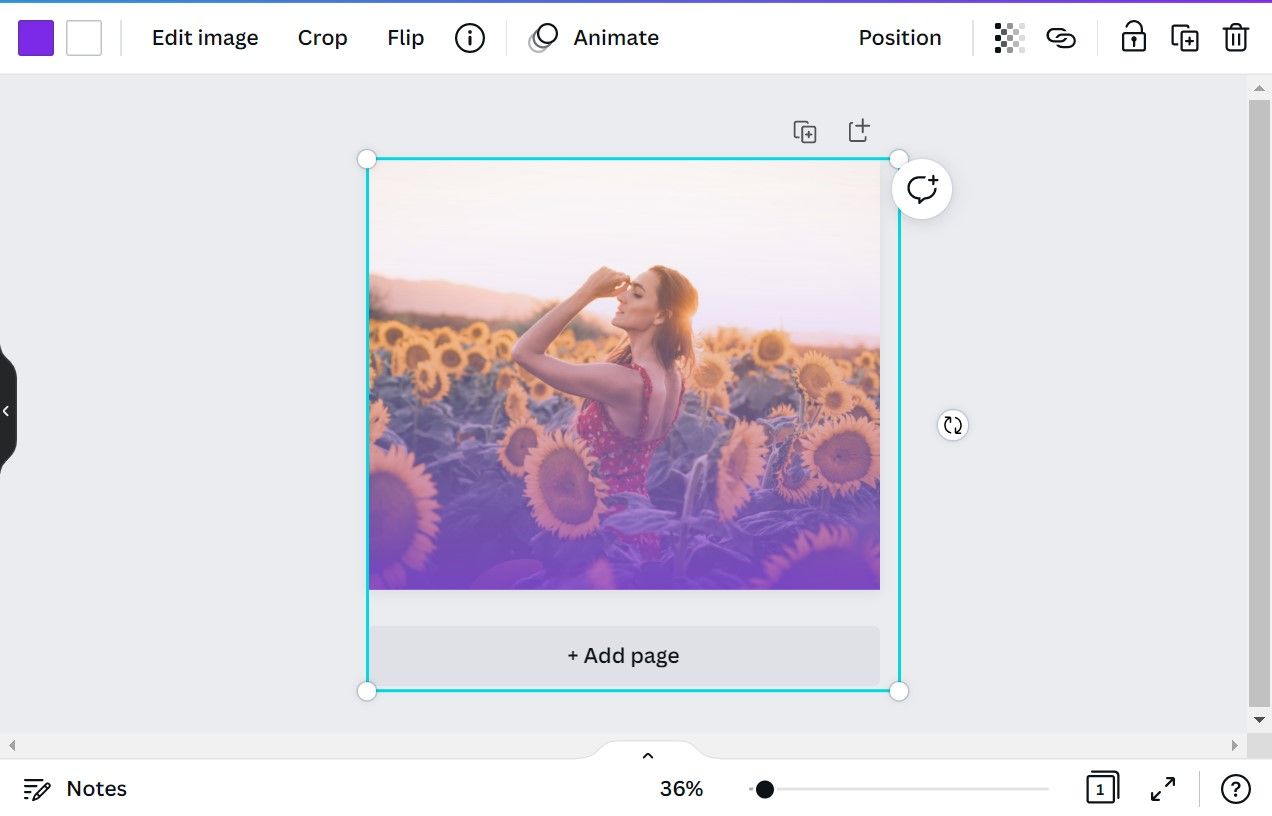
To apply the gradient that fades to transparency, search for it in Elements. Tap on the gradient to apply it to your design. You can drag the gradient to resize it and cover one part of your design.
2. Reposition the Gradient
The next step is to change the position of the gradient to get the best possible results from the fading effect. Select the gradient and reposition it by moving it or stretching it across your image. You can also rotate the gradient so that it fades to transparency from top to bottom, right to left, or however you wish.
3. Customize the Colors and Adjust the Transparency
You can customize the two colors of your gradient from the Colors icon. The first one is the solid color and the second is the one fading to transparency. Choose the best colors for your design and apply them to the selected gradient.
Lastly, similar to what we did for the solid gradient, adjust the transparency of the image (checkerboard icon) by dragging its opacity slider.
Add Beautiful Gradients to Your Images With Canva
By following these steps, you can apply beautiful gradients to your photos and add a spark to your creations. After you’re done with your design, you can download it in JPEG or PNG. Furthermore, you can share or schedule your designs directly from Canva and show them off on your social media platforms.


