Asana is one of the most popular project management tools out there today. The platform delivers a simplified way to manage your work, as well as customization options for visualizing your work your way.
Asana “My Tasks” is the Asana list dedicated to to-dos that are assigned to you specifically. It's your home for keeping track of all the tasks you need to complete each day. Plus, it's easy to customize to fit your needs.
5 Tips for Making the Most of the "My Tasks" To-Do List
The standard "My Tasks" to-do list inside Asana is already easy to navigate and use, with headers such as "Recently Assigned". However, if you need more task organization, there are simple tips you can use to make Asana work for you.
1. Add Sections to Better Organize Your Tasks
One of the simplest and quickest ways to organize your tasks is to create new sections. These sections can be used to organize your tasks in any way you need to.
For example, you can create a section for personal tasks and sections for work tasks. Or, you can create sections for future work and work you need to do ASAP.

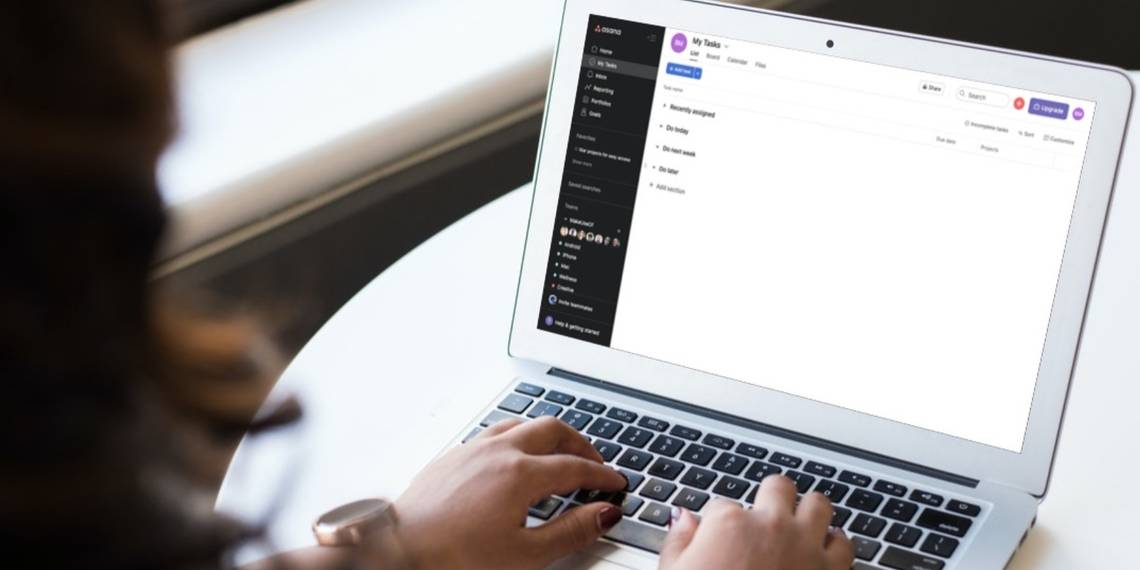
To add a new section, select the arrow next to Add task in your "My Tasks" view. Then, select Add section. Name your section and you're good to go.
You'll see your new section inside "My Tasks" and you'll be able to add new tasks to the section or create rules to add tasks as they're created (more on this below).
2. Add Rules to Automate Your Tasks
Rules make it easy to move tasks automatically between sections. If you have a basic Asana account, you can set rules based on due date.
To set this basic rule, follow these steps:
- In “My Tasks”, select Customize from the right side of your screen.
- Then select Add Rules to My Tasks.
- Select the Due date is approaching > Move task to a certain section rule.
- Under the Due date is approaching section, select when the rule should trigger.
- Under Move task to a certain section, select which section your tasks should move to.
- Once finished, select Create rule.

Now, whenever the due date is approaching for the time you chose, the rule will trigger and move your task to the specific section.
According to Asana, if you have a Premium account, you can also create rules that move tasks to sections based on completion status.
3. Add Tasks to "My Tasks" for Private To-Dos
Want to use your Asana for business and personal tasks? This is easy using the "My Tasks" list. All of the tasks you add to "My Tasks" are private to you until you add them to a public project.
This means you can easily follow the steps in Tip #1 to create a personal section, and then add private tasks you don't want to forget.
4. Reorder Your "My Tasks" List at Any Time
There's no need to delete tasks and re-enter them in different sections of your "My Tasks" list. Instead, just drag and drop the tasks between sections.
In List view, hover over the six dots to the left of your task and drag the task to its new spot (so long as your tasks aren't sorted by due date).
5. Use Boards View
Are you a more visual planner? If so, the Boards view inside Asana is for you. While the List view lists all of your to-dos, the Boards view shows each task, much like a sticky note on a whiteboard.

Using Boards view, you can easily move your tasks between columns by dragging and dropping. You can also add sections by selecting Add section.
Make Asana Work for You
If you're like us and use Asana as the hub of your daily work, it's best to customize the platform to fit your specific needs. There are so many customizations you can make, even beyond organizing your "My Task" list.