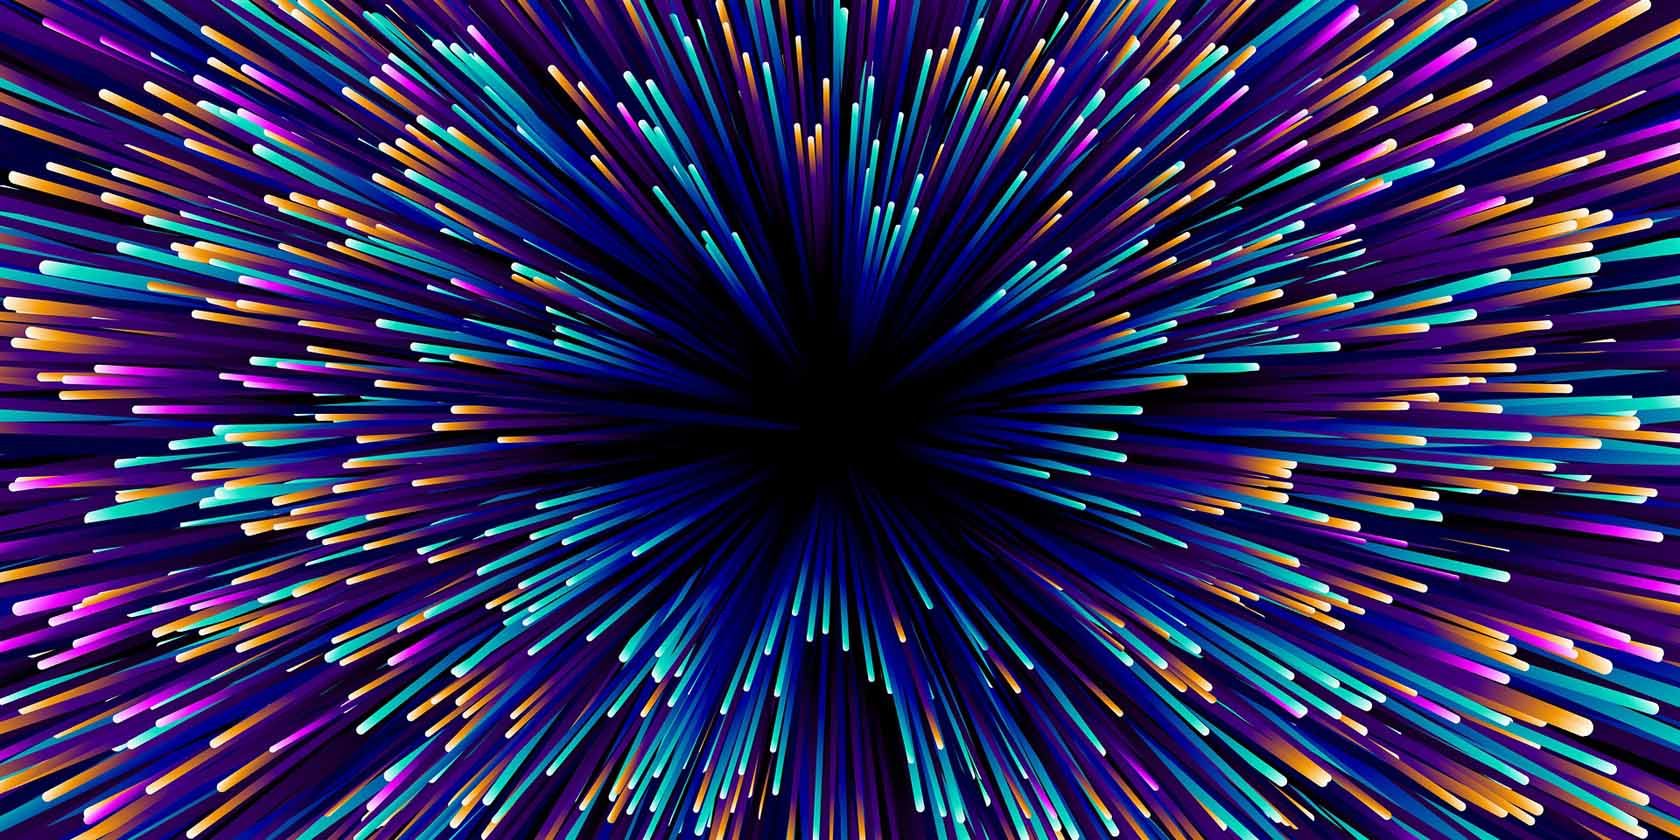
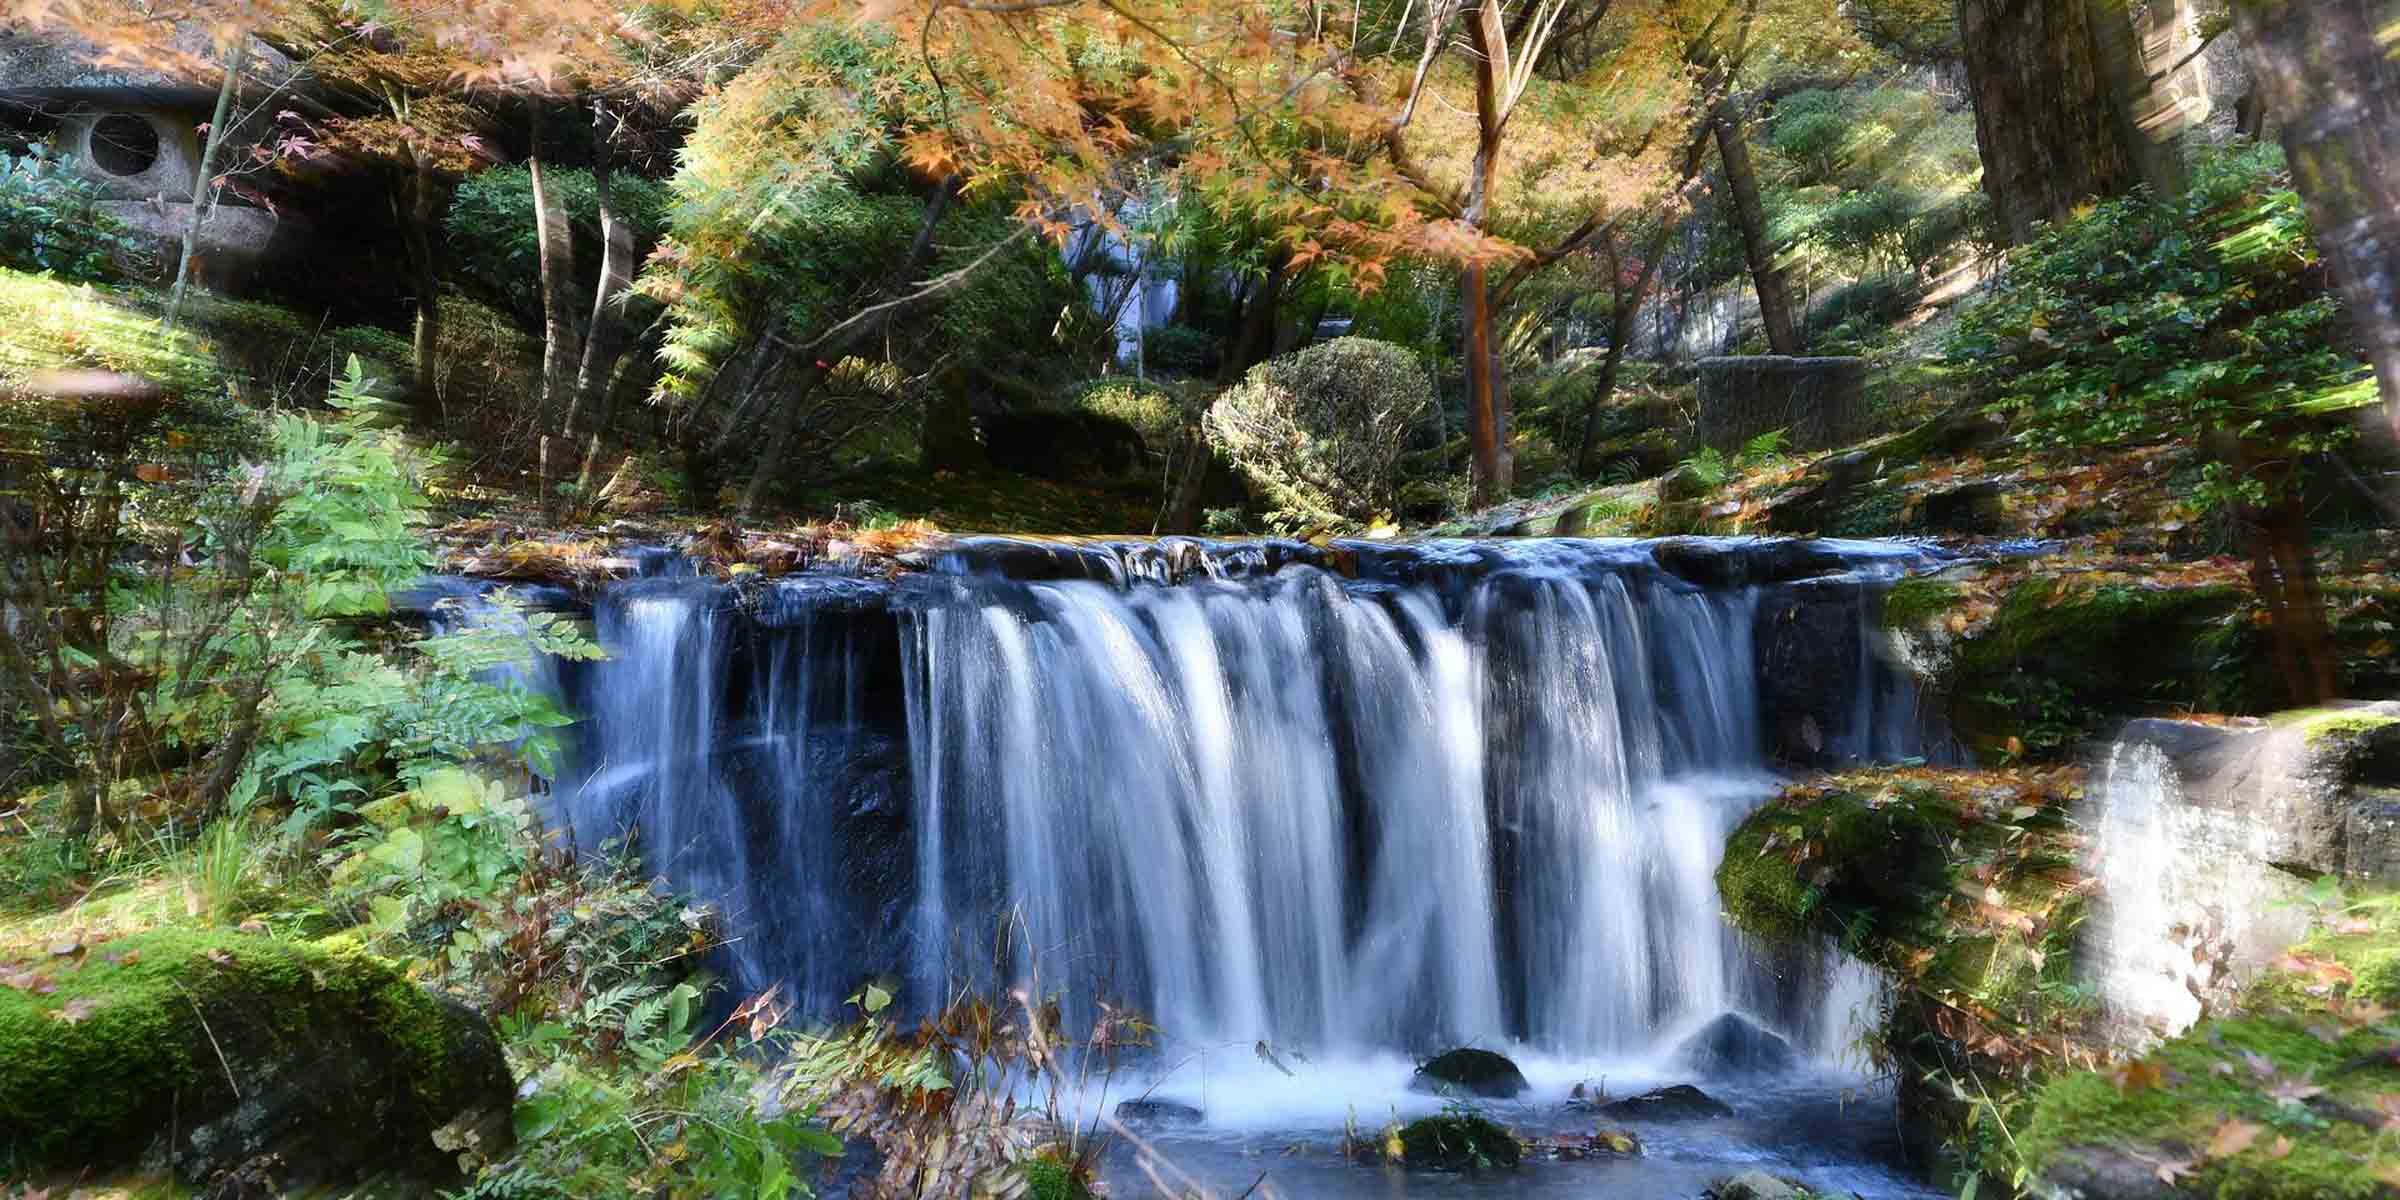
You may have seen energetic pictures on social media where it looks like you’re warping through space at faster-than-light speeds. This is called zoom burst, and it isn’t (for the most part) done with post-processing tools; the effects are actually created at the time of taking the picture.
If you’re not sure what this is, here we discuss zoom burst photography and what you will need to take amazing zoom burst photographs, with a few tips on how to capture these lively images.
What Is Zoom Burst Photography?
Zoom burst photography is a style of photography that creates a pleasing blur when taking images. It involves manipulating the zoom lens while the shutter of your camera is open and gives the effect that the scene is bursting towards you. Zoom burst photography is used to add movement to an otherwise plain still photograph.
Equipment You Will Need
Not every camera can achieve zoom burst photography, and you might want to have other equipment for better quality zoom burst pictures. If you want to take zoom burst images, you’ll need a few things.
1. A Camera With a Manual Zoom Lens
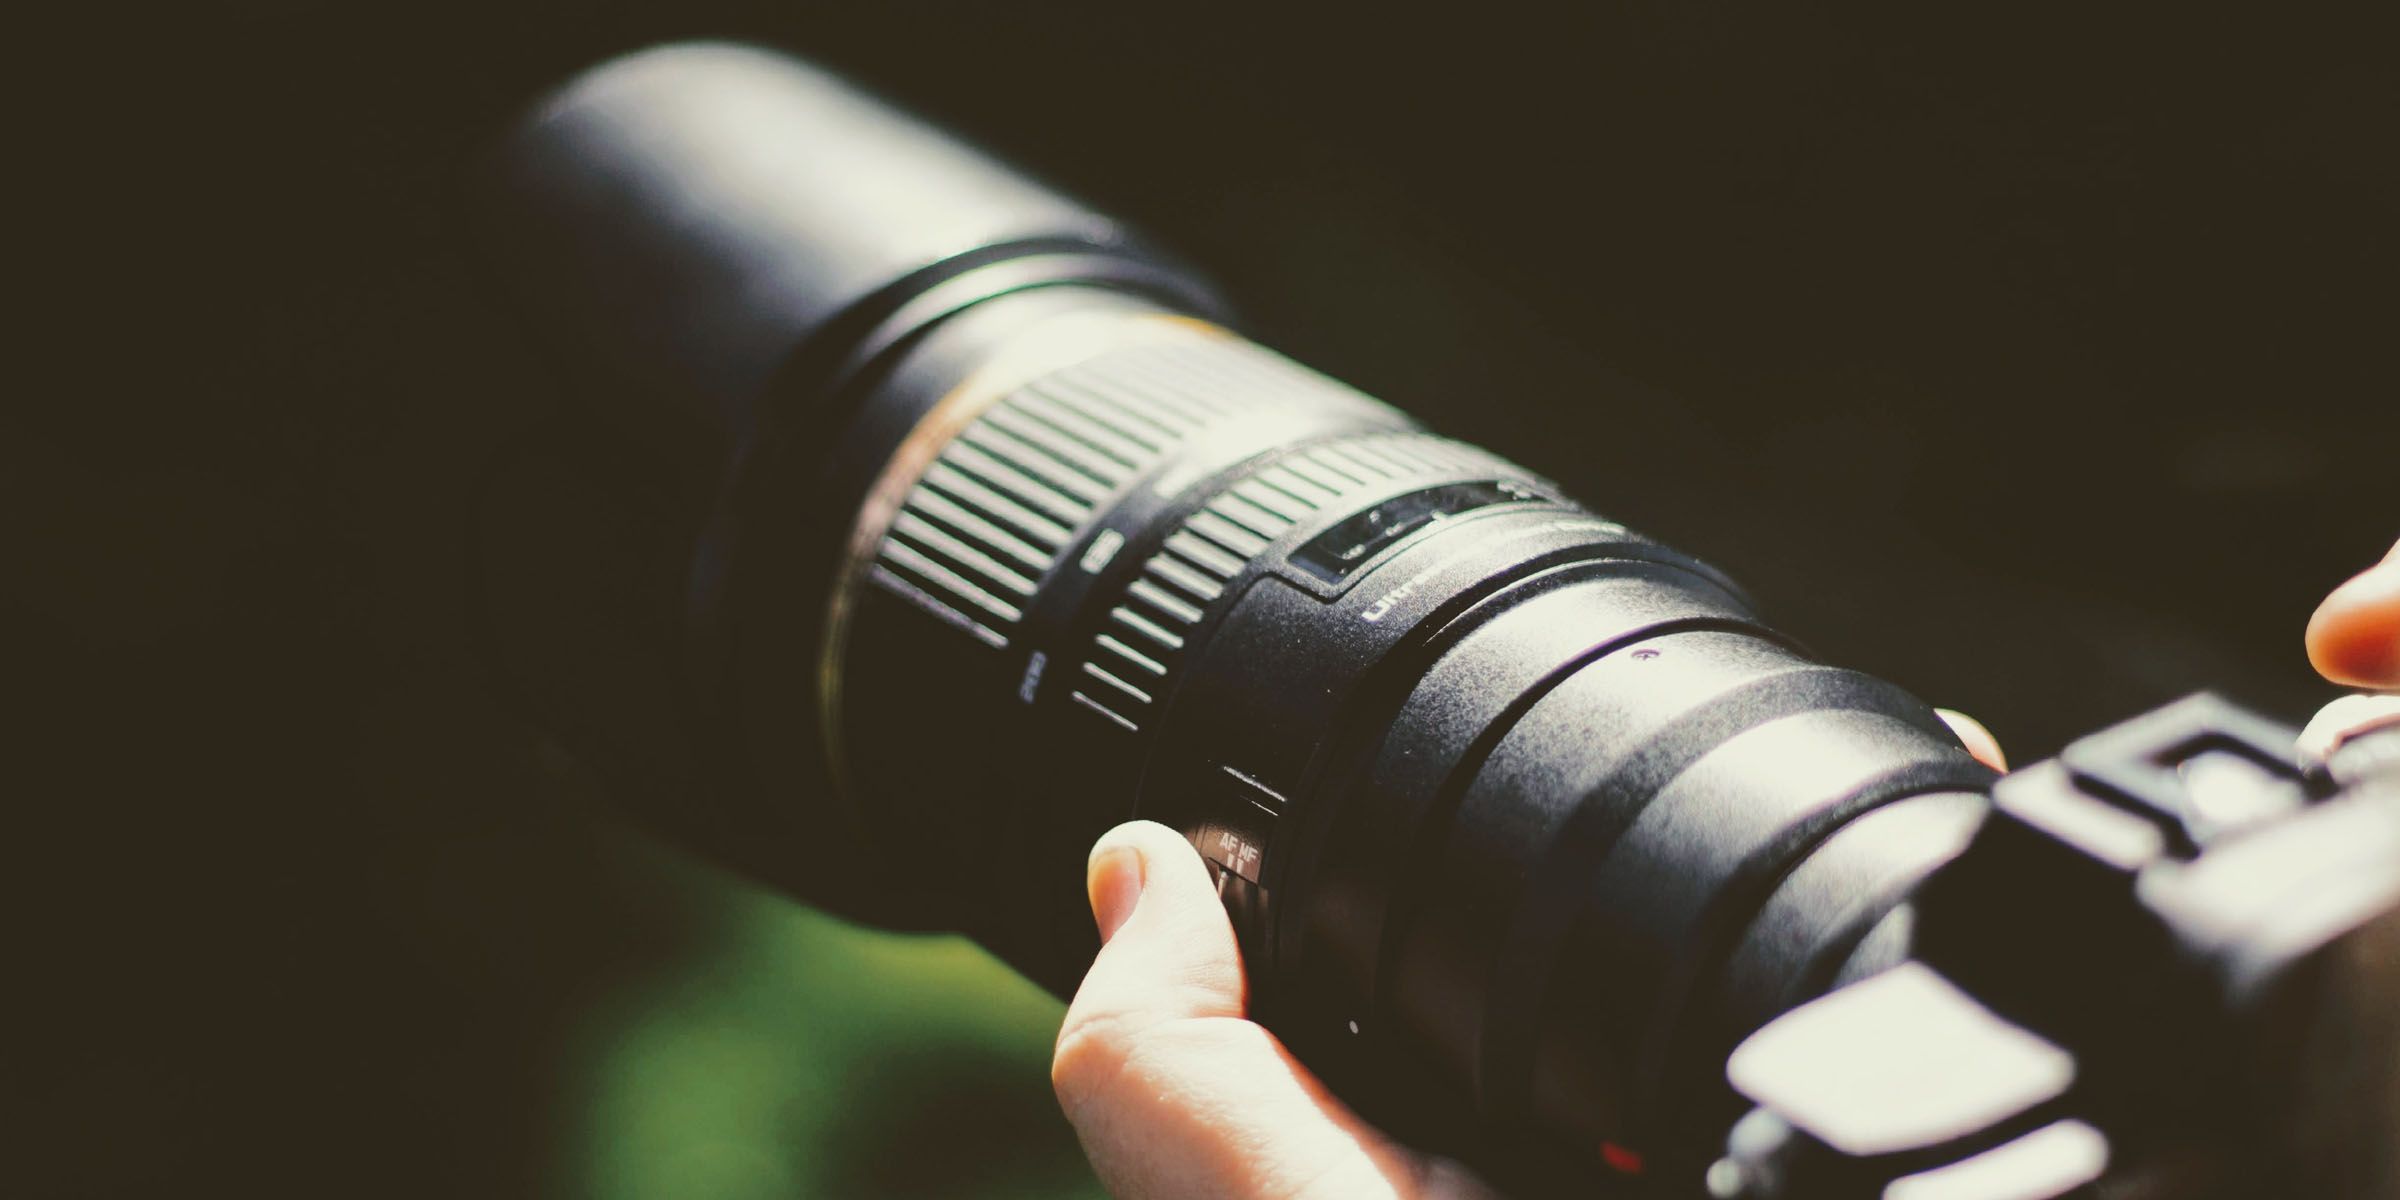
The one thing you will need if you want to take zoom burst images is a variable zoom lens. Your camera should have a lens capable of zooming in and out while the shutter is open. This is the case with SLR, DSLR and mirrorless cameras.
So long as you can manually change the zoom, you can take zoom burst images. Note that not all cameras with optical zoom lenses will allow this, as is the case with most affordable point-and-click cameras and superzoom models.
You could, if you chose to, turn your phone camera into a zoom burst device by attaching a variable zoom lens to its sensor, but we’ll leave this category out of the discussion because there are a few caveats associated with this type of zoom burst photography. Here we cover just the category into which SLR and mirrorless cameras fall.
2. A Tripod
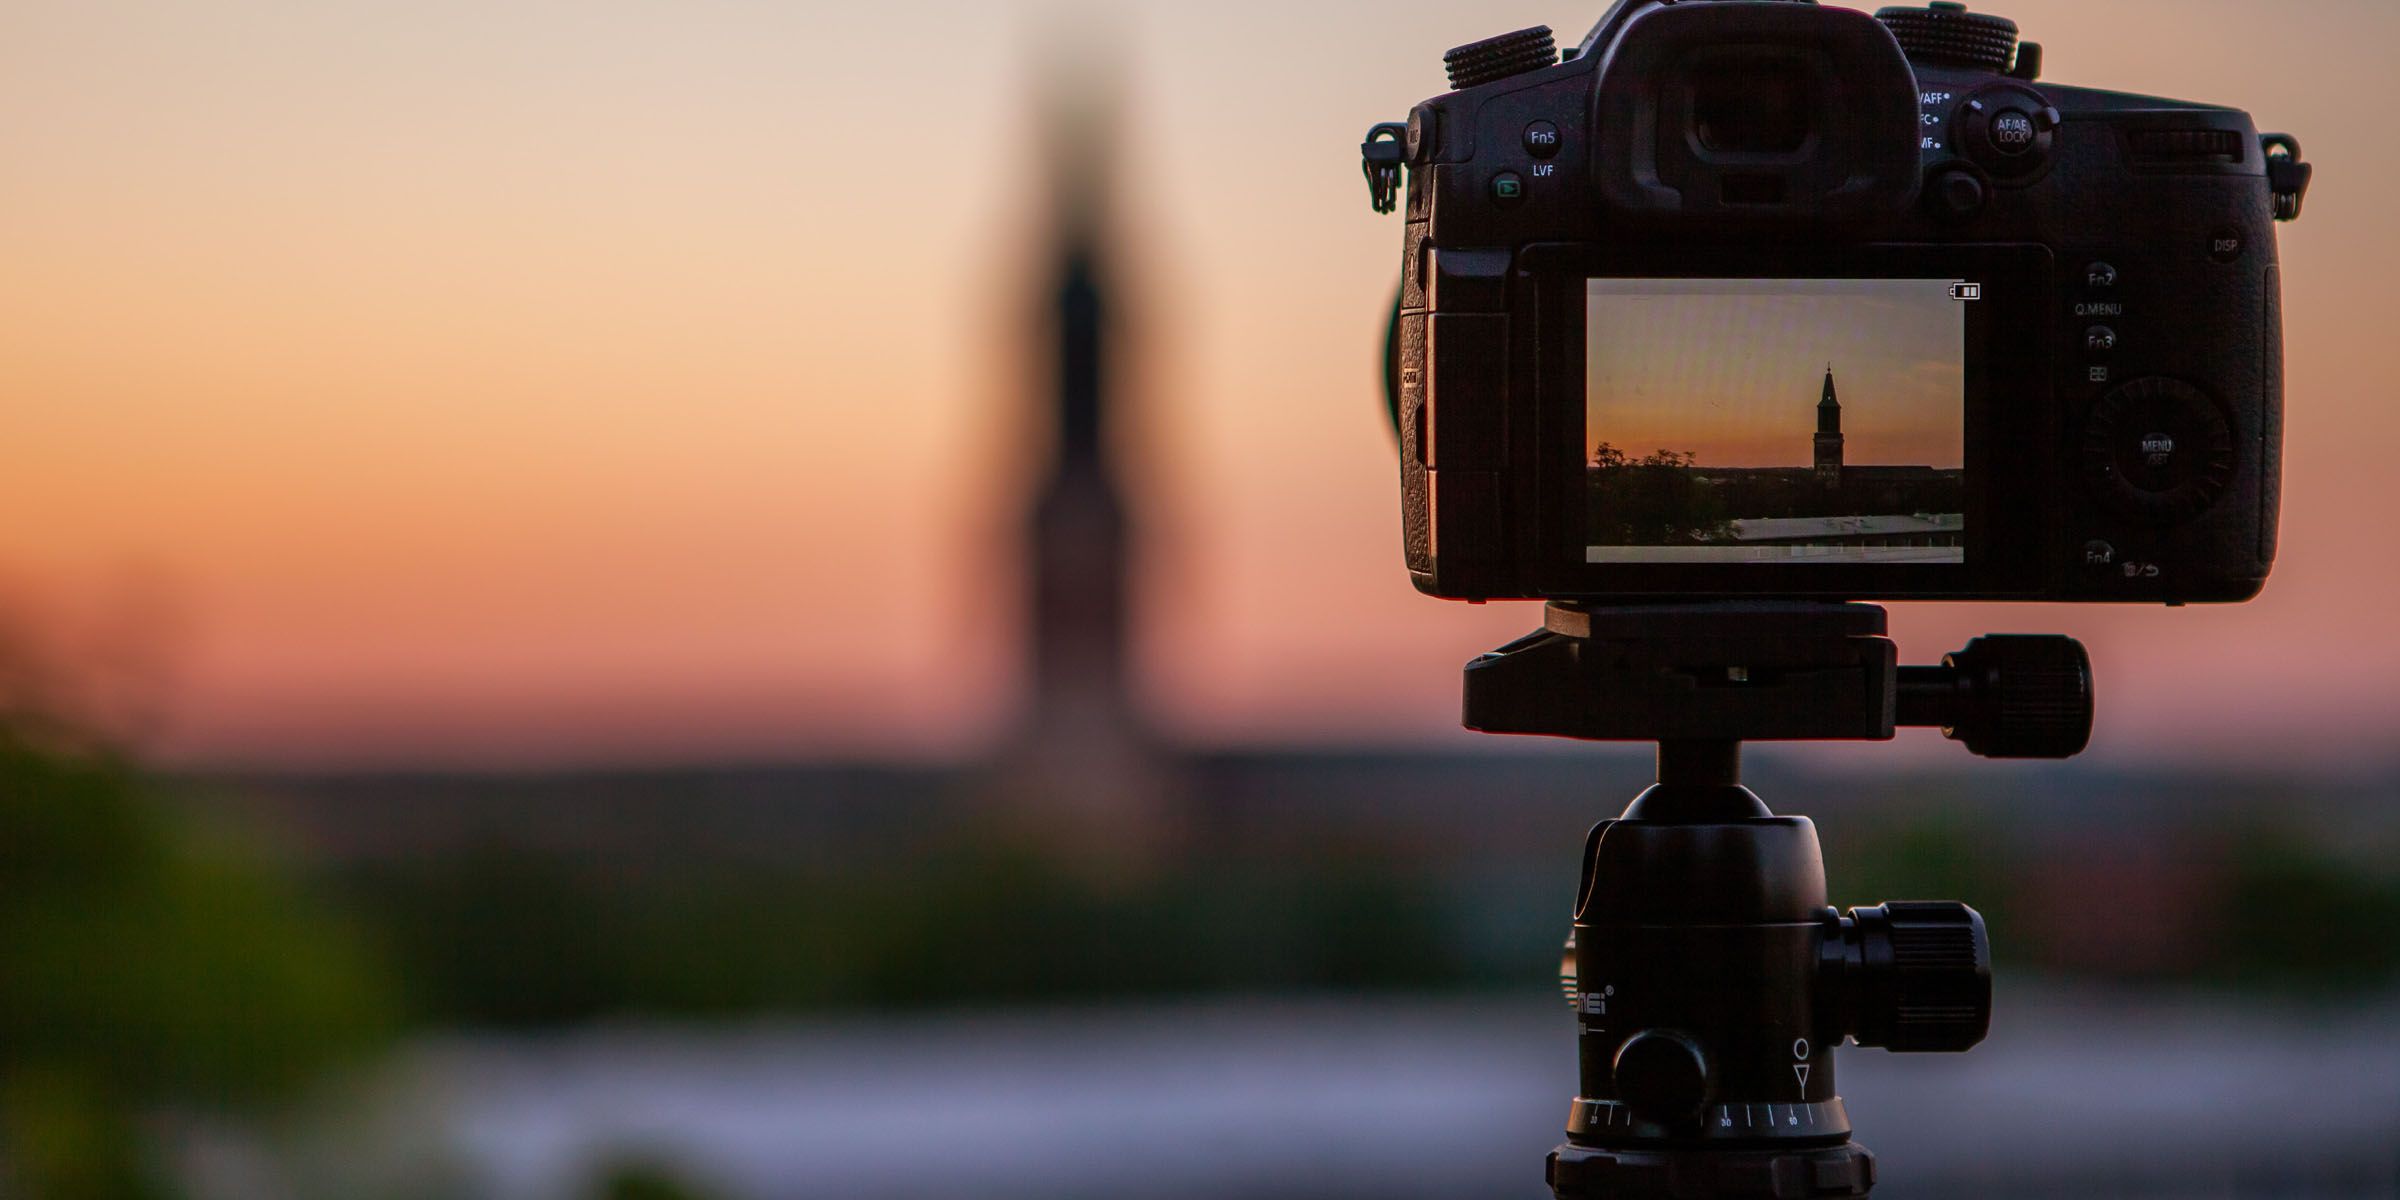
A tripod isn’t absolutely necessary for taking zoom burst pictures, but it’s best to use one. It stabilizes the camera as you rotate the zoom lens and will give you pictures that are much crisper. It can also help when framing your image. These are just a few of the many benefits of using a tripod.
3. A Camera With Some Manual Settings
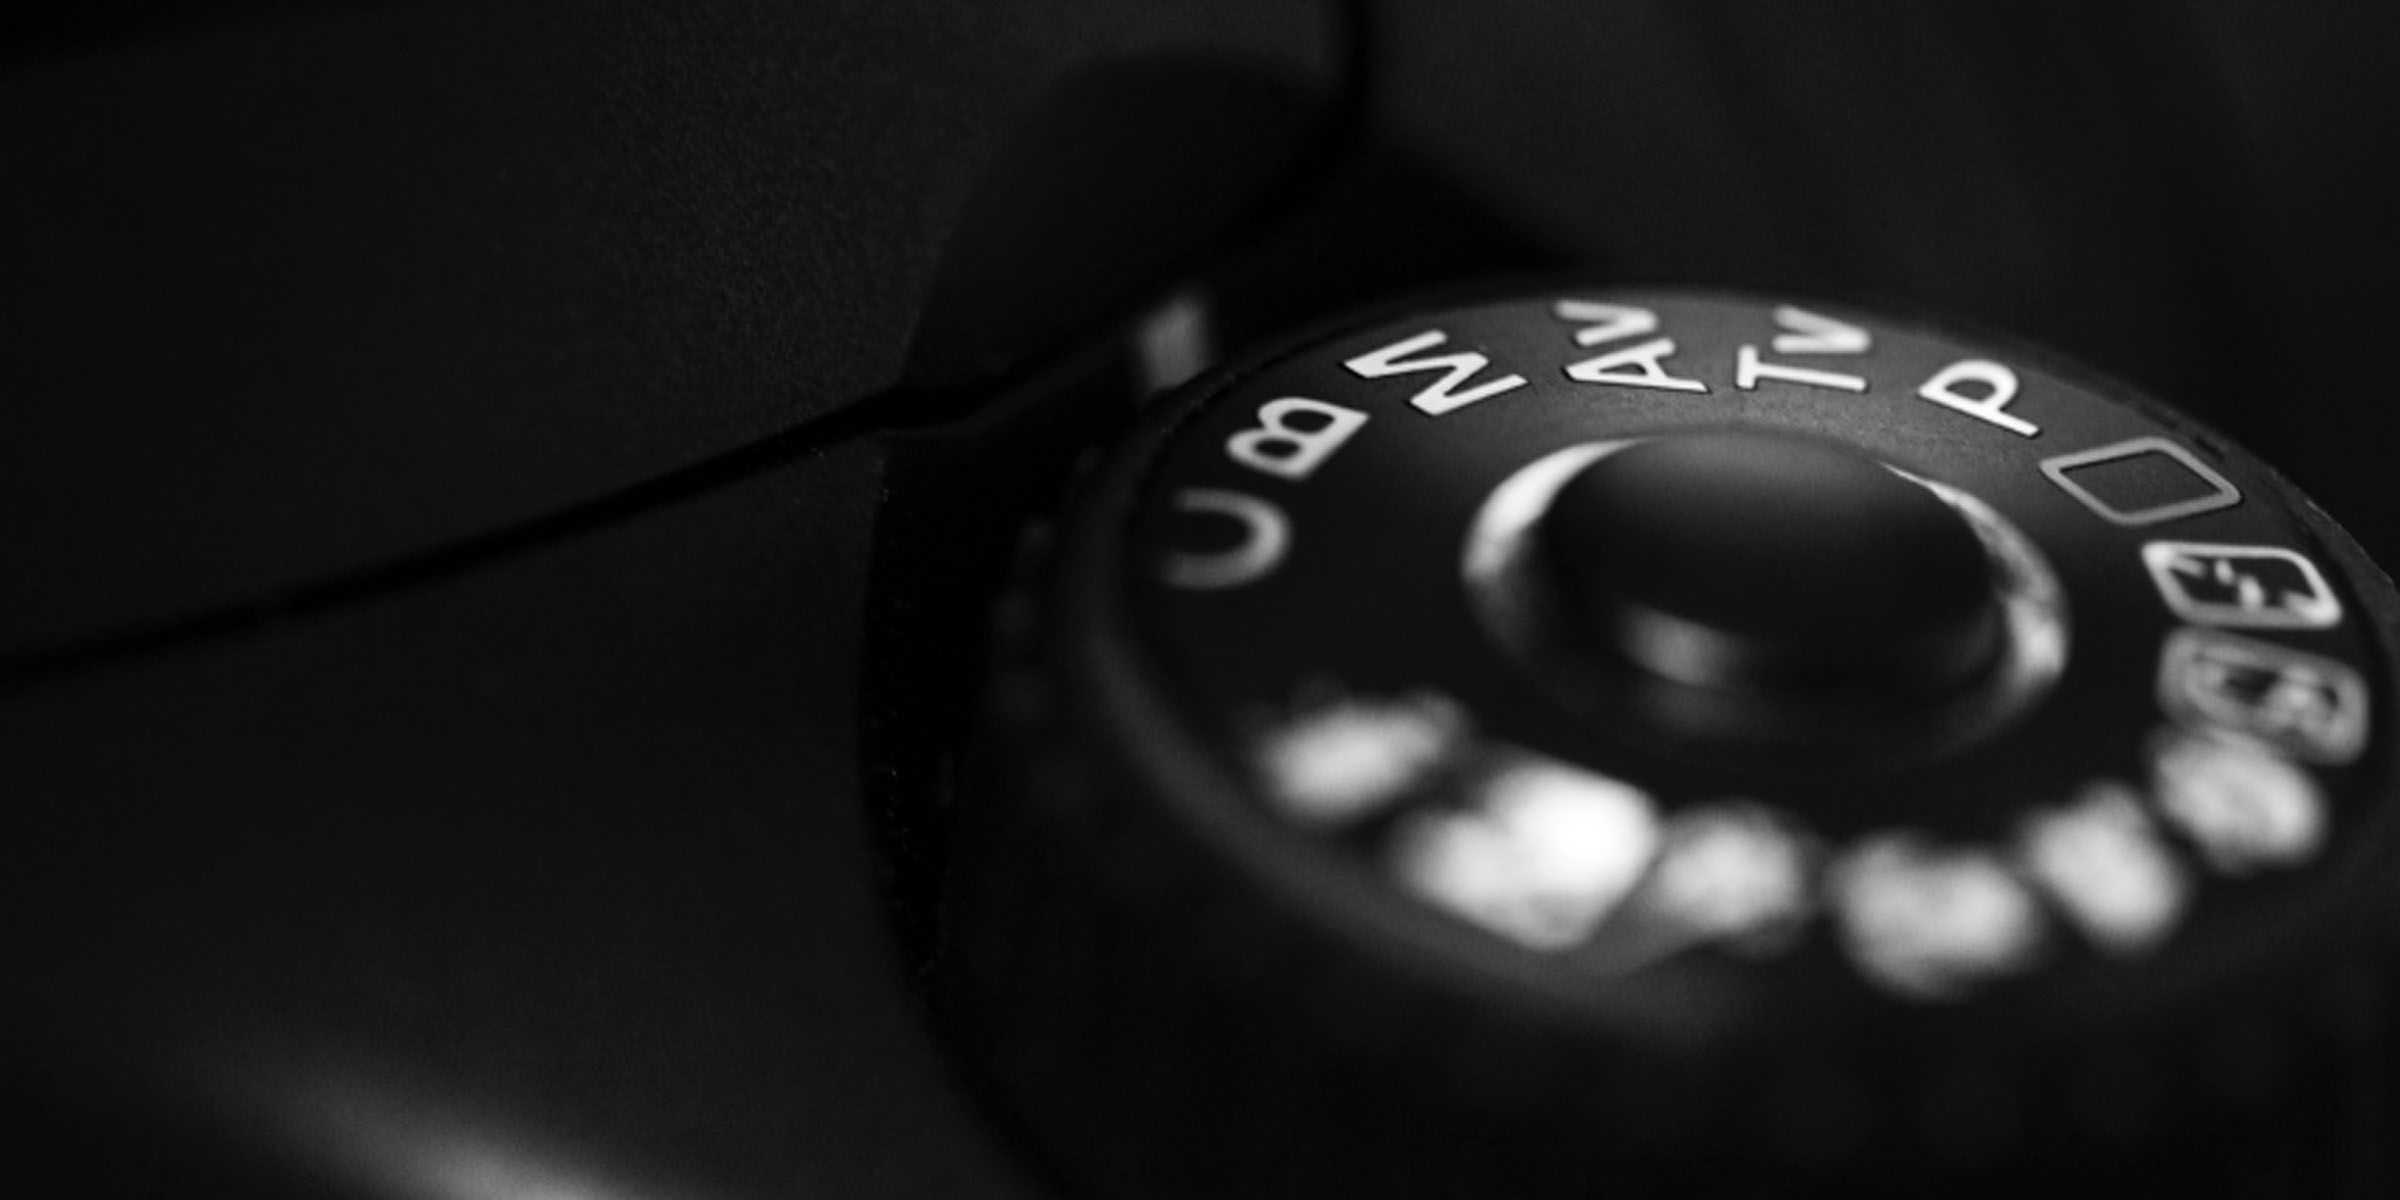
A zoom lens is crucial, but so is a camera that can take pictures in full manual mode so you can control ISO, aperture size, and exposure time. Zoom burst photography is also possible in partial manual modes, such as some cameras’ shutter priority settings.
Camera Settings: A Few Suggestions
Zoom burst photography involves longer exposure times than regular photography. With that comes a host of other settings you’ll need to vary until you find the sweet spot for a specific scene or outcome.
High-Light Daytime Zoom Burst Photography
For taking zoom burst photography during the daytime or when there is lots of light, you’ll need to set shorter shutter speeds and lower ISO values. The following camera settings should work fine for daytime shots.
ISO: 100 to 200
Shutter Speed: 1.3 to 2 seconds
Aperture: F9.0 to F14
Low-Light Night-time Zoom Burst Photography
When light is at a premium, you’ll want to increase ISO settings and set longer exposure times.
ISO: 400 and up
Shutter Speed: 2 seconds and up
Aperture: F6.0 to F9.0
There isn’t a hard and fast rule about these camera settings. You can experiment with different exposure times and ISO sensitivities, but these may be a good place to start.
If you want to understand ISO in more detail, our guide to ISO settings should clear up the confusion.
Zoom Burst Photography Tips
You’ve got the equipment you need for taking zoom burst images, and you've dialed in the camera settings. Now all that remains are a few pointers to get it right. With these simple zoom burst photography tips, you’ll be on your way to taking amazing zoom burst pictures in no time, with a bit of practice.
Before you implement our tips, take a few practice shots. Using longer exposure times (eight seconds or higher) will help you develop some intuition about how zooming when your shutter is open affects the amount of light that falls on your camera’s sensor and the final image this produces.
1. Choosing a Setting
Setting the scene can be difficult, especially in the beginning. But with a few suggestions on scene type and a little practice, you will be able to judge whether a scene suits this type of photography.
- Focus on Still Subjects: Zoom burst photography works best with still subjects and little to no movement in the background. Movement is infused in images through zooming in or out. City architecture works well, especially at night.
- Experiment With Silhouettes: Try photographing your subject in silhouette with a few bright lights or spots in the background. This makes a lovely setting for zoom burst photography. It’s also relatively easy to edit with image processing software because of the central dark figure.
- Choose Scenes With Mixed Lighting: Zoom bust photography works best in scenes with mixed light levels. Your shots will turn out well if some areas of the frame are not well illuminated, while others are peppered with bright pinpoint lights. This doesn’t have to be direct sources of light; they can even be reflective surfaces. Try a variety of scenes such as the shimmering façade of a building, the surface of a water body, or even a modern art city sculpture.
Zoom burst photography can work in many more settings than the ones we’ve mentioned here, but these make a good starting point.
2. Adapt to the Light Level
Zoom burst photographs turn out best in low light, but daytime or dusk light works well too. You’ll have to adjust your camera settings to get bright pictures based on the scene and take a few practice shots to get your camera adjustments just right.
3. Getting Creative With Zooming
When zooming, a steady movement will give you great results. However, it takes some practice to zoom in one smooth movement.
- Zoom Through the Exposure: An alternative way to take great abstract zoom burst images is to start zooming before the shutter opens and finish after it closes. A countdown timer is best for such images, with shorter shutter times.
- Stepped Zoom: Instead of one fluid movement when zooming, you can pause halfway through the exposure before continuing to zoom until the shutter closes. This works best when there are streaks of light in your frame.
4. Variations on the Theme
- Pause Midway: Apart from smooth zooming action, you can achieve creative results by pausing midway more than once through the exposure. This gives your final shots a stepped feel.
- Use the Flash: A creative way of playing with the amount of light is setting your camera to flash at the beginning or end of the exposure (also referred to as slow sync flash photography). You can even use a secondary source, such as a phone, to flash at intervals to pepper your scene with a little extra light.
5. Post-Processing Tips
To apply post-processing effects to your zoom burst shots, you’ll need an image-editing software program.
- Change Contrast: When the shutter is open for longer than a few milliseconds and objects are “moving” across the frame, you tend to get ghost-like image trails. You can temper that by adjusting the contrast of an image.
- Add Radial Blur: You can enhance the zoom burst effect by adding a light touch of radial blur to your shots. Too much will take away from the analog effect and make it look artificial.
- Crop the Image: With zoom burst photography, everything radiates outward from the center. You can crop the image to shift the focus off-center. Cropping also works to eliminate the outer edges of the frame, which may not have been exposed well and don’t carry the full weight of the zoom burst effect.
The Basics of Zoom Burst Photography
Taking zoom burst images is chiefly down to how you use your lens. While stock lenses are alright for this type of photography, there are others you can use. Lenses that offer a larger zoom range can be used to good effect for this purpose, especially in conjunction with post-processing.

