Apple first introduced Low Power Mode in iPhones alongside iOS 9 in 2015, but MacBooks only got this feature in 2021 with macOS Monterey.
Low Power Mode saves power by reducing the non-prioritized background processes of your MacBook, but that's not all it does. In fact, your MacBook doesn't deliver its peak performance when you have Low Power Mode enabled.
So, how much performance do you actually lose with it turned on? Well, we'll show you how to test your MacBook's performance while in this battery-saving mode. The tests below will gauge the performance of your CPU, RAM, and GPU.
What Is Low Power Mode?
Low Power Mode is a great feature that extends your MacBook's battery life by reducing the activities of other background apps. However, besides limiting background activity, MacBook's Low Power Mode also decreases the CPU's processing speed and, more noticeably, reduces screen brightness.
As a result, your MacBook requires less power to keep running, which means reduced battery consumption, allowing you to use your MacBook for a prolonged period when it is not plugged in.
1. RAM Performance Test
RAM stands for Random Access Memory, and it's vital for quickly storing and retrieving data on your computer. Macs use RAM to temporarily store data you need immediately instead of writing it on a more permanent hard drive.
It's easy for your MacBook's limited RAM to get clogged when you have too many apps open. And you can check how badly this is affected by Low Power Mode by running a test.
Follow these steps to test your RAM in Low Power Mode
- Restart your MacBook and make sure no windows are open.
- Press Command + Space to open Spotlight, search Activity Monitor, and hit Return.
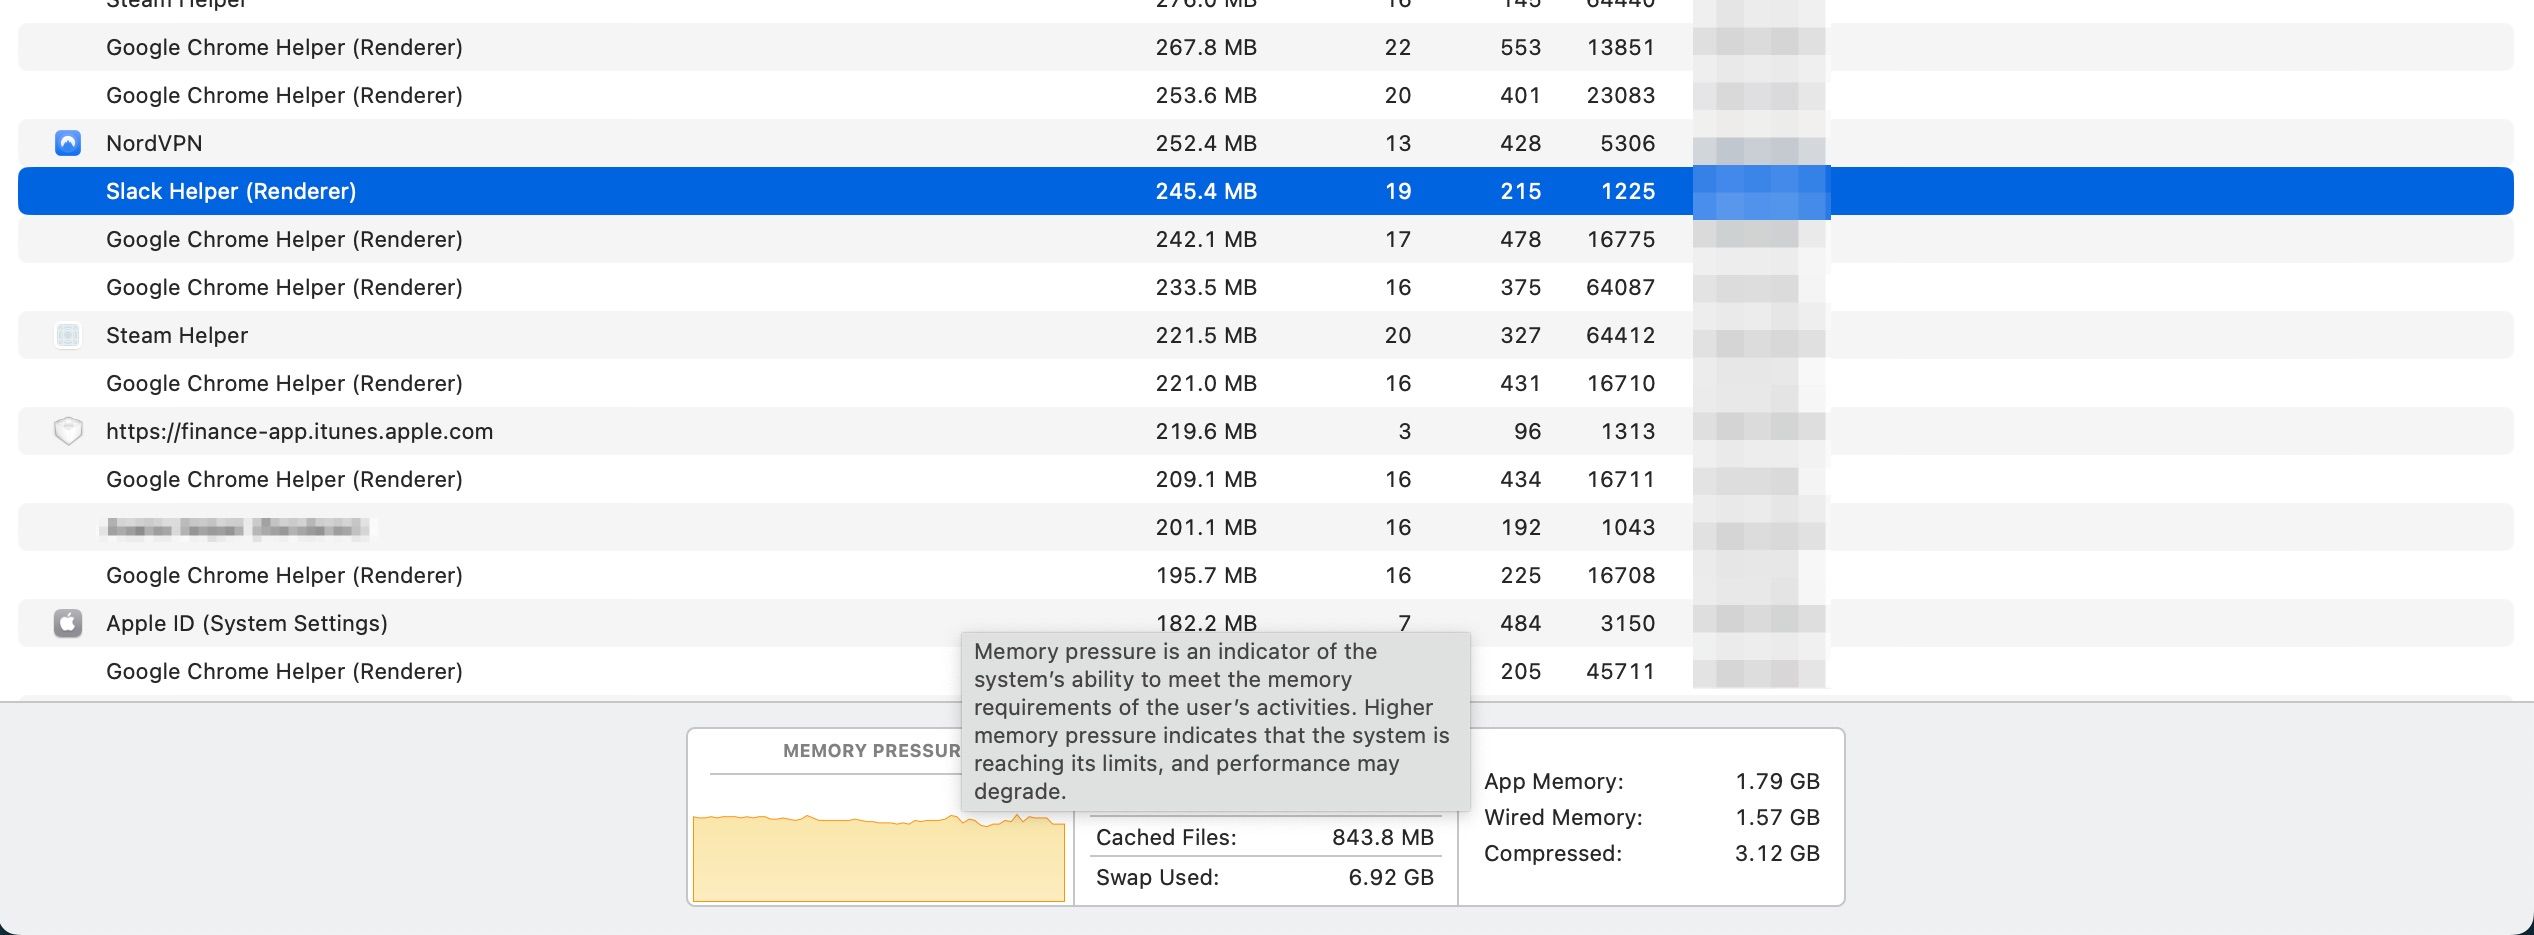
- Click the Memory tab in Activity Monitor, and by the bottom left, you'll see the Memory Pressure graph.
- By default, the Memory Pressure graph should be green, indicating your computer has enough memory left that it doesn't affect performance.
- Put your MacBook in Low Power Mode. (You'll find it in the Battery section of System Settings in macOS Ventura).
- You can now open as many apps or browser tabs as possible.
- Keep track of how many of these tabs and apps you have open, and check the Memory Pressure graph.
- Track how much it took to get the graph yellow and eventually red.
- Try all the steps again without putting the MacBook in Low Power Mode.
For color code clarification:
- Green: Your MacBook isn't compressing data for it to function.
- Yellow: This means that there's compression happening.
- Red: It's moving from compression to virtual memory.
2. CPU and GPU Test
Since MacBooks typically have integrated GPUs, it means that as you test your CPU, you are also testing your GPU at the same time. In some specific Intel-based MacBook Pro models, GPUs are dedicated components with their own RAM; we've explained more about the difference between a CPU and GPU.
We used Cinebench to test an M1 MacBook Air, and we recommend you use this program for your testing since it's free and easy to use. Cinebench tests CPU and GPU using image rendering and ranks your Mac against other computers on the list depending on how quickly it finishes the render.
- Download and install Cinebench.
- Enable Low Power Mode on your MacBook.
- Run Cinebench and click Start beside CPU (Multi Core).
- Wait for the process to finish. (Note that your computer might heat up, and the fans may get louder).
- When that's done, click Start beside CPU (Single Core) and wait.
- Once you've run both tests, record your score.
- Repeat the steps without Low Power Mode to see the difference.
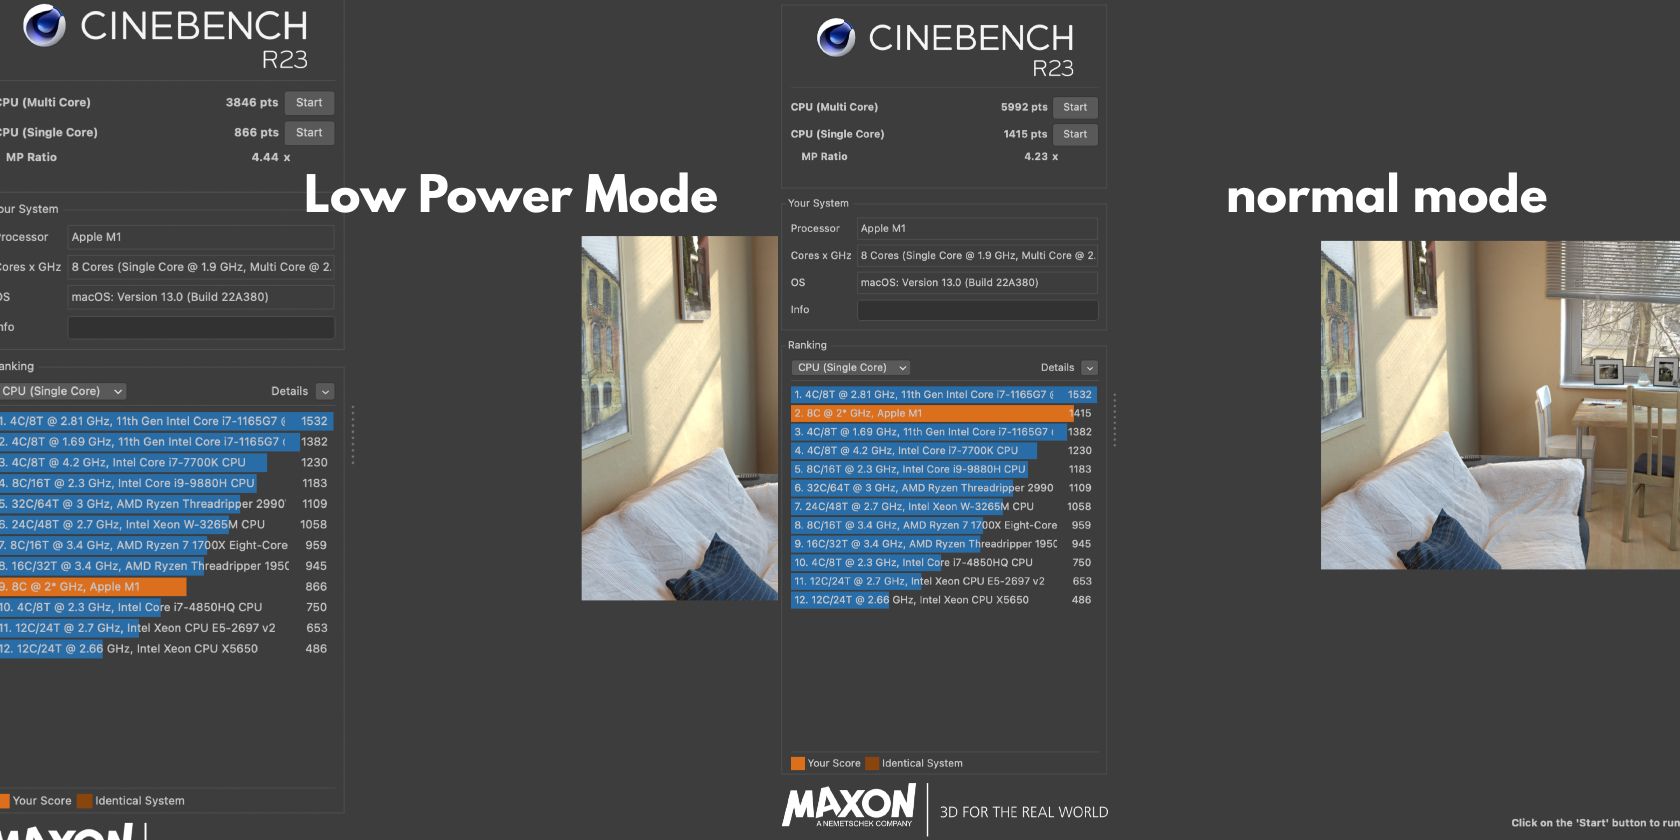
Our M1 MacBook Air scored only 3,846 pts (Multi Core) in the Low Power Mode test, but it got a 55.8% boost without it, surging to 5,992 pts. And from 866 pts in the Low Power Mode Single Core test, it rose 63.4%, ranking second on the charts with 1,415 pts.
3. Battery Life Test
Some MacBook enthusiasts have used battery life tests to check how effective Low Power Mode is in preserving the battery. These tests compare your MacBook's performance, battery drain, and temperature with and without Low Power Mode enabled.
Here is one of the most popular ways to test your MacBook's battery life with Low Power Mode:
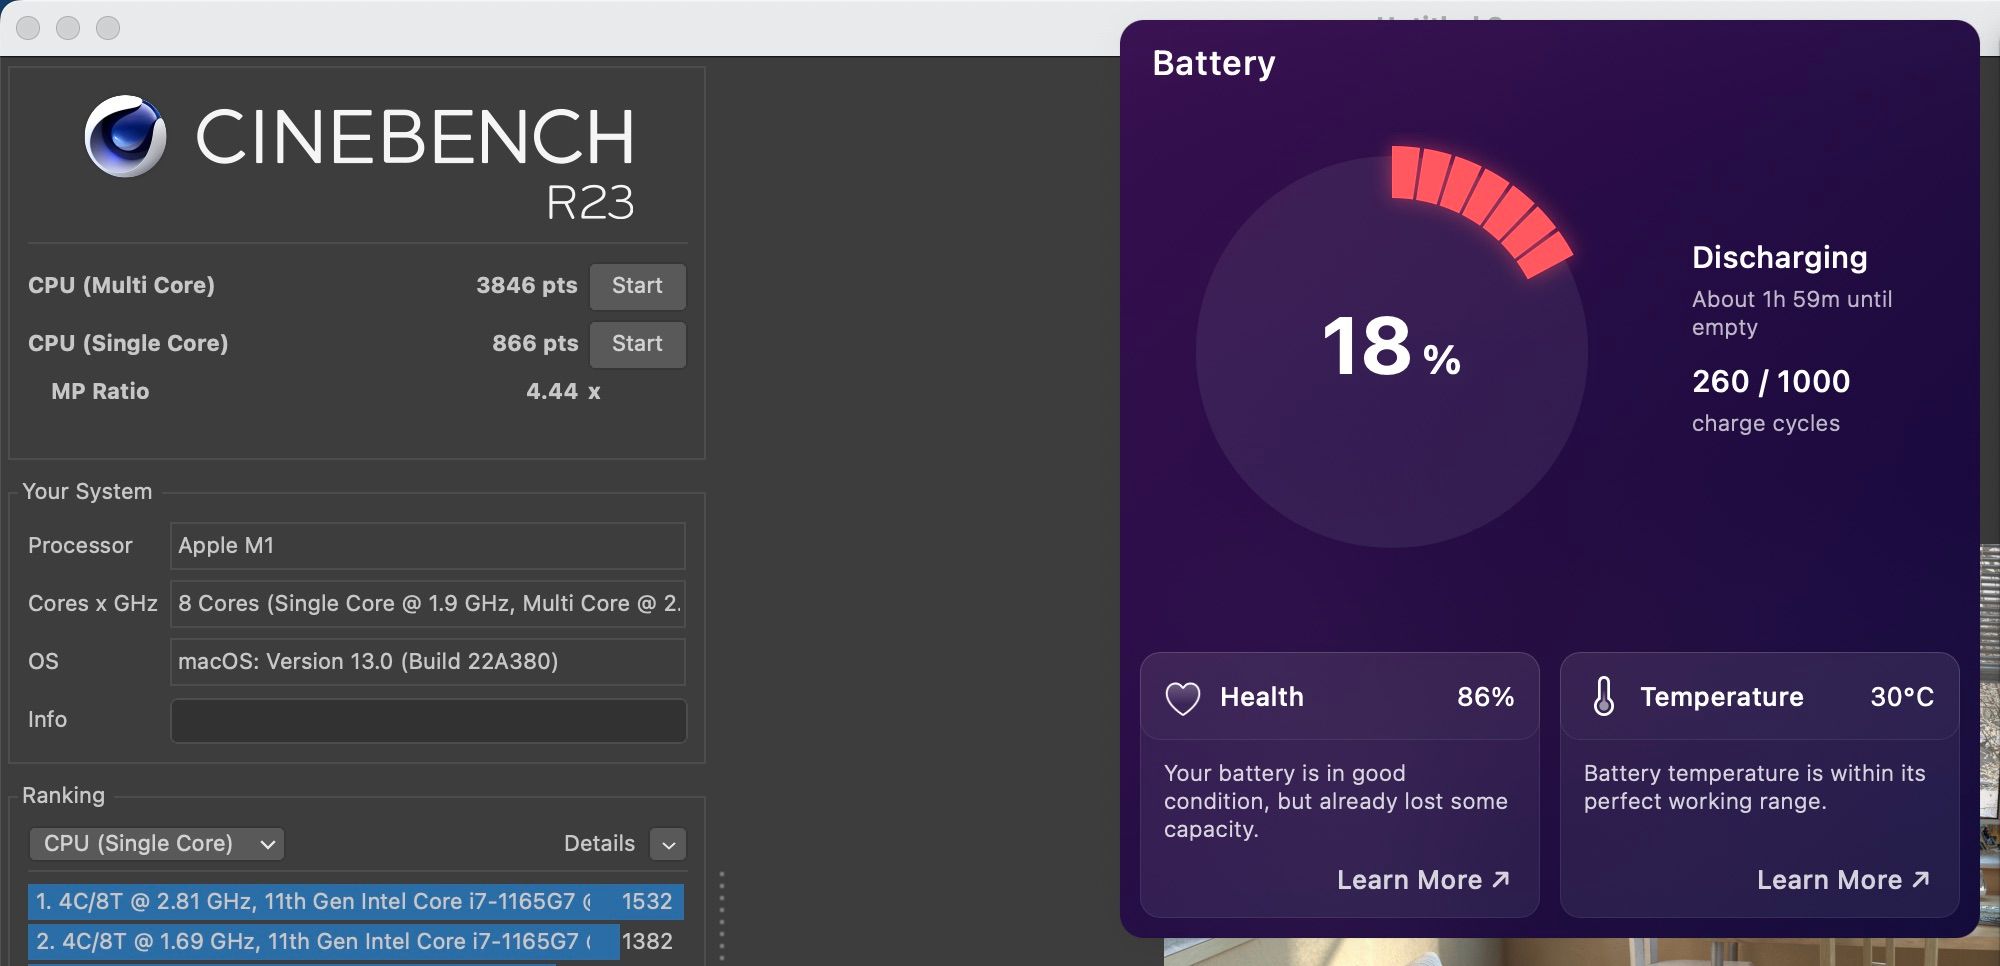
- Download a third-party utility app (like CleanMyMac X) to check your MacBook's CPU and battery temperatures.
- Turn on Low Power Mode when your MacBook's battery is fully charged.
- Start your regular activities on your MacBook, like running apps, watching a movie, reading a book, or playing games.
- While these activities are running, check the temperature of your MacBook, the time it takes for processes to be completed, and how quickly your battery is drained.
- Continue with these activities until the battery runs out.
- Charge your MacBook fully, turn off Low Power Mode and repeat the exact activities till your battery runs out again. Then you can compare the speed of processes, temperatures, battery life, and performance of your MacBook when Low Power Mode is on and off.
Most results from this test showed that the battery lasted longer in Low Power Mode, but the processes were slower. More importantly, the temperature generally stayed lower when Low Power Mode was turned on. This means if you have a MacBook with a fan, it will spin less often and operate quieter due to reduced heat.
If you want to dig deeper, you can check out our list of apps to monitor your MacBook's battery.
Monitor Your MacBook Tests With Activity Monitor
Low Power Mode is an effective way to prolong your MacBook's battery life, but this doesn't come without some noticeable downturns in its performance.
However, Apple has added nifty tools you can use to track your MacBook's behavior in Activity Monitor. You can locate resource-draining apps, keep records, and run tests with Activity Monitor to strike the perfect balance between performance and battery life.


