
TechSmith Capture is software that allows you to record your computer screen. It's simple to use, free to download, and offers many basic screen recording features.
You can record your microphone in the event that you want to do a voiceover. You can also record the system's audio or your webcam. If you choose to record your webcam, TechSmith will place your webcam's view in the bottom-right corner of the screen recording.
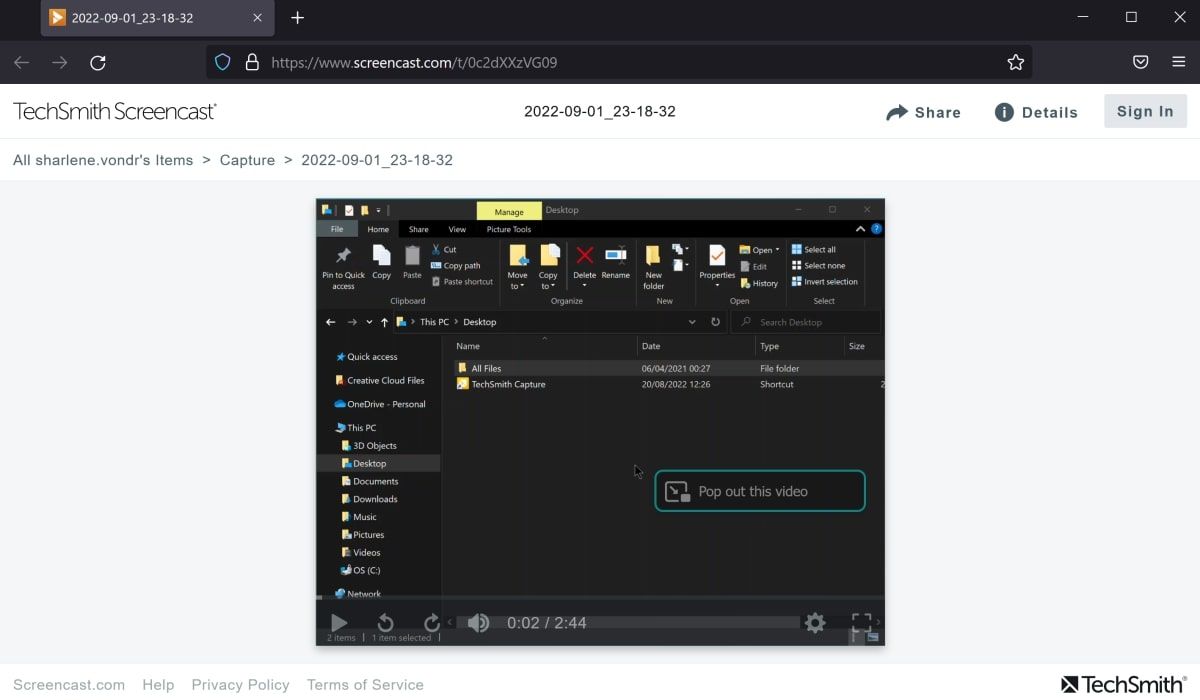
Once you have recorded your video, TechSmith will generate a link. You can use this link to share your video with others.
How to Download and Set Up TechSmith Capture
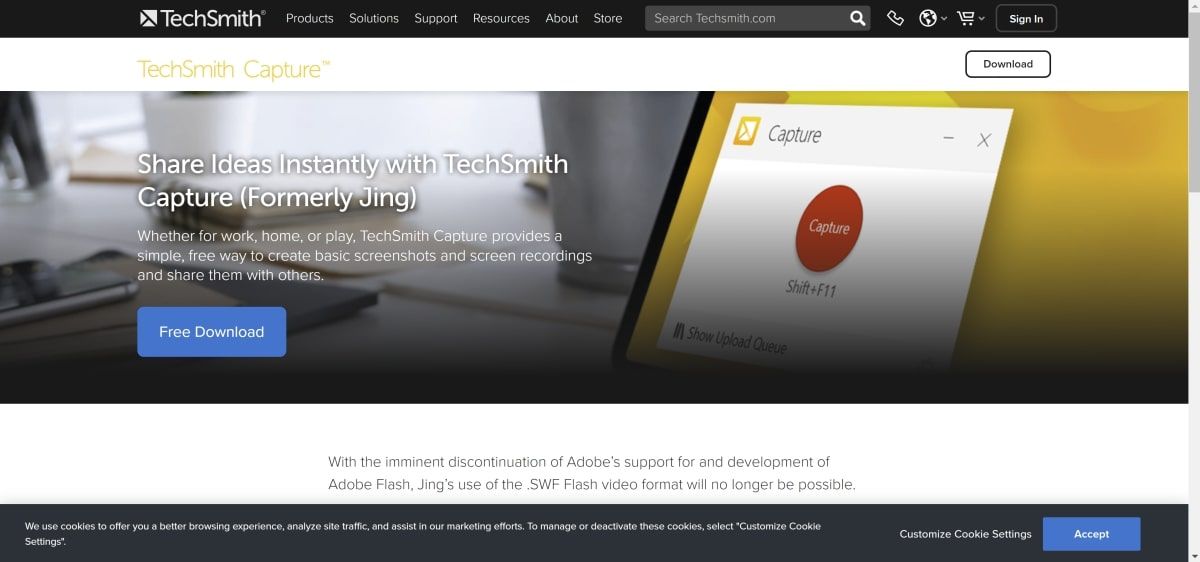
You can download TechSmith Capture for free directly from their official download page.
- Visit TechSmith Capture's download page.
-
Click on Free Download.
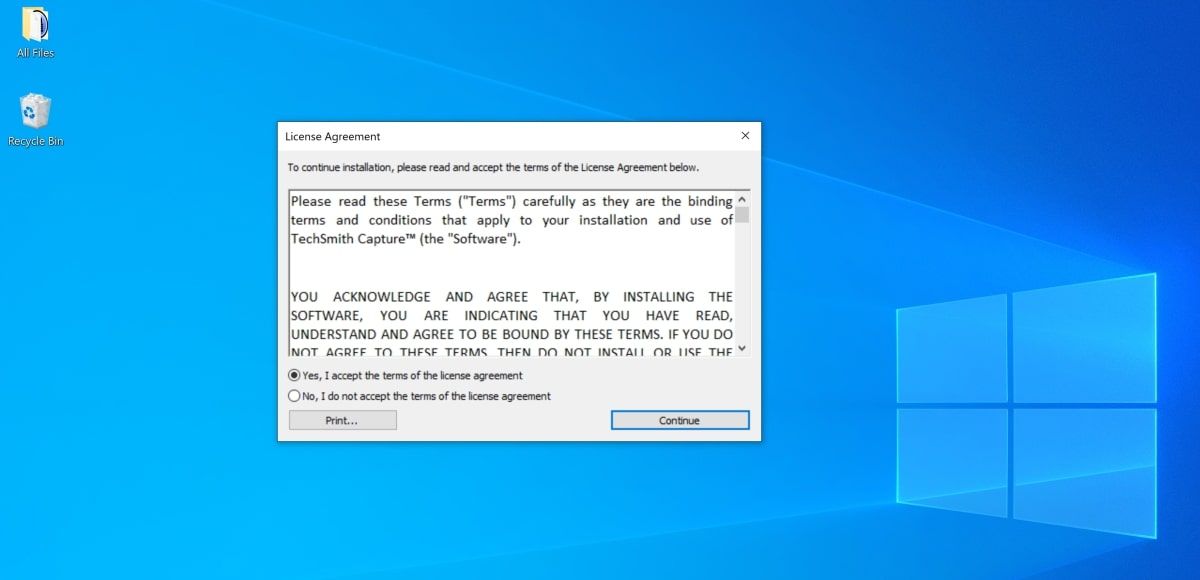
- Select your operating system. TechSmith Capture offers installations for Windows or Mac.
-
Run the Setup.exe file that appears in your downloads folder and follow the prompts to install the software on your computer.


How to Use TechSmith Capture to Screen Record
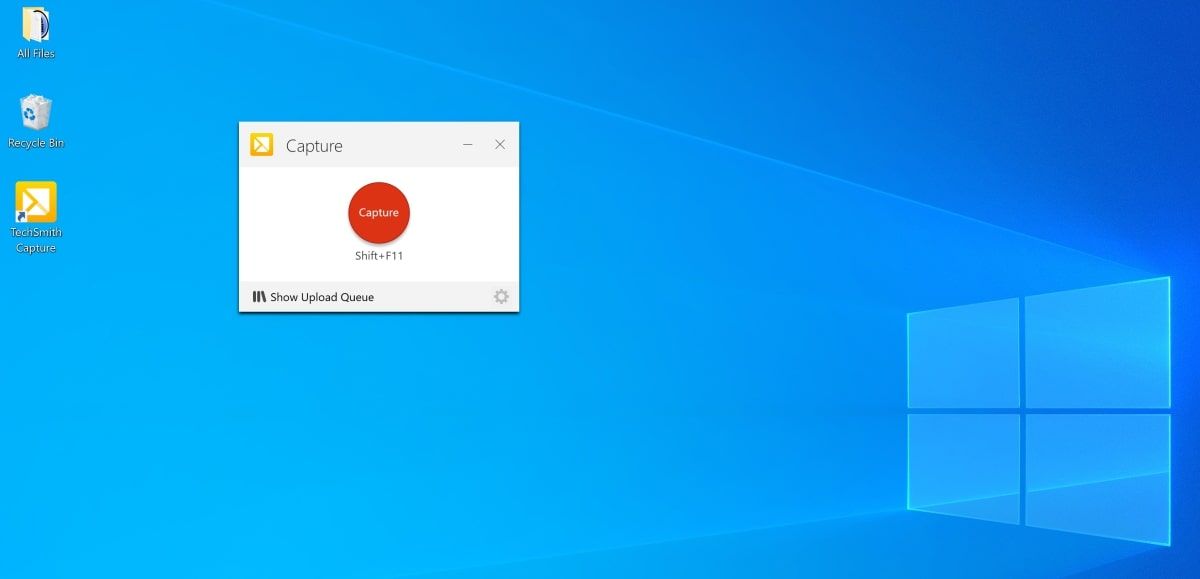
You can screen record by pressing the red capture button. You will also have the option to configure your video settings, such as enabling your microphone, system audio, or webcam.
-
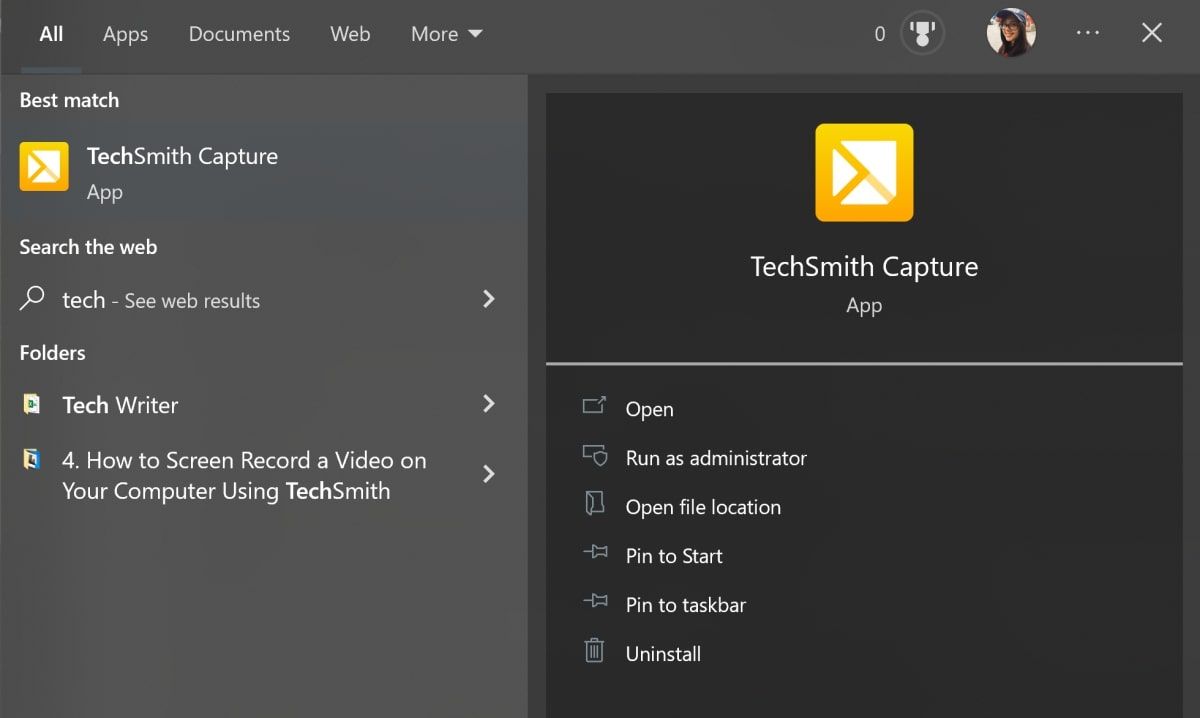
Search for the TechSmith Capture software on your computer and open it.
-
Click on the red Capture button.
-
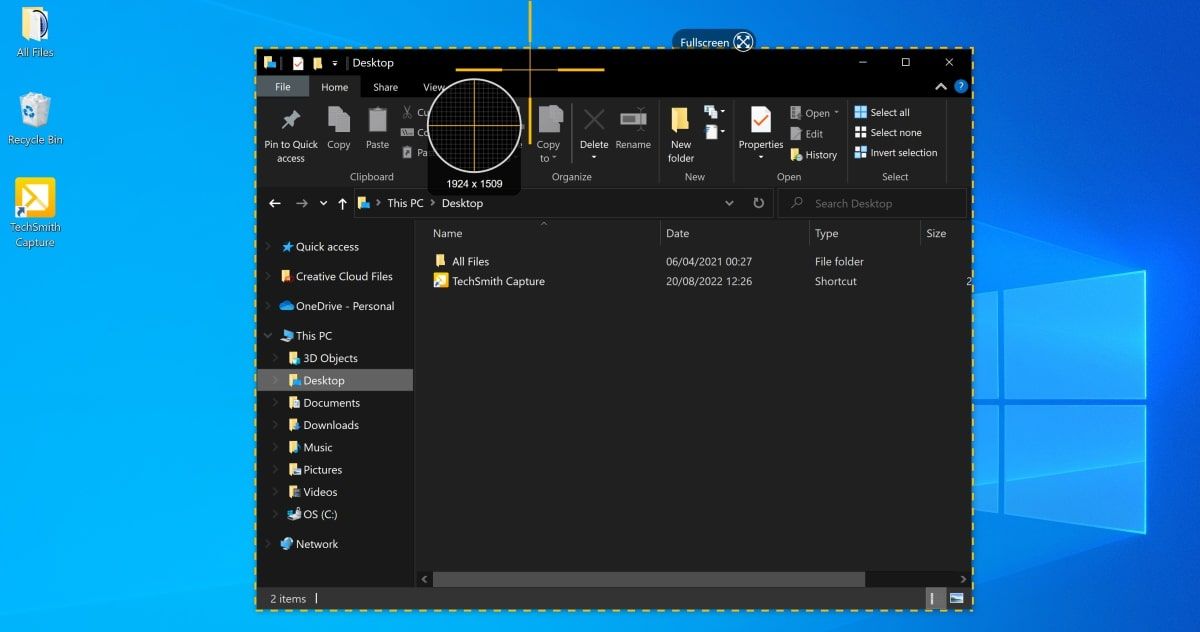
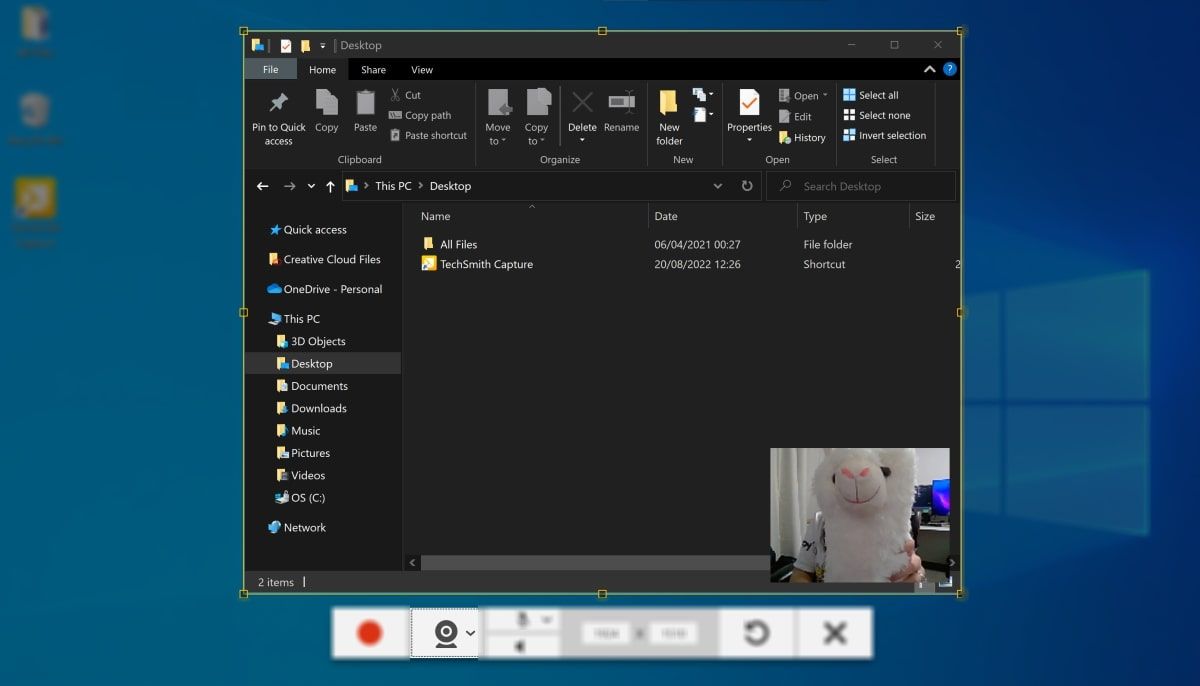
A large crosshair will appear on your screen. Use it to select the window that you want to record. You can also click and drag the crosshair to select a custom area anywhere on your screen.
-
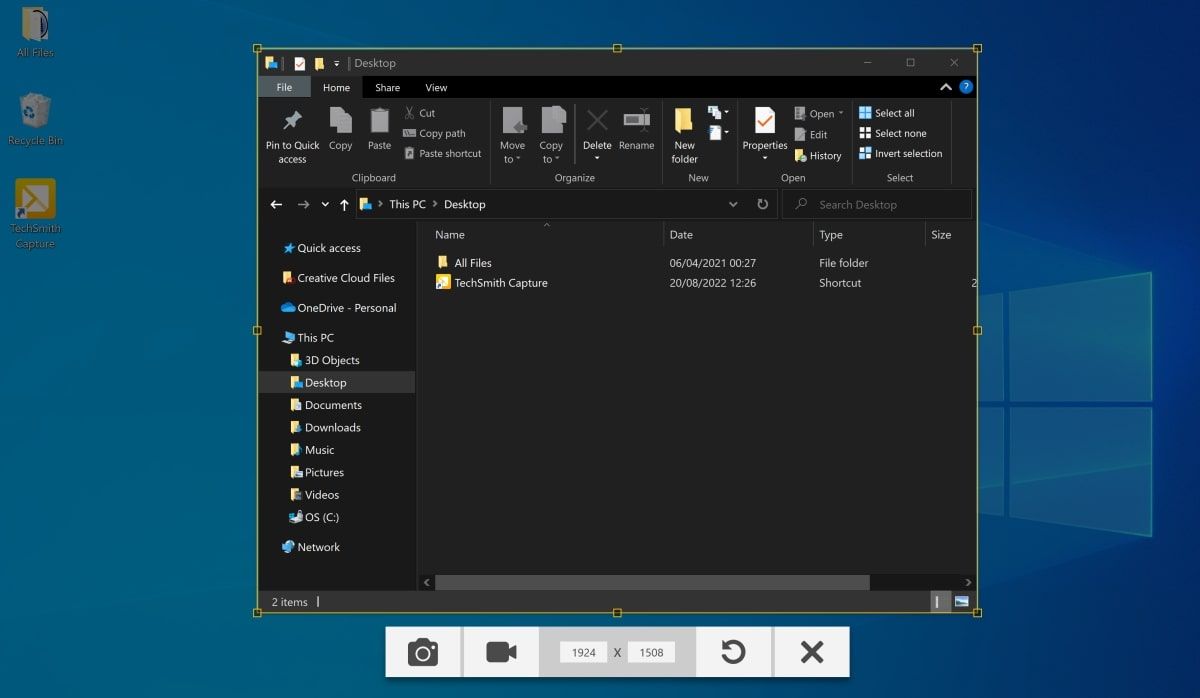
Once you have selected the window, click on the video icon in the bottom options panel.
-
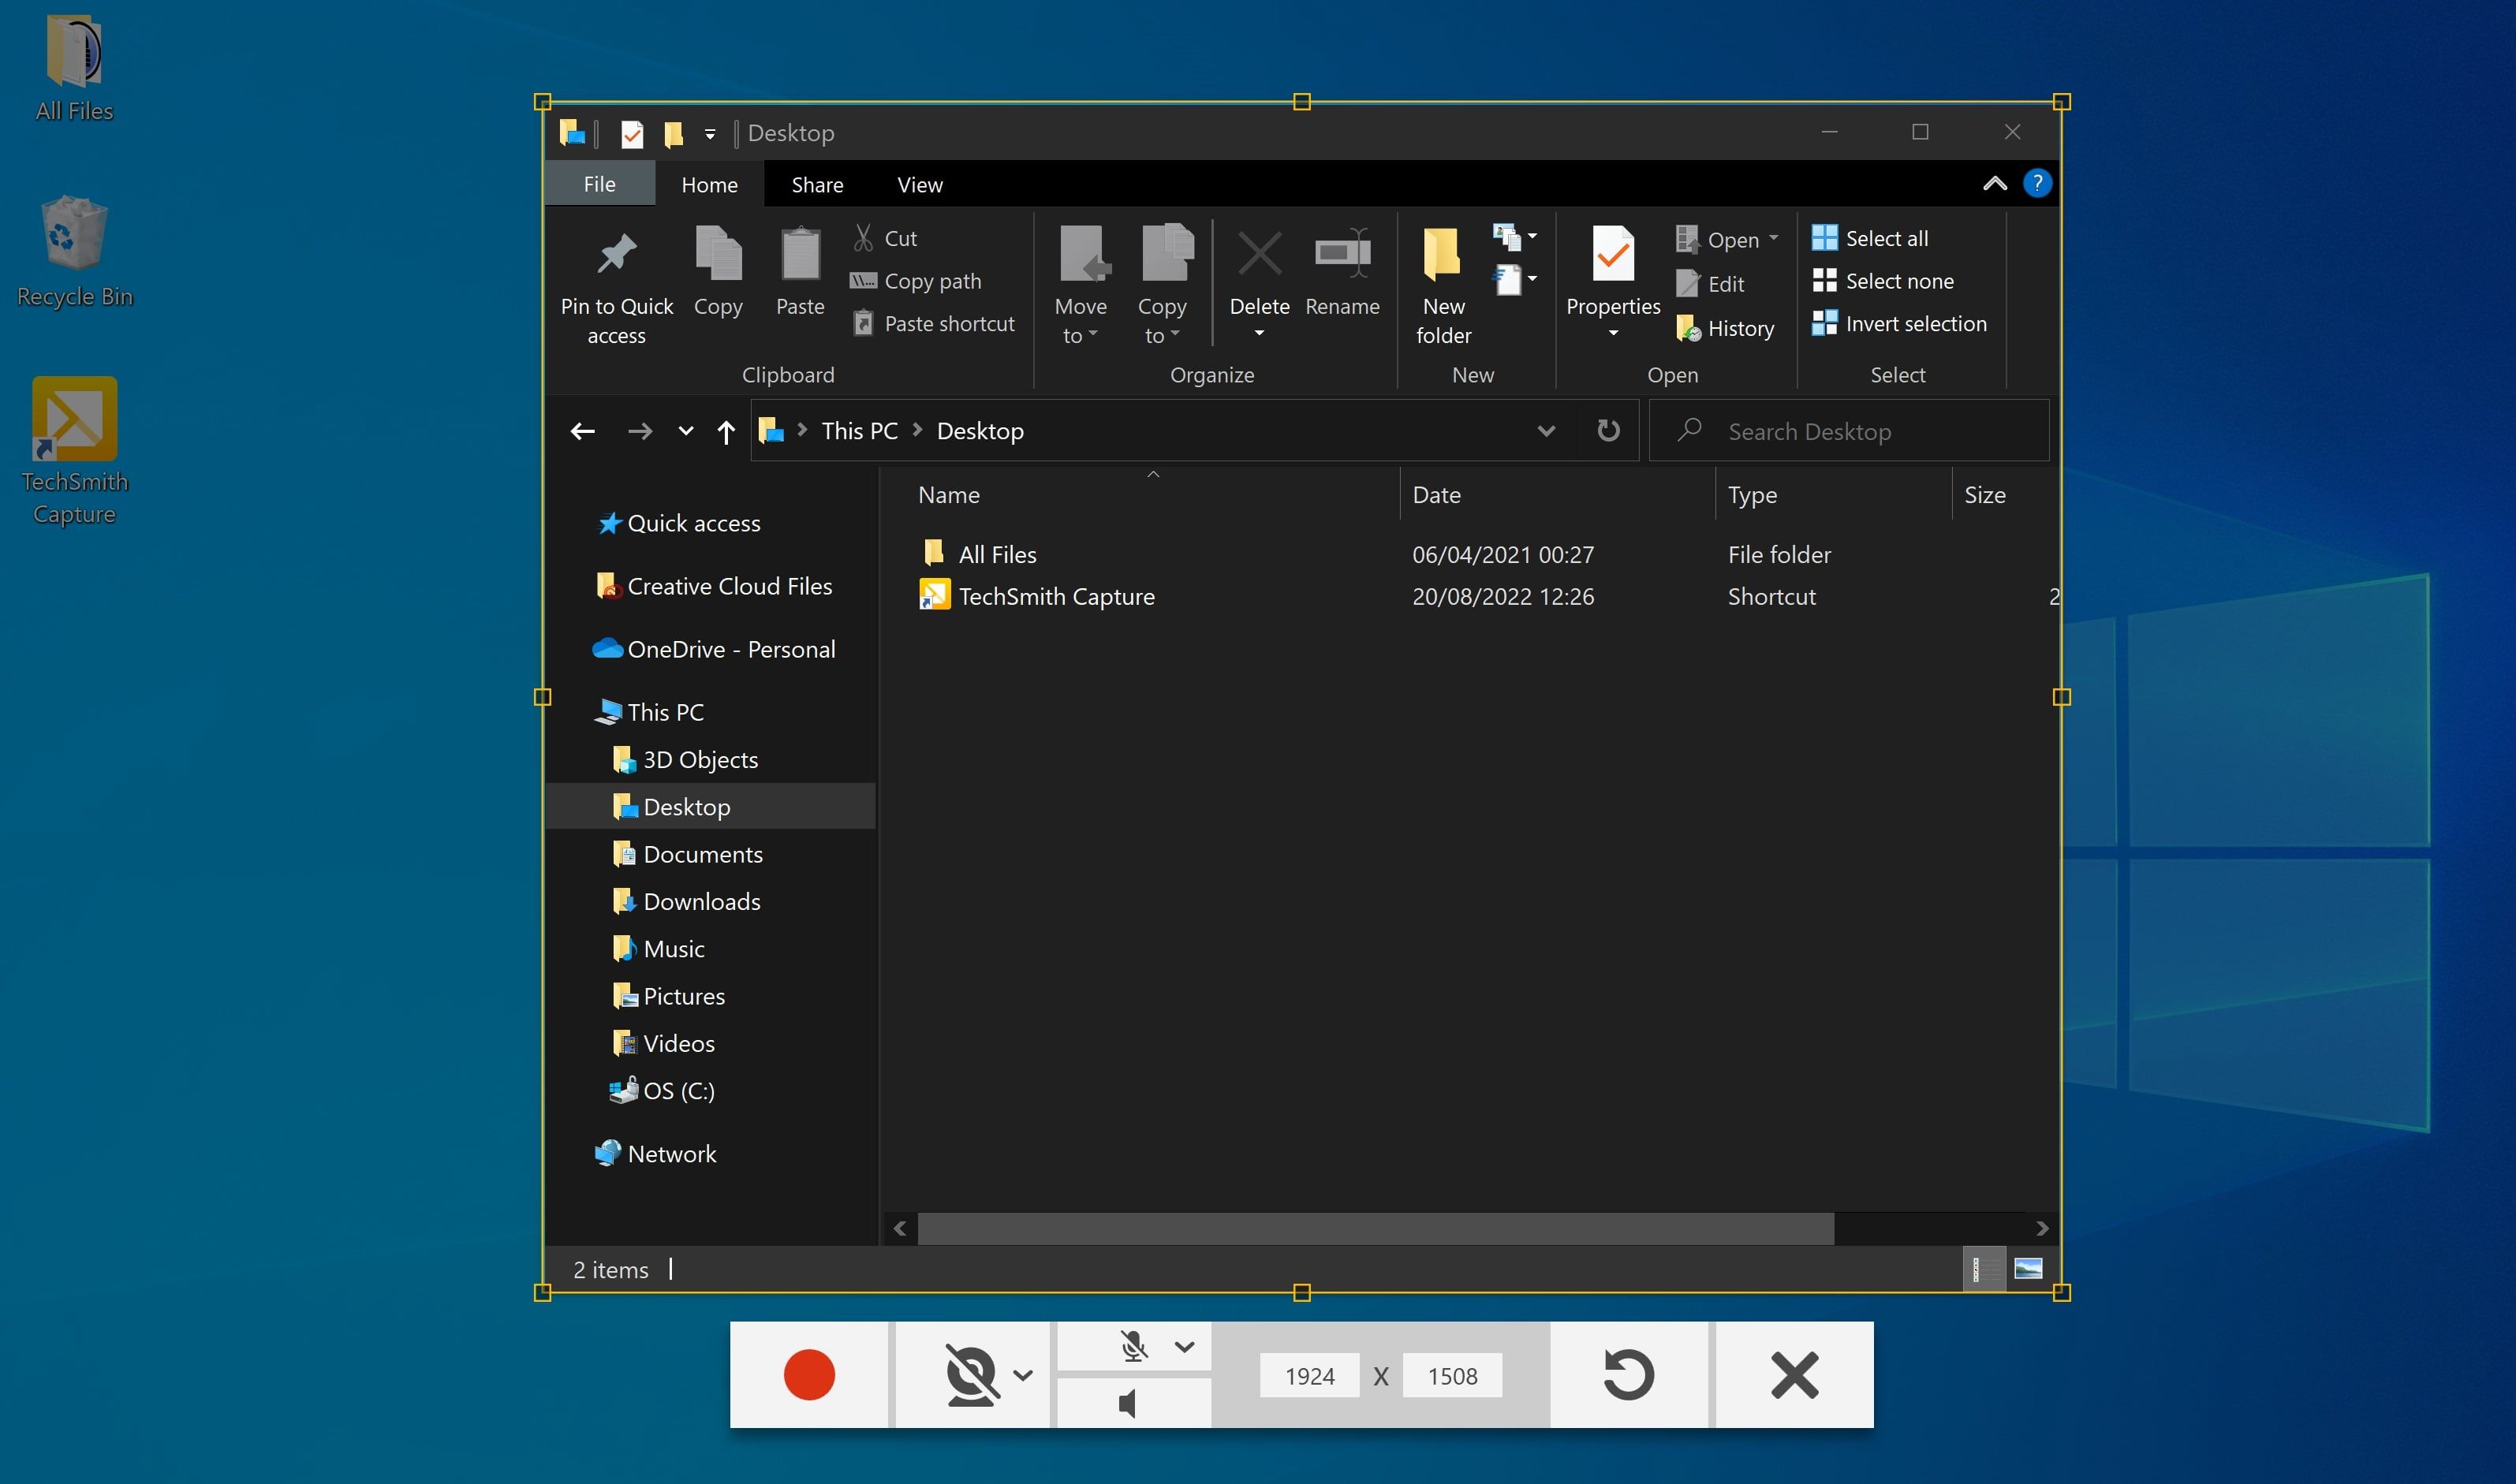
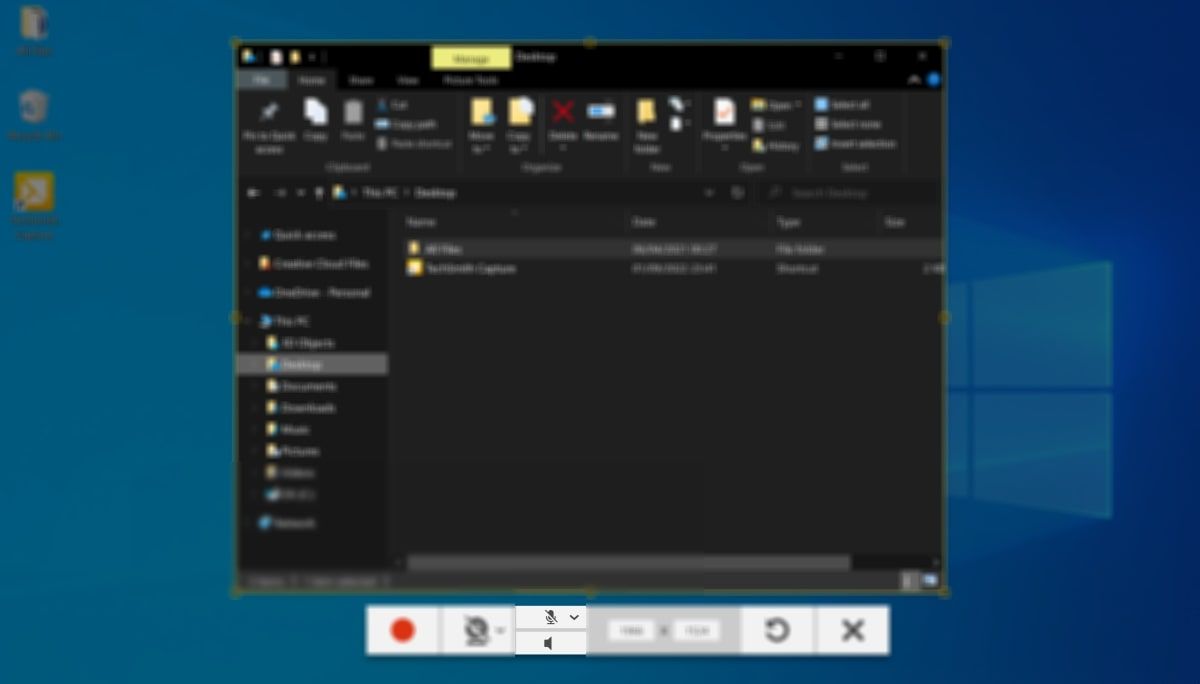
This is where you will be able to configure some basic settings before or during the video. To start the video recording, click on the red record button on the leftmost side of the panel.
-
You can use the microphone button to select, mute, or unmute your microphone before or during the recording. You can use your microphone if you are doing a voiceover for the video. You can also mute or unmute the system's audio.
-
Use the video button to start recording your camera. This will add your camera recording to the bottom-right corner of the screen recording. If you are not familiar with using a webcam, you can learn more about how to set up a webcam on Windows 10, or how to change your webcam settings on Windows 11.
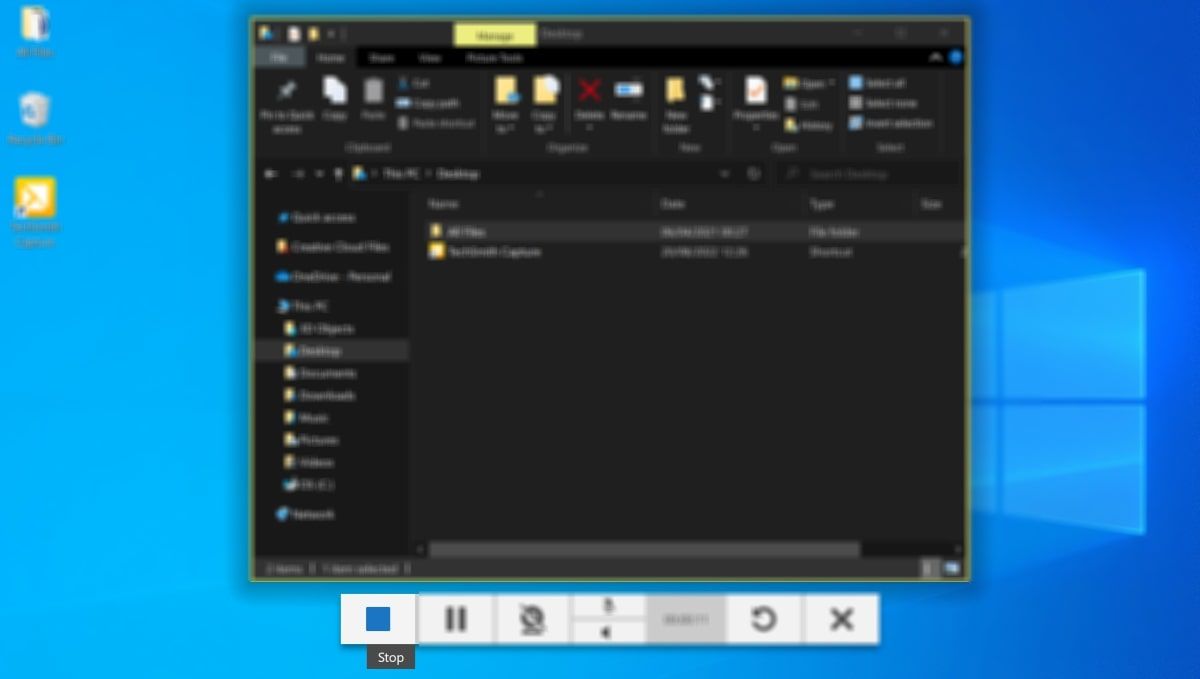
- Click on the refresh button to start the recording over again.
-
Press the stop button to stop the recording.
-
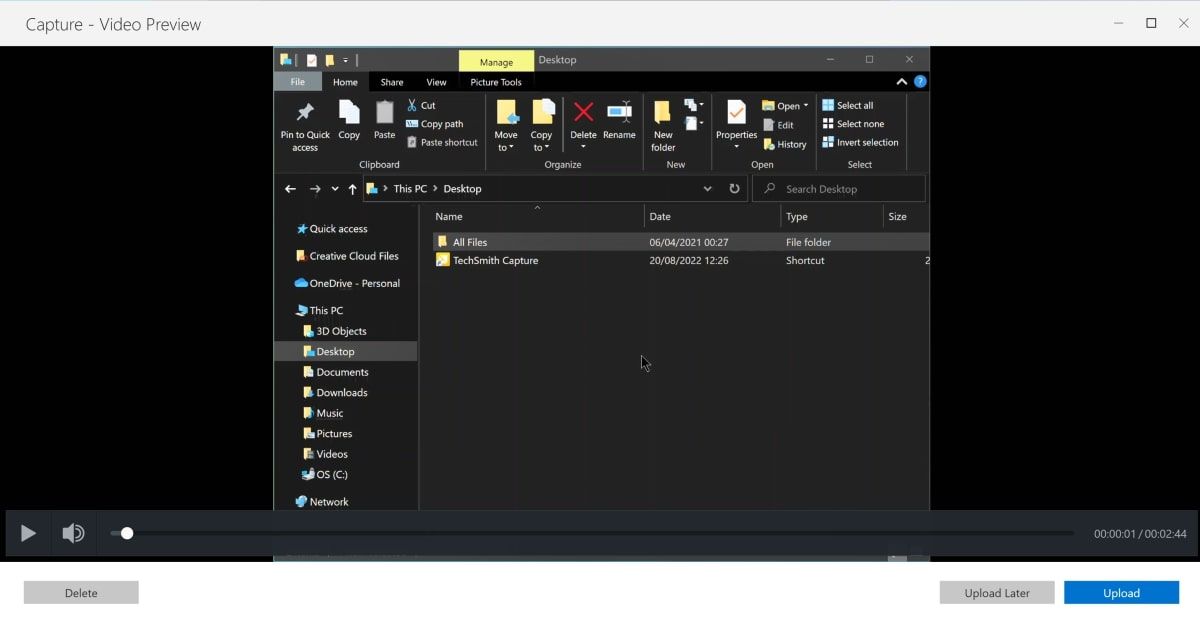
TechSmith Capture will play the video back to you in a preview window. Click on the Upload button in the lower-right corner of the preview window.
-
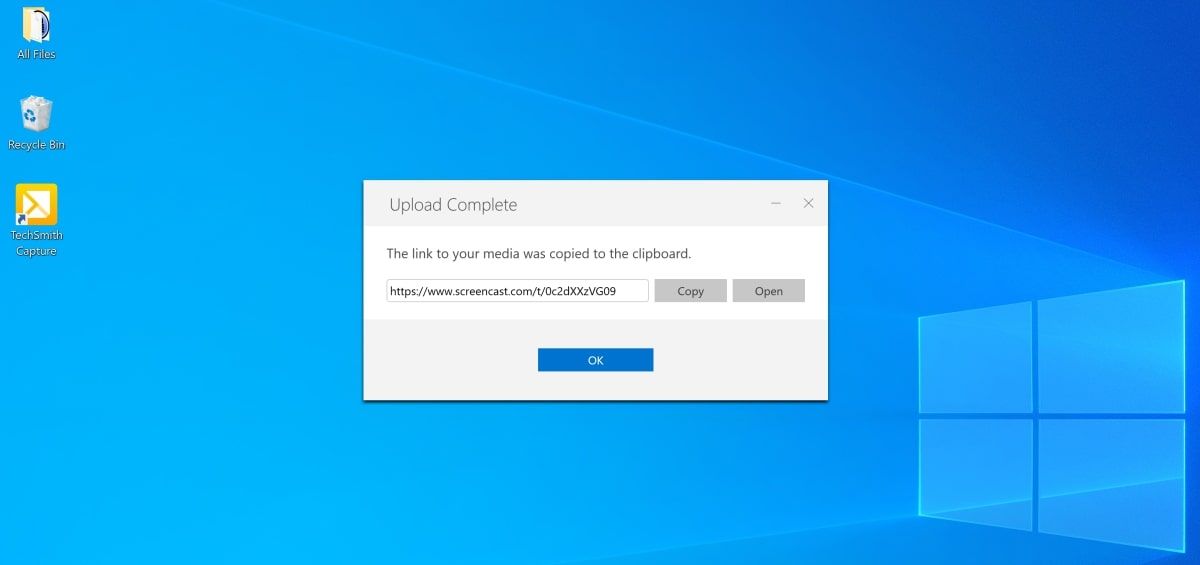
You will receive a link that you can use to access, watch, and share the video.
-
Anyone that has this link will be able to watch your screen recording by opening the link in a browser.


Easily Record Your Screen With TechSmith Capture
TechSmith Capture allows you to screen record whatever you are doing on your computer. You also have the option to record your voice, webcam, or even select just a part of the screen to record.
Once you have finished your screen recording, TechSmith Capture will let you preview your video. You will receive a link that will allow you to view your video in a browser. You can share this link with anyone if you also want them to view your screen recording.
TechSmith Capture isn't the only efficient screen recording tool, so if you would rather try something else, there are plenty of other screen recording tools that you can use to record your computer screen.