Taking a screenshot is a basic but vital practice on any device. It's the best way to capture funny moments, illustrate a problem, or keep proof of something.
If you don't know how to take screenshots on your iPhone, this is the guide for you. We'll show all the different ways to grab iPhone screenshots, along with some tips for making the most of them.
The Screenshot Combo Depends on Your iPhone
Starting with the iPhone X, Apple changed the shortcuts and button combos for several iPhone features. This is due to newer models lacking a Home button.
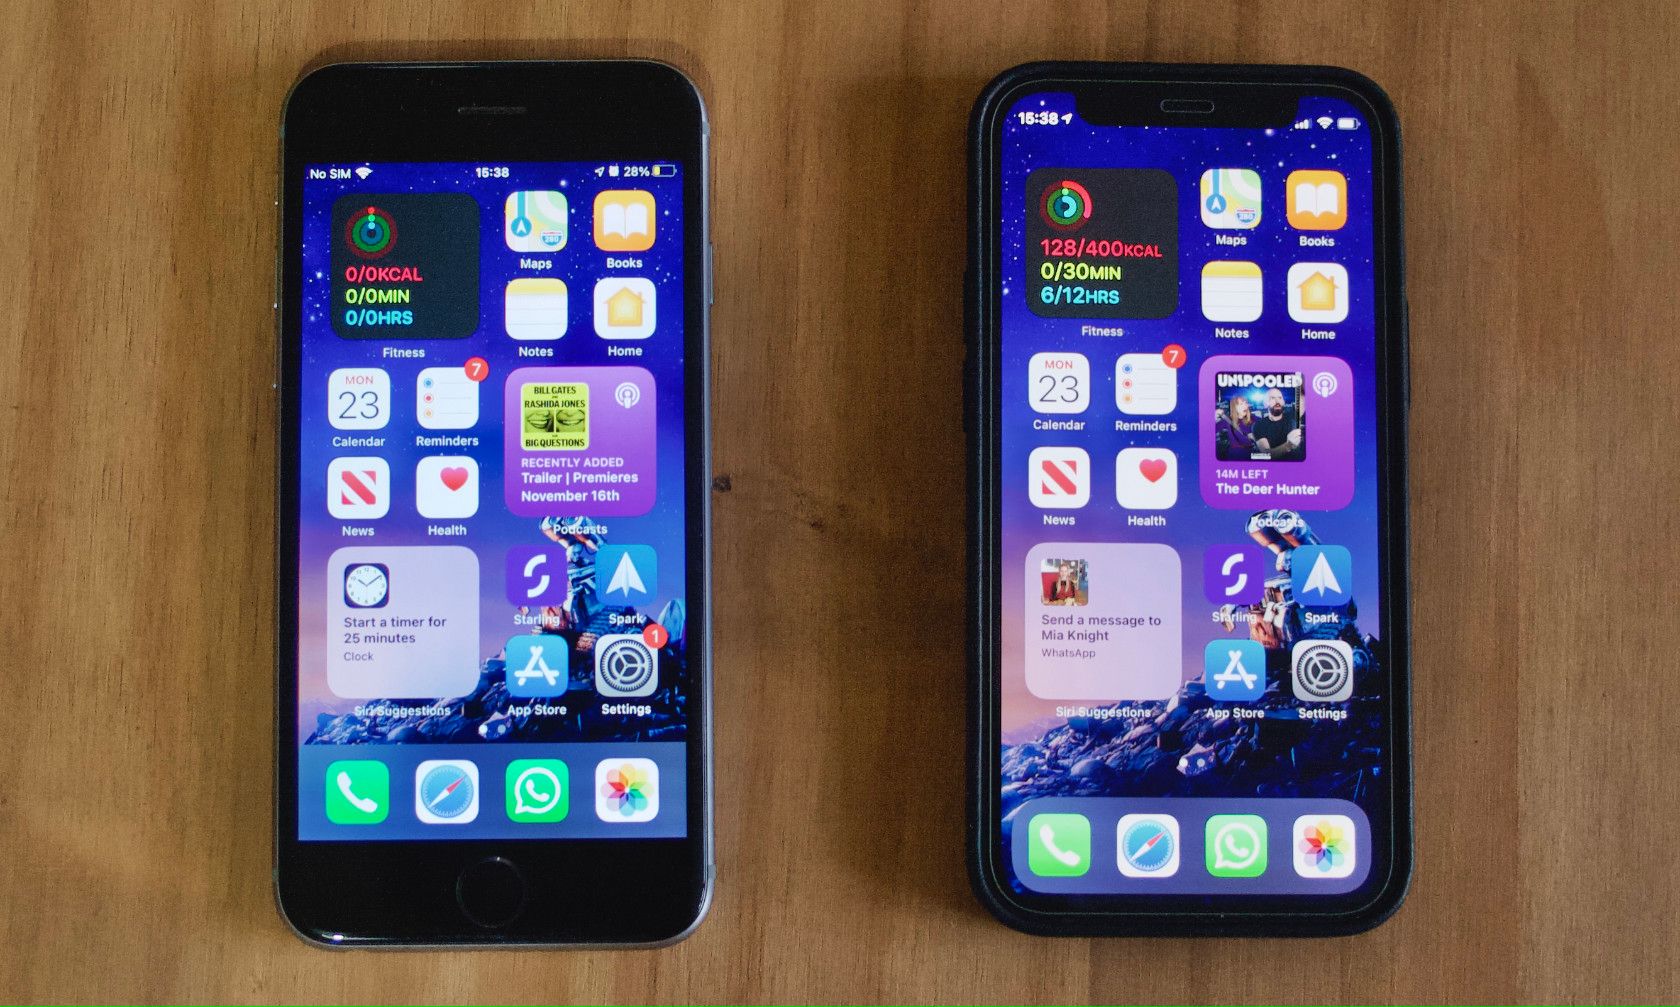
Thus, if you have an iPhone without a Home button (below right), you'll use a different method than devices with a Home button (below left). We explain both below.
How to Take a Screenshot on an iPhone Without a Home Button
If you have an iPhone X, XS, 11, 12, or other iPhone that uses Face ID, you'll need to use a combination of the Side button (located on the right side of your iPhone) and the Volume Up button (on the left side of your device, above Volume Down).
This is the method you need to take a screenshot on your iPhone 12, iPhone 11, or similar:
- Press the Side and Volume Up buttons at the same time.
- Release both of the buttons.
If you did it right, you should hear a camera shutter sound, as long as your phone's volume is on. You'll also see your screen flash briefly, as a preview of what you captured shows at the bottom-left of your screen.
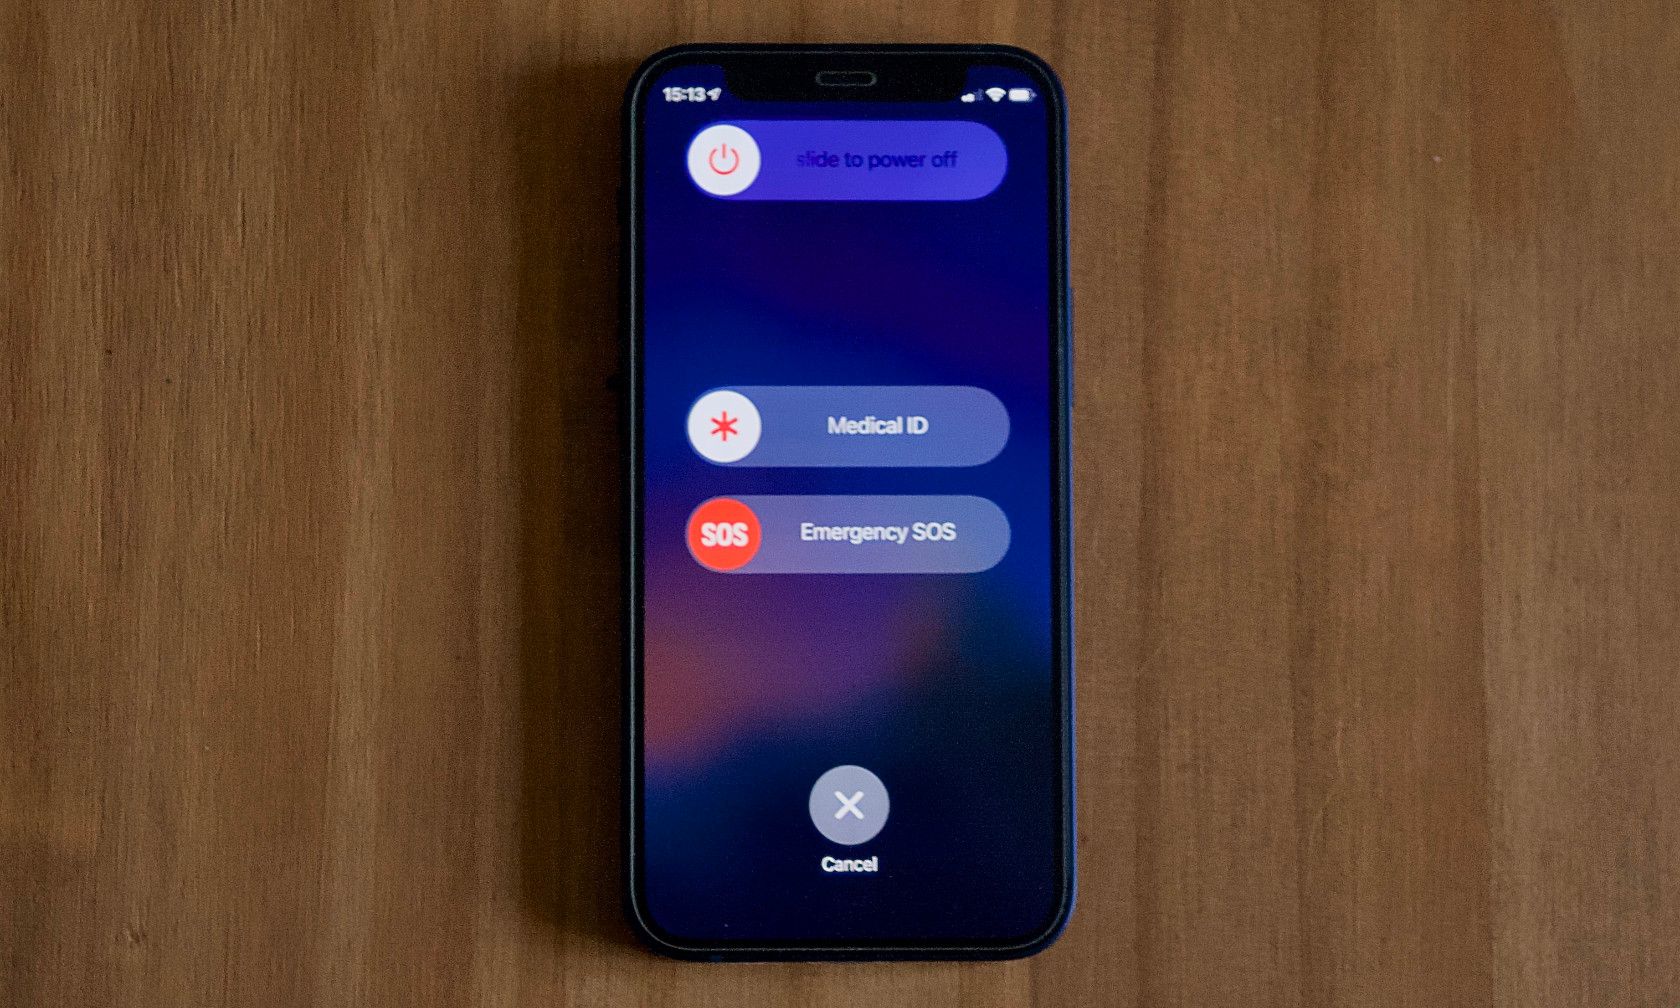
The screenshot will still work even if you only press the buttons for an instant. But if you hold these buttons together for too long, you'll see the Slide to power off and Emergency SOS screen instead (which is how you turn off your iPhone).
If this happens, tap Cancel and try the button combo again, holding it for a shorter time.
How to Take a Screenshot on an iPhone With a Home Button
If you have an iPhone with a Home button—including the iPhone 8 and older or an iPhone SE—you'll use a slightly different method to take a screenshot on your iPhone.
On all iPhone models since the iPhone 6, the Sleep/Wake button, required for screenshots, is located on the right side of the device. If you have a first-generation iPhone SE or an iPhone 5s or older, this button is on the top of the device instead.
This is how to take a screenshot for iPhone models with a Home button:
- Press and hold the Home button and the Sleep/Wake button at the same time.
- Release both buttons.
Just like with newer iPhone models, you'll hear a shutter (if your sound is enabled) and see a flash. As long as you're on iOS 11 or later, you'll also see a preview of your capture at the bottom-left of the screen.
If you see the Slide to power off menu instead of taking a screenshot, then you didn't hit the Home button properly. And if you go to your iPhone's Home screen instead of taking a screenshot, you didn't hit the Sleep/Wake button.
How to Take an iPhone Screenshot Using Siri
Starting with iOS 14, Siri can take an iPhone screenshot for you. This is due to the revised interface, where Siri no longer takes up the entire screen when you summon her.
To use this function, just pull up Siri. You can do this using any of the following methods:
- Press and hold the Side button for a moment, on an iPhone without a Home button.
- Press and hold the Home button for a moment, if your iPhone has one.
- Say "Hey Siri", if you've enabled this option under Settings > Siri & Search.
Once Siri appears, just say "Take a screenshot." Siri's icon will disappear from the screen, then your phone will snap a screenshot just like if you used one of the button methods.
If you didn't know about this, why not check out some other great Siri commands to use on your iPhone?
How to Take iPhone Screenshots Using AssistiveTouch
If you aren't able to use the above methods because you can't press the buttons correctly or one of your buttons isn't working, an iOS accessibility feature called AssistiveTouch will help.
This is a menu that allows you to perform certain actions if you have trouble touching the screen or using your phone's buttons. However, it also comes in handy for replacing these actions if your iPhone's Home button isn't working.
To use AssistiveTouch, head to Settings > Accessibility > Touch > AssistiveTouch. Turn the AssistiveTouch slider on to enable it, and you'll see a white dot appear on your screen. You can touch and drag this wherever you need to put it; tap to open it.
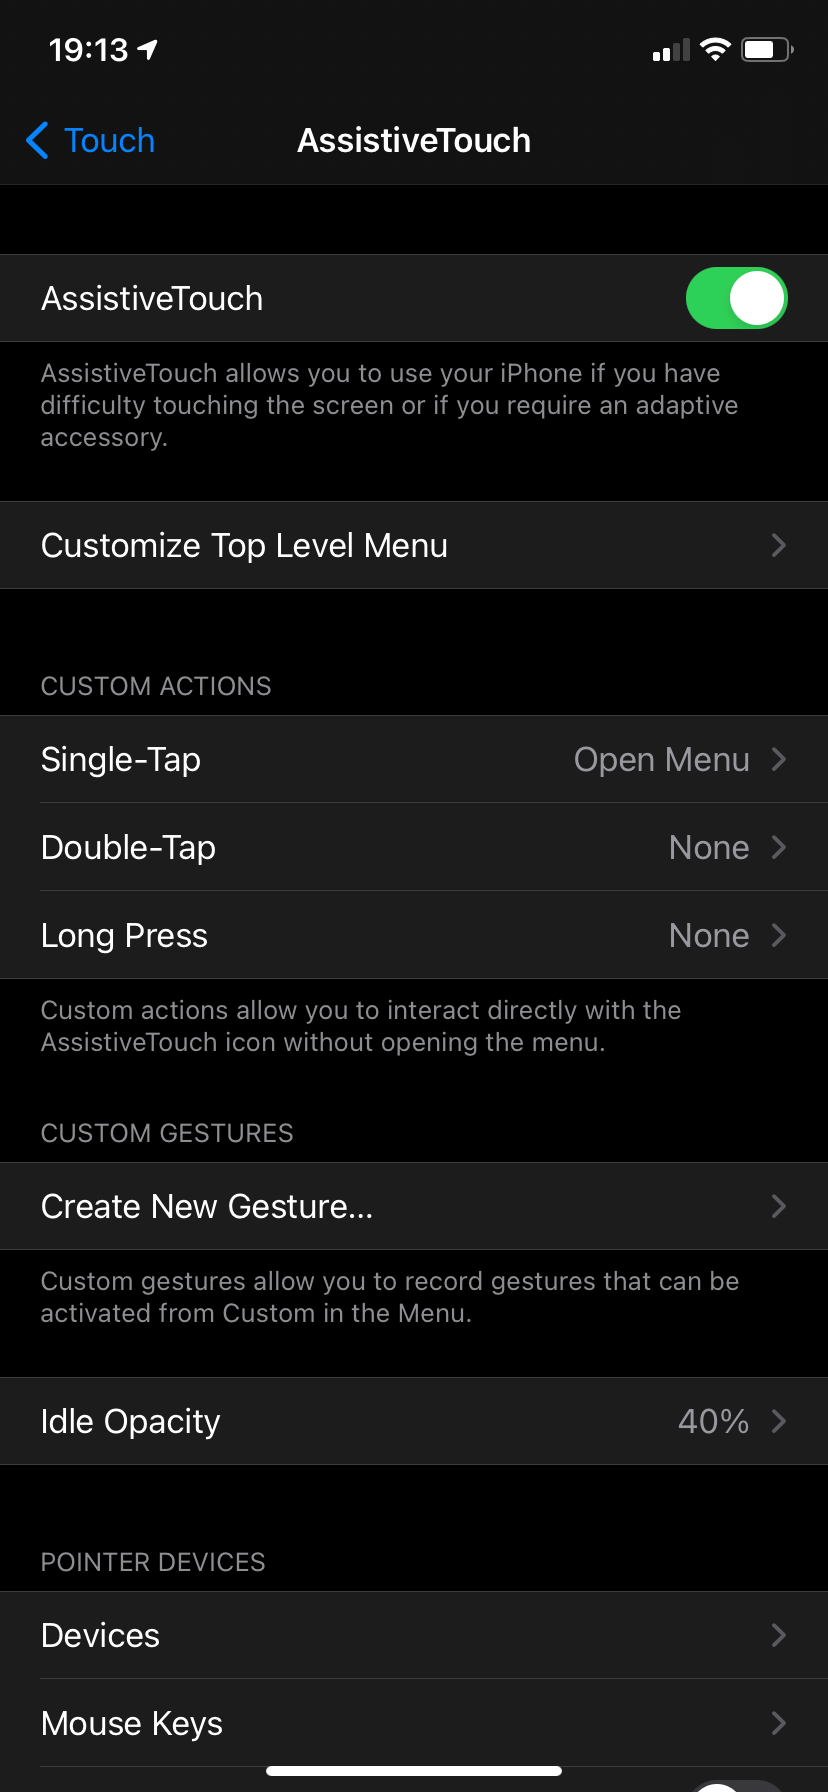
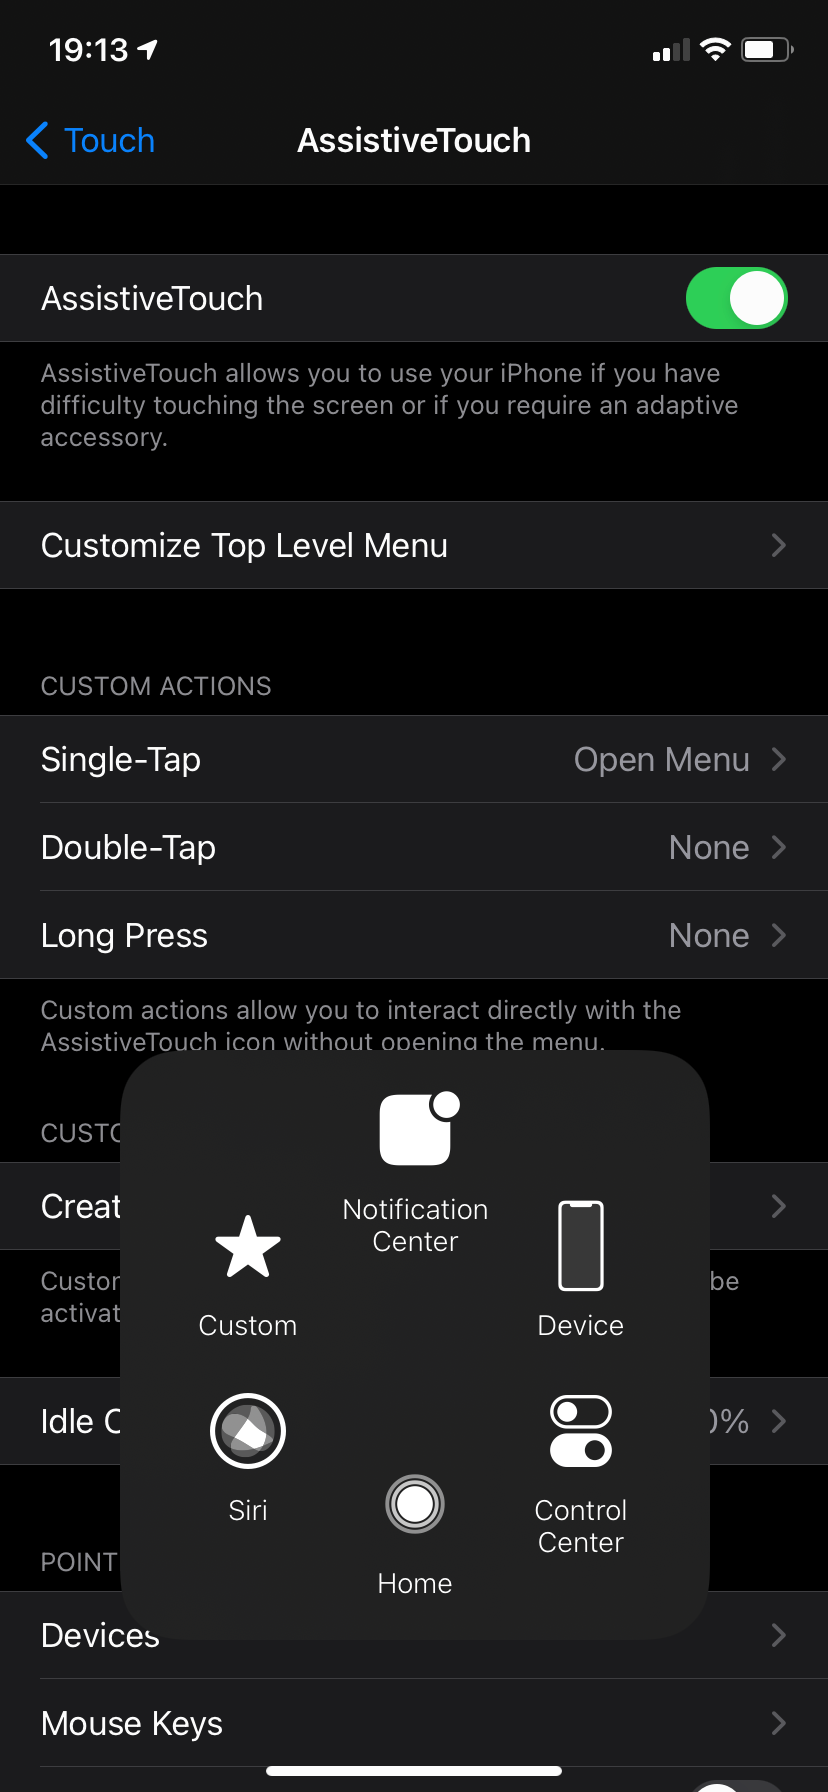
By default, you can double-tap the icon to take a screenshot. The screenshot command is also available under Device > More > Screenshot. However, since this isn't very convenient, you can customize the menu to make snapping screenshots more accessible.
Tap Customize Top Level Menu to do so. Select one of the existing icons to replace it, or hit the Plus icon at the bottom-right to add a new one. From the list that appears, choose Screenshot to add it to the top menu.
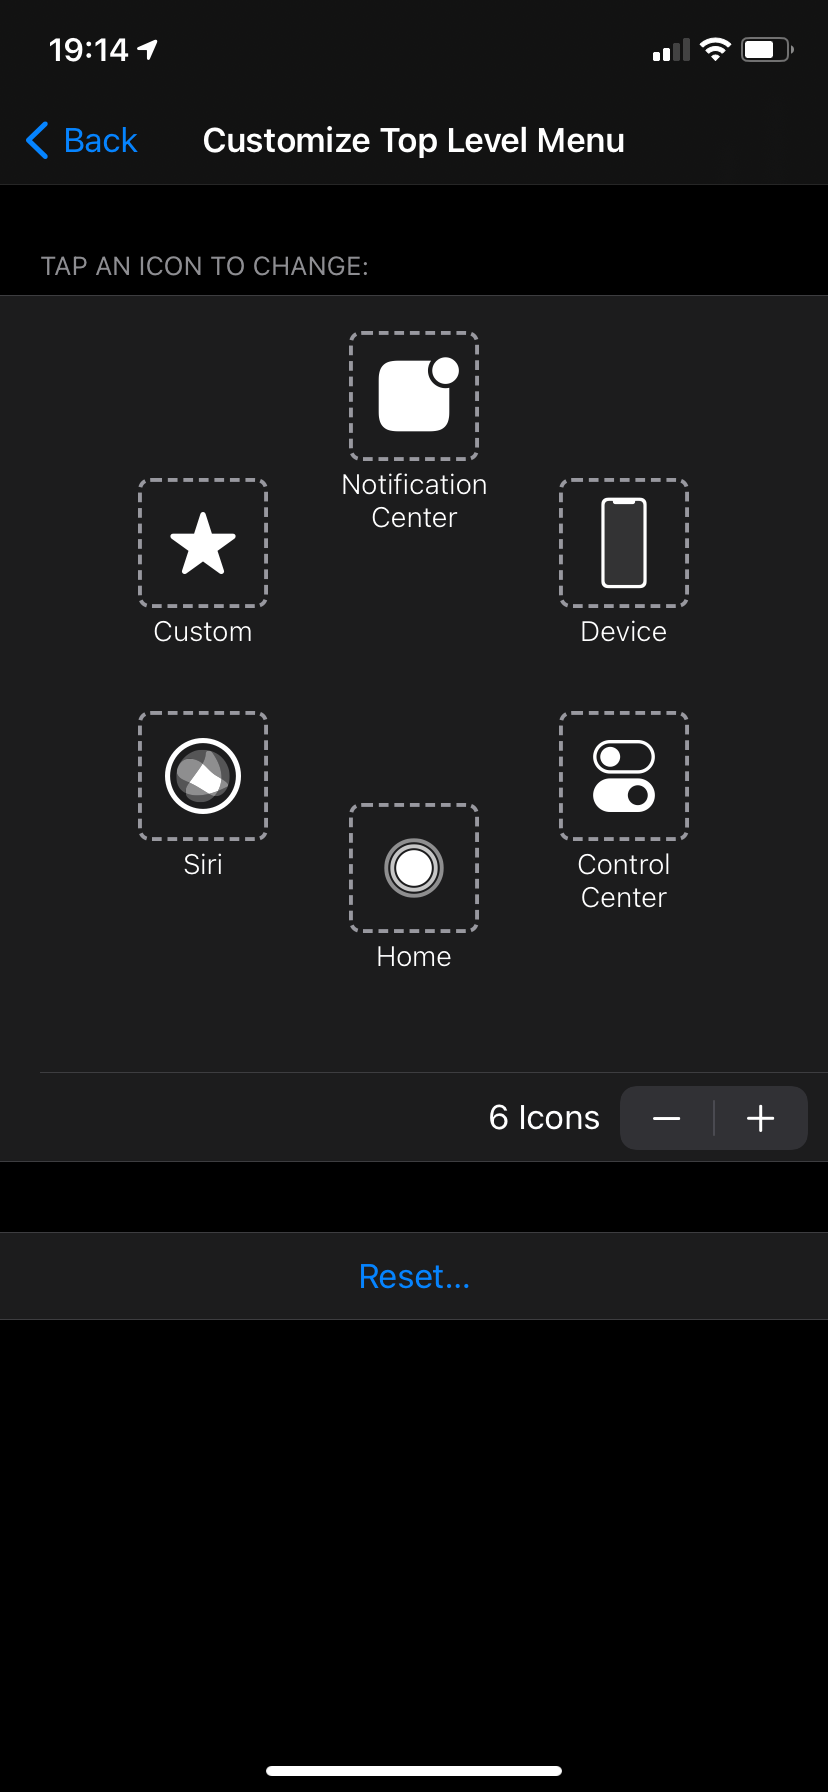
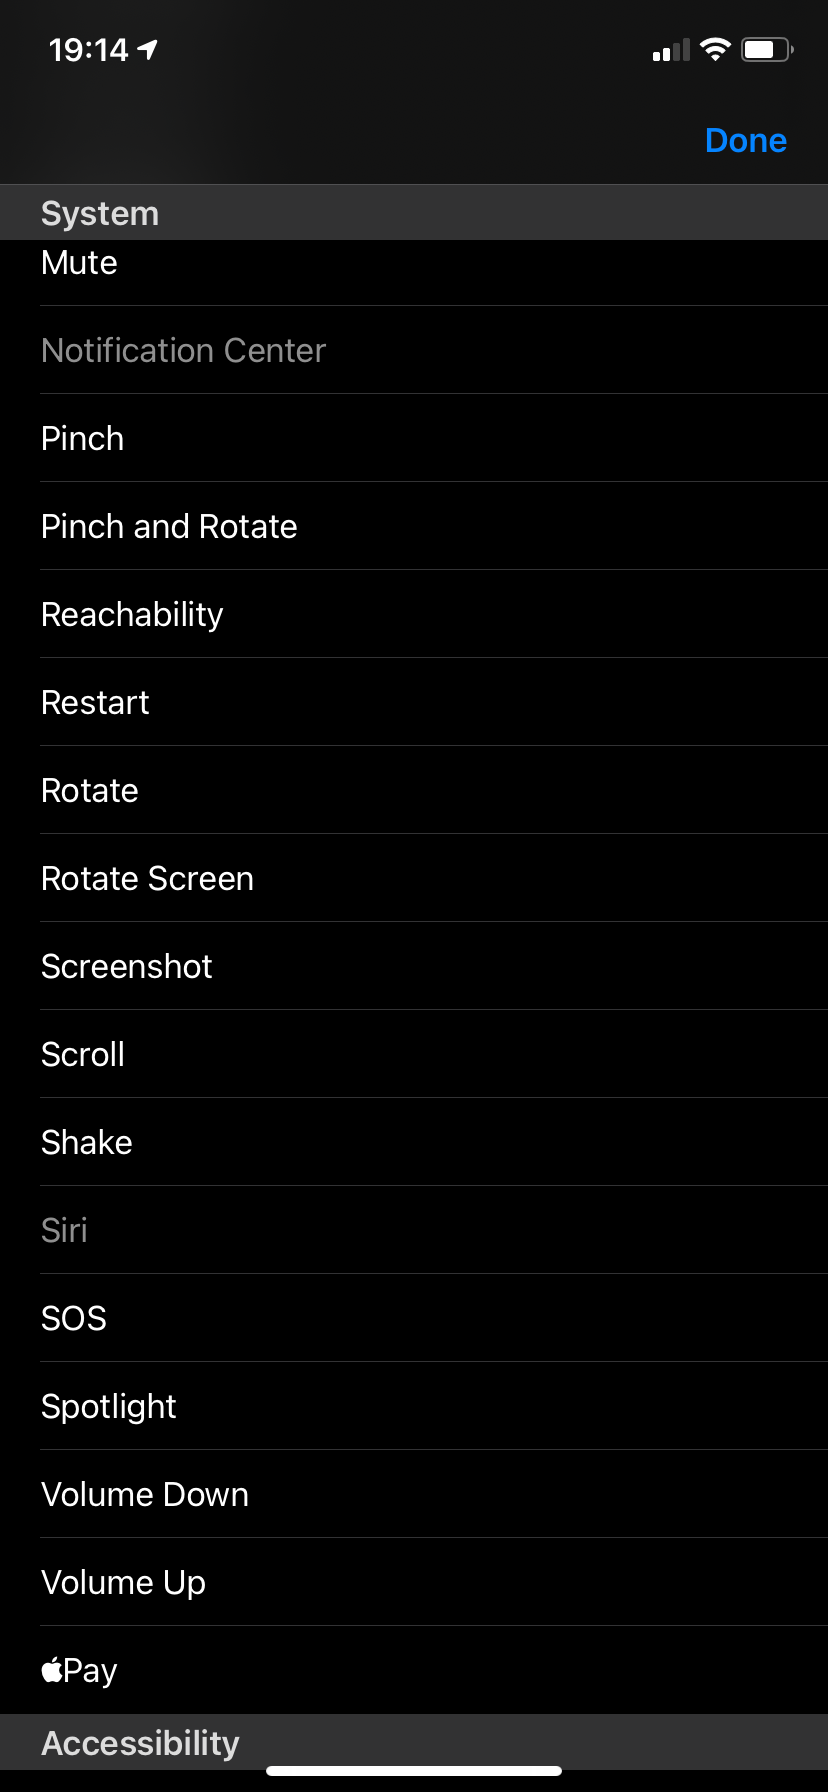
Now, when you want to take a screenshot, tap the shortcut in AssistiveTouch to do so easily. The screenshot won't show the AssistiveTouch icon.
How to Take iPhone Screenshots by Tapping Your Phone's Back
iOS 14 introduced another new feature: Back Tap. This lets you tap the back of your iPhone to activate certain actions, such as launching Spotlight or turning on the flashlight. Thankfully, taking a screenshot is one of the supported options when using this.
See our guide to Back Tap on iOS to learn how it works.
How to Edit iPhone Screenshots After Taking Them
We mentioned earlier that iOS 11 and later always show a preview of your screenshot in the bottom-left corner of your screen after taking them. This allows you to easily review, edit, share, or delete your screenshot without having to jump into the Photos app.
Your screenshot will always save by default, so you can swipe away that preview to the left if you don't need it. Tap the screenshot preview to open the editor and get more options.
Here, you have some basic tools like a marker, highlighter, and ruler, plus a color wheel. Hit the Plus icon for a few extra options like adding text, arrows, or other icons. As you work, you can use the Undo and Redo buttons at the top if you need to fix a mistake.
Tap the Share icon at the top-right to send the image using an app on your phone. If you want to quickly share a screenshot without editing it, press and hold on the preview to open the Share sheet immediately.
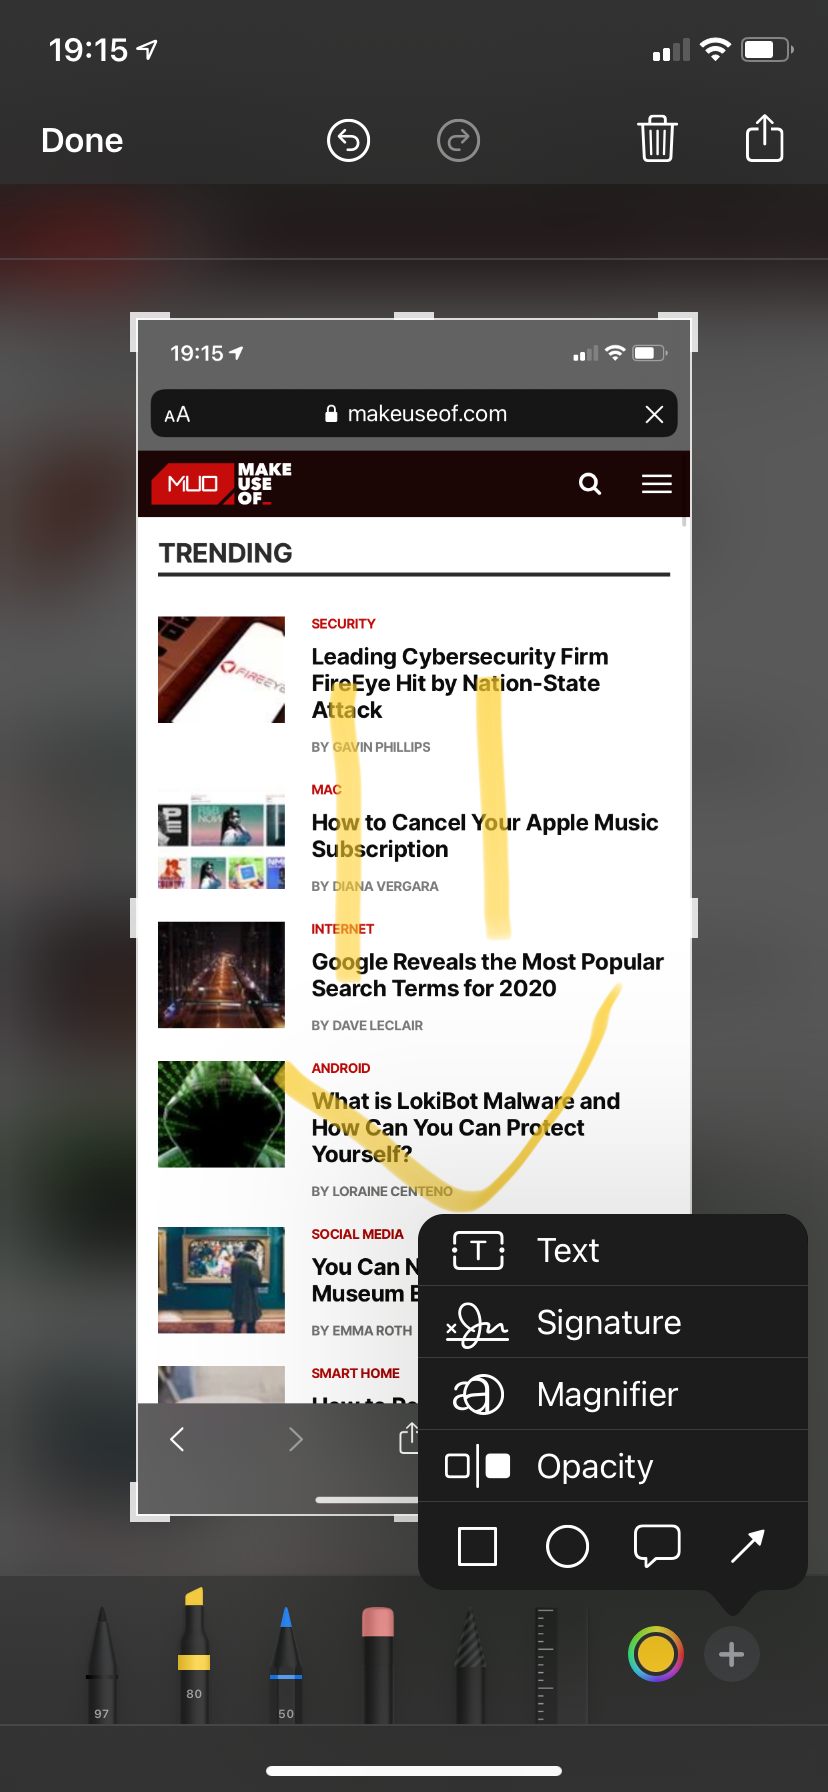
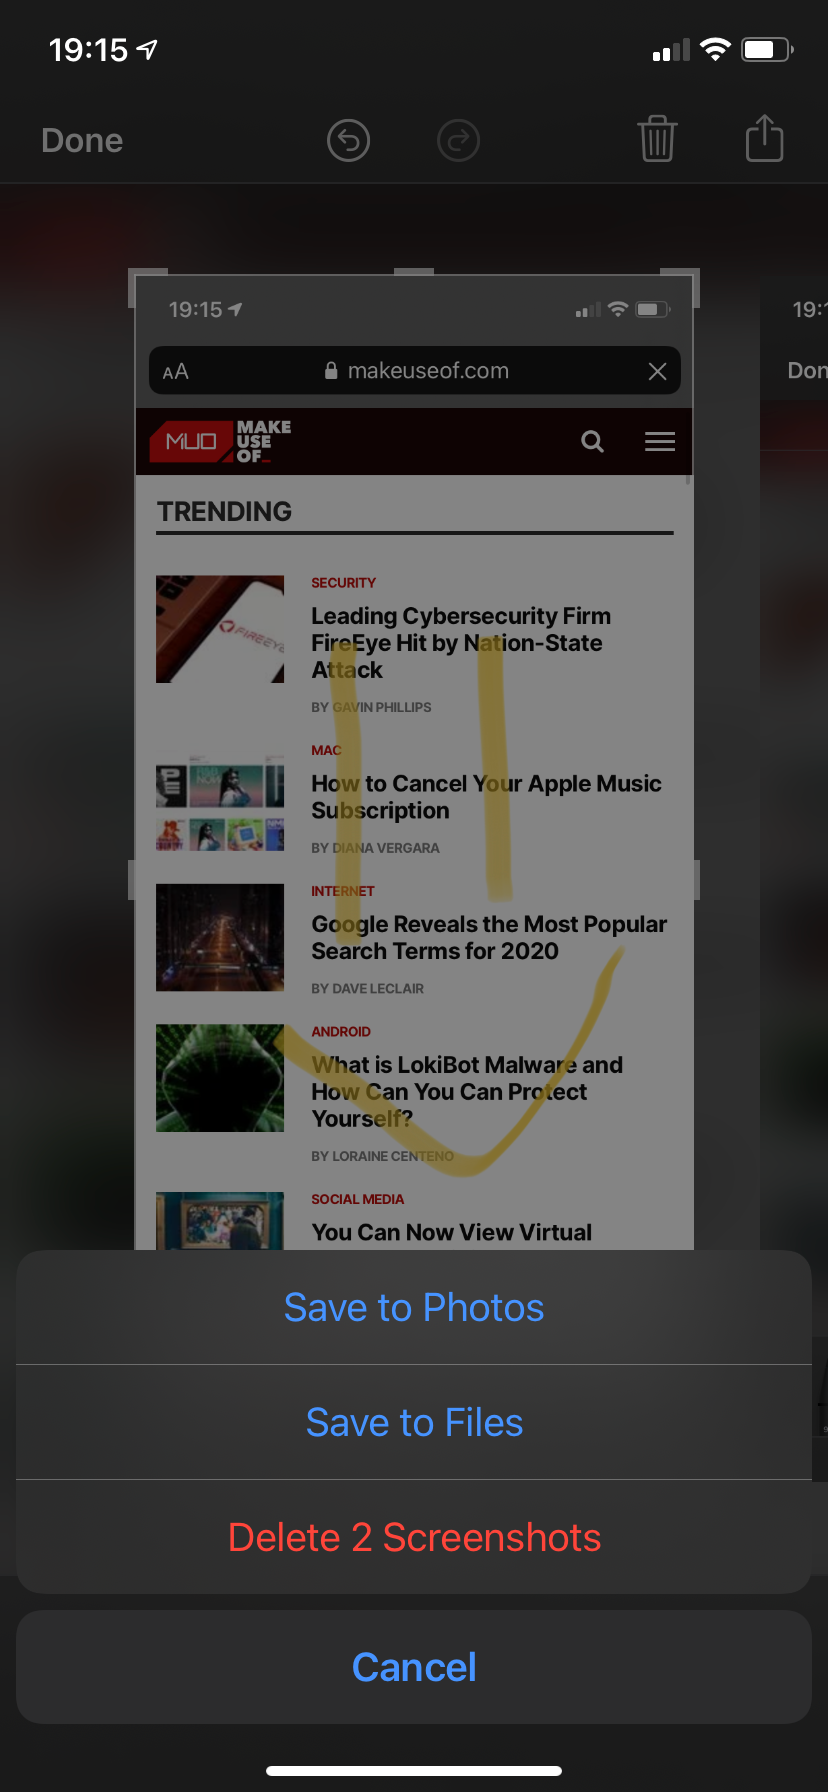
Otherwise, hit Done and choose if you want to save the image to your Photos or Files. If you decide you don't want the screenshot after all, tap the Trash icon at the top and confirm you want to erase it.
See our tips for better iPhone screenshots for help with your editing.
How to Take a Screenshot on iPhone, Made Simple
Now you know how to take a screenshot on your iPhone, no matter what model you have. The button combination is standard, but taking a screenshot with Siri or Back Tap is easy too. And the AssistiveTouch option is always there if the default ways don't work for you.
Then just make some quick edits if needed, and you'll have a neat screenshot ready to share without ever having to open it on your computer!
Image Credit: Kaspars Grinvalds/Shutterstock

