React Native lets you build native mobile apps using JavaScript and React, the user interface library built by Facebook. It makes it easy to write code for both Android and iOS devices, without having to master both Java (Android) and C++/Objective C (iOS).

Here's everything you need to know to get up and running with React Native.
React Native Prerequisites
If you're already familiar with React, there's not a lot you need to get started with React Native. You'll need an internet connection, and you need to be able to connect to your computer over the network. You may also wish to read our guides on Linux command line basics, or beginner's Windows command line.
Installing React Native
Getting React Native installed couldn't be simpler, but you'll need to install Node.js first.
We've discussed what is Node.js way back in 2013, but in short, it lets you write "proper" desktop and server applications using JavaScript.
Head over to the Node.js download page, and choose the Windows or macOS installer. Linux versions are also available, but you'll need to do a bit more work to get those installed.

Once downloaded, run the installer, accept the license agreement, and install. Not only do you get Node.js, but you also get npm, which is a JavaScript package manager. With this, you can install other packages---like React Native!
The easiest way to start using React Native is with the create-react-native-app command line program. Open a new terminal or console, and use npm to install it:
npm install -g create-react-native-app

If you encounter a problem installing create-react-native-app, then you may need to fix npm permissions.
Once installed, you're ready to start creating your app.
Creating an App the Easy Way
Now that you've installed create-react-native-app, you can create your first app. Create a new folder to store your project, and navigate to it in the command line.
Use the create-react-native-app utility to create your app. This command will create an app called FirstAndroidApp:
create-react-native-app FirstAndroidApp

React Native has created a new folder for you, based on the name of your project (FirstAndroidApp). Navigate into this folder, and then run:
npm start

This will start your development server.
You'll see lots of options for restarting the server, along with a QR code and server IP address. You're all set to run on your phone now.

Running Your App on Your Device
To test your app on your Android device, you'll need to install an app called Expo. This will connect to your computer, and load your app. Any changes you make will reload the app. It works very well and is an excellent way to develop your app.
Once you've installed Expo, ensure your phone is on the same network as your computer. It won't work on a different network or behind a firewall.

Open the Expo app, and choose Scan QR Code. Point your phone's camera to the QR code in your command line and after a few seconds, your app will appear on your phone. Back on your command line, you'll see several new statuses. These tell you that the app has finished building and that it's running on your device.
Let's start writing some code!
Hello, World!
Inside your FirstAndroidApp folder, React Native has created serveral files. There's a node_modules folder, which stores Node packages you may install to suppliment your app. Open App.js in your favourite text editor.
This file contains 24 lines of code. There are several imports, a class called App, and a stylesheet:
        import React from 'react';
import { StyleSheet, Text, View } from 'react-native';

export default class App extends React.Component {
    render() {
        return (
            <View style={styles.container}>
                <Text>Open up App.js to start working on your app!</Text>
                <Text>Changes you make will automatically reload.</Text>
                <Text>Shake your phone to open the developer menu.</Text>
            </View>
        );
    }
}

const styles = StyleSheet.create({
    container: {
        flex: 1,
        backgroundColor: '#fff',
        alignItems: 'center',
        justifyContent: 'center',
    },
});
This may look complex, but once you become familiar with the React Native syntax, it's easy. Much of the syntax is similar to HTML and CSS.

Let's take a deeper look at the code. These imports ensure that your app has access to the required React-Native components it needs to work:
        import React from 'react';
import { StyleSheet, Text, View } from 'react-native';
The curly braces ({ StyleSheet, Text, View }) specify multiple files to import.
You must have the class App. Inside return is the code which your phone will display. This markup is similar to HTML, but consists of custom React Native tags.
The View tag is a place to store other containers. The style={styles.container} attribute configures this view to use the stylesheet at the bottom of the file.
Inside the View tag are multiple Text tags. You must place text inside Text tags. React Native will not work without doing so.
At the bottom is the styles object, defined as a constant. This is very similar to CSS, only it has more of an object orientated look. You'll need to use React Native specific syntax, however.
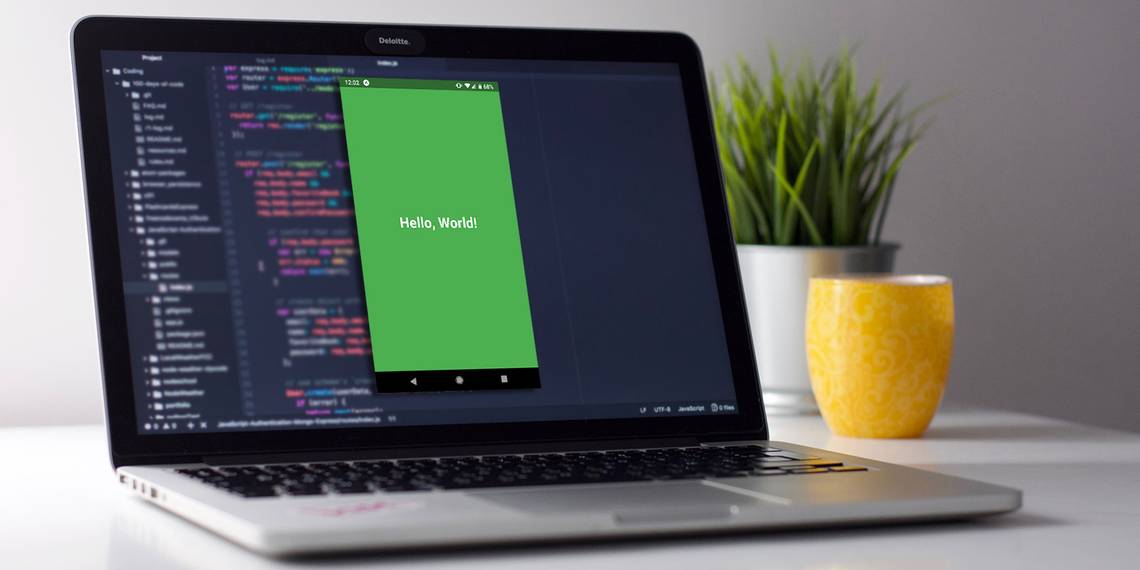
Let's modify this code. Let's change the colors around, along with the text.
Inside the CSS, change backgroundColor to green (or any color you like):
backgroundColor: '#4caf50',
Notice how the hex code must be inside single quotes. Let's improve that text. Create a new style called text. Add the color, fontSize and fontWeight attributes:
         text: {
    color: '#fff',
    fontSize: 34,
    fontWeight: 'bold'
}
Add this underneath your container element, seperated by a comma:
        const styles = StyleSheet.create({
    container: {
        flex: 1,
        backgroundColor: '#4caf50',
        alignItems: 'center',
        justifyContent: 'center',
    },
    text: {
        color: '#fff',
        fontSize: 34,
        fontWeight: 'bold',
    }
});
Finally, change your text inside the App class:
<Text style={styles.text}>Hello, World!</Text>
By setting the style attribute, you are telling React Native to style your text according to the styles defined previously in the text style.

Play Store Here We Come!
While we only covered the very basics, you've now got a solid foundation upon which to build your awesome apps. Don't stop there though, take a look at the React Native Docs for comprehensive information regarding every React Native feature.
Don't forget to read our guide to the best React tutorials for some background information, and if you're into building games, why not take a look at how to write a mobile game with Buildbox?