Microsoft has packaged a calendar app into the Windows operating system since it released Windows 3.1 all the way back in 1992.
However, when you think about the Calendar app, you probably think of the newest Windows Store version. That's the app that forms the basis of this article.
It was initially released as part of the Windows 8 bundle, but it was rudimentary and lacking in features. In the four and a half years since it became available, Microsoft has been busy making improvements. It's fair to say the default Windows Calendar app is now as good as any third-party offering.
Here's a complete guide to the Windows 10 Calendar app.
The Main Screen
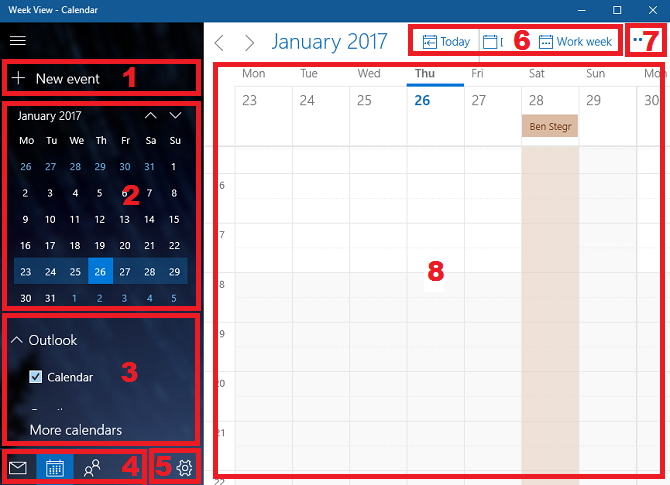
Here's what you'll see when you fire up the app for the first time. I've numbered the different parts of the screen. Scroll down to see what each number relates to.
- Add New Event -- The most important button in any calendar app. Allows you to create, share, and set reminders for items on your agenda.
- Month View -- Quickly scroll through months of the year and select entire weeks or specific days to view in the main window.
- Additional Calendars -- Access and view calendars from other providers and (de)select your other Outlook agendas.
- App Shortcuts -- Quickly access the Windows 10 Mail and People apps.
- Settings -- Tweak the visuals, add new accounts, and change various display settings.
- View -- Alter the view in the calendar's main window.
- Print -- Print a particular day, week, month, or date range.
- Main Window -- See your events and quickly add new items.
Let's look at each of these eight areas in more detail.
1. Add New Event
If you're just starting to use the Calendar app, this will be your first port of call. You can also add events by clicking in the main window (8), but the options are more limited.
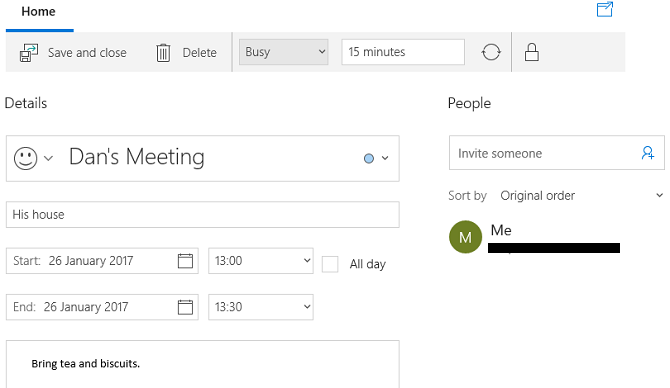
Click the button to add an event. You will see a new window:
In the main body of the window, you can give your event a name, enter the location, choose the date range, and add any additional notes.
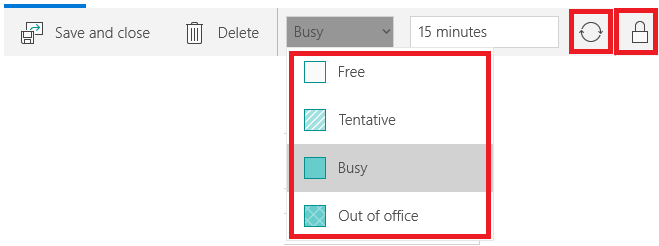
In the bar at the top of the screen, choose how you want to display the allocated time. You can select either Free, Tentative, Busy, or Out of Office. If you are the only person with access to your calendar, this setting isn't very important. If you're working on a shared calendar or plan to invite other people to your event, you should pick one of the four choices.
Alongside, you'll see a circular icon and a padlock. The circular icon allows you to repeat your event while the padlock marks the event as private.
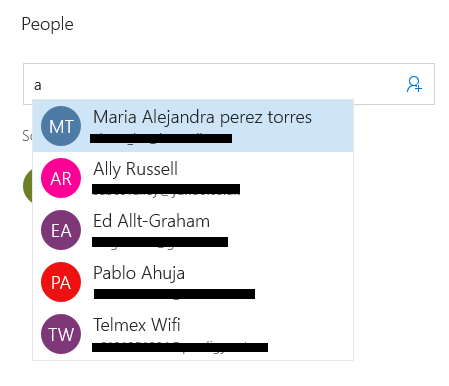
To share your event with other people, type the person's email address in the panel on the right-hand side. If you've got the individual saved in your address book, their details will pop up automatically.
When you're happy with your choices, hit Save and Close in the top left-hand corner. The app will automatically send any invites and add the event to your calendar. Events will also show up on your Taskbar calendar agenda.
2. Month View
You can use the month view like the planner page in a traditional paper diary.
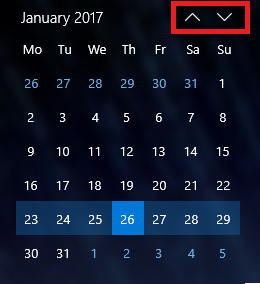
Cycle through the weeks and months by either clicking the Up and Down arrows on-screen or by using the arrow keys on your keyboard.
Clicking on a date will display it in the main window (8). You can choose whether the clicked date displays as a single day, a week, or a whole month in the main window by clicking the associated button in the view bar (6).
3. Additional Calendars
You can add additional calendars in the Settings menu (5). This section merely lets you choose which calendars to display in the main window and customize their colors.
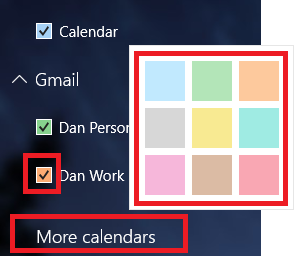
To add or remove a calendar from the main window, click the checkbox next to the agenda in question. If you want to change the background color for the events from a certain calendar, right click on the calendar's name and make your choice. You have nine colors to choose from.
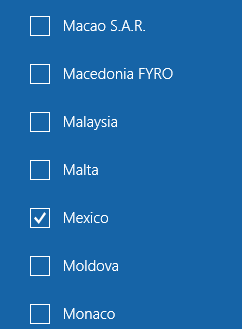
You can also add holiday calendars from this section. Click More Calendars and mark the checkboxes next to the ones you're interested in.
4. App Shortcuts
Calendar is one of the three key productivity apps Microsoft includes with Windows 10. The other two are People and Mail.
You can use the shortcuts to quickly jump between the three tools, thus streamlining your workflow as much as possible.
5. Settings
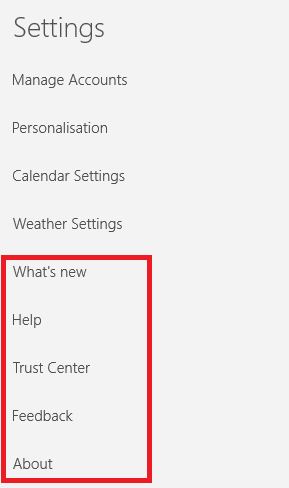
Clicking on the gear icon brings up a new menu on the right-hand side of the screen. This is where you can add additional calendars from other providers, customize the visuals, and make further substantial alterations to how the app functions.
You can largely ignore the bottom five menu items: What's New, Help, Feedback, Trust Center, and About.
Manage Accounts
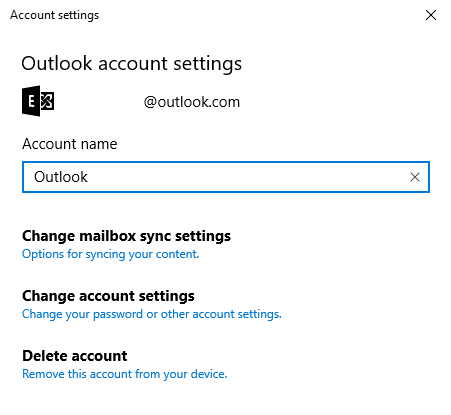
Manage Accounts has two essential functions: allowing you to change the settings of existing accounts and adding new accounts. To modify the settings of an existing account, click on the account name. The app will display a new window.
Click on Change Mailbox Sync Settings to adjust how frequently the app downloads new events, how many events should be downloaded, and to change the server name.
Selecting Change Account Settings (only available for Outlook accounts) will take you to the Microsoft Account portal, and Delete Account removes the account from the app.
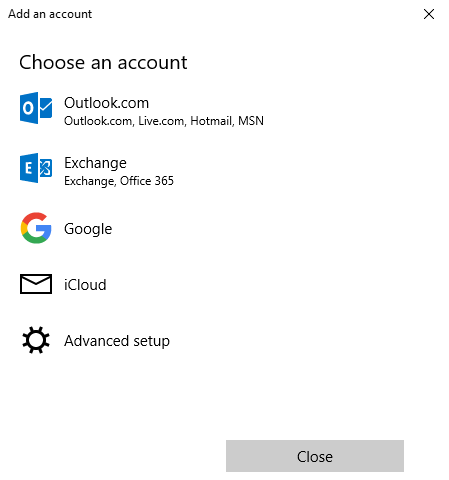
To add a new calendar from a third-party provider, click on Add Account. Outlook, Exchange, Google, and iCloud have pre-set options. If your provider is not listed, click Advanced Setup and follow the onscreen instructions. To learn more about adding a Google Calendar, follow my detailed instructions in this article on viewing Google Calendar on your Windows desktop.
Personalization
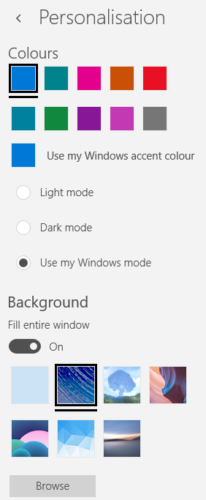
Personalization allows you to change the accent color of the whole app, switch between light and dark mode, and add a background to the app.
There are seven pre-existing backgrounds to select. Click Browse if you want to use a photo or image saved elsewhere on your machine.
Calendar Settings
Calendar Settings is where you adjust how the calendar functions on-screen.
You can choose which day you want to represent the first day of the week, choose which days constitute the "working week," choose your working hours, add or remove the week numbers, and even choose a non-Gregorian calendar.
Weather Settings
Lastly, the Weather Settings allow you to choose whether to display temperatures in Celsius or Fahrenheit.
6. View
You can choose what the app displays in the main window. Your choices are Day, Working Week, 7-Day Week, Month, or Year.
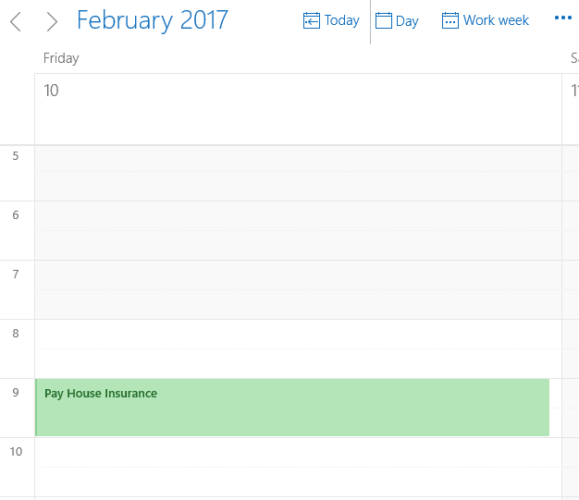
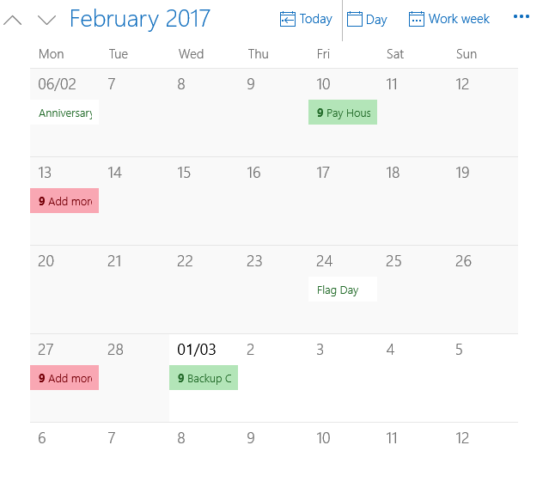
Check out the difference between a day view and a month view below. If you don't have many events in your calendar, the month view should be adequate. If every day is packed with meetings, stick to the day view.
Day View:
Month View:
Click on Today to jump back to the current date, regardless of what day you're currently viewing.
7. Print
Clicking on the three dots in the top right-hand corner lets you print a calendar.
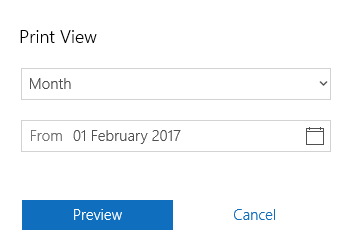
Hit Print and a new window with two drop-down menus will pop up. The first drop-down menu lets you choose whether you want to print a day, week, working week, or month view. The second menu allows you to pick the date range.
8. Main Window
The main window is where you can see all your events. Events in different calendars are color-coded according to what you picked in Additional Calendars (3).
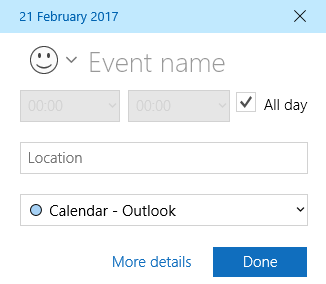
If you click on a date, you can create "quick events." The pop-up box only allows you to edit the event's name, date, location, and associated calendar.
Clicking More Settings takes you to the same window as you see when you click New Event (1).
Any Questions?
I hope this thorough guide to all the features and settings of the Windows 10 calendar app has helped you understand it's potential.
If you found anything confusing or would like further guidance on a particular part of the app, you can get in touch with your questions via the comments box below.

