You have plenty of free options for editing photos, but what about video? Premium video editing software is expensive, and you don't need movie studio features for basic edits.
That's why VideoPad Video Editor is a great choice. Let's take a look at this software and the tools it offers for your editing needs.
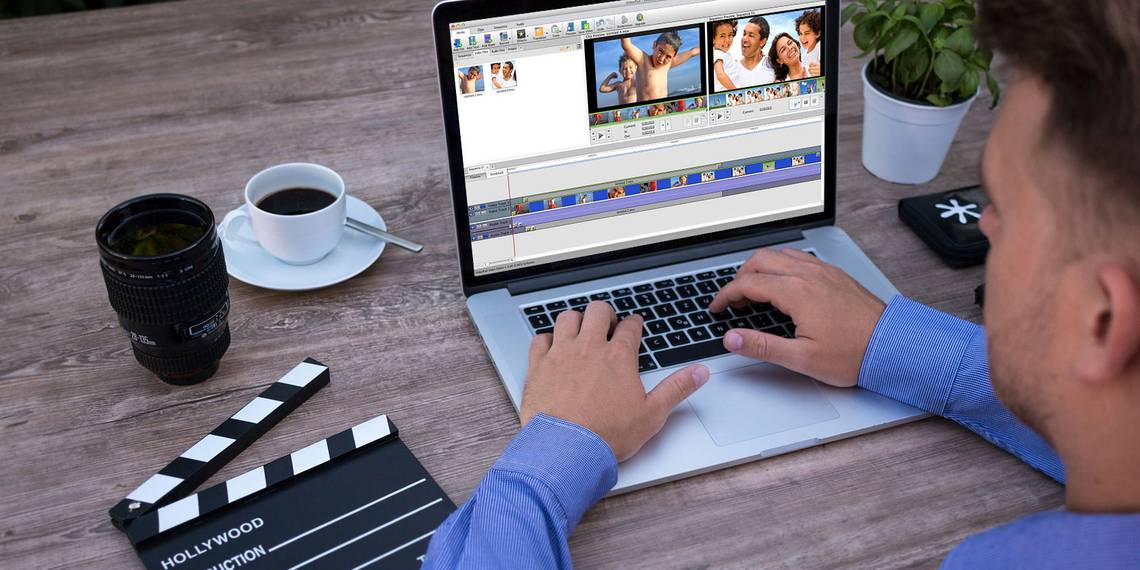
Getting Started
To download, head to the VideoPad homepage. Find the Get it Free paragraph to download the home non-commercial version, or use this direct link. The installer is a one-click process, so you'll be running the VideoPad editor in no time.
On the welcome dialog, click New Project to open a blank project. You can uncheck the Show this dialog box if you don't want to see this welcome message every time. Once you jump in, you'll notice the slick dark theme, new to VideoPad version 6.

From here, it's time to edit your first video. If you prefer learning by videos, VideoPad has links to YouTube tutorials built right in. Just click the Video Tutorials entry on the welcome dialog, or use the Video Tutorials tab on the preview pane to access them.
You can also continue reading to check out our own VideoPad tutorial.
Editing With VideoPad
To begin, you'll need to import at least one video clip. To do so, just drag and drop a file from your computer onto the Bin pane on the left. If you'd like, you can drag some audio files on the pane too. VideoPad also includes stock sound effects; click Add Stock Sound under the Audio tab.
Once you've imported what you want to work with, drag the files from the Bin pane onto the Timeline at the bottom to add them to your project.

On the big video pane to the right, you'll see a preview of your video on the Sequence Preview tab. Choosing Clip Preview lets you preview individual audio or video files instead. Use the play controls to preview how your in-progress video looks anytime.
Basic Editing
In any clip, you may wish to split the video so you can insert something in between it. Click any point along the Timeline at the bottom of the screen to move the red cursor to that point, then hit the Split button. This will divide one clip into two, allowing you to move them separately.
To edit the video and audio from a video separately, right-click a clip on the Timeline and choose Unlink from Audio/Video. This will separate them and allow you to manipulate them where you wish. It's useful for completely replacing a video's audio, for example.

Hover your cursor at the start or end of a clip, and it will turn into a bracket symbol. Here, you can drag to change where the clip begins or finishes, letting you easily trim it. At the start of the timeline, you'll also see a handy Fade In button.
Working With Clips
After you've split a video or imported multiple files, you'll find a Transition button between them on the Timeline. Click it to change how the two blend into each other. You have a host of options, including fades, reveals, patterns, and more. Hover over one for a small preview, and use the box in the bottom-right to change the duration. Click the one you like to add it.

Right-click a clip on the Timeline, and you can choose Reverse Clip for a quick shortcut. You'll also find a Change Clip Speed option.
While you can import images from your PC, VideoPad provides a few additional options. On the Clips tab of the menu bar, you'll see an Add Blank option. This lets you add a simple colored background, useful for adding text. It goes into your Images bin and you can drag it onto the Timeline to use it.
If you drag the cursor to any point on the timeline and click the Snapshot button, the app will save an image of the current frame and send it to the Images bin.

Adding Effects
Unless you're simply trimming and combining clips, you're probably using a video editor to add effects. Thankfully, the VideoPad editor has plenty.
Video Effects
Select a video file in the Bin or Timeline, then click the Video Effects button on the Home tab. You'll find a variety of effects, including:
- Crop -- Remove unwanted edges
- Motion -- Move the entire clip
- Pan & Zoom -- Zoom in on a specific area of the clip
- Shake -- Rock the clip like an earthquake
- Auto Levels -- Auto-adjust the color balance
- Blur -- Hide sensitive information
- Old Film -- Add sepia colors, flickering lines, and more
- Noise -- Add static to the clip

There are many more effects to explore than these. Each lets you change the intensity and area affected, plus other options where applicable.
Audio Effects
Select an audio clip, then you can use the Audio Effects tab to change audio in several ways. These include reverb, distortion, an equalizer, and more.

Text Effects and Titles
To add some text to your video, for a title or otherwise, select Add Title or Text Effects on the Home tab (they contain the same options). It contains several choices, like countdown timers, animated text, scrolling text, and more.
After picking one, you can enter the text you'd like, plus change the font and color. If it's an animated choice, you can select how it moves. Once you confirm the settings, the effect goes into the appropriate Bin for easy access.

Green Screen
Anyone who's worked with videos knows about the handy green screen, which allows you to remove part of a video and layer another video in it. For instance, weather broadcasts commonly use this to overlay the weather map behind the presenter. Select Video Effects > Green Screen, and you can set one up in VideoPad.
A handy new feature in VideoPad 6 is the color picker. In the Green Screen dialog, you'll see a Color box. It defaults to green, but you can click it to select any color you'd like to mask out. You can select other settings here to get your green screen just right.

Exporting Your Video
Once you're done creating your video, you'll want to use the Export Video option on the Home tab (or select an option on the Export tab). Doing so will export it as a usable file; clicking Save Project only saves your work so you can come back later.
Select the Export Wizard if you need some help deciding which option to use. For general use, we recommend choosing Video File if you'll be saving the video for posterity or uploading to YouTube. If you plan on burning the video to a disc, you can choose a Blu-ray or DVD option instead.

In the export settings, you can choose where to save your video and its parameters. Use the Detect option and VideoPad will automatically detect the best resolution and frame rate based on your video.
If you're not sure what format to use, choose HD 1080p if you were working with HD video to begin with. MP4 is a great file format for general use and compatibility.

If you like, VideoPad can automatically upload your video to YouTube or Facebook for you, or cloud storage like Dropbox and Google Drive. Choose one of those options from the menu and you'll be prompted to link your account.
What Videos Will You Create?
We've taken a tour of VideoPad Video Editor's most useful features. If you're an average user and don't need expensive video-editing software, VideoPad is a great option. It offers an easy-to-use interface, has the features you'll need, and includes tons of export options. Give it a try the next time you need to trim some video clips, add effects, or replace audio.
What do you think of VideoPad? What video editing features do you use most often? Tell us down in the comments!