Your Windows 10 system is nice and shiny, but like any Windows operating system it is open to abuse and vulnerable to online threats. It doesn't matter whether you upgraded from Windows 8 or purchased a brand new Windows 10 PC, laptop or tablet – the threats exist and probably always will.
Rather than enabling online attackers to freely copy your data, siphon off your personal details, and possibly destroy your reputation or credit rating (or both), you need to have some security software installed.
The best place to start is on Windows 10 itself, where you will find the updated version of Microsoft's continually improving Windows Defender utility.
Getting Started with Windows Defender
Does your PC need protecting? With all manner of online threats, from data-hijacking ransomware to malware that targets vulnerabilities exposed by rootkits, the answer is an unequivocal "yes". Whether you're happy to let Windows Defender handle this, or you're more interested in a third party solution, you will still need the onboard security software to be set up correctly to bridge the gap until your third party choice is ready.
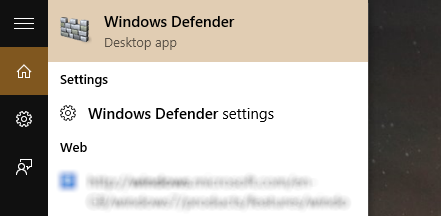
Tap or click Start and type "windows defender" (you can also press Start + Q to open the search box, which may or may not be enhanced by Cortana) and select Windows Defender at the top of the search results. You'll be presented with the main interface for the app.
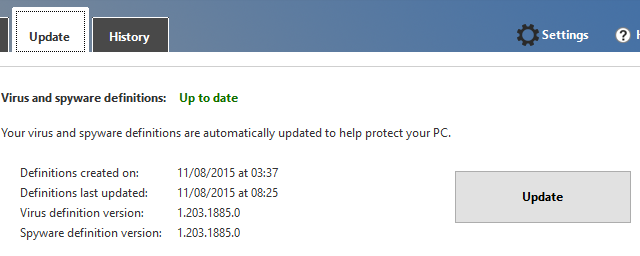
As ever with security software, the first thing you need to do is update it. Go to the Update tab and note the details. If the Virus and spyware definitions are not listed as being "Up to date", click Update. Wait while definitions are updated. You should update this daily, but if necessary you can download definitions manually.
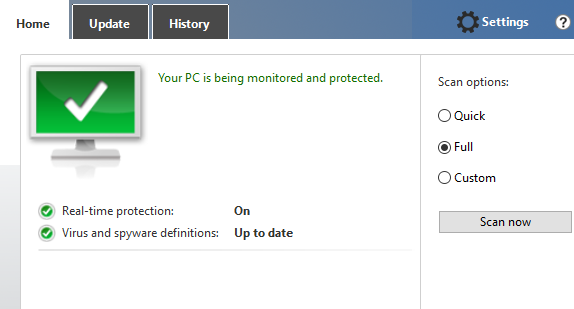
Next, you'll need to run a scan, which you can do in the Home tab. Select your scan type (you should use Full for the initial scan) and then Scan now.
Quarantines and History
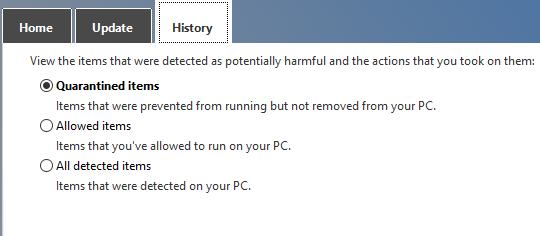
Any items detected by Windows Defender will be dealt with. You can see a list of those that have been quarantined in the History tab, along with any files that you have instructed Windows Defender to ignore, so that they might be run on your PC without any problem. These would typically be files detected by Windows Defender as being dangerous, but which you know to be safe (false positives).
To see the items listed under History, select the type you wish to view, and then View details. Here you'll see the file name, the alert level, and the date it was quarantined or released.
Excluding Items in Windows Defender
As well as ignoring false positives, applications, directories, and files can be excluded from scans in Windows Defender. This is one of several new features added to Windows Defender that can only be accessed via Settings > Update & security > Windows Defender.
Scroll down to Exclusions and tap Add an exclusion to proceed. Here, you'll be able to add Files, Folders, File Types, and Processes to the exclusions list, again minimizing the incidence of false positives and potentially speeding up scanning (for instance, if you had a large ZIP file that you don't want to be scanned, you could exclude it).
Configure Real-Time and Cloud Protection
Although first introduced in Window Vista, Windows Defender has been given a series of important updates throughout Windows 8 and now in Windows 10 it has some impressive features that are intrinsic to its operation.
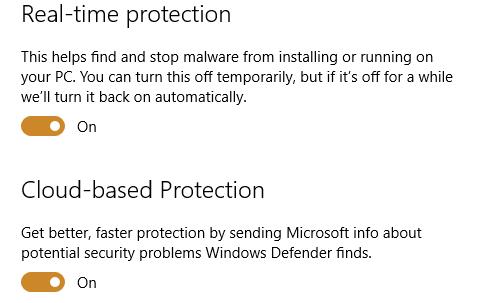
You'll see these in the Settings > Update & security > Windows Defender screen, where Real-time protection and Cloud-based protection can be enabled and disabled. For the best results, we recommend having both of these options set to On.
Real-time protection means that Windows Defender will actively detect malware running on your computer, and block it. Meanwhile, cloud-based protection uses crowd sourcing from all Windows 10 computers with Windows Defender enabled to help improve the identification (and thus correctly remove) detected threats. Therefore it is a good idea to have both of these options enabled at all times (although Windows will switch each back on if you temporarily disable them).
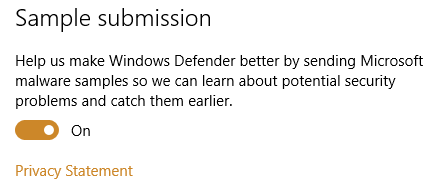
One other thing to observe here is the Sample submission option. Again, this is a setting you can enable and disable, and is used to send malware samples to Microsoft. This will use bandwidth that you may not be happy about expending on such an activity, so you might feel happier disabling it.
Disabling Windows Defender
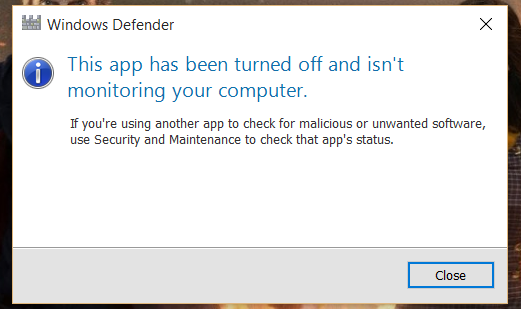
It seems pretty pointless to use Windows Defender if you have a third party antivirus suite installed. In this event, Windows 10 will disable Windows Defender.
Any attempt to change Windows Defender settings will be unsuccessful until the third party software is disabled or uninstalled.
Additionally, the options in the Settings > Update & security > Windows Defender screen will be greyed out.
Should You Rely on a Third Party Suite?
This really depends on what requirements you have from your security suite. Windows Defender doesn't have a firewall, but Windows 10 does. So you're pretty much secure from the vast majority of threats, although several free third party firewalls are available.
However if you want the additional benefits of spam control, secure wallet encryption, easy firewall management, and all of the other features you might find in a paid suite like BitDefender, a third party tool is probably preferable.
Do you use Windows Defender? Have you found it easy to use? Unhappy with its ability as a security application? Tell us more in the comments.
Image Credits: 3d Virus via Shutterstock


