Remember the comics of our childhood? What would they be without speech bubbles? In comics, words were calls to action and speech bubbles (or speech balloons) put them so well. You never thought they obstructed the illustrations in any way. Speech bubbles turned into callouts when it came to business presentations in Microsoft PowerPoint. They give context to what’s on the slide or a screenshot and help to turn a mundane graphic into something more interesting.
Speech bubbles and callouts have other uses too. Using them on memes is commonplace. It finds some interesting uses in classrooms too as I found on this webpage. And then, as my friend Yaara showed us – it can turn over a bad day too! Through all this, I was surprised to know was the fact that speech bubbles are also available for sale. Now, why would you do that when there’s a perfectly viable solution lying in your computer that can do just that, and for free.
That is, provided you have Microsoft PowerPoint or Microsoft Word installed. The programs are themselves not usually free, but they are so commonly installed, that anything that comes out of there can be called as “free”.
Is Microsoft PowerPoint The Easiest Program To Create Speech Bubbles With?
There are many options open to an artist or the average Joe for creating speech bubbles. From Photoshop Custom Shapes to the free GIMP…from the simple Speechable and Superlame, to more advanced comic book creators, choices are plenty. Did you know that you can even put speech bubbles on videos?
But to answer the question in the headline above, I would go with a ‘yes’. We normally would turn to a photo editor or a third-party tool to do our speech bubbles, ignoring the power of Microsoft PowerPoint that’s just sitting there. PowerPoint gives us Shapes and a more creative ways to enhance those shapes into interesting callouts and speech bubbles than we can think up.
Start With a Clean Slate (Or a Blank Slide)
1. Use a blank PowerPoint slide as a canvas to insert your photo. Go to the Insert tab on the Ribbon and click on Picture.
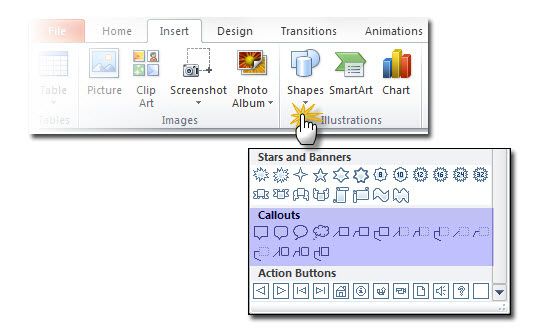
2. From the same Insert tab, select the Shapes command. A drop-down menu will appear that gives you a variety of callout shapes. Select the one which you want to use.
3. Click, drag, and position the callout shape so that it is placed at the appropriate part of the image…and in the appropriate size you want it to be. Use the Text Box to insert your dialog or call to action.
4. You can also use Drawing Tools – Edit Shape feature to manipulate the basic shape into a wildly creative one by manipulating the wrap points around the speech bubble.
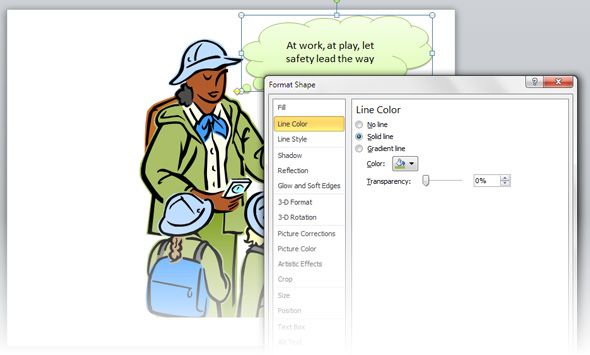
5. You can use the Drawing Tools to control the creation of your callout and speech bubbles. Alternatively, right-click on the callout shape and click on Format Shape. This is where you can apply your creativity to render the speech bubble with customized fills, transparency, line color, shadows, and even 3-D effects. The callouts should appear in front of the image. If they appear behind it, you can use the Bring to Front command from the right-click context menu to adjust the ordering.
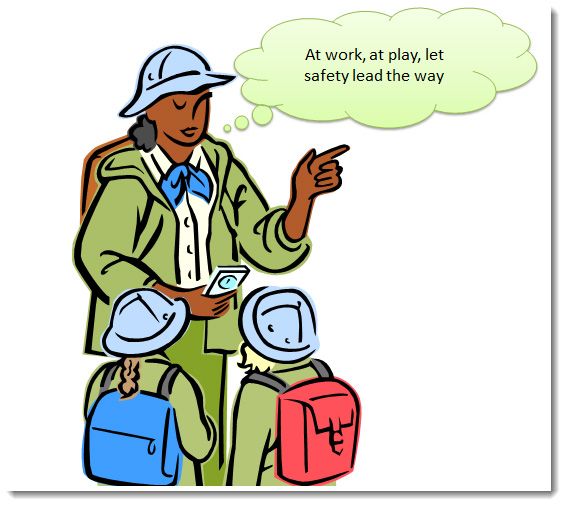
6. Here is the final image of a callout created within the creative limits I possess. I like to set it to a transparency level sometimes to show some of the image beneath it (but not here in this image). But you can go with solid fills. Usually, the good old combo of black and white works best.
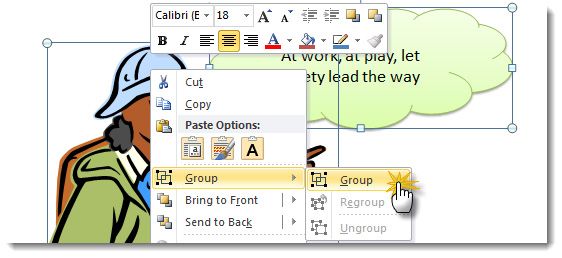
7. Select the textbox, the callout graphic and the photo (use CTRL+A). Right-click and use the context menu to use the Group command and thus group them together.
8. All that remains for you to do is right-click on the slide and save the entire image with the callout as an image file in one of the standard file-formats on view. JPEG is preferable if it’s a photo.
Putting Them to Use...
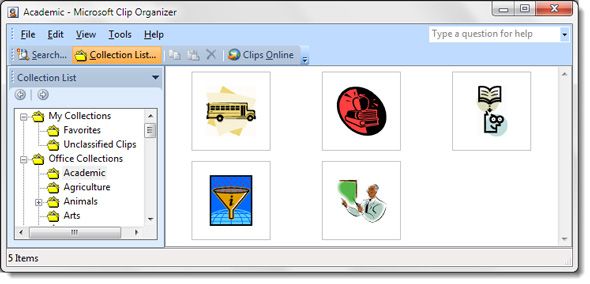
The PNG and GIF file formats allow you to create transparent and blank speech bubbles and then re-use them over any other image. For instance…you can create blank speech bubbles and keep them organized for future use in the Microsoft Clip Organizer and then insert them from Clip Art. Microsoft Clip Organizer can be found under Microsoft Office – Microsoft Office 2010 Tools.
You can take printouts and use them offline in interesting ways as illustrated through the first link in this article.
Multiple shapes can be combined in interesting ways in PowerPoint. You can use the Clip Organizer to keep and re-use them. Though you may not need it for creating basic speech bubbles, you can keep that in mind if the design needs call for it. Two shapes can be combined using the powerful Combine Shapes tool in one of four ways: Union, Combine, Subtract, or Intersect. Here’s the Microsoft How-to page for PowerPoint 2010 and 2013. (Also, check out what's new in Microsoft Office 2013)
Speech bubbles and callouts may seem very trivial in the grand scheme of things. But they have a surprising number of uses, especially in today’s engaged learning systems, and even for the fun of it, in quick internet memes. What do you think? Do you use speech bubbles anywhere? Which is your favored tool?
Image Credit: Free Digital Photos

