The Files app was introduced to iOS back in 2017 and has provided an easy way to manage all your saved files in one convenient location on your iPhone or iPad. You can collaborate with others, organize files using tags, preview documents, sync with iCloud Drive, and more.
With so many useful features, you’d be a fool not to use the app to its full potential. We’ve covered all the major features of the Files app below for you to check out.
What Does the Files App Do?
The Files app is basically a file manager for your iPhone or iPad. It allows you to manage external files stored on your iPhone or iPad, including documents, photos, and more. You can sync your device with various file services such as iCloud Drive, Google Drive, Dropbox, and so on to keep your files in sync.
The Files app has various features to help you ease file management, such as previewing documents, using tags, file collaboration, and more.
How to Install the Files App on Your iPhone or iPad
The Files app has come pre-installed on every iPhone and iPad since the release of iOS 11, so it should already be present on your device. But in the case that you deleted it, you can download it again for free directly from the App Store.
Download: Files (Free)
How to Set Up a Storage Service in the Files App
The main benefit of the Files app is that it allows you to access different storage locations and manage all your files from one single location. This means you can access any files on your iPhone’s local storage, access your iCloud Drive files, or choose to sync any third-party storage service (such as Google Drive, Dropbox, and so on).
These files also include any you may have downloaded through Safari, received through AirDrop, and so on, With all of your storage services available under one platform, it’s easier to sync and browse files from different sources together.
Setting Up Storage Locations in the Files App
You’ll need to set up your different file services before you can access them in the Files app. You’ll need the individual file service’s app (Google Drive, Dropbox, and so on) installed on your iPhone or iPad before you can add the file storage service to the Files app.
Setting them up is easy:
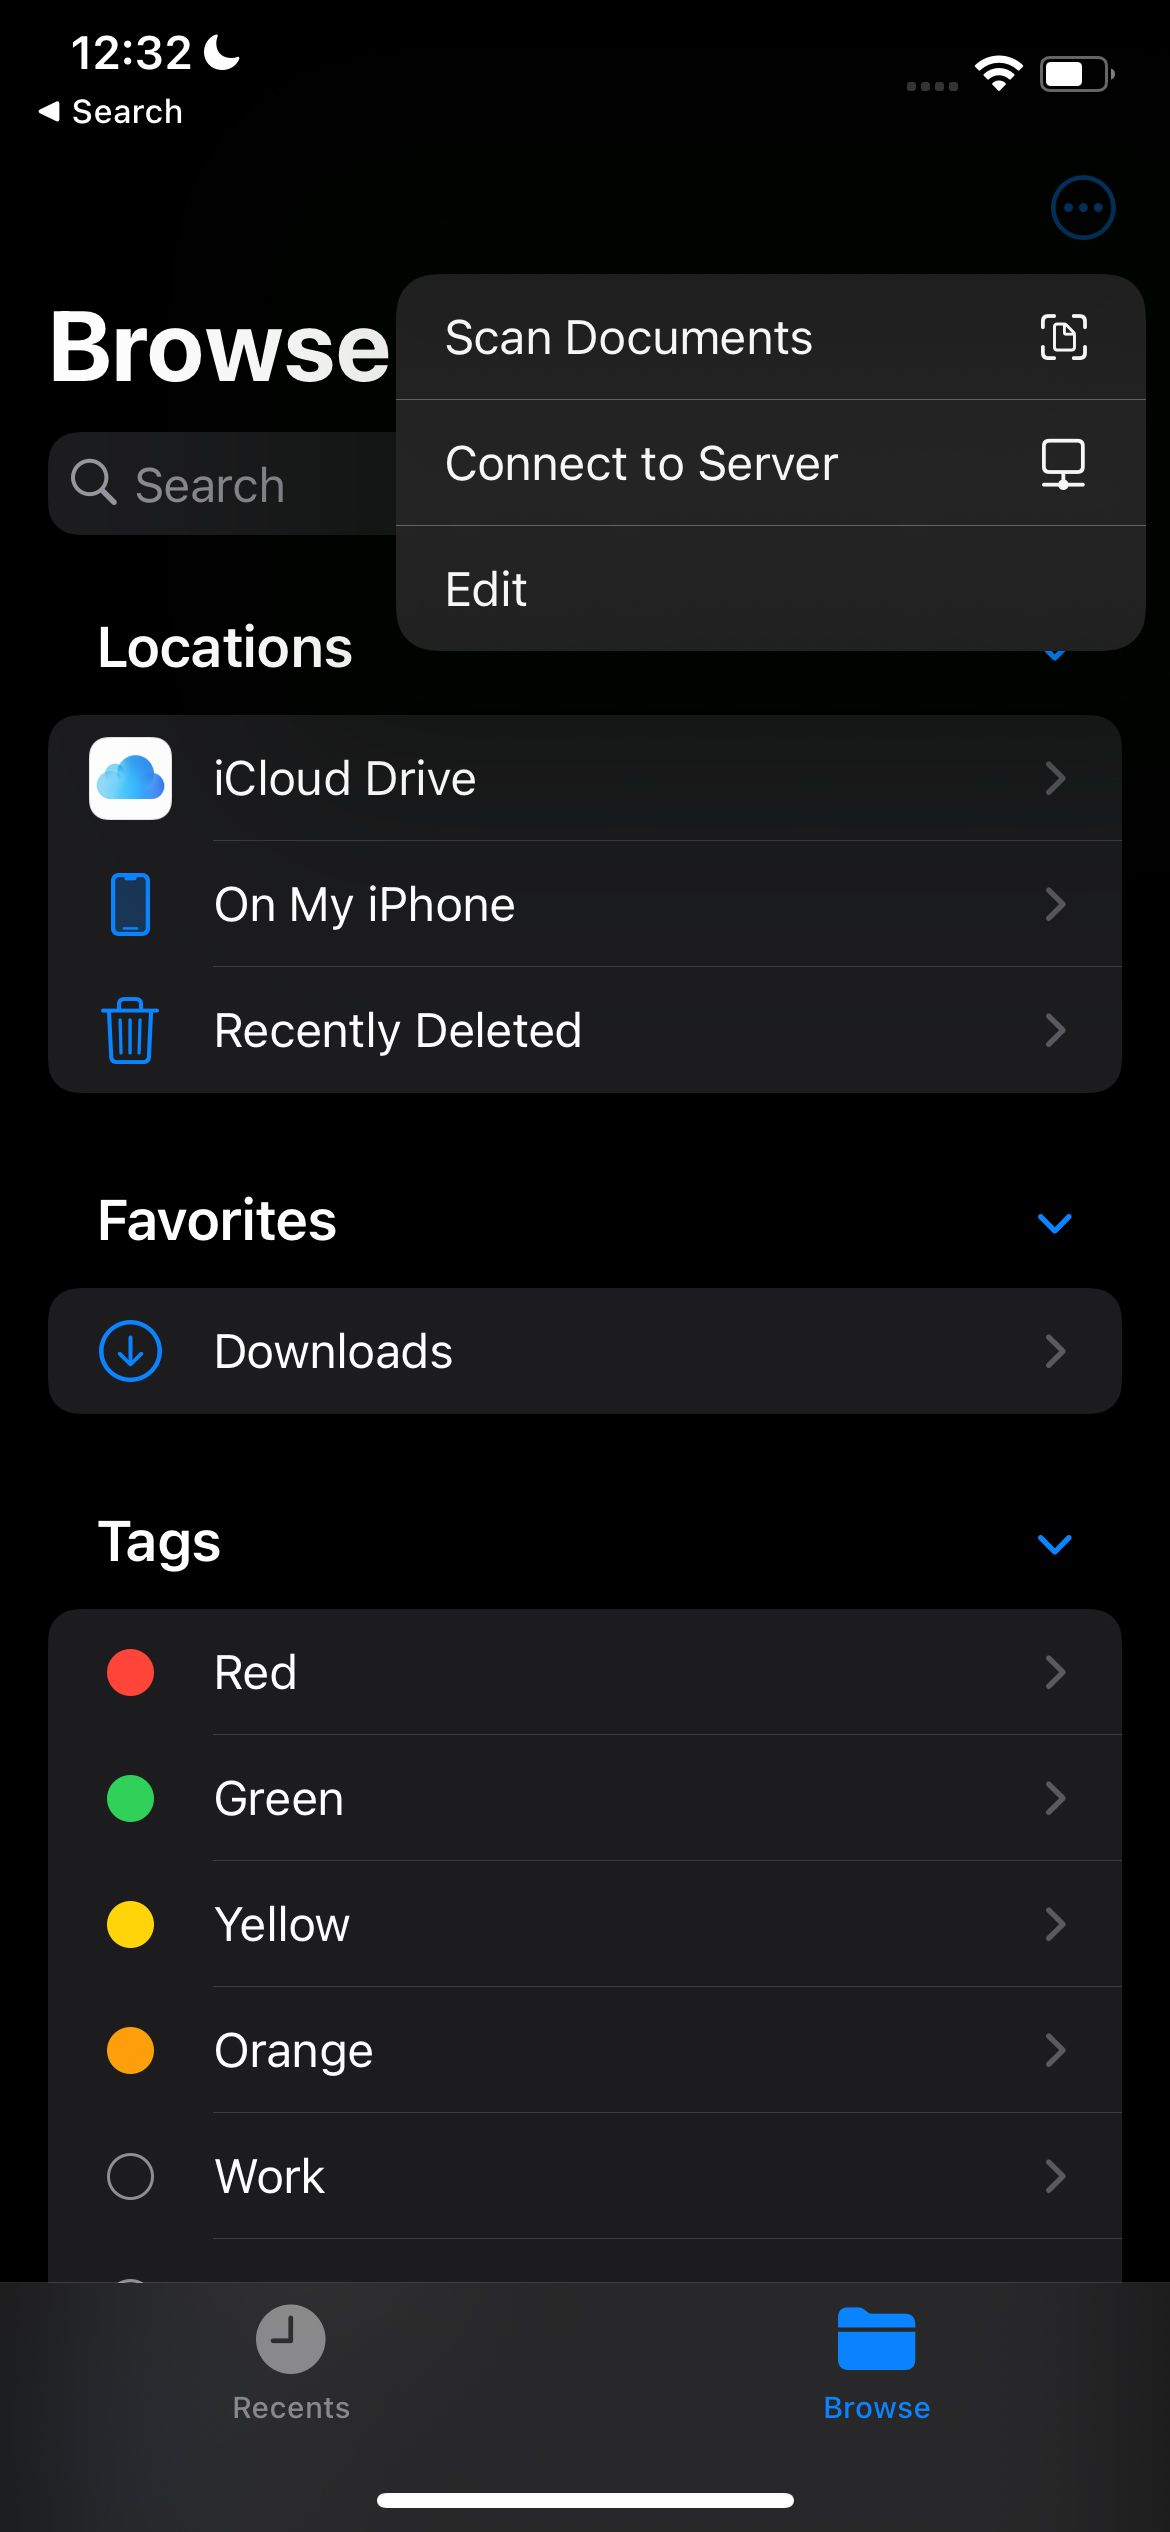
- Tap on the More button (three dots) in the Files app.
- Select Edit.
- This will display all the available file services. Enable the services you would like to set up and reorder them as you like.
- Once all your sources are set up, you should see them on the home page of Files (or in the sidebar on an iPad). Tap on a specific service to log in and authenticate it (you may need to log in using the mobile app of the service to set it up for the first time).
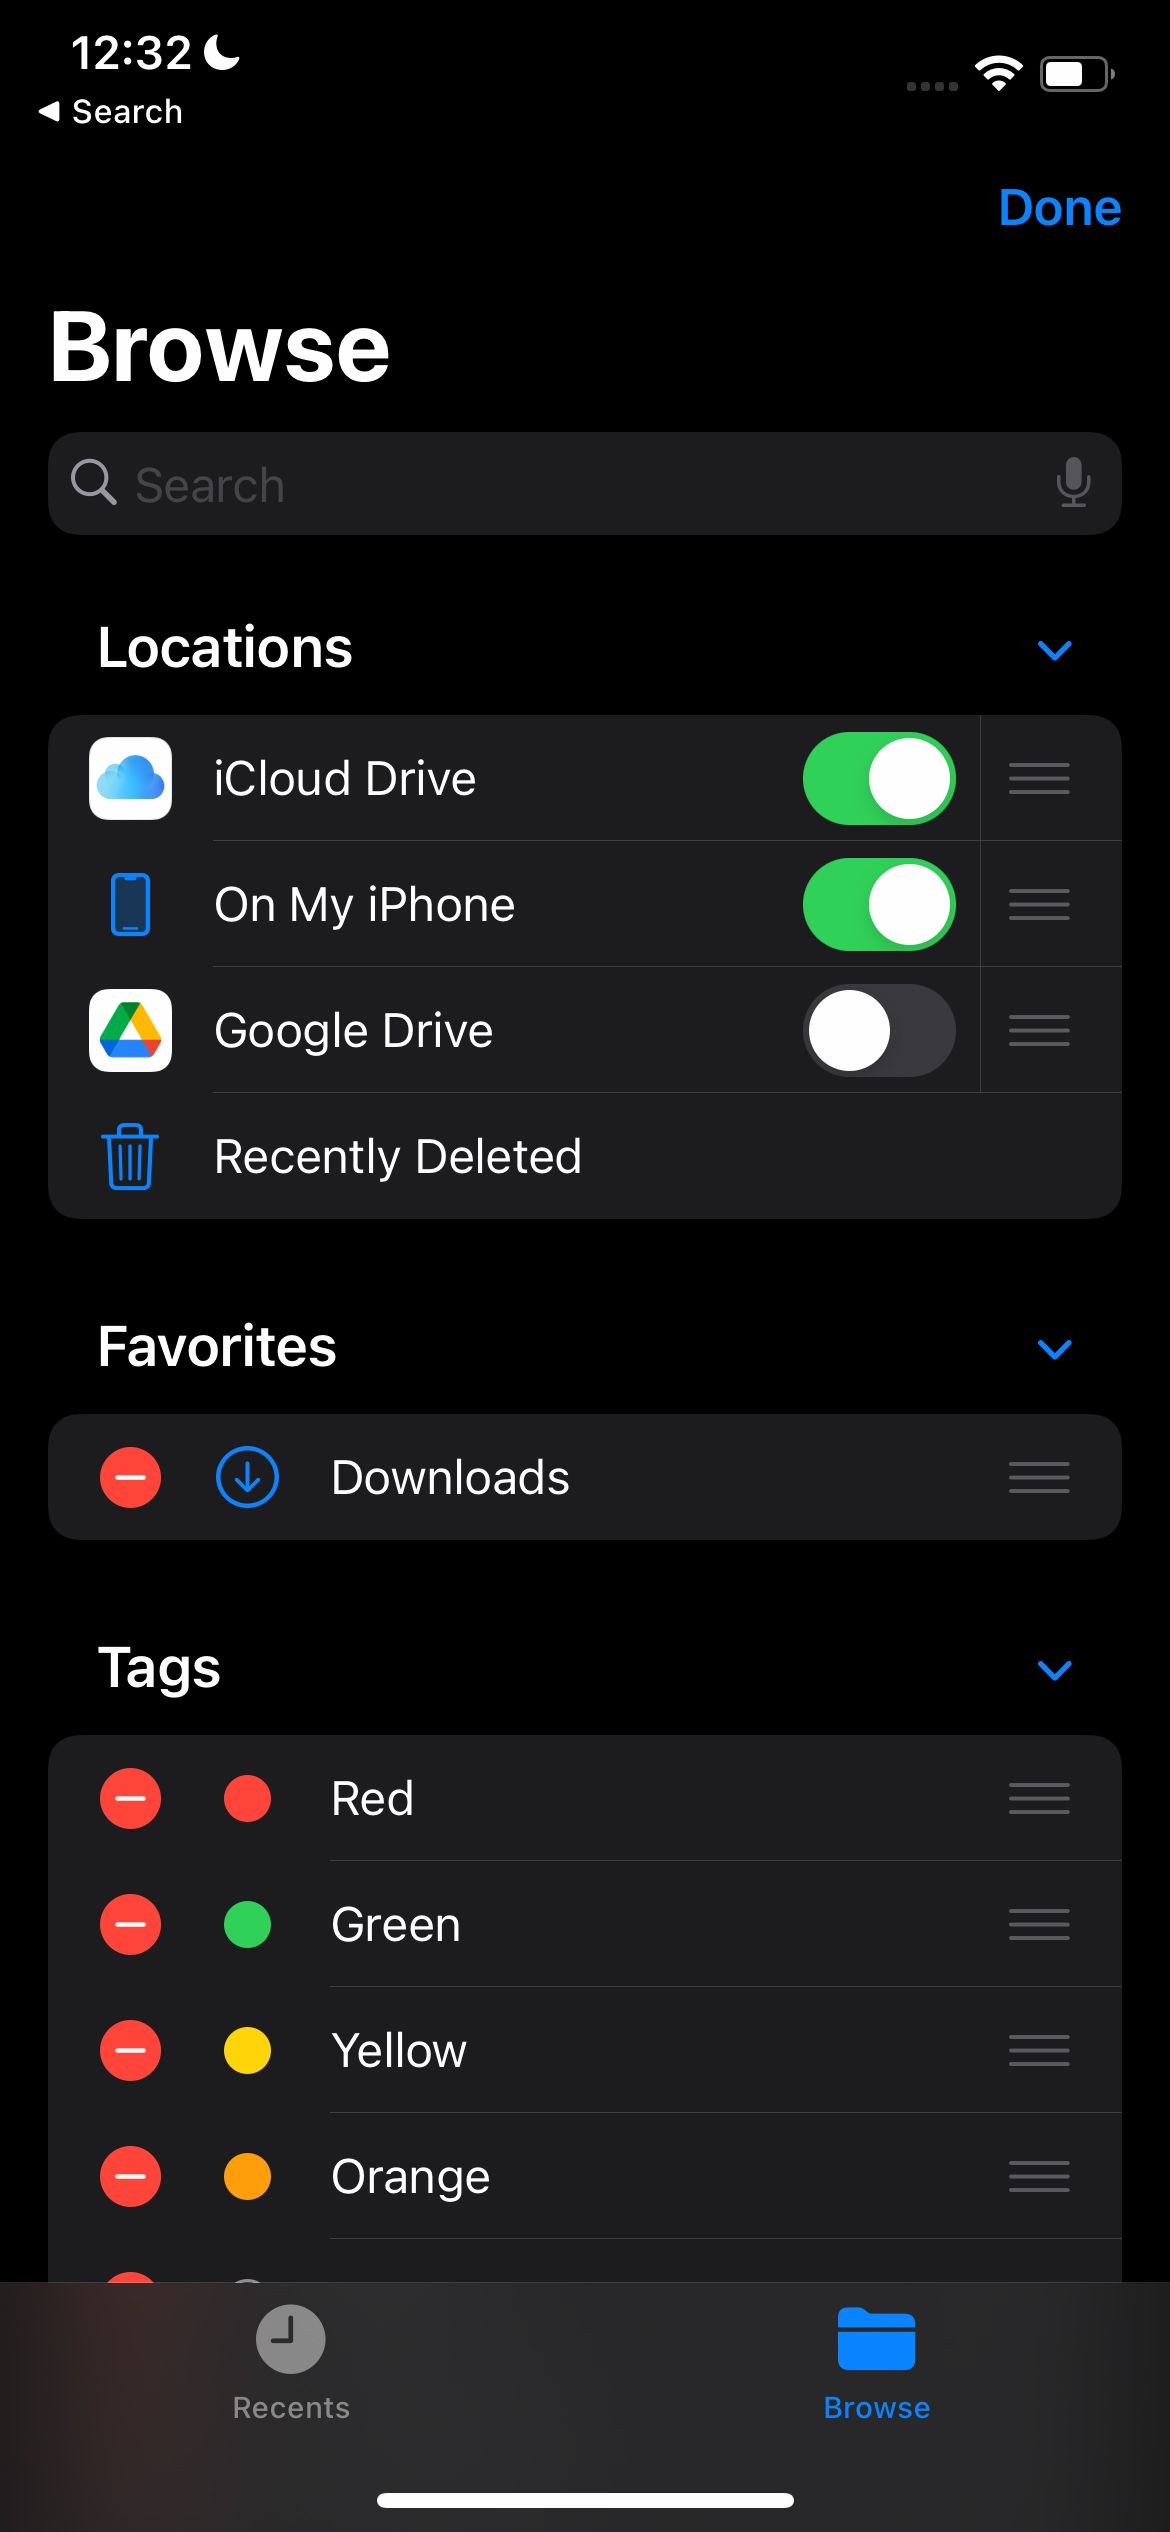
Once all your storage services are set up, you can easily access all the files stored on them using the Files app. If you download any file through Safari or any other source directly onto your iPhone or iPad, it should be available under On my iPhone in the file source menu.
You can also link the files app to your iCloud Drive using the same method, which will allow you to easily access all your iCloud Drive files directly on your iPhone or iPad.
Using External Storage Devices and Network Servers
You can also connect an SD card, hard disk, or any other external storage device to your iPhone or iPad as long as you have the correct adaptor for it. Once connected, the storage device should show up in the Locations menu of the Files app.
You’ll be able to access your drive and all its contents from here, as you would do with a normal file explorer. Alternatively, you can also add a network server to the Files app, which will allow you to access it directly on your device.
How to Save a File to the Files App
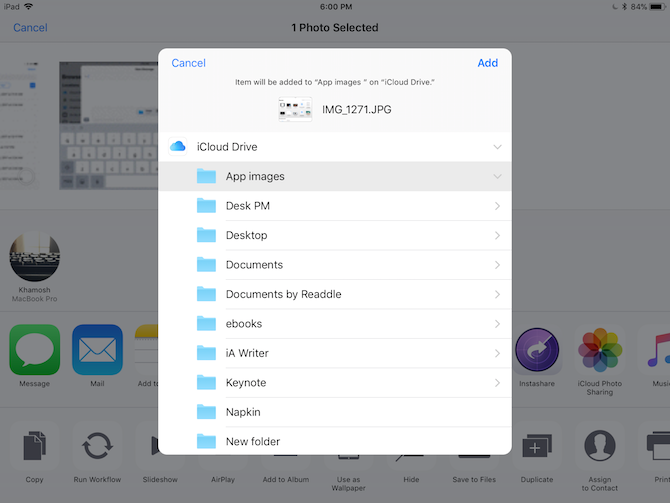
To save a file to the Files app, use the Save to Files option in the Share menu from another app. This is helpful when saving a document from Mail or Safari that you want to have readily available on your device.
The Files app can act as your central repository of files that you use between multiple apps. This way you can avoid creating multiple duplicates of a file. Most apps on iOS and iPadOS now support the Files app, allowing you to pick documents from the Files app and save them back to the Files app once you’re done making the changes (overwriting the same file).
How to Search for a File in the Files App
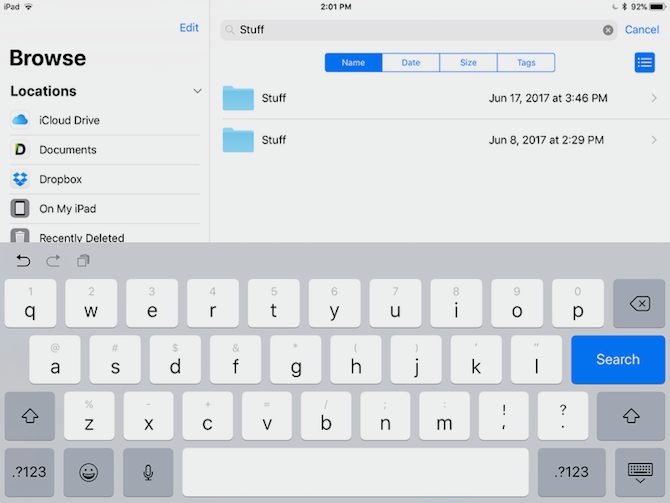
Searching for a file is arguably the quickest way to find something in the Files app. To search for anything, swipe down, and you’ll see a big search bar. Use this to search for any document or files across all of your locations.
Organizing Files Inside the Files App
Think of the Files app to as the iOS equivalent to Finder in macOS or File Explorer in Windows. While it’s not as feature-rich, the app does cover the basics of a file explorer. We’ve covered some basic tips for organizing documents in the Files app below.
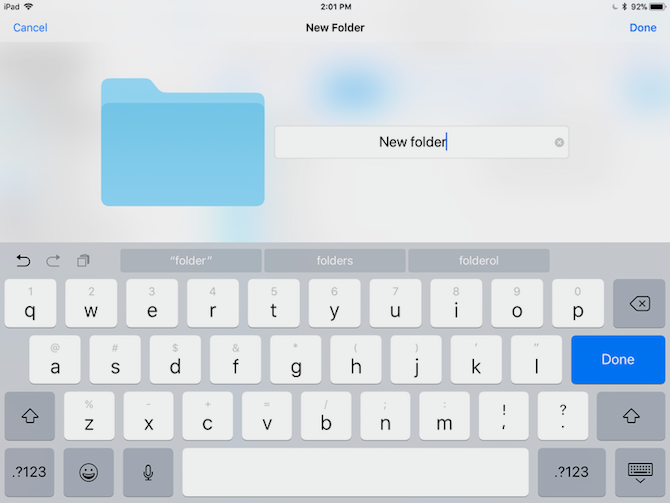
Create a New Folder
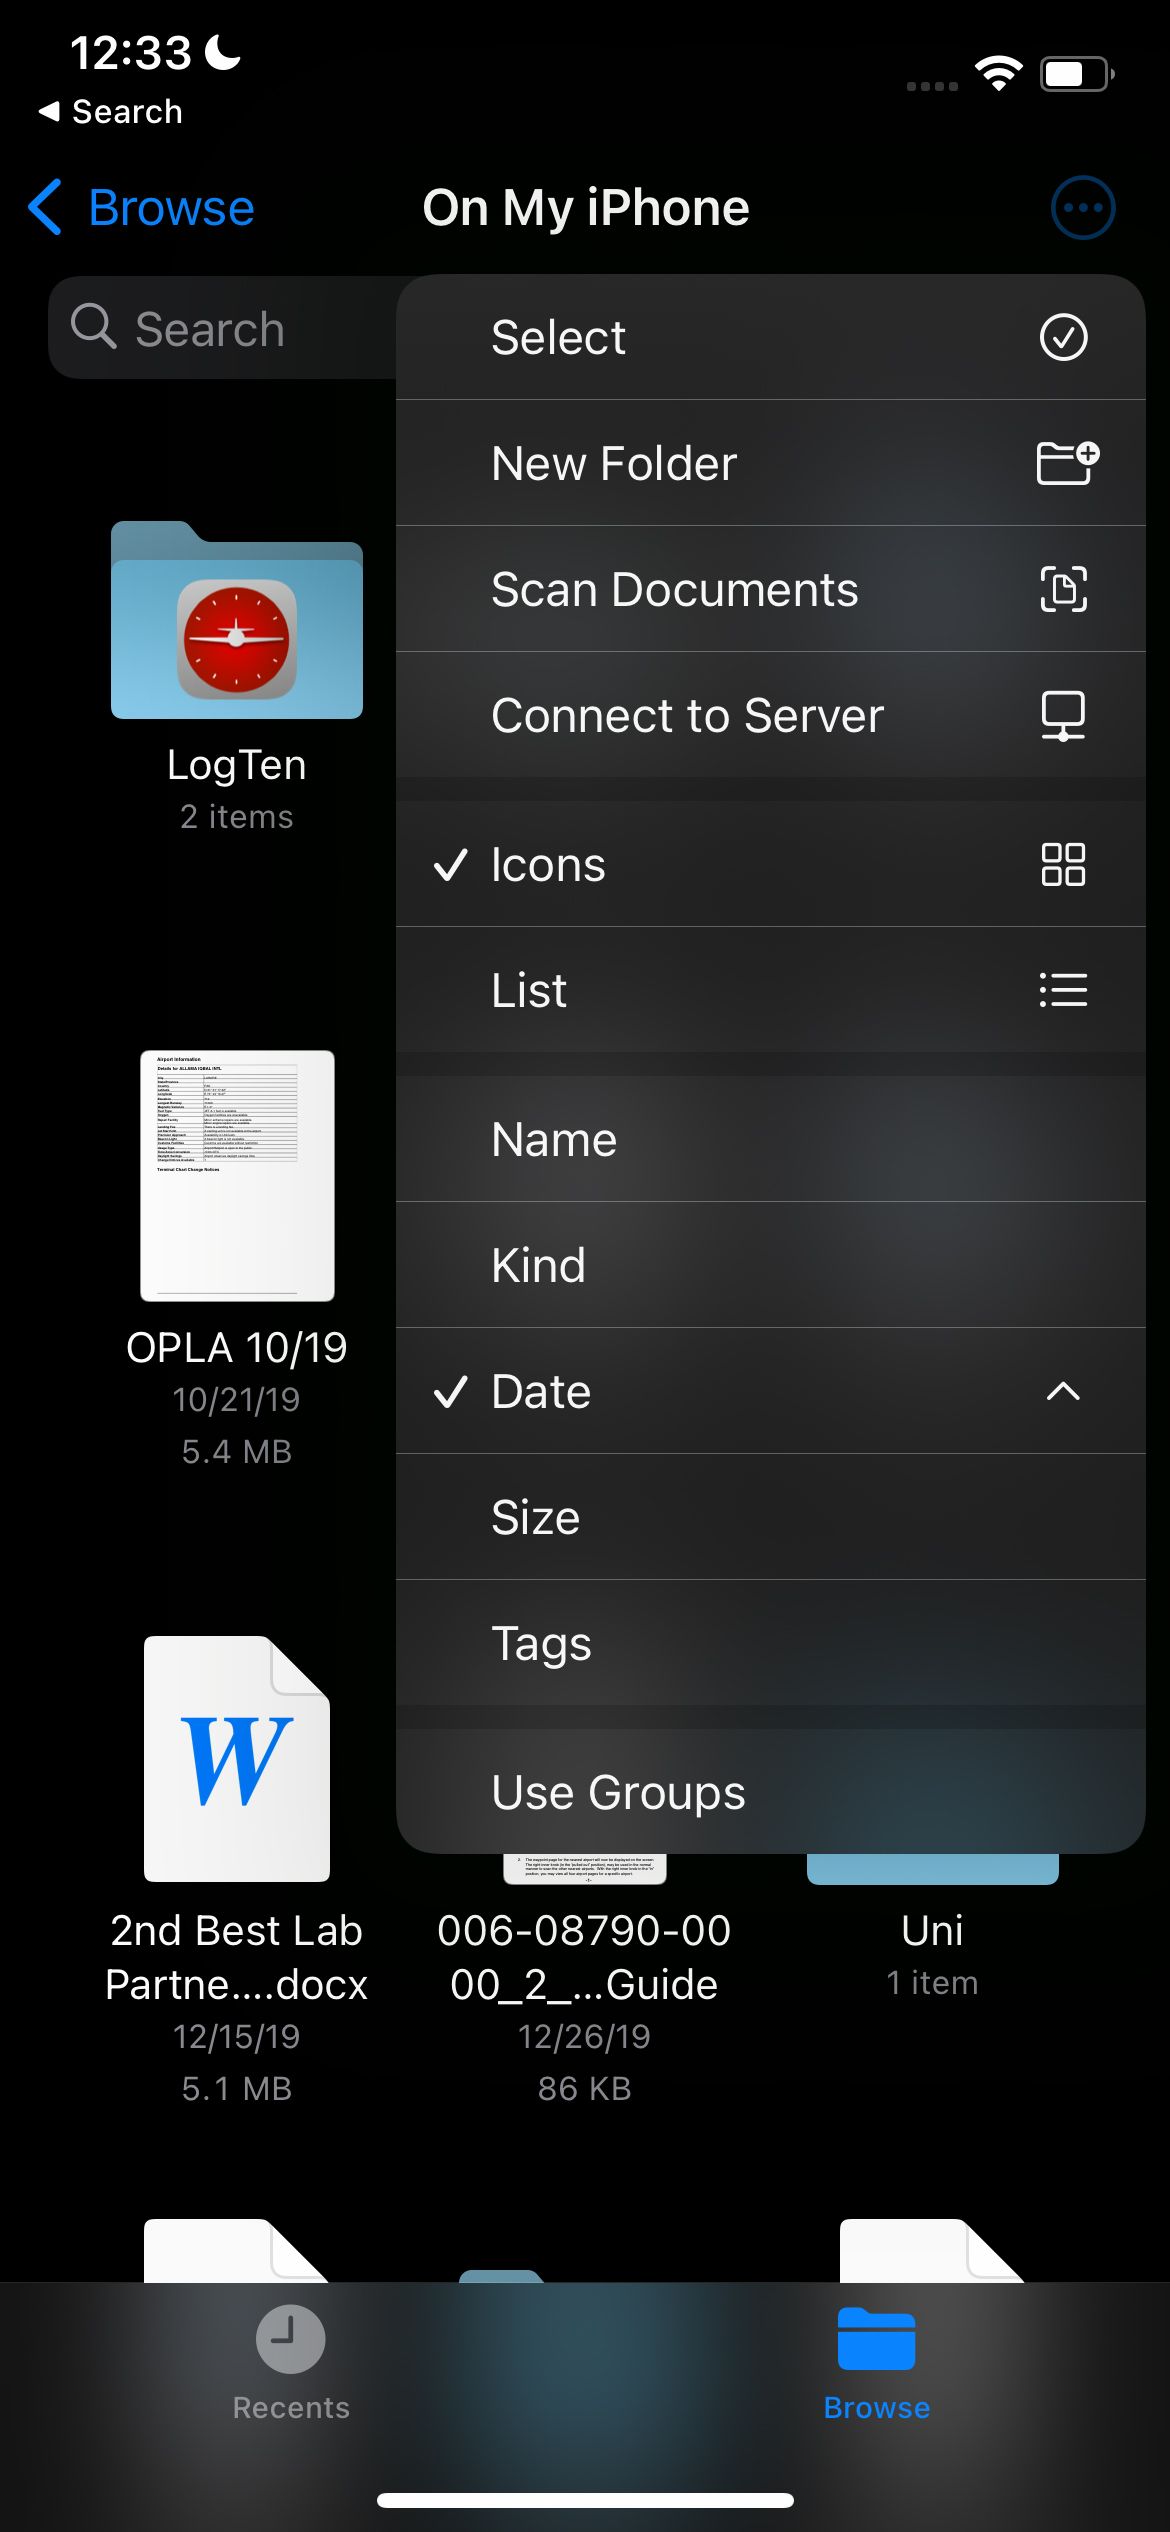
Creating a new folder is easy. On an iPhone, you can tap on the More menu to create a new folder by tapping New Folder. If you’re on an iPad, simply tap on the Add Folder icon in the top-right corner of the screen to create a new folder.
Move Items Between Locations
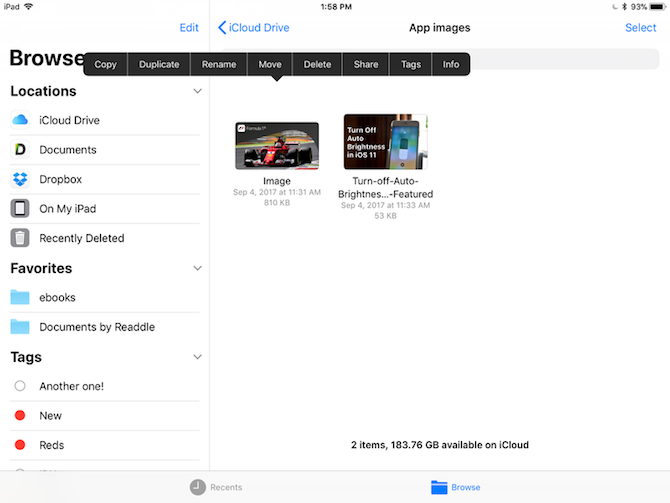
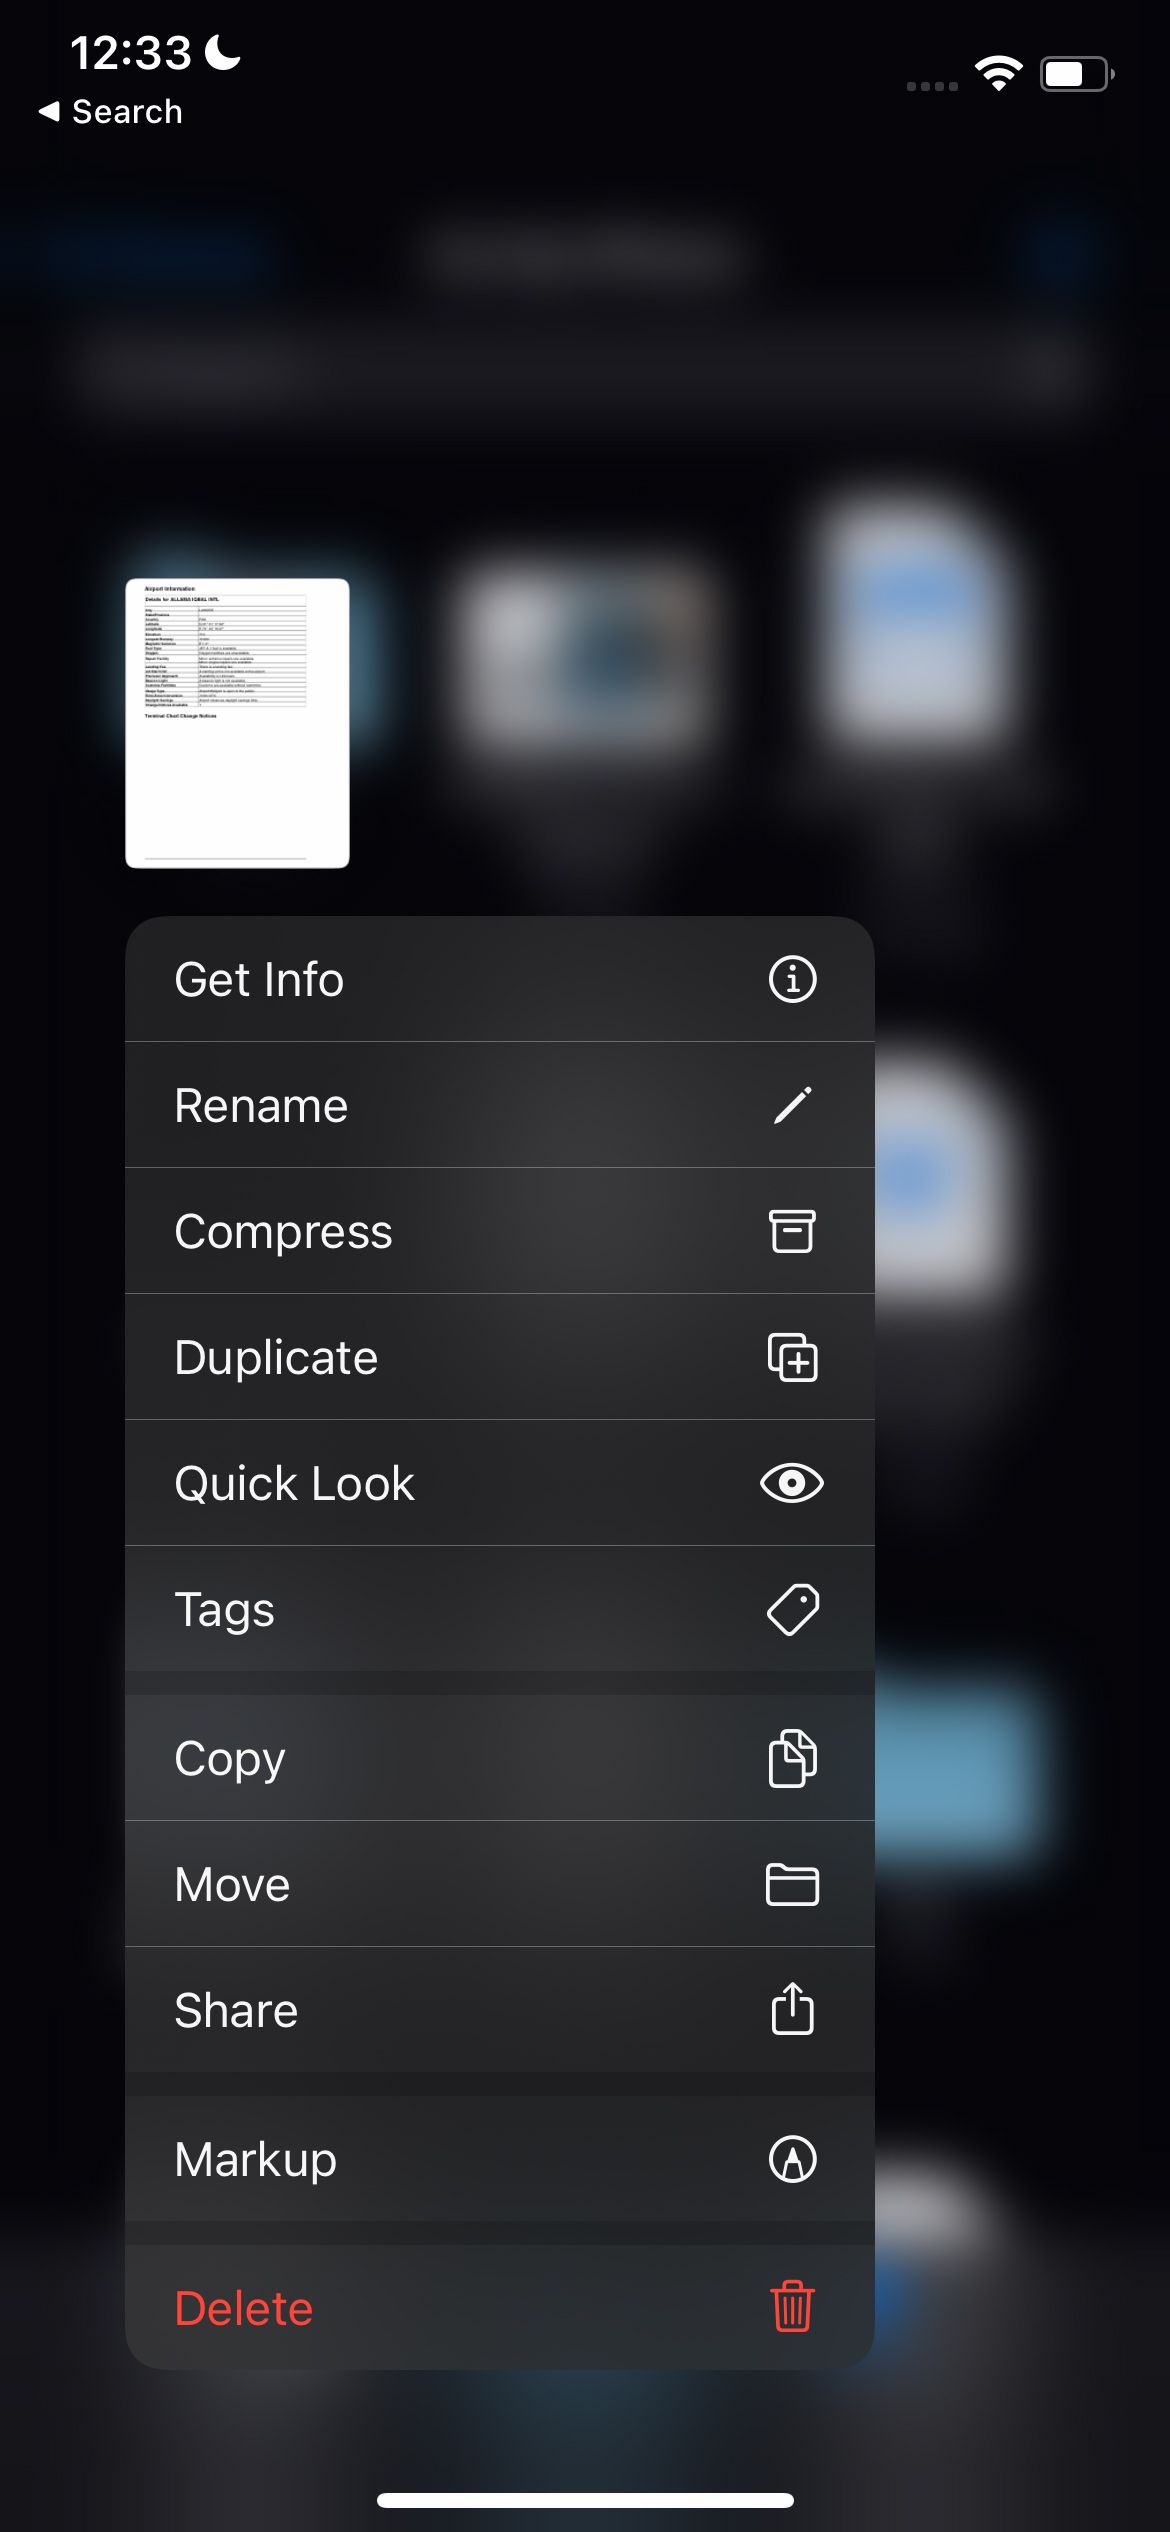
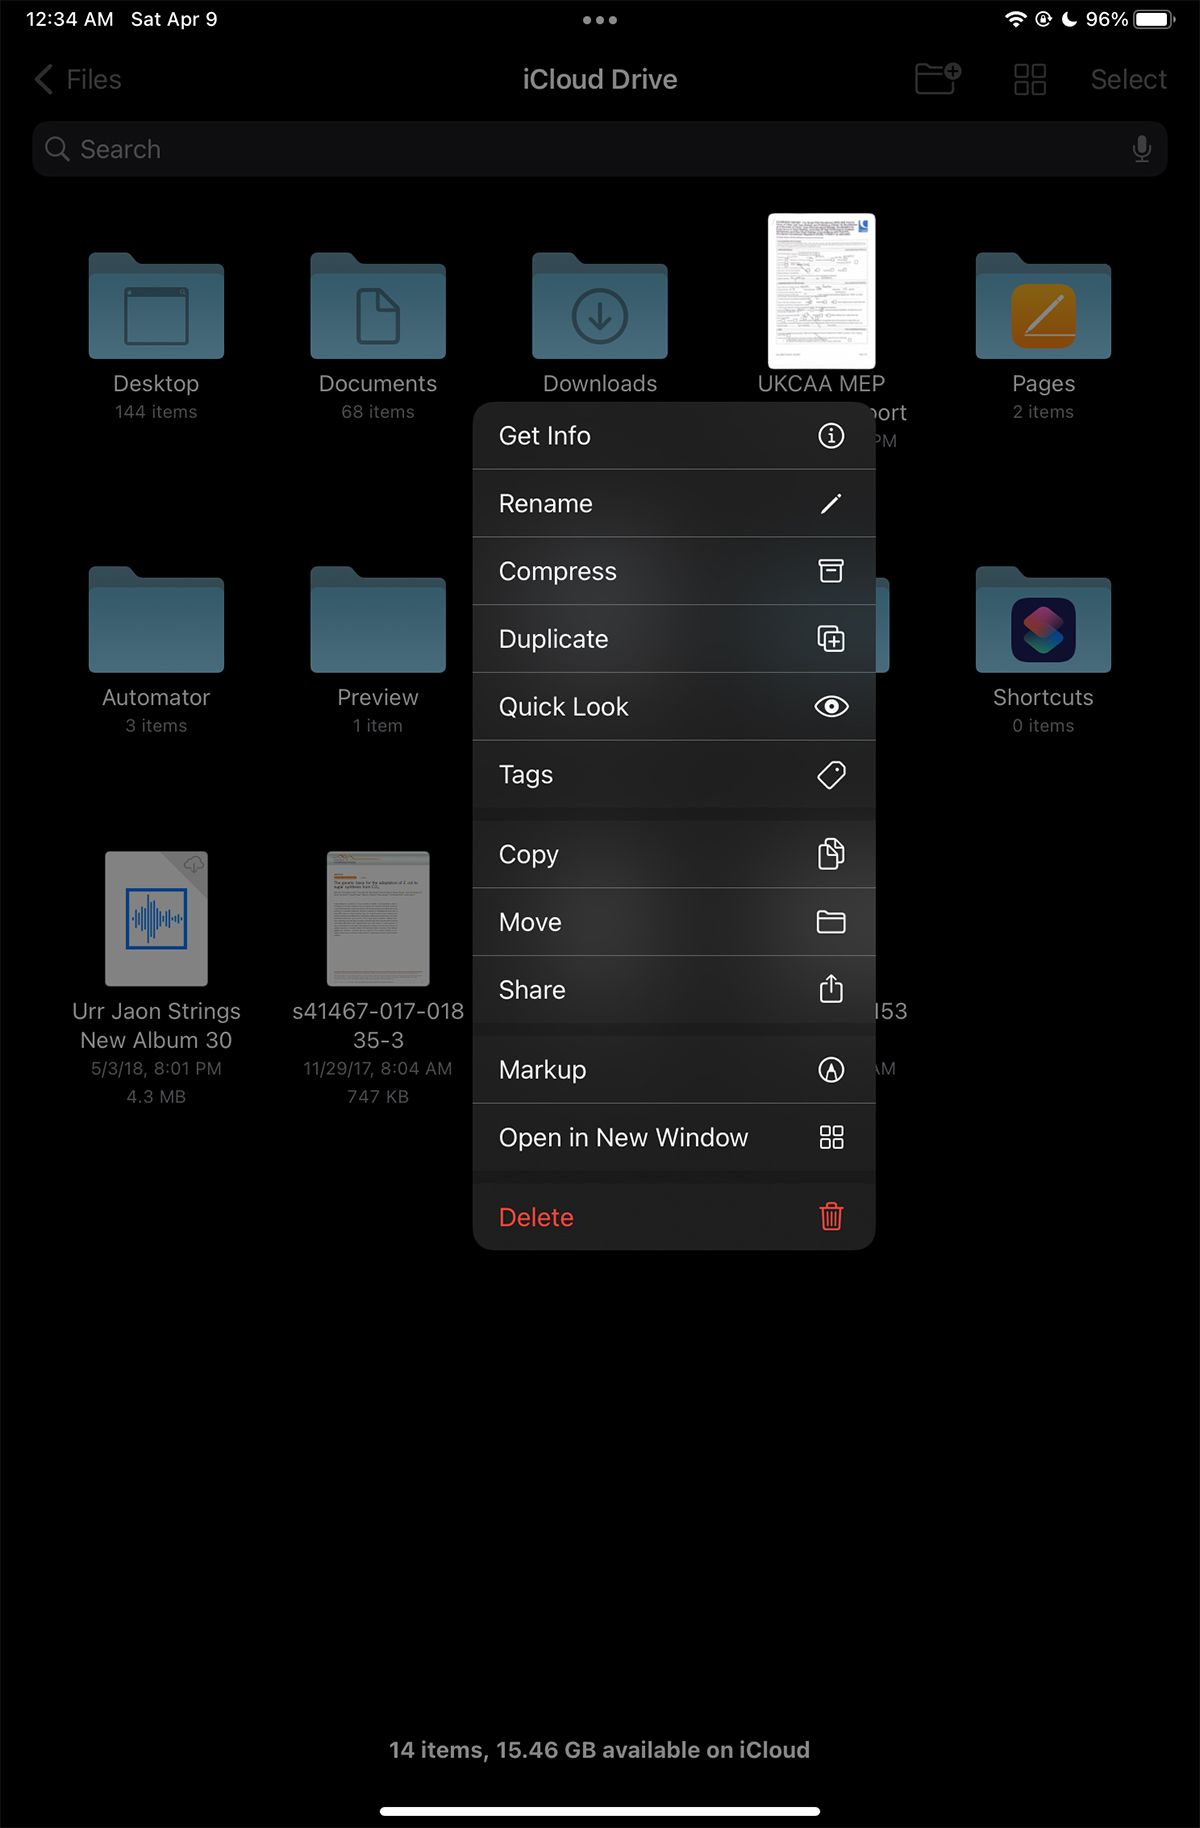
The easiest way to organize and move files between folders and sources is to use the Move function. Simply tap-and-hold on the item you want to move, select Move from the menu and then select the new location that you want to transfer the item to.
Using the Get Info menu of any file will also let you know the exact file location and file path, which could be handy if you’re trying to locate something.
Sort and View Options
On an iPhone, hit on the More button to see options to sort files according to either Name, Kind, Date, Size, or Tags. You can also select between List or Icon views.
You’ll see the same options on your iPad by tapping on the Sort icon (four squares) in the top-right corner of the Files app.
Using All the Files App’s Features
Aside from all the basic file management features we’ve listed above, the Files app offers additional features that will make your life easier. We’ve covered them all below:
Add Tags
Tagging files is a great way to filter multiple files from different sources without actually moving them. Let’s say you use iCloud Drive, Dropbox, and Google Drive to work on a single project. And the files are spread across multiple folders because you need to collaborate with your team members.
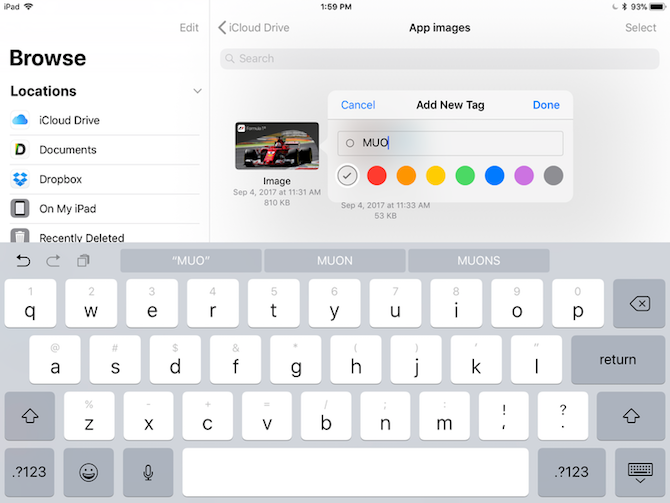
If you want a single place to view all the files related to a project, the best way to do it is to add a project tag. The steps to add a tag are similar on an iPhone and iPad. To add a tag, tap and hold on a file and select Tags from the popup menu.
From the popup, tap on Add New Tag. Give it a name and pick a color. After you get back to the tags section, you can pick multiple tags for the same file. A faster way to tag multiple items on an iPad is to select all of them and drag them on top of a tag in the sidebar.
Mark Folders as Favorites
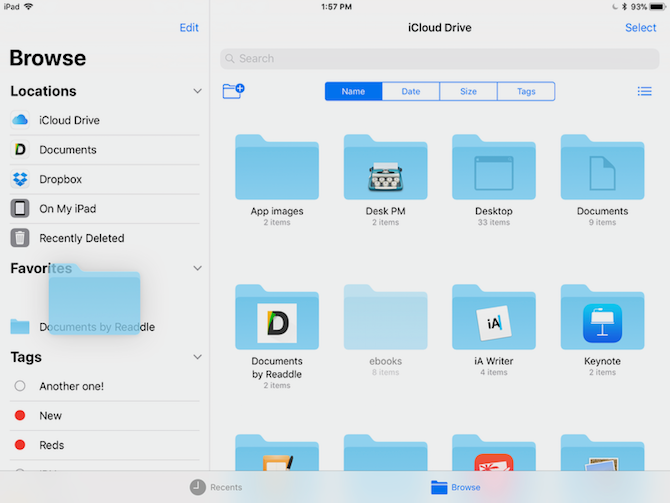
If there’s a folder that you frequently use, tap and hold on it and drag it to the sidebar below the Favorites section. You can now quickly get to it no matter where you are.
Use the Recents Section
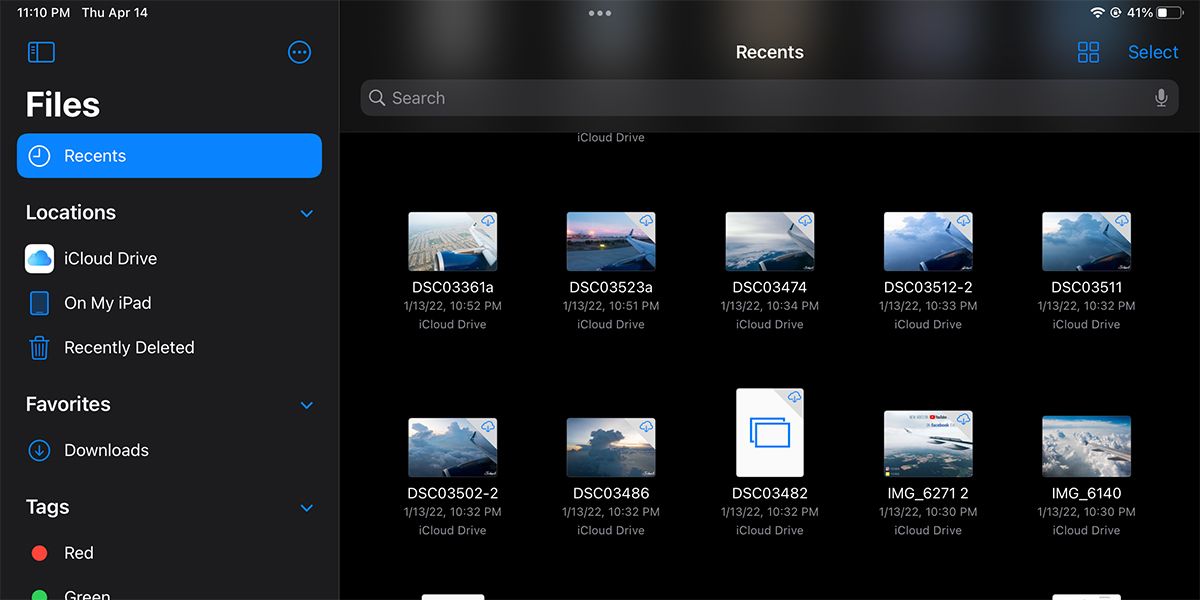
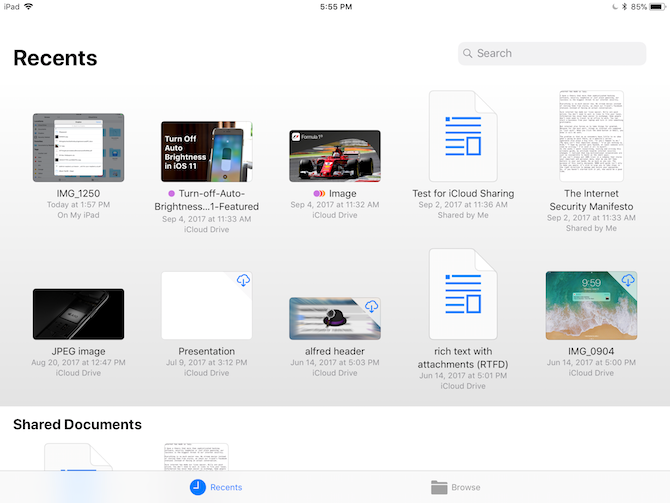
Users familiar with Finder on macOS will be happy to learn that the Files app also has a Recents section, which allows you to quickly access any recent files you’ve interacted with during the last couple of days.
The Recents tab has different sections. It will show you previews of files you’ve used in the last week and documents you’ve shared with others. Tap on a file and you’ll see a preview of it in the Files app itself.
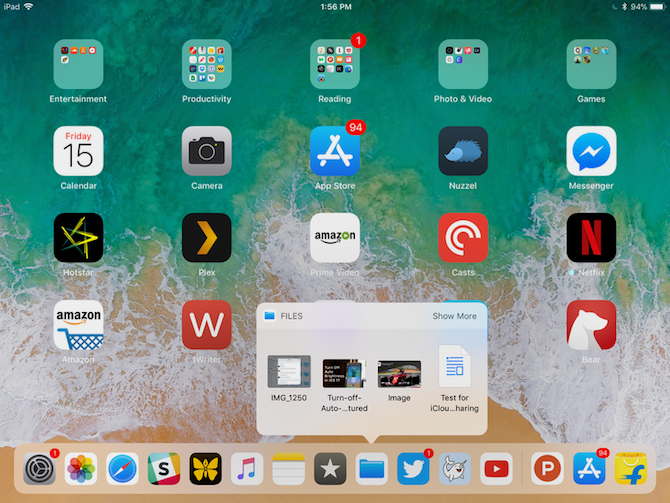
If you’re on an iPad, you can quickly open the four most recent files without even launching the Files app. Simply tap and hold on the Files app icon on the Home Screen, which should reveal the Recents widget. Tap on a file, and it will directly open in the Files preview.
Share Files Through the Files App
The Files app allows you to save and export documents to different apps. This helps if you want to edit a document in another app, send a PDF to someone through your email, and so on.
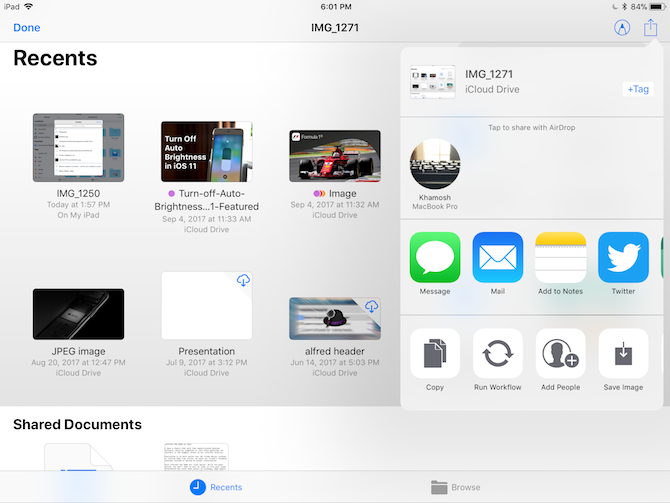
Simply tap the Share button when viewing a document in the Files app to bring up the Share sheet. You can then open the file in any supported app. You can also use the Files app to scan a document and share it through the Share menu.
Zip and Unzip Files
The Files app also allows you to zip and unzip files and folders to save storage. Tap-and-hold an item and select Compress from the popup menu to create a ZIP archive of the selected item. If you have multiple items selected, tap Compress from the More menu to create a ZIP archive of all the files.
If you have a ZIP file you’d like to open, simply tap on the file to unzip it and reveal the contents. Alternatively, you can tap-and-hold on the ZIP file and select Uncompress from the menu.
Collaborate on iCloud Drive Documents
While it’s not as feature-rich as Dropbox and other services, the Files app does add collaboration features to documents you have stored in iCloud Drive. You can use this feature to quickly generate a public link for any file in iCloud Drive.
Tap-and-hold on a document in the Files app and select Share. From here, tap Share in iCloud.
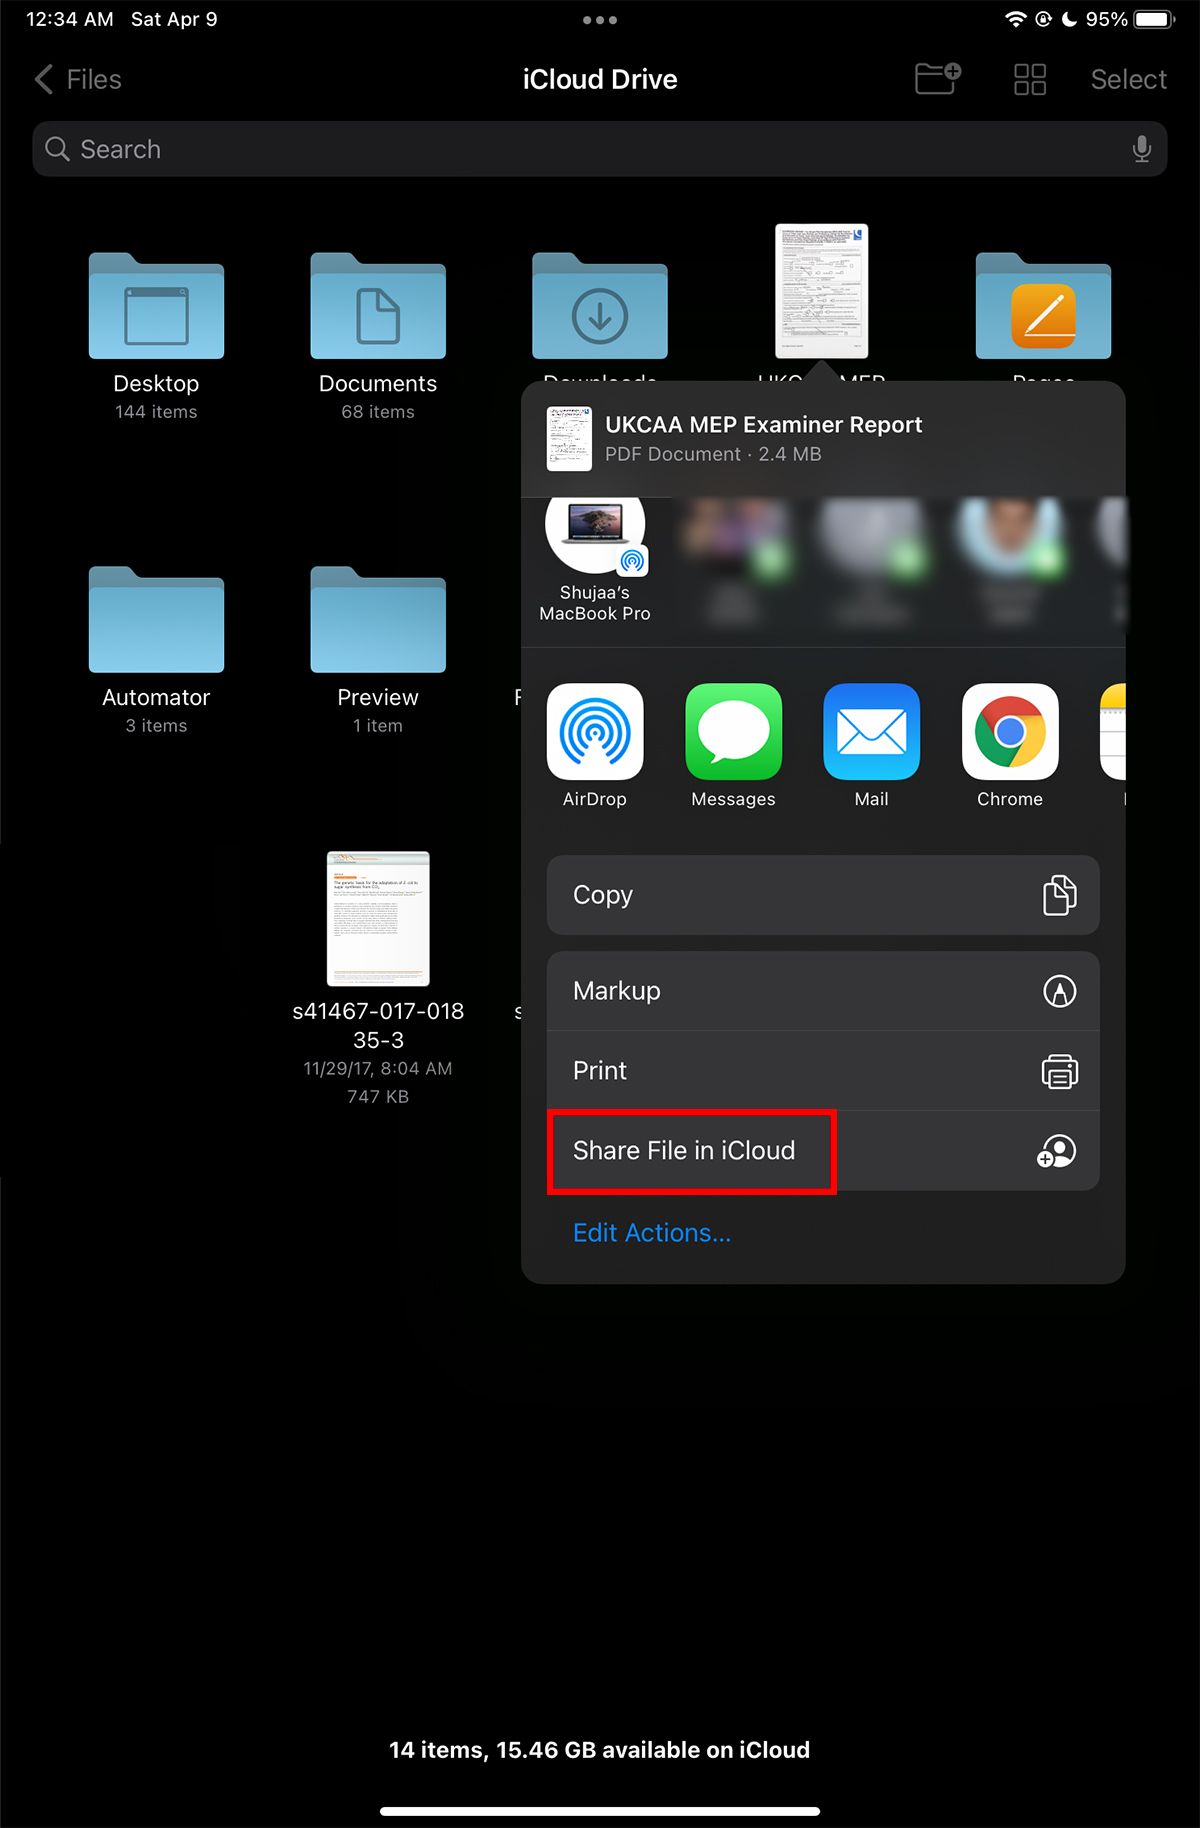
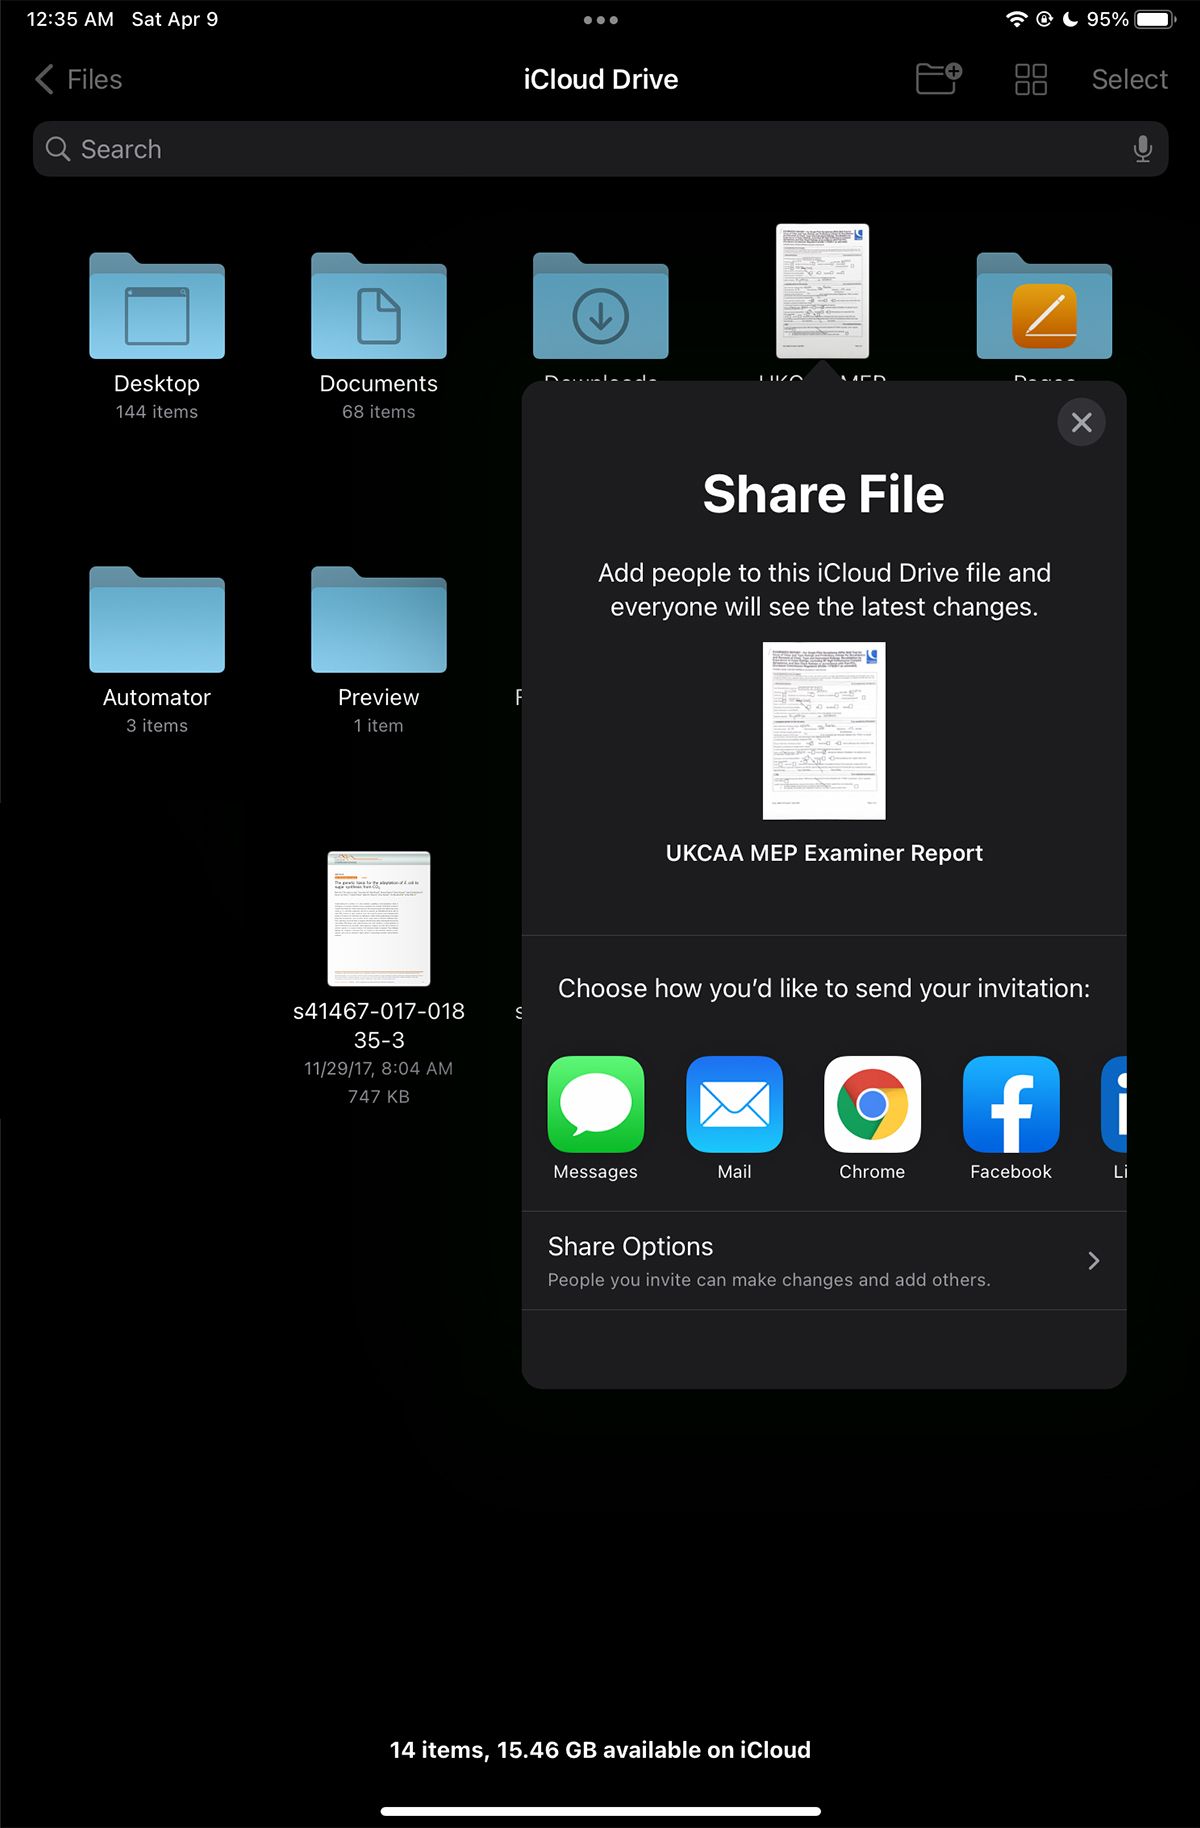
From this popup, choose how you’d like to share the file. You can choose to send your invitation through different apps such as Messages, Mail, and more. You can also change any share options that you deem fit.
The Files App Is So Useful
While the Files app may seem a bit confusing to use at first, it is really helpful for managing multiple file services in a single location. There are many more features than we can cover in a single article, so take the time to explore and use the app for yourself.
The fact that you can get so much done from within the Files app itself makes it one of the most useful apps on the iPhone and iPad.

