With the release of Ubuntu 17.10, came loads of big changes, like GNOME replacing Unity as the default desktop, window buttons going back to the right, the ability to move the dock, and no 32-bit desktop version. There's also a new default display server and default display manager.
Ubuntu 17.04 was a non-LTS release, which means it only has a 9-month support cycle. As of January 13, 2018, Ubuntu 17.04 has reached end of life and will no longer receive software and security updates. It's recommended that you upgrade to 17.10.
Ubuntu 16.04 is an LTS release and will still be supported through the beginning of 2021. But you might still want to upgrade to 17.10 if you're ready for a new Ubuntu experience. Here's how to upgrade to Ubuntu 17.10 from 16.04 or 17.04.
Step 1: Back Up Your Data
Before upgrading your Ubuntu system, you should back up all your important files and folders. Upgrades to Ubuntu usually go smoothly, but there's always a chance they might not. You can also clone the whole system using the dd command, or another cloning tool, so your apps will also be backed up.
Step 2: Update Software Packages
After backing up your data, you must make sure the current version of Ubuntu and the software packages are all up to date.
Press Ctrl + Alt + T to open a Terminal window. Then, type the following command at the prompt and press Enter.
update-manager
The Software Updater opens and checks for updates, which may take a while.
You're notified if there are updates to install. Click Install Now to install the updates.

If you're using Ubuntu 17.04, the Software Updater will tell you that updates are no longer provided. Click Upgrade to upgrade to 17.10 now.Then, jump to the "Upgrade to Ubuntu 17.10" section below.)

The Authenticate dialog box displays. Enter your Password and click Authenticate.

The Software Updater shows the progress of the updates. When it's finished, you'll be asked to restart. If you're not quite ready to restart, click Restart Later. Otherwise, click Restart Now to finish installing the updates.

Step 3: Set Up Notifications for New Ubuntu Versions
Once you've signed in to Ubuntu again, you must change a setting to receive notifications for non-LTS versions of Ubuntu. Ubuntu 17.10 is not an LTS version.
Click the Search your computer icon at the top of the Unity Launcher bar. Start typing "software & updates" in the search box. Then, click on the Software & Updates icon under Applications.

Click the Updates tab on the Software & Updates dialog box. Select For any new version from the Notify me of a new Ubuntu version dropdown list.

You'll be asked to authenticate this action. Enter your Password and click Authenticate.
Then, click Close on the Software & Updates dialog box.

Step 4: Get the Upgrade Dialog Box
Because your current system is now up to date, the following Software Updater dialog box should display automatically, telling you that an upgrade to Ubuntu 17.10 is available. Click Upgrade.

If the Software Updater dialog box doesn't display automatically, it might be minimized to the Unity Launcher bar. Click the Software Updater icon on the bar, if it's there, to activate the dialog box.

If you don't see the Software Updater dialog box at all, press Ctrl + Alt + T to open a Terminal window. Type the following line at the prompt and press Enter.
update-manager
You'll see the Software Updater checking for updates. Then, it will notify you that Ubuntu 17.10 is available, as shown at the beginning of this section. Click Upgrade.
To continue the upgrade, enter your Password and click Authenticate.

Step 5: Make the Upgrade to Ubuntu 17.10
To begin the upgrade process, click Upgrade at the bottom of the Release Notes dialog box.

The Distribution Upgrade dialog box displays the progress of the upgrade.

When you upgrade to a new version of Ubuntu, some third-party sources are disabled. We'll show you how to re-enable them in the "Re-Enable Third Party Sources" section below once the upgrade is finished. Click Close to continue the upgrade process.

Before Getting new packages, you'll be asked if you want to start the upgrade. The following dialog box explains what will be removed, installed, and upgraded. It will also tell you how much space is required and about how long the upgrade will take.
Be sure to close all other applications and documents. Then, click Start Upgrade.

Once the upgrades are installed, the Cleaning up process starts. The updater performs a search for obsolete packages and you're asked if you want to remove the obsolete packages that were found.
Click Remove if you don't want them taking up space on your computer. This process may take a while.

Once the Cleaning up process is complete, you'll be asked to restart the system. Click Restart Now.

On the login page for Ubuntu 17.10, you can click the gear icon to select which desktop environment you want to use. Unity is still available when you upgrade to Ubuntu 17.10 (instead of performing a fresh install), but it's not the default. Ubuntu (on the Wayland display server) is the default desktop environment.

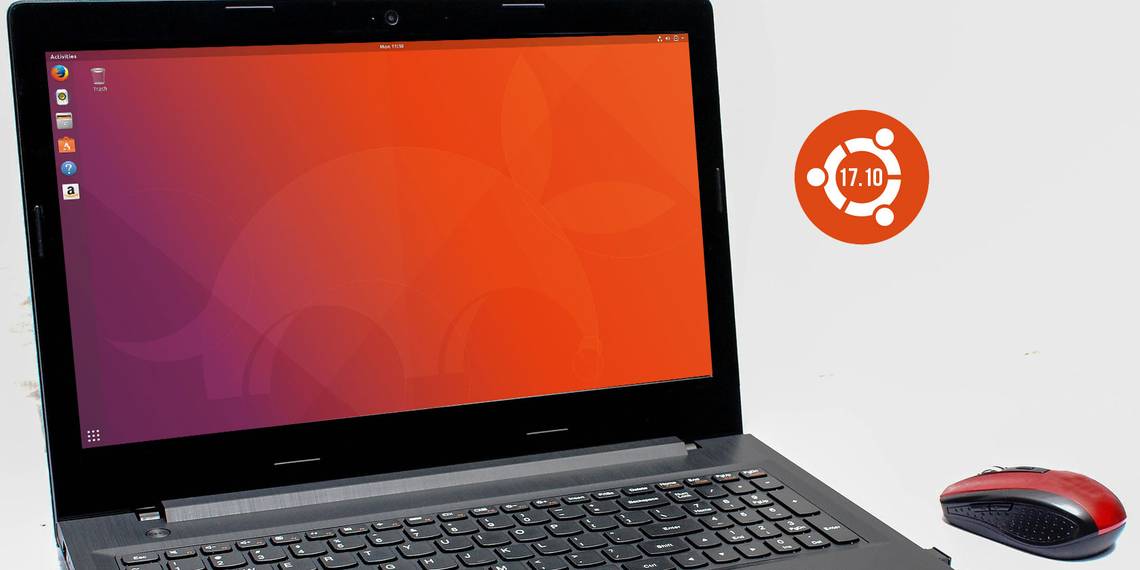
The following is Ubuntu 17.10 with the GNOME 3-based Ubuntu desktop environment.

Step 6: Check Your Ubuntu Version
To check your Ubuntu version, press Ctrl + Alt + T to open a Terminal window. Then, type the following command and press Enter.
lsb_release -a
You'll see information about the current release.

Step 7: Re-Enable Third-Party Sources
Remember the dialog box you saw during the upgrade that told you third party sources were disabled? To re-enable them in Ubuntu 17.10, click the Show Applications button in the lower-left corner of the screen.

Start typing "software & updates" and click the Software & Updates icon when it appears.

Click the Other Software tab. You'll see some disabled on upgrade to artful items in the list. Check those boxes to re-enable the sources.
All the other sources were also disabled. Check the boxes for any other sources you want to re-enable.

After checking the first source you want to re-enable, you're asked to authenticate. Enter your Password and click Authenticate.

Click Close on the Software & Updates dialog box. The following dialog box displays saying you must reload the information about available software so it's up to date. Click Reload.
The Updating Cache dialog box displays. Once that goes away, you're up to date and ready to use Ubuntu 17.10.

And there you have it! You should now be up and running on the latest version of Ubuntu and everything should be working as expected. Enjoy all of the new features!