We've all been there. You've downloaded the latest episode of Peppa Pig. The kids are ready. You hit play and the screen is black. There is no sound. Your children hate you, freak out and elicit more noise than a jet engine. The horror.
Luckily your problem is likely to be a common Windows issue that we can help you troubleshoot right here, right now. The kids will be quiet and maybe even buy you a birthday present if you are lucky (albeit with your own money!).
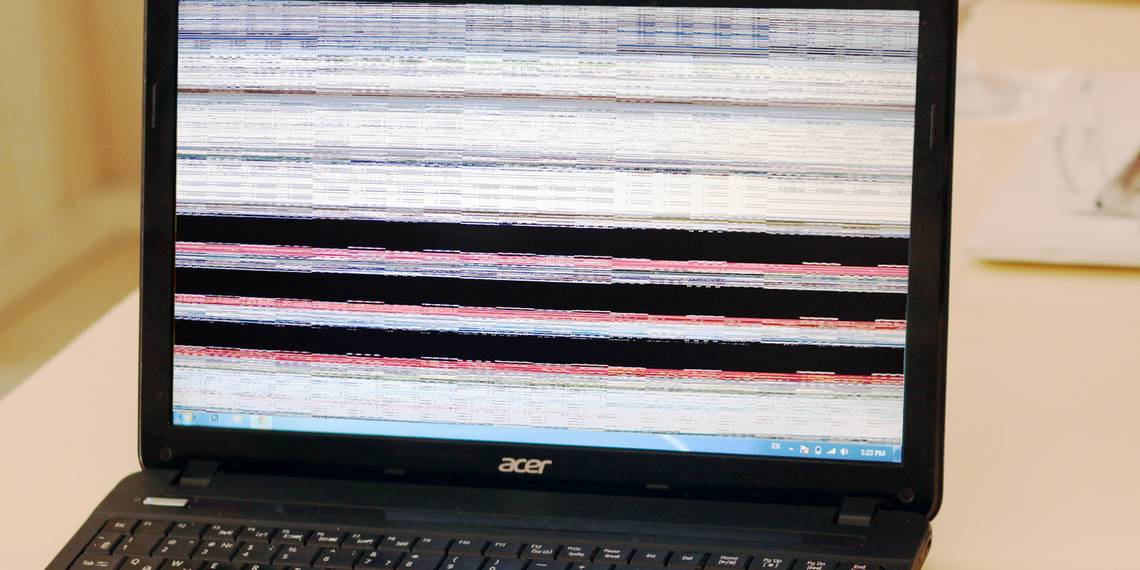
Video – Issues With Codec Packs
One of the most common Windows Media Player error messages is:
Windows Media Player cannot play the file. The Player might not support the file type or might not support the codec that was used to compress the file.
In the bad old days you would download a codec installer, such as K-Lite, Shark007, or CCCP and then fire up your video. Whilst these codecs do provide support for a massive range of video formats, there is a much easier and safer solution to your problems.

We'd advise downloading VLC Media Player. This trusted video player, is free, cross-platform, and best of all the developers have done all the legwork for you. It supports a massive range of video and audio formats, features tons of useful advanced video tweaking features, and does it all with a clean, basic GUI. See above for an outline of supported video formats. FYI, they are not all listed!
WMPRepair
If you're not keen on using a different video player, but are still experiencing video playback issues, WMP Repair might be able to help you. It quickly re-registers all the DLLs associated with Windows Media Player and can fix a range of issues.

Remember to create a system restore point before running any software that installs or registers DLLs, so you can fall back if there are any unexpected issues.
Video – Check Your Hardware and Drivers
Video playback issues can often be attributed directly to your system hardware and the drivers that are required to support each component. Drivers are small pieces of software that tell your hardware how to perform and are critical to your system performance.

You can easily check the status of your hardware via the Device Manager. In Windows 7 and 10, click the Windows key to open the Start Menu and search for Device Manager. In Windows 8.1 and 10, click Windows key + S to open the search menu. If there is a yellow exclamation mark next to Display Adapters, this could be your video playback problem. Double-clicking your adapter will bring up the properties menu where your device information will be displayed, along with any errors.
Selecting the Drivers tab will show you several options, including Update Driver. Clicking it will allow you to choose to either Search Automatically or Browse Your Computer. If you have already downloaded the driver directly from the manufacturer website, select the latter, browse to their location and install. If not, select Search Automatically and Windows will trawl your computer and the Internet to find the correct drivers for your hardware and then install them.

Sound – No Sound at All
With sound problems, it is important to check the audio basics before heading onto any detailed troubleshooting.

Check the mute button – it happens all the time, especially on laptops. Also check the speakers you are attempting to play sound through. Quickly attach another device to the speaker input to ensure it is your computer and not your speaker units. Also double check any amplifiers and cabling in general. If everything is looking good, then you can be sure that it's your system and not your hardware.
Windows has a handy, built-in audio troubleshooter that checks common problems with your hardware, drivers, speakers, and headphones.

Click the Windows key to open the Start Menu (Windows 7 and 10) or click Windows key + S (Windows 8.1 and 10), type Troubleshooting, and select the first result. On older versions of Windows you'll have to head to Start > Control Panel > Troubleshooting. Under Hardware and Sound select Troubleshoot audio playback and complete the troubleshooter. This should resolve any common audio issues, whilst also checking and updating your drivers if required.
Similarly, if you are using USB speakers you can follow the same instructions to check if your USB drivers need updating.
Manually Check Your Drivers
See the above section titled "Video – Check Your Hardware and Drivers".
Head to the same Device Manager, but this time check for a yellow exclamation mark next to Sound, Video and Game Controllers. Select the problematic sound driver and update, as per the previous sections instructions.

Most laptops have an integrated sound card, so you may see High Definition Audio Device, depending on the age of your laptop. This will also appear under the same section in the device manager.
Extra Mute Buttons
The Windows Volume Mixer has individual mute buttons for almost all applications. Open the mixer by right-clicking the volume symbol in your system-tray, bottom right of the screen. Check that the application you are using to play audio isn't muted.

Sound – Restart Audio Services
Windows has an uncanny knack for disabling certain services. Audio services certainly don't escape this 'helping' hand. Services are long-running executable applications that keep your system ticking over. They manage devices, your audio, monitor settings, remember passwords and much, much more. Their user interface isn't obvious and must be accessed through the Control Panel.

Head to the Start Menu (Windows 7 and 10) or Windows Search (Windows 8.1 and 10), type Services, and select the matching result. This should open the Services manager panel. Scroll down to Windows Audio. If the service has been stopped for any reason, your system audio will not function correctly. Restart it by double-clicking and selecting Start. Whilst you are here double-check the service start-up type. Audio services should be set to Automatic by default. If it is anything different – Automatic (delayed start), Manual or Disabled – change it back.
Another quick fix can be restarting the Windows Audio Endpoint Builder, usually located below Windows Audio. Whilst this service says it has Started, sometimes restarting it can fix audio issues. Do this by double-clicking the service, then selecting Stop followed by Start.

Sound – Crackling or Distortion
Crackling or distortion through your speakers can be dreadful. Before any system checks, ensure your connections are up to scratch. They may just inserting that little bit further, or a bit of a wiggle.
If that doesn't work, try looking at any speaker enhancements. Enhancements are optional audio effects such as bass boost or virtual surround sound. They can be handy in some situations but can also cause audio issues.

Right click the volume symbol in the system-tray and select Playback Devices. This will open the Sound window where you can see each audio device installed on your system. Selecting Speakers will open the properties menu where you should select Enhancements. Try disabling each enhancement and hitting Apply to test, or, select Disable all enhancements to kill the entire lot.

Roundup
One of these fixes should have sorted your audio or video playback issues on your Windows system. They won't cure everything, but they will certainly get close to a wide range of irritating, rage inducing problems. Hopefully you're now watching that episode of Peppa Pig you were so desperate to see.
Have we helped troubleshoot your audio or video problem? Do you have any nifty fixes for common problems? Let us know below!