So you have a Samsung mobile device---perhaps a Galaxy S (smartphone), Galaxy Tab (tablet), or Galaxy Note (phablet)---and you've just gone on vacation, went to a concert, or threw a birthday party. You now have a bunch of photos sitting on your device and you want to put them on your PC.
What's the best way to do this?
As it turns out, there are several methods you can use. They can all transfer files of all kinds, not just photos, so you can choose the one that's most convenient for you. Here's how to transfer photos from a Samsung phone to your computer.
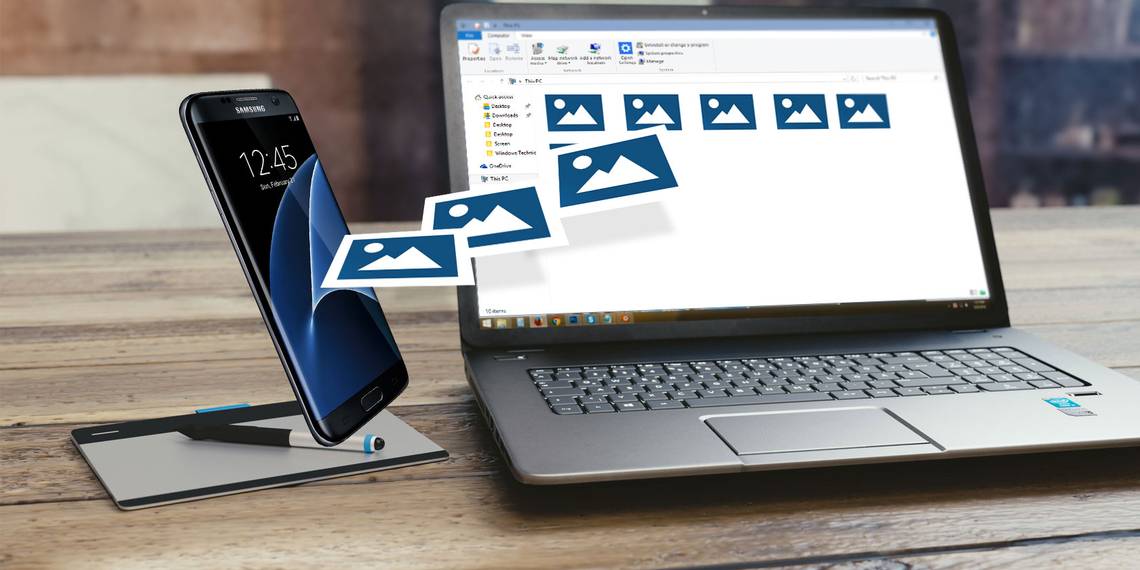
1. Transfer From Samsung Device to Computer Using a USB Cable

We put this method first because it's the easiest and most likely to work with pretty much any Samsung device. After all, all mobile devices use USB to charge, and every modern Windows PC has at least one USB port that you can use.
To transfer photos from a Samsung device to your PC using a USB cable:
- Connect your device to your PC using a USB cable.
- The first time you do this, device drivers will automatically download and install on your PC. If your system asks for permission to do this, grant it.
- On the Samsung device, when asked to Allow access to device data, allow it.
- Open File Explorer on your computer to This PC and you'll see the Samsung device under Devices and drives. You can now use File Explorer to access the device's file contents, including all of its photos. Photos are found in the DCIM folder on most devices.
2. Transfer Files to Your Computer Using an External SD Card
If your Samsung device has a slot for a microSD card, you may prefer this method over using a USB cable. While some laptops have built-in SD or microSD readers, most computers don't. Thankfully, you can buy an adapter like the Anker 2-in-1 SD Card Reader, which connects via USB.
Insert the external card into your device, then use an Android file explorer app to transfer all your photos to the card. Remove the card, plug it into the adapter, and you'll see it on your PC as an external device under This PC. You can then copy photos from it using the USB directions above.
3. Transfer Files From a Samsung Device Using Bluetooth


Your Samsung device most likely supports Bluetooth, but this method requires a Bluetooth-capable PC as well. Most laptops fit the bill, but some desktops don't. Like SD card compatibility, you can purchase a USB Bluetooth adapter to add this functionality to your PC for cheap.
If you transfer files often, it's worth the few dollars to avoid having to connect any cables.
On your Samsung device, pull down twice from the top of the screen to open the Quick Settings panel, then tap Bluetooth to enable it if it's not already. When the Bluetooth dialog box comes up, tap on your device to make it visible. This will allow your PC to find and connect to it.
On Windows 10, connect to the device with these steps:
- Go to Settings > Devices > Bluetooth & other devices and enable Bluetooth if it isn't already.
- In the list of visible Bluetooth devices, select your device and click Pair. If you don't see it, click Add Bluetooth or other device at the top.
- A numeric passcode will appear on both. If they match, click Yes on Windows 10 and tap OK on your Samsung device.
- When paired, click Send or receive files via Bluetooth, then Receive files.
- On the Samsung device, use the My Files app to select all the photos you want to download. Share them and select Bluetooth as the method, then choose your PC as the destination.
- When the file transfer request shows up on the PC, click Finish.
If you have trouble, see our full guide to connecting your mobile device and PC with Bluetooth.
4. Use Cloud Storage Sync to Transfer Files


Cloud storage is arguably the easiest way to move files across devices, but it does have a big downside: limited storage space. This doesn't matter if you only need to grab a handful of photo. However, since high-quality photos take up a lot of space, you may have trouble transferring large albums.
First, set up an account with a free cloud storage service. Google Drive is probably your best bet, because it provides a large amount of space for free users at 15GB. You'll then want to install the Google Drive app on your Samsung device and PC.
On your Samsung device:
- Open the Gallery app.
- Select all the images you want to transfer, then hit Share and select Save to Drive.
- Choose the right Google Drive account (if you're logged into more than one), pick the folder where you want them saved, then tap Save.
- Wait for it to sync.
- On your PC, navigate to your Google Drive folder, find where you saved the images, then move them to wherever else you want on your system.
Download: Google Drive for Android | Windows (Free, subscription available)
Samsung Cloud Storage


Samsung provides an integrated cloud storage solution that works in the same manner as Google Drive. If you've bought a new Samsung device recently, there's a good chance you have a basic Samsung Cloud Drive subscription.
The free Samsung Cloud Drive tier offers 15GB of cloud storage, which you can use to sync your photos and other files to your computer. If this isn't enough, you can upgrade to 50GB for $1 per month or 200GB for $3 per month.
If your device appears on the Samsung Cloud compatibility list, the Samsung Cloud Drive comes pre-installed on your device (assuming you haven't wiped the default installation and replaced it with a custom ROM). Here's how you use it:
- On your Samsung device, browse to the photo you want to send to your computer. Press the Share icon.
- From the list of apps, select Samsung Cloud Drive.
-
Create a specific folder for your files or photos if you want, then select Done.
- If you have not used Samsung Cloud Drive before, you must create an account at this point.
- Now, on your computer, head to the Samsung Cloud login page. Enter your Samsung Cloud Drive credentials, and you'll find your file waiting for you.
5. Use Samsung Flow for Wireless File Transfers


Samsung Flow, formerly known as Samsung SideSync, connects your Samsung smartphone to your PC using your local Wi-Fi connection. Once you establish a connection, you can transfer photos (and other files) from your Samsung device to your PC wirelessly.
Better still, you can use your computer to control your Samsung device. Samsung Flow creates a screen mirror of your Samsung device on your computer. You can then open the apps on your device, swipe through photos, access your messages, and do anything else you'd do on the phone.
How to Use Samsung Flow to Transfer Photos and Files
Samsung Flow is easy to use and works with loads of Samsung devices. Here's how you set it up:
- On your Samsung device, head to Google Play and download the Samsung Flow Android app.
- On your computer, head to the Microsoft Store and download the Samsung Flow Windows 10 app.
- Make sure your computer and your Samsung device are connected to the same network, either by Ethernet or Wi-Fi.
- Open Samsung Flow on your Samsung device. Then open Samsung Flow on your computer and press Start.
- Select your Samsung device in the Samsung Flow app on your computer. Confirm the passkey connection on your Samsung device, then again on your computer. Once confirmed, Samsung Flow is connected.
After the connection completes, you can begin using your Samsung device from your computer. Here's how you transfer photos from your Samsung phone to your computer using Samsung Flow:
- In the Samsung Flow app, select the three-dot menu icon in the top right corner and choose Settings.
- Specify the Downloads Folder using Change. You must do this, otherwise file transfers will not complete.
- Once complete, press the Back arrow to return to the home screen.
- Now, select the Plus icon in the bottom-left corner.
- Select Image, then browse to the image you want to send.
While simple, this method only sends one image at a time, which isn't efficient. If you want to send more than one photo from your Samsung device to your computer at a time, try this:
- In the Samsung Flow app, select the Plus icon in the bottom-left corner.
- Select My Files > Images, then check each photo you want to send to your computer.
6. Use FTP Over Wi-Fi to Transfer Files From a Samsung Device

FTP (File Transfer Protocol) is a simple way to transfer files over the internet between a server (in this case, your Samsung device) and a client (the destination PC). To do this, you need to install an app that lets your device become a server, as well as FTP software that allows your PC to connect while the device's server app is running.
On your phone, you can use a free app called WiFi FTP Server. It's easy to use, but has non-intrusive ads. Once installed, it's as easy as tapping the Start button to turn on server mode.
On Windows, we recommend these free FTP clients if you have experience using FTP. If not, then we just recommend using the FTP capabilities of File Explorer instead.
Now that your mobile device and PC are set up, you can transfer photos in this way:
- Open WiFi FTP Server on your phone and tap Start. Allow permission if asked.
- Note the Server URL, Userid, and Password, as you'll need to use them as connection details in the FTP client on your PC.
- Once connected, you'll be able to browse the entire contents of your Samsung device through the FTP client. Navigate to the DCIM folder to find camera photos.
- Use the FTP client to download those photos to your PC.
Download: WiFi FTP Server for Android (Free)
Transferring Photos From a Samsung Device Is Easy
We've covered a few methods for moving photos from a Samsung device to a PC. Depending on how often you need to do this and how many photos you want to transfer, one of these procedures will work best for you.
For a lot more that you can do with your device, check out awesome ways to customize your Samsung phone.