Quick Links
Key Takeaways
- Use keyboard shortcuts to take screenshots as quickly as possible. You can capture the entire screen, a specific portion, or an app window.
- You can use the built-in Preview app if you want more control over the location and image format in which your screenshots are saved.
- Third-party screenshot apps like Snip My give you more options, like taking screenshots of multiple screens, adding a delay, etc.
Whether you want to take a screenshot of the whole screen or snip out a part of it, macOS makes it easy. You can use keyboard shortcuts, the built-in Screenshot app, or download free third-party apps to do so. We'll explain each method in detail below.
Take Screenshots on a Mac Using Keyboard Shortcuts
The fastest way to take a screenshot on your Mac is by using keyboard shortcuts. There are three main keyboard shortcuts, each of which helps you take a screenshot differently.
Before proceeding further, ensure you've enabled the keyboard shortcut feature first. Go to System Settings > Keyboard > Keyboard Shortcuts > Screenshots. Check the list of boxes there and click Done.

Take a Screenshot of the Entire Screen on Your Mac
To take a screenshot of your Mac's entire screen, press Cmd + Shift + 3 on your keyboard.

When you do that, you'll see an image appear in the bottom-right corner of your screen. You can click on the image to edit, annotate, or delete the screenshot. You can add text, sketches, shapes, and even your signature.
Of course, you can opt to do nothing and let it auto-save to your desktop. macOS saves the image as a PNG file by default. However, if needed, you can set your Mac to save screenshots as JPG.
Take a Screenshot of a Specific Portion of Your Screen
To screenshot a particular section of your Mac's screen, press Cmd + Shift + 4. Notice that your cursor turns into a crosshair icon. Simply click and drag it across the part of the screen you want to screenshot.

While making the selection, hold down the Shift key if you want to limit your adjustments to either the X or Y axis. To resize your selection proportionally from the center, hold down the Option key. And if you want to move the selection, hold down Space instead.
Changed your mind about taking the screenshot? No problem. Hit the Esc key to cancel the action. And once you're satisfied with the selection, release the trackpad or mouse.
If you want to copy the captured image to the clipboard instead of saving it, press Control + Cmd + Shift + 4 instead.
Take a Screenshot of an App Window
Want to take a screenshot of an active app window? First, hit Cmd + Shift + 4. Then hit Space, and you'll see the crosshair turn into a camera.

The active window appears highlighted, and if you click the camera, you get a screenshot of it. Before clicking, you can also choose to move the camera's focus to a different window.
If you want to take a timed screenshot, you'll need to open your Mac's built-in snipping tool. We'll discuss this in the next section.
Take Screenshots on a Mac With the Built-In Screenshot App
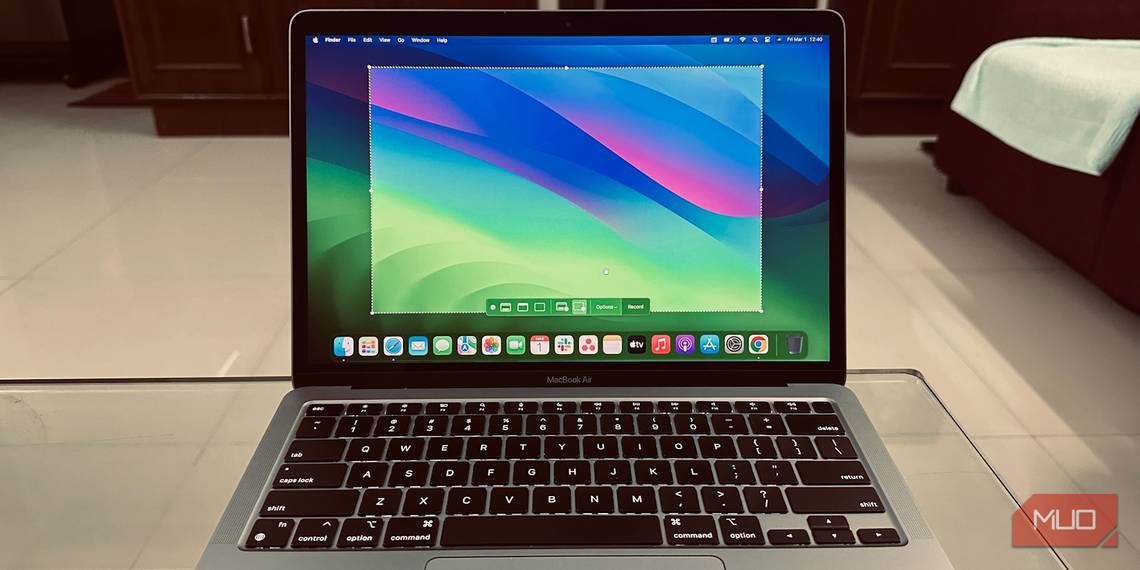
If you prefer a more point-and-click approach, you can use the pre-installed Mac snipping tool called the Screenshot app. To access it, go to Finder > Applications > Utilities > Screenshot. Alternatively, you can use the shortcut Cmd + Shift + 5 to bring up the app.
The Screenshot app has three tools that perform the same action as the keyboard shortcuts we covered above: Capture Entire Screen, Capture Selected Window, and Capture Selected Portion.
To take a timed screenshot, click Options and choose either 5 or 10 seconds. Then, click Capture to start the countdown timer.

The native Screenshot utility also serves as a simple screen recorder app for your Mac.
Take a Screenshot on a Mac With Preview
The Preview app on your Mac also allows you to take screenshots of files you can open with it, such as images and PDF files.
The advantage of using Preview for screenshots is that, with each new capture, you can change the screenshot file format and save location on your Mac. Of course, you can also instantly edit your screenshots in Preview before saving them.
To take a screenshot in Preview, go to File > Take Screenshot. Again, you can choose to screenshot the entire screen, a section of it, or the opened window. Unfortunately, Preview doesn't let you take timed screenshots.

Take Screenshots on a Mac With Third-Party Snipping Tools
Want more features that aren't included in the built-in screenshot tools on your Mac? You can try one of these free third-party apps to take a screenshot on your Mac.
1. Snip My

Snip My has several timed screenshot options. You can choose to have a screenshot delayed from 1 to 15 seconds. The app lets you take a screenshot of multiple screens as well. On the paid subscription, you can opt to take a circular screenshot, too.
Download: Snip My (Free, subscription available)
2. iScreen Shoter

Besides the usual screenshot functions, iScreen Shoter comes with an optical character recognition (OCR) tool. If you need to extract text from a particular image, you can take a screenshot and then scan the text with this app so that you can copy it to your clipboard and paste it elsewhere.
Download: iScreen Shoter (Free, premium version available)
3. Awesome Screenshot & Recorder

Awesome Screenshot is one of the best Chrome extensions for screenshots, and it has an app for Mac users too. A unique feature of the desktop app is that it comes with a color picker, so if you're taking a screenshot and need to utilize the same color from an image elsewhere, just use the color picker to identify the color code!
Download: Awesome Screenshot & Recorder (Free, subscription available)
From built-in tools to third-party software, you can choose from a variety of different keyboard shortcuts and apps to screenshot your Mac. The best option depends on what exactly you want to take a screenshot of.
In rare cases, a screenshot may not capture all elements of the macOS user interface. In those situations, the workaround would be to screen record your Mac and then take a screenshot from the video.