The process of deleting files is cathartic. We select a list of old or useless files, hit Delete, and---poof---they're gone. But are they really?
The way your solid-state drive (SSD) handles file deletion means hitting delete isn't always what it seems. As data recovery techniques continue to improve, so does your chance of truly destroying those awkward selfies with your cat.
So, does your SSD ever delete your files? Or are they just momentarily obscured? Let's find out.
What Happens When You Hit Delete
You hit delete, and the file disappears from your screen. But what actually happens when you hit delete? Does deleting a file really delete it?
Deleting a file is a multi-stage process. The first time you delete a file, it simply moves to the Recycle Bin (or Trash). The file contents remain intact. This allows us to recover files we accidentally delete.
The next step is removing it from the Recycle Bin (or using Shift + Delete to delete directly). Most operating systems keep track of files using "pointers." Each file and folder has a pointer telling the file system exactly where to look for a file. When you delete a file from the Recycle Bin, Windows deletes the pointer and marks the disk sectors containing the data available for overwriting.
In your file explorer, the file is gone. In practice, though, until the disk sector containing the existing data is overwritten, the file data still exists. This is why file recovery programs can restore files. Furthermore, this is why some file recovery programs can recover parts of files---the sector containing old data wasn't entirely written over, leaving some data intact.
This is how file deletion works on a regular hard drive. SSDs work differently.
How Are SSDs Different From a HDD?
SSDs are different from regular HDDs, primarily because they use different technologies to record data. An HDD is a spinning platter that writes with a moving mechanical arm. An SSD is more akin to a flash memory stick, storing information in cells. To write new data to a cell, the drive must first erase existing data.
That's where the TRIM command comes in. During regular operations, SSDs essentially rapidly zero the data containing cell before rewriting data. SSDs maintain control over where data is written within the cells. This means that the operating system might request data to be written to block 1,000, whereas the SSD pointer table contains an altogether different number. This is known as wear-leveling.
The data writes and retrieves, but there are differences. This process allows SSDs to manage data, always allocating an already-zeroed block for the write process while ensuring the flash memory degrades at an equal rate.
Of course, there cannot be pre-zeroed blocks forever. And while the SSD knows how to redirect its pointers to pre-zeroed blocks, it doesn't know about operating system marked unused blocks. This is where TRIM steps in. The TRIM command allows the operating system to inform the SSD as to which blocks are available for pre-zeroing, saving time and keeping the write process fast.
However, TRIM doesn't securely delete data. Because the SSD hardware controller decides the blocks to level, you cannot be entirely sure as to when your drive will complete the task. Furthermore, SSDs use a small amount of unallocated space as a buffer during the wear-leveling process, essentially keeping a data record. Unfortunately, this means SSDs are susceptible to a range of data recovery techniques.
How to Permanently Delete Data on Your SSD
Now that we understand exactly what is going on with our SSD, it is time to consider exactly how to delete your SSD data permanently.
There are a few widely-accepted methods and tools almost guaranteed to wipe your SSD completely.
SSD Secure Erase Using Manufacturer Software
The first method is using Secure Erase. Secure Erase has a very high success rate, but some studies have found the command poorly implemented, and as such, data remains on the drive. You can Secure Erase either within your operating system (if the target drive doesn't contain your primary operating system), or use a Linux Live environment.
Many SSD manufacturers develop hardware management tools that feature Secure Erase functions:
- Intel Solid-State Drive Toolbox
- Toshiba OCZ SSD Utility
- Corsair SSD Toolbox
- Samsung Magician SSD Tool
- SanDisk SSD Dashboard
- Crucial SSD Storage Executive
- Western Digital SSD Dashboard
- Seagate SeaTools bootable SSD utility
SSD Secure Erase Using Parted Magic
Many experts advise using Parted Magic over manufacturer-developed tools. Parted Magic is a whole Linux distribution featuring all manner of disk erasing and partition managing tools. The tool does cost $11, but you have access to the suite forever, whenever you need it.
Parted Magic is a bootable Linux environment, meaning you install it to a USB drive, and boot from there. Here's a quick list of exactly what you need to do:
- Download Parted Magic and create a mountable USB drive using Unetbootin.
- Boot the drive and choose option 1, Default Settings.
- Once booted head to Start (bottom-left) > System Tools > Erase Disk.
- Choose the Internal:Secure Erase command writes zeroes to entire data area option, then confirm the drive you want to erase on the next screen.
- If you are told the drive is "frozen," you will need to click the Sleep button and repeat this process until you can proceed further. If your drive indicates a password requirement, leave the password as "NULL".
- Confirm that you have read and understood the risks, then hit Yes to erase your drive.
Wiping Your SSD Using PSID Revert
In some cases, an SSD will fail to wipe because of hardware encryption. In these specific cases, it is sometimes possible to use the device's Physical Security ID (PSID) to enact a PSID Revert. A PSID Revert effectively cryptographically erases the drive, then resets it to factory settings.

A PSID Revert wipes the entire drive. This process also works if the drive is hardware encrypted but not encrypted using third-party software. Find out if your drive supports PSID Revert by completing an internet search for "[your drive name] PSID Revert."
Does Secure Erase Completely Delete SSD Data?
Secure Erase methods should theoretically delete all the data from a drive on the first pass. But as several studies have shown, poorly-implemented or buggy Secure Erase versions can result in lingering data. This data is recoverable. The best method is to complete at least two full Secure Erase processes to ensure that every SSD cell is completely clear.
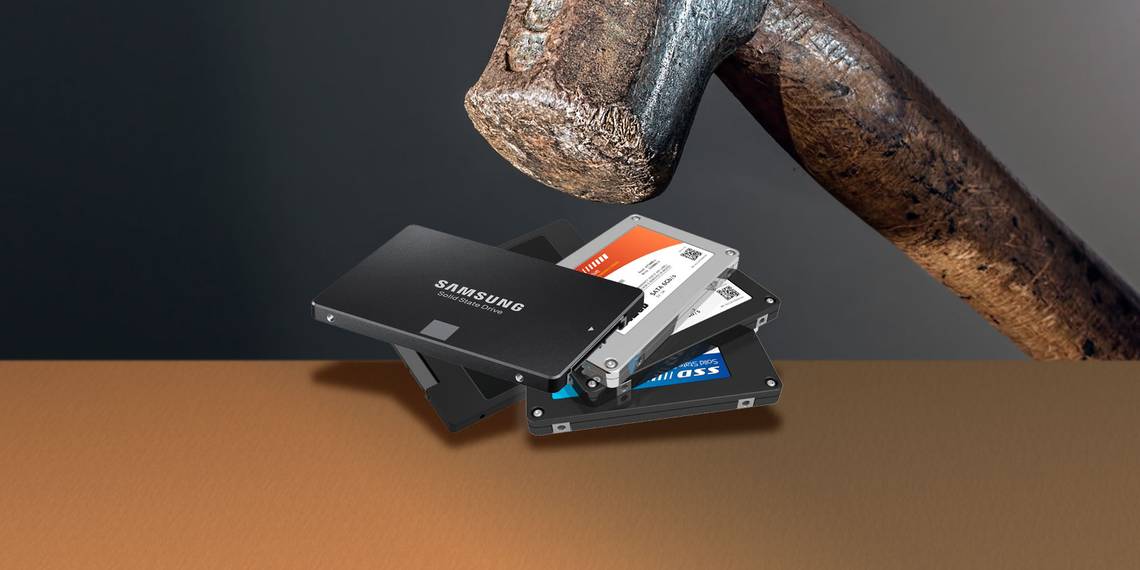
Otherwise, if you're not selling the drive and want to destroy it, just hit the SSD, repeatedly, with a hammer. Please note that this will destroy the contents of the drive as well as the drive itself. But at least your data will be irrecoverable.