Adobe Lightroom is a brilliant program for editing photos, but what do you do once you've learnt the basics? Split toning is a technique that can take your photos from good to great. This article explains everything you need to know to get started split toning your photos in Lightroom.
If you're on a tighter budget, check out these subscription-free Lightroom alternatives.
What Is Split Toning?
The theory behind split toning is simple enough. It involves manipulating the colors in the shadows and highlights independently.
Perhaps your photo has too much yellow in the highlights, due to the streetlights. Maybe your shadows are very blue because of the puddles. Split toning allows you to adjust these sections individually. You can add more blue to the streetlights without ruining the puddles in the shadows, as those might be blue enough already.

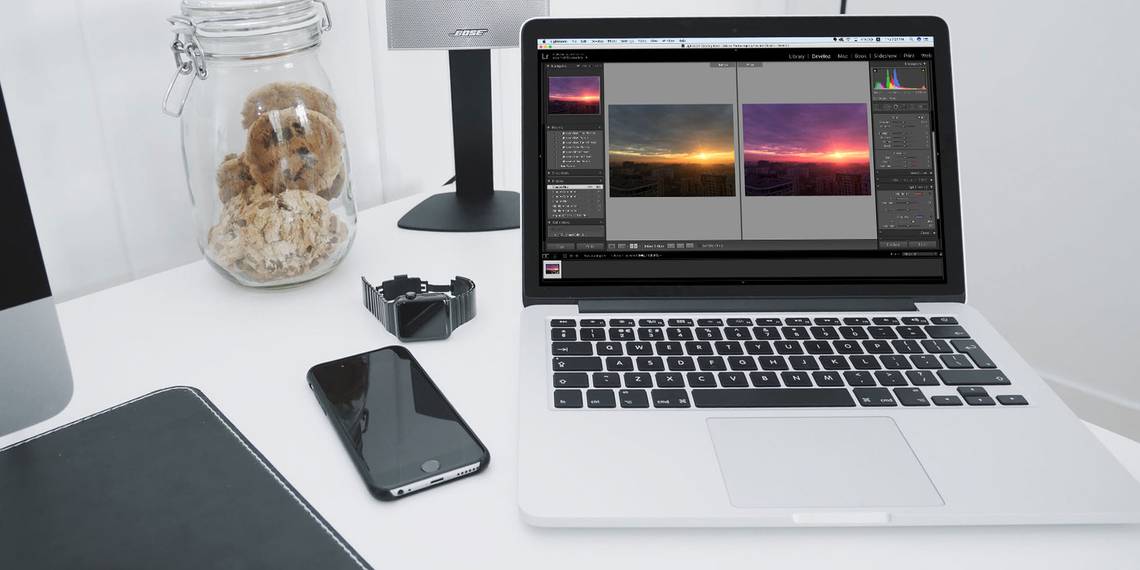
You can use split toning to make your city shots really shine. Or how about making an awesome photo look slightly more vintage?
Split toning is largely a creative process. There's no right or wrong way to adjust colors, but certain combinations work better together. Fortunately, it's a very easy thing to change in Lightroom.
Getting Started With Split Toning in Lightroom
Note: I'm using Adobe Lightroom Classic CC. Steps may be slightly different for older versions of Lightroom.
Before starting to split tone your photos, it helps if you have imported your photos into Lightroom, and done some initial editing already.
There's a tiny bit of housekeeping required before we jump right in. You should render 1:1 previews before beginning the edit. You may have done this already, but rendering previews speeds up Lightroom.
Whenever you view a photo in Lightroom, it has to generate the preview if it hasn't done so already. This is a "render" of the photo. If you render all of your previews in one go, Lightroom won't have to do this as you request each photo. You don't have to do this, but it really does help to speed things along.
Start off in the Library module, which can be accessed from the top-right menu.

Select all the photos you want to edit, and then go to Library in the top left menu. Choose Render and then Render 1:1 Previews.
Lightroom will begin to render your previews. This may take some time, but it does depend on your computer and the number of images.
You will see a status bar in the top left of Lightroom. Wait until this process completes before moving on.
If you've rendered previews but are still experiencing performance issues, you might want to look at these Lightroom performance tips.
Understanding the Split Toning Panel
Now you're finally ready to start split toning in Lightroom. Switch to the Develop module from the top-right menu bar.
You'll need to open the Split Toning panel. This is found on the right-hand side between HSL / Color / B & W and Detail.
Expand it by pressing the small white arrow on the right-hand side.

Split toning is one of the simpler Lightroom panels, but there are still a few things going on.
The top section is for controlling the Highlights. Here you have sliders for Hue and Saturation. When saturation is at zero, it's the same as not having made any changes.
To the top right of the word "Highlights" is a small colored box. This shows the specific hue you have selected, but it also serves a second purpose. Click on it once to bring up the combined hue and saturation box. Here you can adjust the hue by moving horizontally, and adjust the saturation by moving vertically.

You can select from several pre-defined hues using the small swatches of color at the top.
Moving back to the main split tone panel, There is a Balance slider between the highlights and shadows options.
Slide this left or right to change the balance of your split toning. You can use this to view the shadows or the highlights more than the other. By default, this is in the middle, meaning both the shadows and the highlights changes are equally visible.
Finally, the bottom section is for controlling the Shadows. The controls here are exactly the same as for the previous highlights controls.
Making Your Edit
For these examples I'm using this photo of Perth, Australia, taken by Flickr user Pedro Szekely:

Now that you know how the split toning panel works, let's look at an example. Using the sample image from above, let's start with the highlights.
This is a very blue image right now. So let's add some gold into the highlights:

This has made an impact on the image. The reflections on the lower-right third of the image are now much warmer, and the smaller buildings in the middle are brighter.
Moving onto the shadows, let's add a dark blue to the mix:

Now, you may be thinking that this image looks terrible, but the Balance Slider is where things really change. Simply moving the balance slider towards the highlights (to the right) has a dramatic effect on the image:

As you can see, the shining gold reflection is now back, and the big reflection at the bottom is now purple. While this is an exaggerated example, it serves its purpose of illustrating what you can achieve with the split toning panel in Lightroom.
The best way to learn it, however, is by playing around. Go crazy, set the saturation to 100 or zero. Set all the sliders to max and then back again. By doing this, you'll really get a feel for what works well, and what can be achieved.
If you're looking for some split toning ideas, a color wheel is an excellent place to start. By using a single color in your highlights, and then a complementary color in your shadows, you can achieve some wonderful results. Just don't take it too far!
Helping You Achieve Perfection
In this article we've shown you how a simple change to the colors in a photo can have a big impact, and how it's pretty simple to achieve. So now all you need to do is try it out for yourself! Choose a photo and fire up Lightroom to start split toning.
If you have already got the editing skills in Lightroom, but you're looking to improve your photography skills, why not take a look at our photography tips for beginners or our guide to digital photography. Both will help you shoot better photos before you even start editing.