If your iPhone backup exceeds your iCloud space, you might decide to take the plunge and buy more iCloud storage.
With a 200GB plan, you'll likely be swimming in premium cloud storage. In a bid to try and put some of it to good use, I went looking for all the other features I'd forgotten about after upgrading my storage.
Here are our tips for putting your spare iCloud storage to good use. Try one of them, or come up with your own uses for iCloud!
1. Back Up Your Other Devices
Like many other users, I bought 50GB of storage purely for backing up my primary device: an iPhone. It never occurred to me that I might want to create a backup of my iPad or the iPod Touch I occasionally use for travel and work purposes.
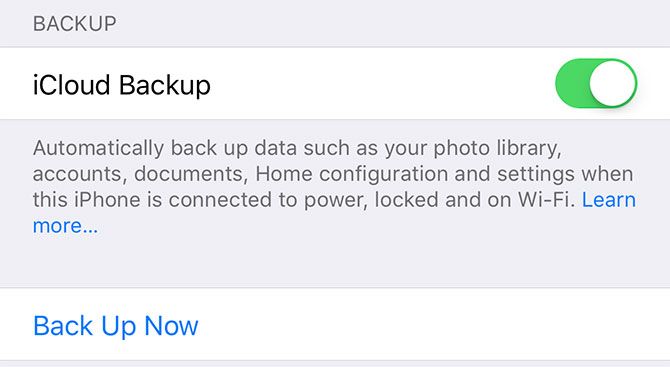
To turn on iCloud backup:
- Unlock the device you would like to back up.
- Head to Settings > [Your Name] > iCloud.
- Scroll down and tap iCloud Backup, then switch the toggle to On.
Remember, the initial backup can take a while to complete. My iPhone took several days to back up after I initiated it, so patience is key. And if you're going to make use of iCloud to backup multiple devices, you could be waiting a very long time.
2. Share Space With Your Family
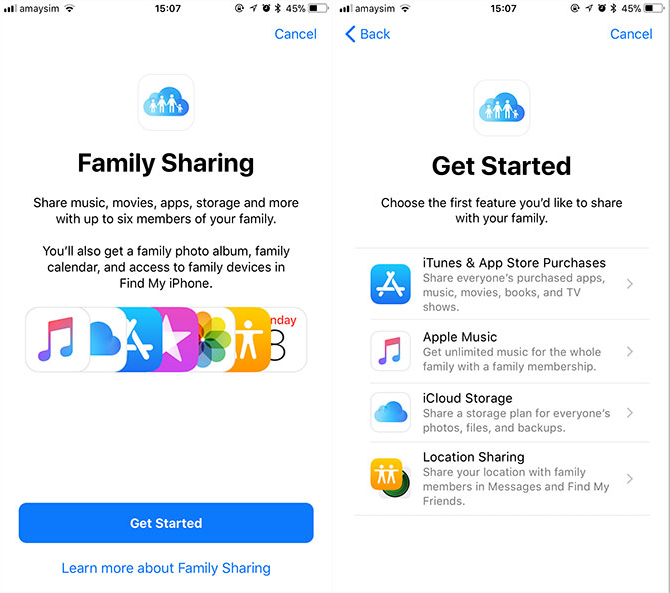
Family Sharing is Apple's way of linking accounts under the same credit card. You can use the feature to share iCloud storage too, in addition to vetting purchases and sharing iTunes content. One of the best parts of Family Sharing is its ability to distribute iCloud storage among your family.
In order to do this, you'll need to be on the 200GB or 2TB tier. First follow the instructions for setting up Family Sharing under Settings > [Your Name] > Set Up Family Sharing on iOS, or System Preferences > iCloud > Manage Family on a Mac.
When prompted, choose iCloud Storage to begin sharing your available space with all members of your family. The biggest drawback to Family Sharing is that all purchases must go through the primary user's account (even other adults on the plan). As a result, you'll have to make all purchases through the same card.
3. Turn On iCloud Photo Library
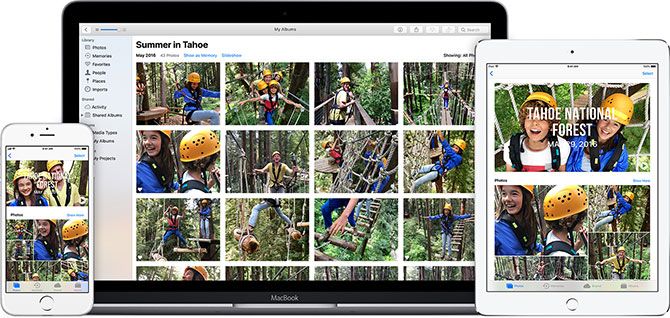
Is it time to start storing all of your precious memories in the cloud? According to Apple, this is a great use of iCloud. By turning the feature on, you can choose to store your original full-sized images in the cloud, while retaining lower quality versions on your device.
This could save you a ton of storage space, and you can request access to full-sized images from the cloud whenever you need them. You can also use iCloud Photo Library as more of a backup solution, while still storing your original quality snaps on your iPhone.
My biggest concern with iCloud Photo Library is the fact that Apple has already deleted my iCloud Music Library without a trace. It then happened again to a family member, with no possibility of restoring it.
When I asked an Apple senior supervisor what safeguards are in place when it comes to items stored in iCloud, they couldn't answer my question. I don't trust that Apple will keep my original high-quality images safely stored, so I'd certainly warn against trusting your original images to iCloud Photo Library. If you decide to use iCloud this way, keep another backup.
If you want to turn the feature on, head to Settings > [Your Name] > iCloud > iCloud Photo Library on iOS, or System Preferences > iCloud then click the Options button next to Photos and check the box to enable iCloud Photo Library.
4. Optimize Your Mac Storage
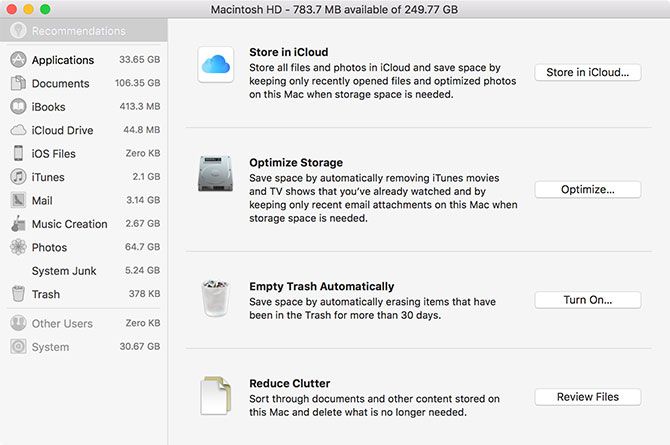
macOS Sierra introduced a feature called Store in iCloud to save space on your computer. Provided you have iCloud storage available, the feature automatically moves all but the most recently opened files and folders to the cloud when free storage drops below a certain threshold.
This is an invisible process that takes place in the background. macOS handles all the transfers and indexing, and files appear as though they are still stored locally. If you try to open a file that is stored remotely, macOS will download it for you.
The biggest drawback here is that offline use will render some files unavailable. You don't get a say in what is moved and when. For many users, these files will be small and numerous since people who are tight on space are unlikely to keep large files hanging around. As a result, the benefits could be negligible. That being said, it's a cool use of iCloud if you have extra space.
To turn on the feature, launch the Storage Management application under Applications > Utilities (just use Spotlight) and click on Store in iCloud.
5. Store Your Mac's Desktop and Documents in iCloud
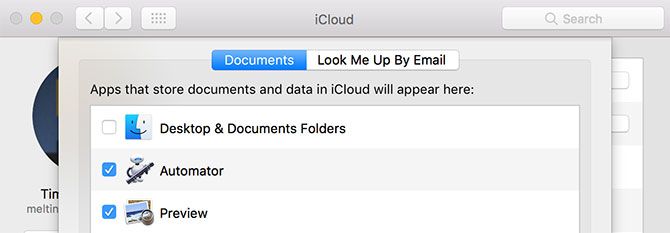
macOS High Sierra introduced the ability to store a copy of your Mac's Documents and Desktop folders in iCloud. Once the initial upload is complete, you can access these folders anywhere: from your iPhone, another Mac, or by logging in on the web at iCloud.com.
Head to System Preferences > iCloud then click on the Options button next to iCloud Drive. Check the box to enable Desktop & Documents Folders.
6. Store Files Like a Real Cloud Service
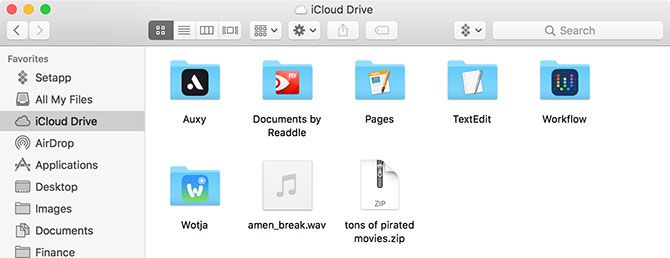
It took a while, but you can now use iCloud as a regular old cloud storage service too. Users with macOS Sierra or later will find an iCloud Drive option in their Finder sidebar, in which all current iCloud documents are listed. iOS users can access iCloud Drive using the Files app.
In a surprising move for Apple, iCloud Drive is relatively open with what it can store---provided the file is under 50GB. Anything you upload becomes available to all iCloud-connected devices including iPhones, MacBooks and iMacs, and any device that can login to iCloud.com using the web frontend.
There are no file type restrictions, so you can upload your own music, DRM-free videos, Windows executables, ZIP archives, torrent files and anything else you'd suspect Apple would frown upon. Don't forget there are a few compelling alternatives to iCloud for just about any task, though.

