The holidays are coming. If you're an enterprising DIY maven who wants to put a new spin on your family's yearly Christmas card, we've got the perfect seasonal effect for you.
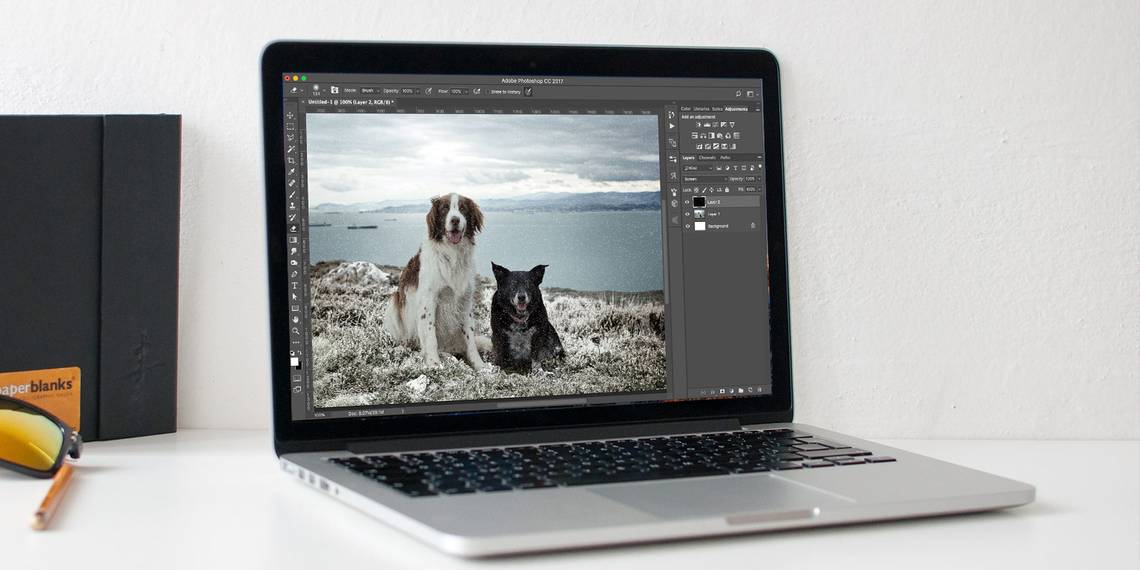
Some of us enjoy the inconvenience of snowy weather several months out of the year. But others? They have to make do with what they've got. So if you happen to fall into this second category, follow along with us. This tutorial covers a couple of techniques you can use to add snow to your holiday pictures in Photoshop.
1. Creating Snow on the Ground in Photoshop
Let's start by adding some fallen snow on the ground. We've got a lot of grass and a few rooftops, both of which are great bases, for this fake snow effect.

Create a new layer and call it something like Snow. Fill the layer in with white.

Admittedly, this is a lot of snow. The vibe we're going for is slightly subtler than this maelstrom. So, what can we do?
Let's break things up a little. Double-clicking on the snow layer in the Layers panel will pull up the Layer Style window.

Using the bottom-most Blend If slider, we can choose where the white snow layer should "stick" to the original image.
Make sure that the dropdown is set to Gray. Drag the black triangle in Underlying Layer to the right until the original image starts to poke through.

If you hold the Alt or Option key, you'll split the triangle in half. Drag the left half of the slider backward to balance the effect with the original image.

You can use this technique as a global effect. You can also create a separate snowy layer for each part of the image if they differ significantly from one another.
When you're happy with what you see, hit OK to apply the effect.

Now, if you look at the example, the sky is looking pretty pale. We can remove that portion of the snowy layer to achieve a slightly more realistic look.
You can do the same with any part of your image—use the E command to call up the Eraser tool. Then swipe on the pale sections you want to remove until you're left only with what you need.

You can also use your Selection tools to pinpoint areas and sharp corners more precisely. Use M to select the Marquee tool and L for the Lasso or the Polygonal Lasso tool. You can also use Photoshop's Refine Edges feature to delineate your selection further.
Here, you can see that we've taken the white off of the sides of these posts. You should do the same for any places in your own image where snow wouldn't naturally be sticking.

2. Creating Falling Snow
Now, we have snow on the ground. But what if we want to have fake snow falling from the sky?
It's super simple. Create a new layer for your fake snowfall and name it accordingly. Then fill in the entire frame with black.

Next, from the Filter menu above, navigate into Noise and select Add Noise.

Once you've made it to this menu, choose 100 for your Amount. Select Gaussian under Distribution and enable the Monochromatic checkbox.

With this noise-ified layer still selected, hop back into the Filter dropdown. This time, choose Blur and then Gaussian Blur.

Adjust your Gaussian Blur radius—a two or a three should give you the effect you want, but feel free to adjust to your taste.

Again, this is a lot of snow. We can make this texture feel slightly sparser and more realistic by creating a gate using the Curves tool. Usually, this tool is reserved for making tonal adjustments to a photo. Here, though, it'll help us cut this noisy field of "snowflakes" back just a hair.
To adjust the image's Curves, use the shortcut Ctrl + M or Cmd + M. You can then create a couple of points on the white line by clicking on the line. Drag the two points you made to the top and bottom lines of the graph, respectively. The white line will follow it to create a steep angle, like what you see in the screenshot below.

Now, to lay this texture over the original image, we'll need to change our Blend Mode to Screen. You can do so by picking the Screen option in the Blend Mode dropdown on the Layers panel.

If your image has people in the frame, you might need to clean up the fake snow around their faces. Doing so is easy—you can mask around them, adjust the opacity of some areas of the effect, or simply erase the snowfall where it's not wanted.
We also love how using a Motion Blur makes this effect look; you can simulate the appearance of a windy, blustering day with ease. You'll find it under the same Blur pull-out as before, under the Filter dropdown.

Using the Angle parameter, you can create fake snow rushing sideways through the wind or simply falling straight down. Distance can help you modulate how fast the snow is falling; if you crank it up high enough, your scene will start to look kind of dangerous, so use this in moderation.

You can duplicate your snowfall layer, offsetting several for an even denser storm, or simply leave it as-is.
3. Finishing Off the Image
Is that it? Far from it; we are artists, after all. Let's really drive this wintery theme home with a few extra cinematic effects.
If you've ever been outside on an overcast day, you know that ample cloud coverage sort of has this way of making the entire world feel cold and gray. We can impart our image with that same feeling—you can change the Saturation, Vibrance, or Color Balance to do so.
Or, if you want a more cinematic look, you can use a LUT or any other image filter preset to recreate the cold winter weather.
You can find all of these tools under the Image dropdown in the Adjustments pull-out. Chances are, you already know how to use these tools. But let's talk about one that might be less familiar: let's put things on ice with a Gradient Map overlay.
To create a new Gradient Map, click on the New Fill or Adjustment Layer button at the bottom of the Layers panel.

You can customize the gradient however you want. However, the Blues dropdown in the Presets directory contains a wealth of designer options you can take advantage of to make your life much easier.

Once you've chosen a color profile for your Gradient Map adjustment layer, change the layer's Blend Mode to Color and set the Opacity slider to somewhere around 10%.

After all the edits you've made, you can now zoom out on your image and enjoy your now snowy photograph to light up your holiday spirit. Using these tips and techniques, it only takes a few minutes to transform any regular holiday photo into a Christmas wonderland.

So, whether you're going whole-hog this year with a round of snail-mail Christmas cards or you just need something seasonal for your social media accounts, it doesn't take long to transform paradise into a veritable winter wonderland.
Fake Snow in Photoshop, Just in Time for the Holidays
This approach is fantastic because you can choose literally any photo of your family or friends—a little bit of tinkering, and, boom, the image is instantly made much more relevant, suddenly full of holiday cheer.
The buck hardly has to stop here; there are lots of cute ways to make your Christmas card or family portrait your own this holiday season. The power is in your hands alone.