T-shirts are a fashion statement. When you wear one, you can show your support for your favorite sports team, crack a joke at a friend's expense, rep a cause you believe in, just look good, or any of a million other things. Sure, with the internet you've never had so much choice, but if you want a truly custom t-shirt, you've got to design your own.
In this article, I'm going to show you how. To follow along, you'll need to have a basic understanding of Photoshop. If you're totally new, check out our beginner's guide to Photoshop CC, any of these great sites for learning Photoshop, or one of my favorite intro Photoshop courses.
Printing Options
Before digging into the design, let's talk about printing options. The simplest thing to do is pick up some inkjet transfers like these ones from Avery (UK). You print your design on the transfer and then iron it onto a blank t-shirt. It's a really cheap way to create custom t-shirts.
Unfortunately, it's not perfect.
Iron-on transfers don't last very long. They'll survive a couple of washes, but then they'll start to fade. You won't be making a t-shirt that you can wear for years.
If you want your custom t-shirts to last longer, you need to get them professionally printed. Most cities have somewhere local that should be able to print custom designs. I'd recommend going in and checking out their work before committing to an order.
If you want to print more than a handful, you can out a service like Teespring.
1. Coming Up With a Design
The first step in designing a t-shirt is to actually come up with a design. This is by far the hardest part of the process.
Here are a couple of things you need to think about:
- With transfer paper you can print anything. Are you going with photos, graphics, text or a combination?
- Simpler designs last longer. A photo might look awful after just two washes but a t-shirt that's just decorated with writing might last for dozens of washes. If in doubt, stick to bold graphics and text.
- How big is your design going to be? If you're printing your own, it will be limited to 11" x 8.5". Custom printers will probably have a bigger area.
- How much detail do you need in your design? If you want people to be able to read it from more than a few inches away, you're limited in the sort of things you can put on it.
- Do you want to print it on a white or black t-shirt? That's going to change what colors you use and how you handle text in your design. Black writing on a black shirt is impossible to read.
- Most home printers can't print white. If you want white writing, you'll need to go the professional route.
Once you've got an idea of what you want it to look like, it's time to get started in Photoshop. I'm going to make a simple MakeUseOf design that I want to print onto a black t-shirt but you can do whatever you want. If you followed my lesson on designing your own logo, this is the perfect place to use it.
2. Setting Up the Document
Open Photoshop and then click New Document. Select Print and then pick the format that matches the transfer papers you're using. If you're in the U.S., it will most likely be letter. If you're in Europe, it will be A4.

Choose either Portrait or Landscape orientation and then click Create.
If you're working with a professional print shop, ask them what document settings work best for their print process. They might even have a template for you to use.
3. Adding Your Design
With the document set up, it's time to start adding the elements of the design. Mine has two components: a PNG of MakeUseOf's logo and some text elements.

To add in any images or graphics, go to File > Place Embedded... and navigate to the file you want to add. Select it, and click Embed.
To add text, grab the text tool with the keyboard shortcut T and type whatever you want your t-shirt to say. In the Character Panel you can adjust how the text looks. I've used 74pt Myriad Pro Bold with the tracking set to -40. Through the Creative Cloud, you get access to all TypeKit's great fonts so you'll have no problem finding something that works for your design.

Move the elements around your canvas until you're happy with how they look.
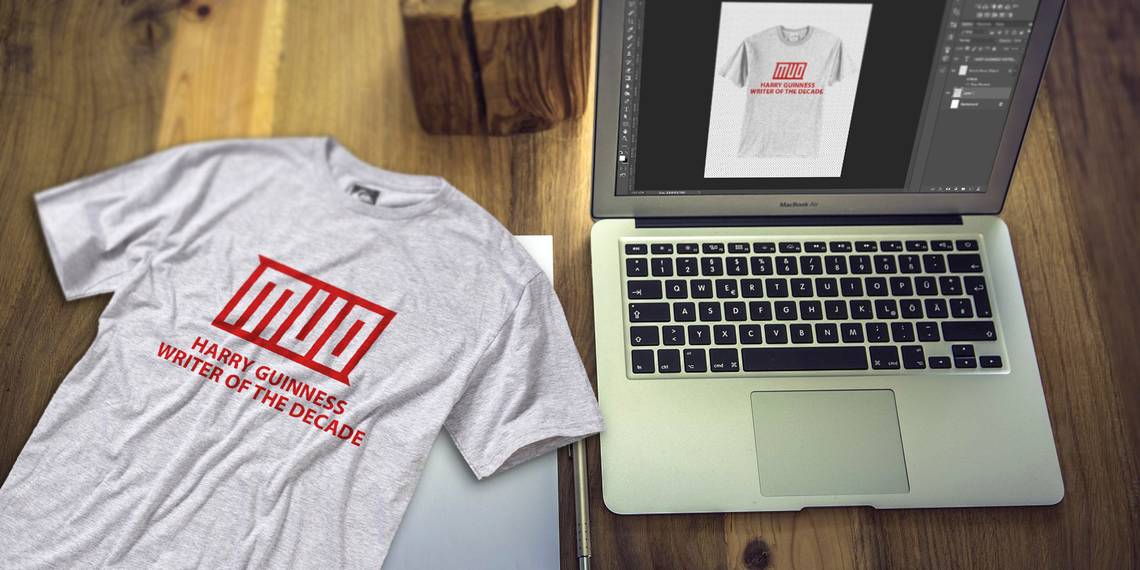
Once your design is finished, delete the Background Layer. When it comes to printing, it could complicate things. Here's my finished design.

4. Printing the Design
With the design done, it's time to get ready to print. This is where you need to start following the instructions that come with the transfer paper or the t-shirt printer's guidelines. They're all slightly different so I can only give general advice.
If you're printing to transfer paper, make sure you've got the right paper for your t-shirt. You can get transfer paper for white or light t-shirts and for black t-shirts (UK). If you use the wrong type of paper, your design won't look great.

Don't just print straight to the expensive transfer paper. Make sure to do a few test prints on regular paper first. They'll help you spot any problems in your design.
When you're ready, load the transfer paper into your printer and print your design. Iron it on to a t-shirt and you're ready to rock your own custom look.
Wear Away!
Once your t-shirt is designed and ready, be sure to read up on how to wear a graphic t-shirt like an adult.
Designing a t-shirt in Photoshop is much the same as doing anything else; you just have to bear a few extra things in mind. If you've been trying to improve your Photoshop skills, a custom printed t-shirt is a great way to show off your latest work.